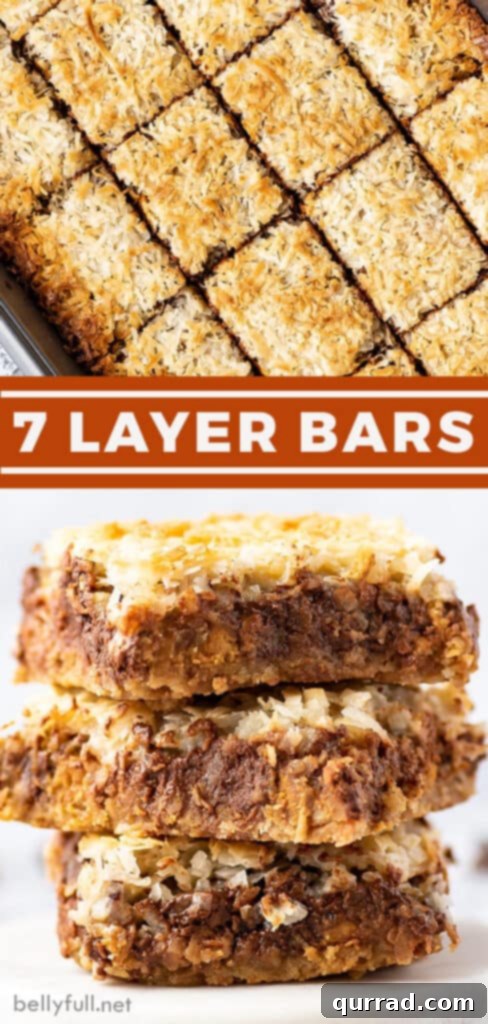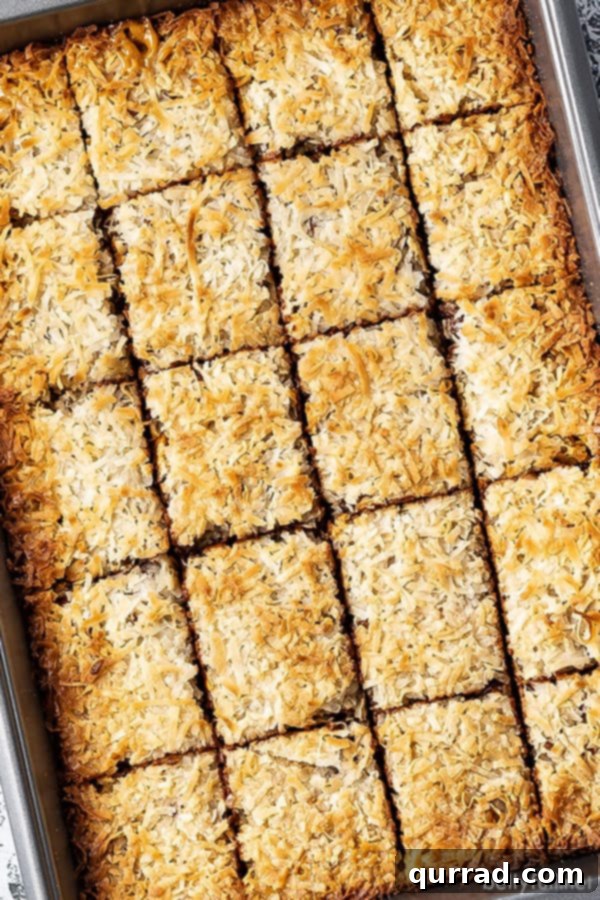
Prepare to be enchanted by these truly incredible 7 Layer Bars, a dessert so irresistibly delicious, they’re often called Magic Bars! Each bite offers a harmonious blend of salty and sweet, crunchy and gooey textures, culminating in a flavor experience that will have them disappearing from your plate in a flash. Perfect for potlucks, parties, or simply satisfying a serious sweet craving, these bars are a guaranteed crowd-pleaser.
If you’re a fan of the delightful indulgence of these magical bars, you’ll surely adore our other beloved recipes like the classic Gooey Butter Cake and the rich, decadent German Chocolate Butterscotch Gooey Bars. Dive into a world of irresistible desserts that are as easy to make as they are delightful to eat!
Unveiling the Magic: What Are 7 Layer Bars?
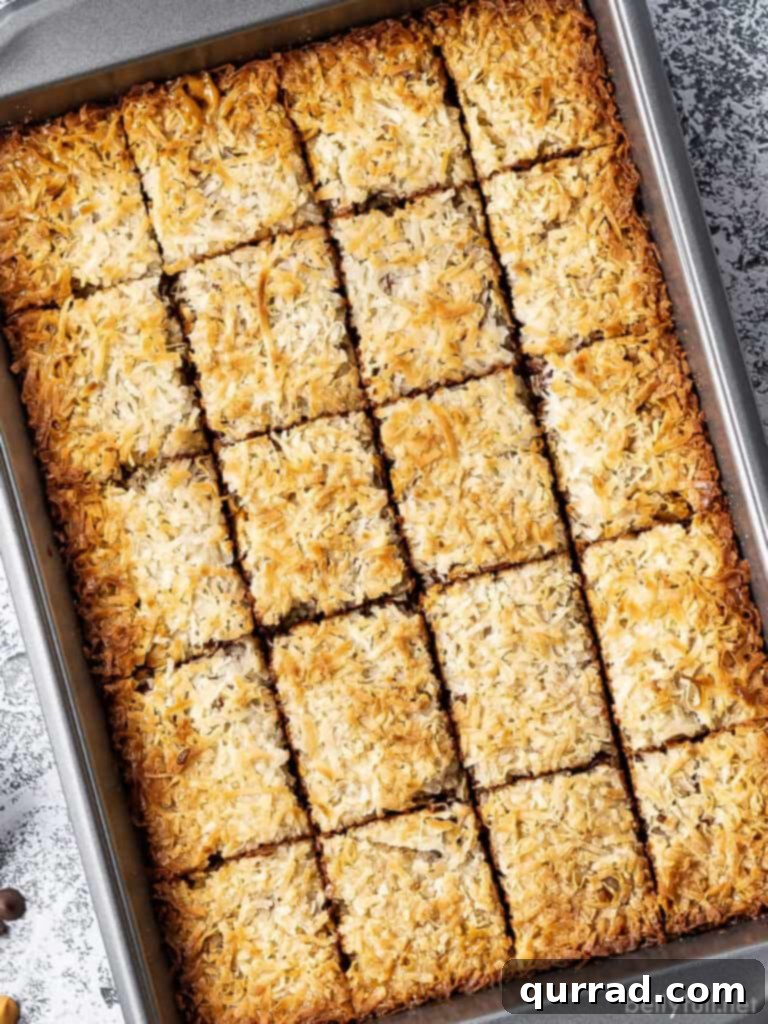
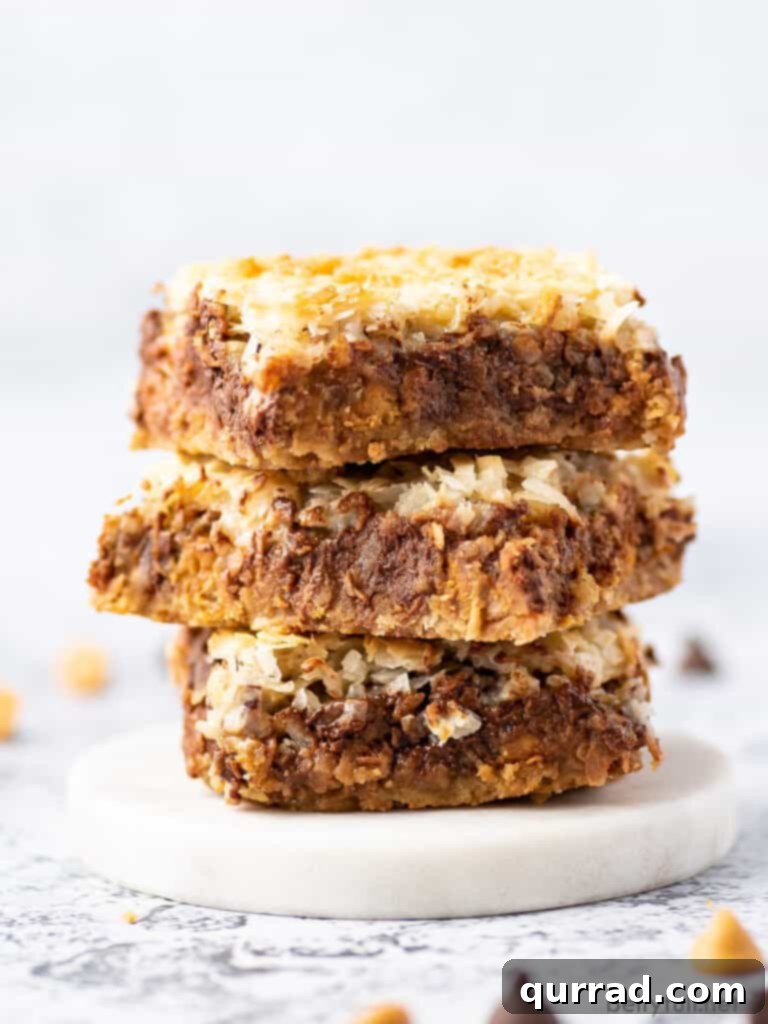
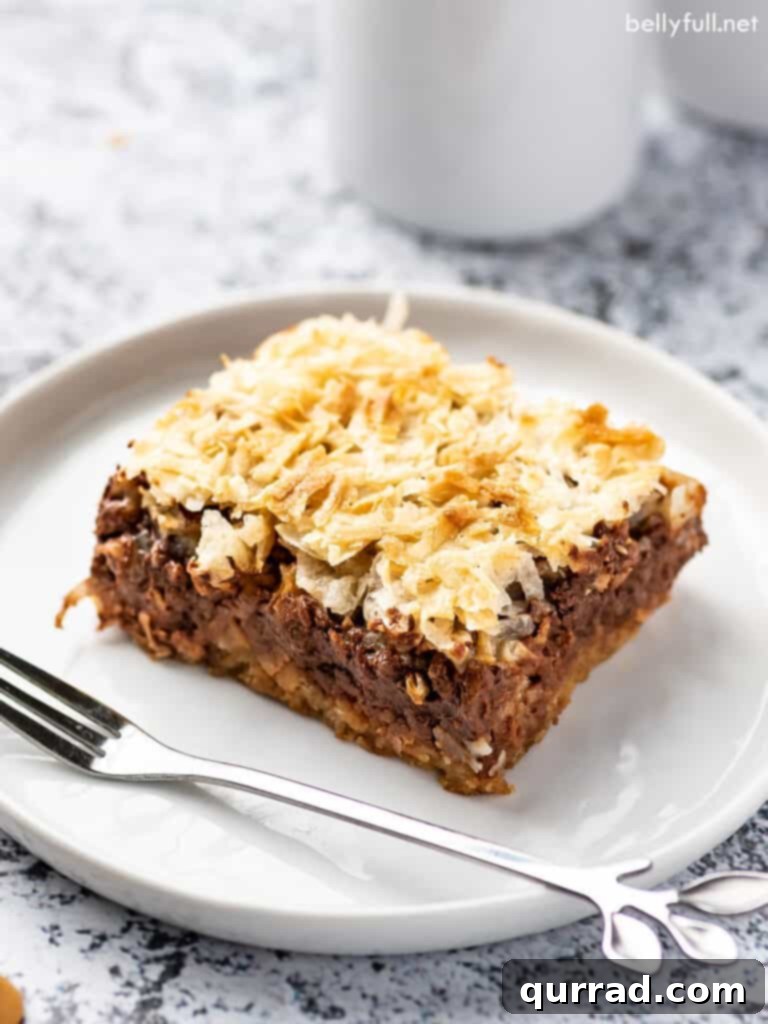
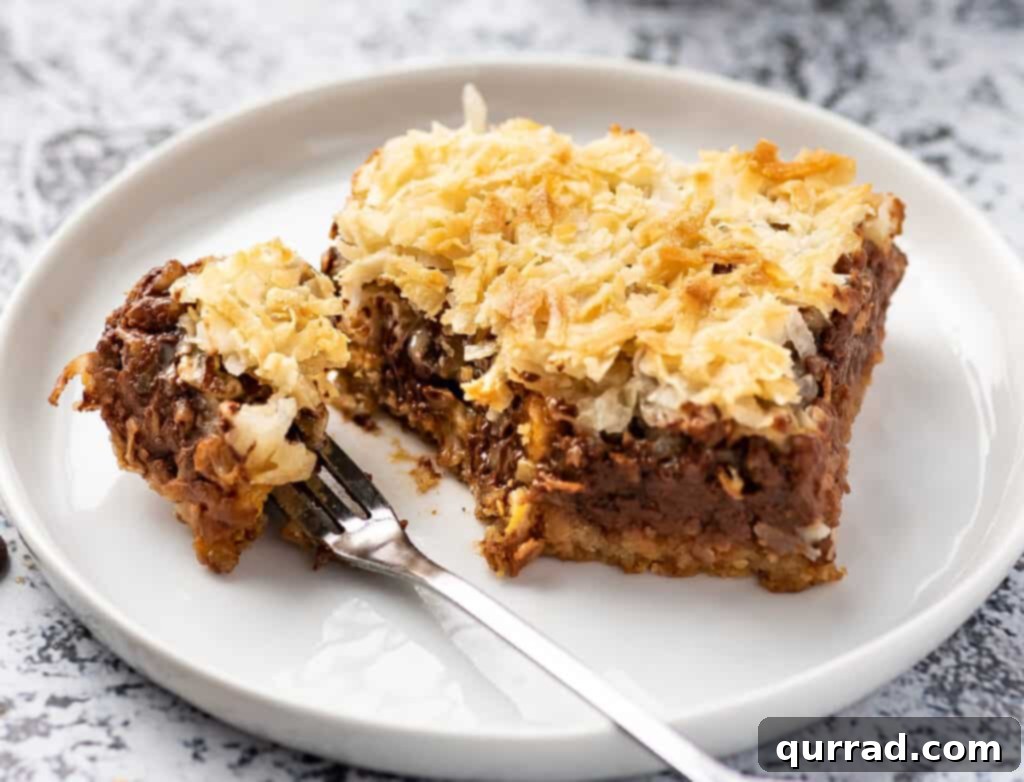
At their core, 7 Layer Bars are a classic American dessert known for their ease of preparation and their rich, complex flavor profile achieved through distinct, stacked layers. They earned their popular moniker from the traditional seven components that typically comprise them: a buttery crust, chocolate chips, butterscotch chips, chopped nuts, shredded coconut, and a luscious topping of sweetened condensed milk, all sealed together by the baking process.
While the name implies exactly seven distinct layers, you might find yourself counting six once the butter and cookie crumbs are combined for the base. But don’t let this minor detail keep you up at night! The true magic lies in the symphony of flavors and textures, not in a strict numerical count. These delightful treats are also fondly known as “Hello Dolly Bars” or simply “Magic Bars” because of how effortlessly wonderful they are to make and how quickly they vanish once served. They are a testament to simple ingredients coming together to create something truly extraordinary, offering a perfect balance of salty, sweet, crunchy, and gloriously gooey in every bite.
Why You’ll Absolutely Love This Recipe
There’s a reason 7 Layer Bars have remained a timeless favorite for generations. This recipe stands out not just for its incredible taste but also for its sheer simplicity and versatility. You’ll love these bars because they require minimal effort and no fancy equipment, making them perfect for even novice bakers. The combination of sweet, salty, and crunchy elements creates a truly addictive texture that’s impossible to resist. They’re highly customizable, allowing you to easily adapt them to your personal preferences or what you have on hand. Plus, they’re an absolute showstopper for any gathering, disappearing quickly and always earning rave reviews. Prepare to become everyone’s favorite baker with this foolproof, crowd-pleasing dessert!
Crafting Your Own Magic Bars: The Essential Ingredients
Our preferred recipe for these irresistible magic cookie bars often deviates slightly from tradition, opting for vanilla wafer cookies for the crust instead of graham crackers, which we believe adds an extra layer of buttery vanilla flavor. Here’s a detailed look at the simple yet powerful ingredients you’ll need to create this amazing dessert:
- Vanilla Wafer Cookie Crumbs: These form the foundational crust. For the best results, ensure they are crushed into a very fine, consistent crumb. A food processor makes this task incredibly easy and quick, but if you don’t have one, simply place the cookies in a sturdy Ziploc bag and use a rolling pin to crush them. The finer the crumbs, the more compact and delicious your crust will be.
- Salted Butter: Melted salted butter is the binding agent for our cookie crust, providing richness and a hint of necessary saltiness that balances the sweetness of the other layers. If you only have unsalted butter on hand, feel free to use it, but remember to add an extra pinch of fine sea salt to the cookie crumb mixture to enhance the overall flavor profile.
- Chocolate Chips: A non-negotiable layer in any Magic Bar, chocolate chips bring that classic sweet decadence. The beauty here is in your choice: opt for dark chocolate for a richer, more intense flavor, milk chocolate for a sweeter, creamier profile, or semi-sweet chocolate for a perfectly balanced taste. Use what you love most!
- Butterscotch Chips: We are passionate about butterscotch and its delightful caramel-like notes. It pairs exquisitely with chocolate, creating a wonderfully complex and comforting flavor that is truly distinctive in these bars.
- Nuts (Chopped Pecans): Pecans contribute a lovely earthy, nutty flavor and a satisfying crunch that beautifully contrasts with the gooey layers. While pecans are our top recommendation, you can easily substitute them with other nuts like walnuts for a more robust flavor, peanuts for a classic sweet and savory twist, or even slivered almonds for a milder, buttery note.
- Shredded Coconut Flakes: Coconut adds a fantastic chewy texture and its unique tropical sweetness. You have the option of using either sweetened or unsweetened coconut flakes. For us, the extra sweetness and moisture from sweetened shredded coconut are absolutely essential for achieving that perfect gooey texture and flavor.
- Sweetened Condensed Milk: This ingredient is the true “magic” that binds all the layers together, creating that signature gooey, rich, and ultra-creamy texture. It’s crucial to use sweetened condensed milk, which is thick and syrupy, not to be confused with evaporated milk, which is much thinner and unsweetened. The condensed milk caramelizes as it bakes, infusing every layer with its sweet, milky goodness.
- Heavy Cream: Mixed with the sweetened condensed milk, heavy cream helps to slightly thin the mixture, making it easier to pour evenly over the layers. More importantly, it adds an extra layer of luxurious richness, contributing to the bars’ melt-in-your-mouth quality. If heavy cream isn’t available, half-and-half or even whole milk can be used as alternatives, though the richness might be slightly less pronounced.
- Sea Salt: A small amount of sea salt sprinkled over the top or incorporated into the topping mixture is vital. It doesn’t just add a salty note; it masterfully elevates and balances the intense sweetness of the other ingredients, creating a more complex and satisfying flavor experience.
Creative Recipe Variations to Make Them Your Own
One of the most exciting aspects of 7 Layer Bars is their incredible flexibility. With so many distinct layers, you have a vast canvas for creativity, allowing you to customize flavors and textures to suit any palate or occasion. Don’t be afraid to experiment and truly make these magic bars your own!
- Crust Alternatives: While we adore the vanilla wafer crust, the classic choice for Magic Bars is often graham cracker crumbs. You could also try crushed shortbread cookies or even chocolate wafers for a different flavor base. For a gluten-free option, use gluten-free cookie crumbs, ensuring your other ingredients are also certified gluten-free.
- Varying the Chocolate: The world of chocolate chips is your oyster! Experiment with different types of chocolate chips beyond semi-sweet. Milk chocolate chips will yield a sweeter, creamier bar, while dark chocolate chips will add a delightful bitterness that cuts through the sweetness. White chocolate chips or even a combination of different chocolate types can create intriguing flavor combinations.
- Beyond Butterscotch: If butterscotch isn’t your favorite, there are many delicious alternatives. Peanut butter chips are a fantastic choice, especially if you love the classic chocolate and peanut butter pairing. Mint chocolate chips for a festive touch, or even caramel bits could add a different dimension of flavor.
- Nutty Substitutions: Our recipe calls for pecans, but any chopped nut will work beautifully. Walnuts offer a slightly more bitter, earthy flavor, while almonds provide a milder, buttery crunch. Peanuts are excellent for a more savory undertone. For those with nut allergies, sunflower seeds or pumpkin seeds can be used, or simply omit the nut layer entirely.
- Spice It Up: Consider adding a pinch of cinnamon or nutmeg to the cookie crust or even a touch of espresso powder to the chocolate layer for a subtle depth of flavor.
- Fruity Twist: A sprinkle of dried cranberries, cherries, or even a thin layer of orange zest can add a delightful fruity tartness that brightens the rich flavors.
- Extra Decadence: For an even richer experience, consider drizzling a thin layer of melted caramel sauce or a sprinkle of flaky sea salt on top before baking.
How to Make Seven Layer Bars: A Simple Step-by-Step Guide
Making 7 Layer Magic Bars is incredibly straightforward, requiring minimal fuss for maximum deliciousness. Follow these simple steps to create your own batch of irresistible bars:
- Prepare Your Pan & Oven: Begin by preheating your oven to 350 degrees F (175 degrees C). Lightly grease a 9×13 inch baking dish with cooking spray to ensure your bars don’t stick and can be removed cleanly.
- Craft the Cookie Crust: In a medium-sized mixing bowl, combine the finely crushed vanilla wafer cookie crumbs with the melted salted butter. Stir these two ingredients together thoroughly until the crumbs are evenly moistened. Press this mixture firmly and evenly into the bottom of your prepared 9×13 inch baking dish. This creates the delicious, buttery foundation for your bars.
- Layer the Deliciousness: Over the cookie crust, meticulously create your layers. Start with an even spread of semi-sweet chocolate chips. Follow this with a layer of butterscotch chips. Next, distribute the chopped pecans evenly, ensuring good coverage. Finally, add the shredded coconut flakes, making sure to fill in any small gaps or “holes” in the layers below. Even layering is key for consistent flavor and texture in every piece.
- Whisk the Magical Topping: In a separate medium-sized bowl, whisk together the sweetened condensed milk, heavy cream, and sea salt until the mixture is well combined and slightly loosened. This creates the rich, gooey “glue” that holds everything together and infuses the bars with incredible sweetness and creaminess.
- Pour and Bake: Carefully and evenly pour the sweetened condensed milk mixture over the top of all the layers in your baking pan. Ensure the entire surface is covered. Transfer the baking dish to your preheated oven and bake for approximately 20-23 minutes. You’ll know they’re ready when the edges are bubbly, and the coconut on top has turned a beautiful golden brown. Avoid overbaking, as this can make the bars too firm.
- Cool, Slice, and Enjoy: Once baked, remove the pan from the oven and allow the bars to cool completely on a wire rack. This step is crucial for the bars to set properly and achieve their ideal gooey yet firm texture. Rushing this step will result in messy slices. Once fully cooled, use a sharp knife to cut them into squares or rectangles, then serve and savor the magic!
Tip for Achieving Perfectly Clean Cuts
For pristine, professional-looking slices, here’s a handy trick: either lightly spray and wipe your knife blade with a nonstick cooking spray between each cut, or dip the blade into hot water and thoroughly wipe it dry with a clean kitchen towel before making the next cut. This prevents the sticky layers from adhering to the knife and ensures smooth, clean edges every time.
Storage Tips for Your Seven Layer Bars
These delightful 7 Layer Bars are wonderful because they store well, allowing you to enjoy them over several days or even prepare them ahead of time. For short-term storage, keep them at room temperature for up to 3-4 days. Ensure they are tightly wrapped in aluminum foil or stored in an airtight container to maintain their freshness and prevent them from drying out. If you prefer, or for longer storage, you can place them in the refrigerator for up to one week. Simply bring them back to room temperature before serving for the best texture.
For extended enjoyment, 7 Layer Bars also freeze exceptionally well. Wrap individual bars or the entire slab tightly in aluminum foil, then transfer them to a freezer-safe Ziploc bag or airtight container. They will maintain their quality in the freezer for up to 3 months. When you’re ready to enjoy them, simply thaw them at room temperature for a few hours. This makes them an excellent make-ahead dessert for future cravings or unexpected guests.
Common Questions About Magic Bars
Can I make 7 Layer Bars ahead of time?
Absolutely! These bars are fantastic for making in advance. In fact, some people find that the flavors meld and deepen beautifully after a day or two. You can store them at room temperature for a few days or in the refrigerator for up to a week. They also freeze very well, making them ideal for meal prep or future events.
What if I don’t like coconut?
No problem at all! While coconut is a traditional layer, it’s easy to omit if you’re not a fan. You can simply leave it out, or replace it with an equal amount of additional nuts, more chocolate chips, or even mini pretzels for an extra salty crunch. The versatility of this recipe means you can tailor it to your preferences.
How do I prevent my 7 Layer Bars from being too crumbly?
A crumbly crust usually means there wasn’t enough melted butter to bind the cookie crumbs, or the crust wasn’t pressed firmly enough into the pan. Ensure you use the specified amount of butter and press the crust down very tightly with the bottom of a glass or your knuckles. For the top layers, make sure they are evenly distributed, and the sweetened condensed milk covers everything to act as a proper binder.
Can I use different types of condensed milk?
It is crucial to use sweetened condensed milk for this recipe. Evaporated milk is not the same and will not provide the necessary sweetness, thickness, or binding qualities. Sweetened condensed milk is a key ingredient for the signature gooey texture of these bars.
How long do 7 Layer Bars need to cool?
It’s important to let your 7 Layer Bars cool completely before slicing, ideally for at least 2-3 hours at room temperature, or even chilling them in the refrigerator for an hour or so. This allows the sweetened condensed milk to set fully, ensuring clean, firm slices and preventing the layers from oozing out. Patience is key for the best results!
More Irresistible Dessert Bar Recipes:
- Gooey Butter Cake
- Lemon Gooey Bars
- German Chocolate Gooey Bars
- Apple Pie Bars
- Snickerdoodle Cookie Bars
- Praline Crunch Bars
We truly hope you enjoy this delightful and incredibly easy recipe for 7 Layer Bars! Don’t forget to share your creations and follow us on Facebook, Instagram, Pinterest, and YouTube for more delicious recipes and kitchen inspiration!
7 Layer Bars Recipe
These incredible 7 Layer Bars will disappear like magic! Each layer adds to the salty, sweet, crunchy, gooey, deliciousness of the final dessert.
- Prep Time: 20 mins
- Cook Time: 15 mins
- Total Time: 35 mins
- Servings: 20 bars
Pin Recipe |
Print Recipe
Ingredients
- 2 cups vanilla wafer cookie crumbs (about 80 cookies)
- 6 tablespoons salted butter, melted
- 1 1/4 cups semi-sweet chocolate chips
- 1 1/4 cups butterscotch chips
- 1 1/4 cups chopped pecans
- 2 cups sweetened shredded coconut
- 14 ounce can sweetened condensed milk
- 1/4 cup heavy cream
- 1 teaspoon sea salt
Instructions
- Preheat the oven to 350 degrees F (175 C). Spray a 9×13 inch baking dish and set it aside.
- In a medium sized bowl, stir together the cookie crumbs and the melted butter until combined. Press the mixture firmly into the bottom of the baking dish to create a crust.
- Spread the semi-sweet chocolate chips over the crust to create an even layer. Create another layer with the butterscotch chips, followed by a layer of chopped pecans, and finally a shredded coconut layer, making sure to fill in any “holes” in the layers for even distribution.
- In a separate medium sized bowl, whisk together the sweetened condensed milk, heavy cream, and salt. Pour the mixture evenly over the top of the entire 9×13 inch baking pan.
- Bake in the oven for 20-23 minutes or until bubbly and the coconut is golden brown.
- Once done baking, let cool completely on a wire rack before cutting and serving. This is crucial for clean cuts.
Tip! To get clean cuts, either lightly spray and wipe the knife blade with nonstick spray in between cutting, or dip the blade in hot water and wipe with a clean kitchen towel to dry in between cutting.
Nutrition
Calories: 353kcal | Carbohydrates: 38g | Protein: 4g | Fat: 21g | Saturated Fat: 10g | Polyunsaturated Fat: 2g | Monounsaturated Fat: 7g | Trans Fat: 1g | Cholesterol: 23mg | Sodium: 291mg | Potassium: 209mg | Fiber: 2g | Sugar: 29g | Vitamin A: 230IU | Vitamin C: 1mg | Calcium: 76mg | Iron: 1mg
Nutritional information provided is an automatic calculation and can vary based on the exact products you use and any changes you make to the recipe. If these numbers are very important to you, we recommend calculating them yourself using a trusted nutritional calculator.
Did you make this? We’d love to hear from you!
If you tried this recipe, please consider leaving a review below to help other home bakers. Your feedback is greatly appreciated!