
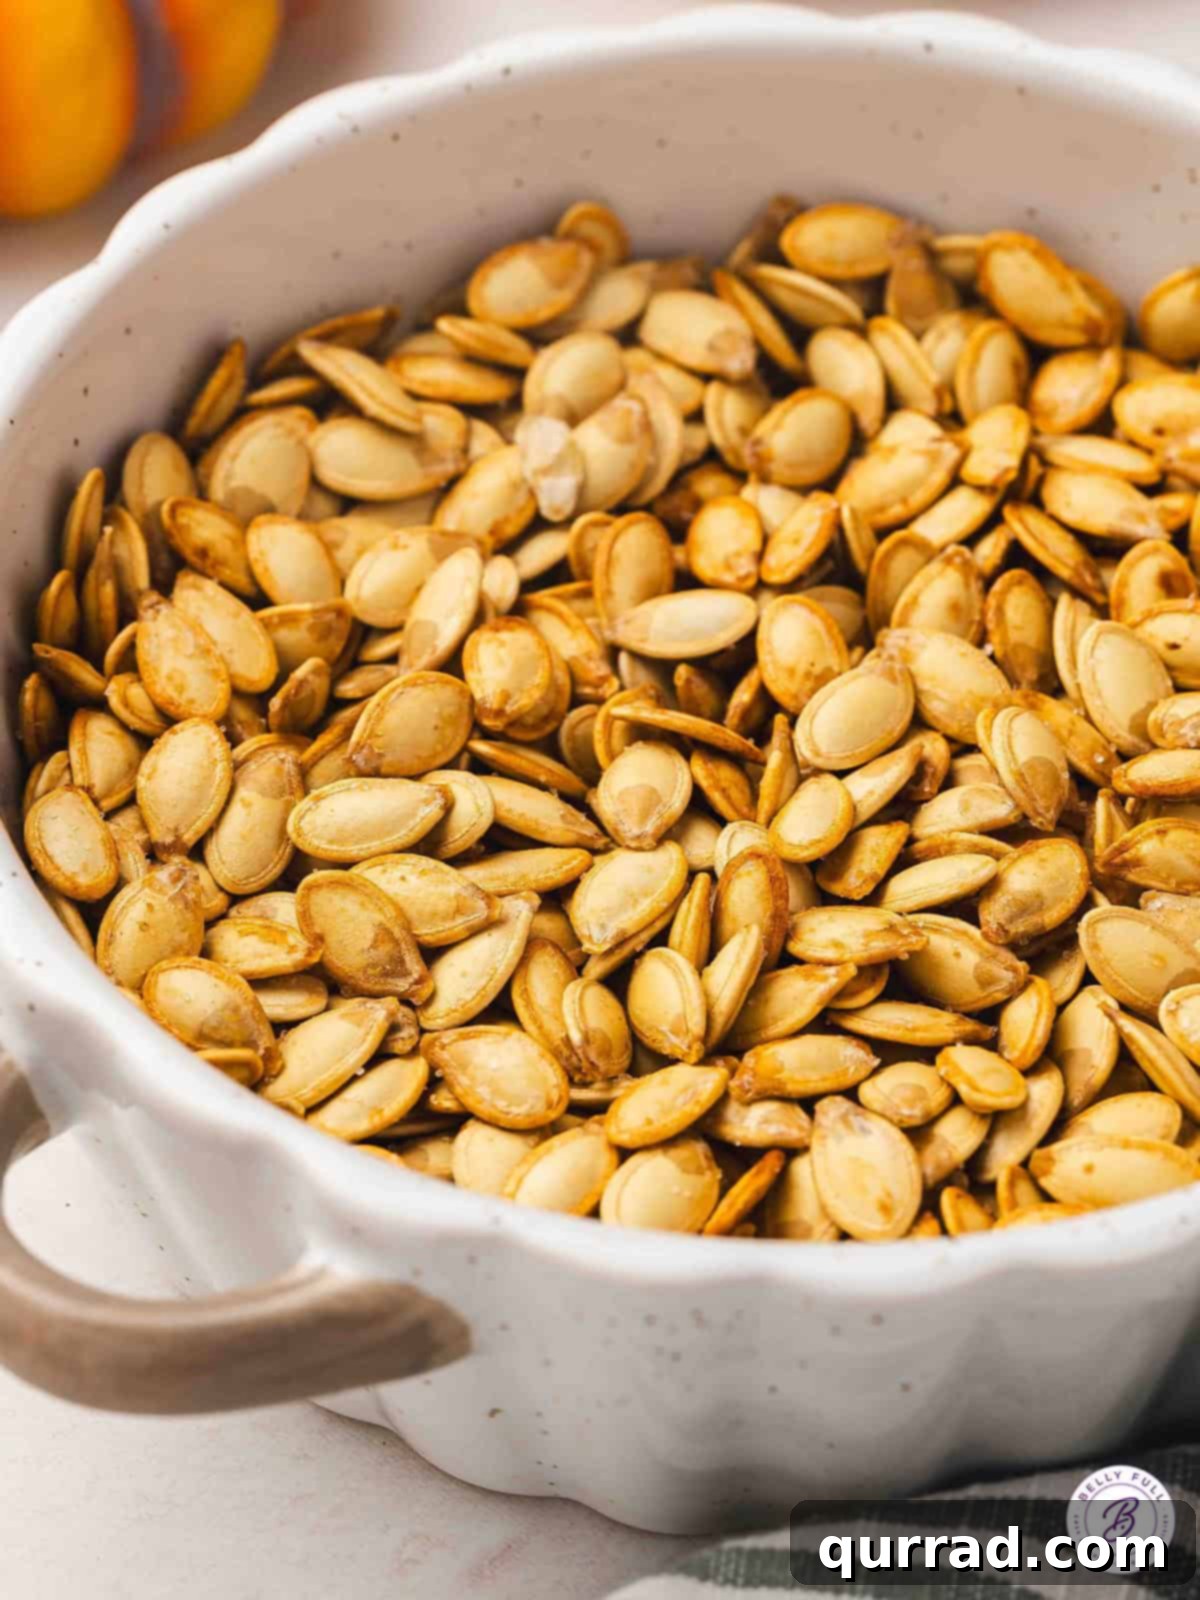
Transforming the humble pumpkin seed into a buttery, salty, and irresistibly crunchy snack is one of autumn’s simplest pleasures. After the fun of carving pumpkins for Halloween, don’t let those nutrient-rich seeds go to waste! Instead, with just a few simple steps and about 25 minutes, you can create a delightful homemade treat that’s far superior to store-bought alternatives. These roasted pumpkin seeds are not only incredibly easy to make but also endlessly customizable, allowing you to experiment with your favorite spices and flavors to create a snack perfect for any palate. Forget about tossing those pumpkin guts; embrace the opportunity to craft a wholesome, delicious, and satisfying snack that you’ll want to munch on all week long.
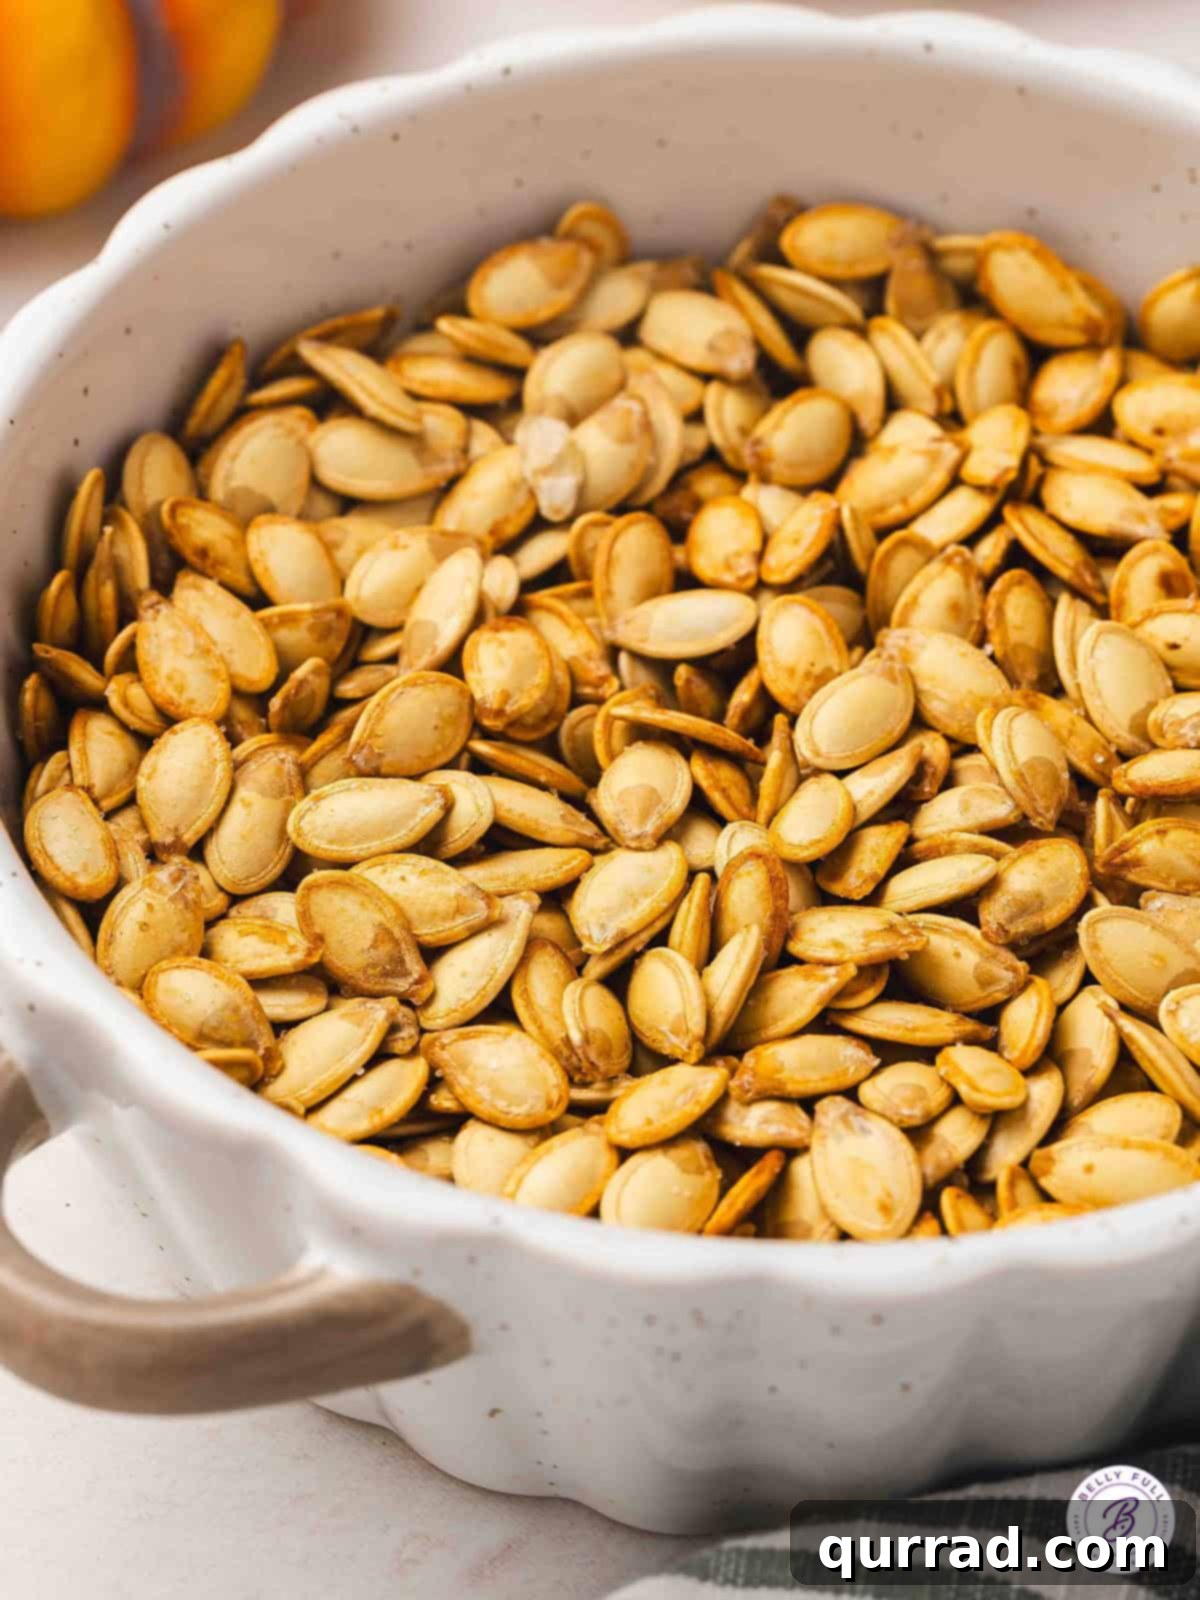
Beyond their delightful crunch and delicious taste, roasted pumpkin seeds are a powerhouse of nutrition, making them an excellent choice for a healthy snack. They are brimming with essential nutrients, including protein, dietary fiber, magnesium, zinc, and healthy fats, all of which contribute to your overall well-being. Roasting the seeds not only unlocks their inherent toasty, nutty flavor but also significantly enhances their aroma and gives them that coveted crisp texture. The secret to achieving perfectly crunchy, never chewy, pumpkin seeds lies in two key steps: thoroughly drying them before they hit the oven and stirring them frequently during the baking process to ensure even crisping. With a myriad of flavor options available, you can easily tailor these seeds to your exact preferences, making them a versatile and rewarding addition to your snack repertoire.
Why Make Your Own Roasted Pumpkin Seeds?
While you can find roasted pumpkin seeds at many grocery stores, there are numerous compelling reasons to make them yourself at home. Firstly, the fresh taste of homemade seeds is unmatched. When you roast them yourself, you control the freshness, ensuring they’re just out of the oven and perfectly seasoned. Secondly, it’s incredibly cost-effective. Pumpkins are often purchased for carving or decorative purposes, and by utilizing their seeds, you’re transforming what might otherwise be discarded into a valuable, delicious treat, minimizing food waste. Thirdly, homemade allows for complete customization. You dictate the amount of salt, the type of oil, and the blend of spices, tailoring the flavor profile precisely to your liking. This level of control is simply not possible with store-bought options, which often contain excessive sodium or undesirable additives. Finally, the process itself is simple, fun, and offers a wonderful autumnal activity, especially for families after Halloween pumpkin carving. It’s a mindful way to enjoy the seasonal bounty and create a snack that everyone will love.
The Science Behind the Perfect Crunch
Achieving that ideal, satisfying crunch in roasted pumpkin seeds isn’t just luck; it’s a result of understanding a few fundamental principles. The primary goal is to remove all moisture from the seeds without burning them. Any residual water content will steam the seeds instead of roasting them, resulting in a chewy, rather than crispy, texture. This is why thorough drying is paramount. Patting them down with a towel or even allowing them to air dry for an hour or two can make a significant difference. Once dried, spreading the seeds in a single layer on your baking sheet is crucial. Overcrowding the pan traps steam, preventing proper air circulation and even roasting, leading to some seeds being perfectly crisp while others remain soft. Regular stirring every few minutes during baking ensures that each seed is exposed to the heat evenly, promoting consistent browning and an all-around crispy texture. The moderate oven temperature of 350°F is key, allowing the seeds to dry out and toast gradually without burning the exterior before the interior is fully cooked.
Helpful Tips & Flavorful Variations
Unlock the full potential of your roasted pumpkin seeds with these essential tips and creative flavor ideas. The beauty of this snack lies in its versatility, allowing you to transform a basic recipe into a gourmet delight with simple additions.
- Dry Them Really Well: This step cannot be stressed enough. Moisture is the enemy of crispiness. After rinsing, spread your seeds on a clean kitchen towel and pat them thoroughly dry. If time permits, let them air dry for another hour or two. This extra effort guarantees that satisfying snap with every bite.
- Spread Them Out Evenly: Resist the urge to pile your pumpkin seeds onto one pan. Overlapping seeds create steam, leading to a chewy texture. Use a large, rimmed baking sheet and spread the seeds in a single, even layer. If you have a large batch, use two baking sheets and rotate them halfway through.
- Go Savory: The possibilities for savory roasted pumpkin seeds are endless. For a smoky kick, try a blend of smoked paprika and a pinch of cayenne pepper. A classic, all-purpose flavor can be achieved with garlic powder, onion powder, and your favorite dried herbs like oregano or thyme. For an earthy, aromatic twist, mix in curry powder and cumin. Nutritional yeast, combined with sea salt, offers a subtle, cheesy umami flavor that’s unexpectedly delicious. Don’t be afraid to experiment with other spices like chili powder, rosemary, or even a dash of black pepper.
- Make Them Sweet: For a cozy autumn treat, toss your seeds with cinnamon and a touch of granulated sugar or maple syrup before roasting. The sugar will caramelize slightly, adding a delightful crunch and sweetness. Once cooled, you can take them up a notch by dusting them with a mix of cocoa powder and a tiny pinch of sea salt for an indulgent chocolatey snack that balances sweet and savory notes. Consider adding a sprinkle of brown sugar for deeper molasses notes or a hint of nutmeg for extra warmth.
- Mix and Match for Culinary Adventures: Roasted pumpkin seeds aren’t just for snacking! Use them as a crunchy, flavorful topper for a variety of dishes. Sprinkle them over creamy soups (like butternut squash or tomato soup) or vibrant green salads to add texture and a nutty flavor. They make an excellent addition to yogurt parfaits, overnight oats, or a homemade granola blend. Stir them into your favorite trail mix for an easy, protein-packed boost, or even use them as a crunchy crust for chicken or fish.
Roasted Pumpkin Seeds
Recipe Summary
Crunchy, salty, and totally homemade — this roasted pumpkin seeds recipe is ready in minutes and totally customizable with your favorite seasonings.
Prep time: 10 mins | Cook time: 15 mins | Total time: 25 mins
Yields: 12 servings (approx. 12 tbsp)
Ingredients
- 1 & 1/2 cups raw pumpkin seeds
- 2 tablespoons olive oil
- 1 teaspoon coarse kosher salt
Instructions
- Preheat your oven to 350°F (175°C). Lightly grease a rimmed baking sheet with olive oil to prevent sticking and encourage even browning.
- Place the raw pumpkin seeds in a colander and rinse them thoroughly under cool running water. This step is essential for removing any remaining pumpkin pulp or stringy fibers. Once rinsed, spread them on a clean kitchen towel and pat them completely dry. Ensure there’s no visible moisture, as this prevents crisping.
- In a medium-sized bowl, combine the thoroughly dried pumpkin seeds with the olive oil and coarse kosher salt. Toss everything together until the seeds are evenly coated. This is also the stage where you can add any additional desired seasonings.
- Spread the seasoned pumpkin seeds onto the prepared baking sheet in a single, even layer. Avoid overcrowding the pan to allow for optimal air circulation and even roasting.
- Bake in the preheated oven for 12 to 15 minutes, or until the seeds are beautifully golden brown, toasted, and crunchy. Be sure to stir the seeds every 5 minutes during baking to ensure they toast evenly on all sides. Taste a seed with each stir to check for your desired level of crunchiness and doneness.
- Once roasted to perfection, carefully transfer the hot pumpkin seeds from the baking sheet to a bowl. Allow them to cool completely before serving. They will become even crispier as they cool. Enjoy your homemade, perfectly roasted pumpkin seeds!
Notes
- Stick with olive oil (or watch butter closely): Olive oil is ideal for roasting pumpkin seeds as it promotes a beautiful golden color and even crisping without burning easily. While butter can be used for a richer flavor, it has a lower smoke point and can brown much faster, so keep a very close eye on it if you choose to use it.
- Skip parchment for extra crispiness: For the crispiest results, consider baking your pumpkin seeds directly on a lightly greased metal baking sheet rather than lining it with parchment paper or aluminum foil. The direct contact with the hot metal enhances the toasting process.
- Customize your seasonings: This recipe is a fantastic base for customization. Feel free to add more seasonings to suit your taste. A popular combination includes 1/4 teaspoon each of garlic powder, onion powder, black pepper, and smoked paprika for a robust, savory profile.
- Easily double or triple the recipe: The quantity of seeds can vary greatly depending on the size of your pumpkin. This recipe can be effortlessly scaled up or down. If you have a large harvest of seeds, simply double or triple the ingredients, ensuring you use enough baking sheets to maintain a single layer for even roasting.
- Effortless pulp separation: To make the task of separating the sticky pulp from the seeds a bit easier, place the seeds and pulp in a medium-sized bowl. Fill the bowl with warm water and gently rub the seeds together between your palms. The warm water helps to loosen the stringy flesh. The clean seeds will often float to the top, allowing you to easily skim them off with a spoon. Transfer them to a colander for a final rinse before drying.
- Storage: For optimal freshness and crunch, refer to the detailed storage instructions provided below the step-by-step images in the article.
Nutrition
Nutritional information is an estimate based on average values and can vary depending on the exact products you use and any modifications made to the recipe. If precise nutritional values are crucial for your dietary needs, it’s recommended to calculate them independently using your specific ingredients.
- Serving: 1 tablespoon
- Calories: 65 kcal
- Carbohydrates: 1 g
- Protein: 2 g
- Fat: 6 g
- Saturated Fat: 1 g
- Polyunsaturated Fat: 2 g
- Monounsaturated Fat: 3 g
- Trans Fat: 0.01 g
- Sodium: 194 mg
- Potassium: 65 mg
- Fiber: 0.5 g
- Sugar: 0.1 g
- Vitamin A: 1 IU
- Vitamin C: 0.2 mg
- Calcium: 4 mg
- Iron: 1 mg
How to Make Roasted Pumpkin Seeds: A Visual Guide
Follow these simple steps, complete with visual cues, to ensure your roasted pumpkin seeds turn out perfectly crunchy and delicious every time.
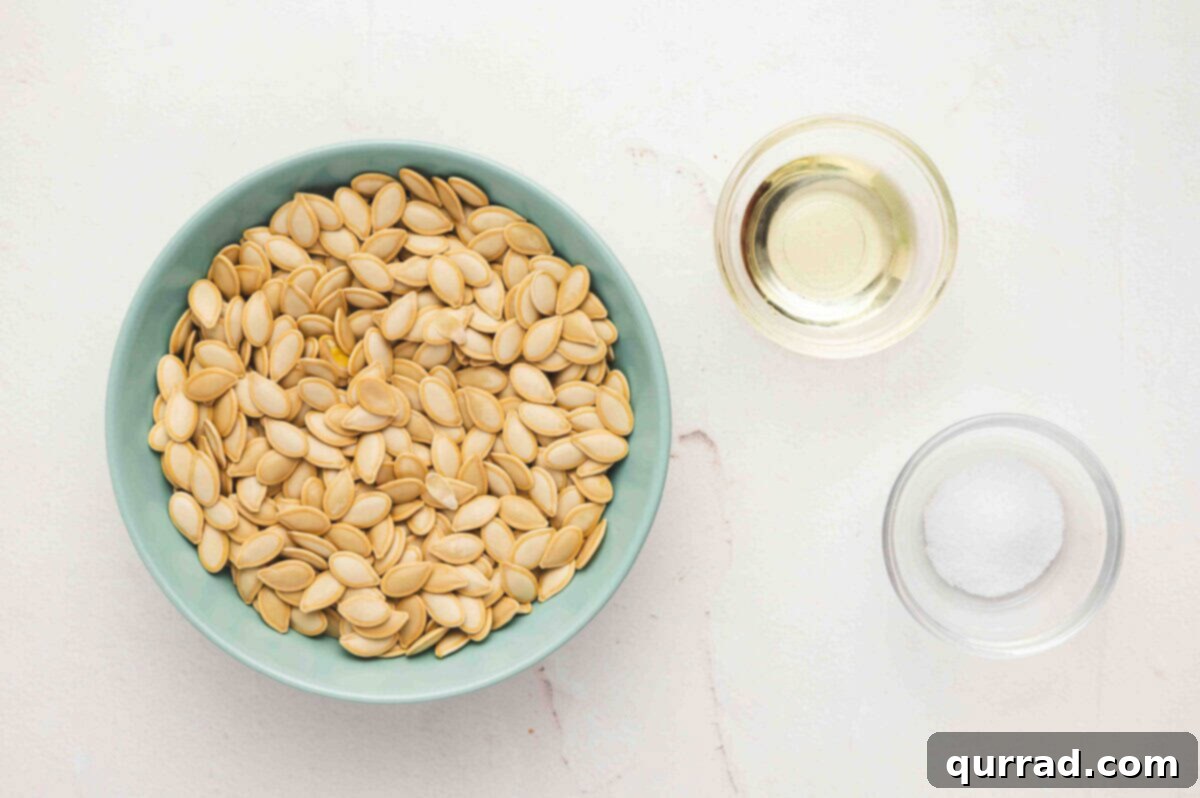
Step 1: Gather Your Ingredients and Preheat Oven. Begin by gathering all your necessary ingredients: raw pumpkin seeds, olive oil, and coarse kosher salt. Preheat your oven to a steady 350°F (175°C). While the oven heats, lightly grease a rimmed baking sheet with a small amount of olive oil. This preparation is key to preventing sticking and ensuring a golden-brown finish.
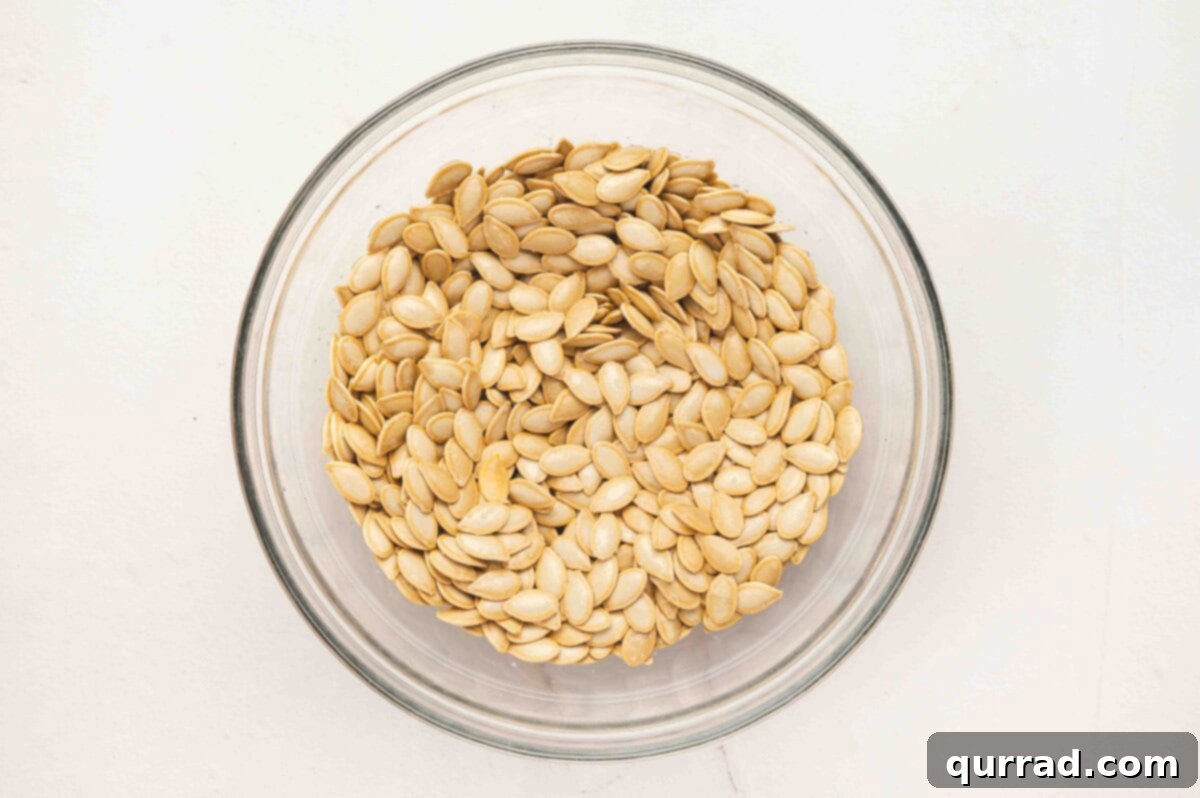
Step 2: Rinse and Thoroughly Dry the Seeds. Place approximately 1 ½ cups of raw pumpkin seeds into a colander. Rinse them under cool, running water, using your fingers to gently rub away any stubborn pumpkin pulp or stringy fibers. Once clean, spread the seeds onto a clean, absorbent kitchen towel and pat them vigorously to remove all excess moisture. This critical step ensures your seeds will crisp up beautifully in the oven.
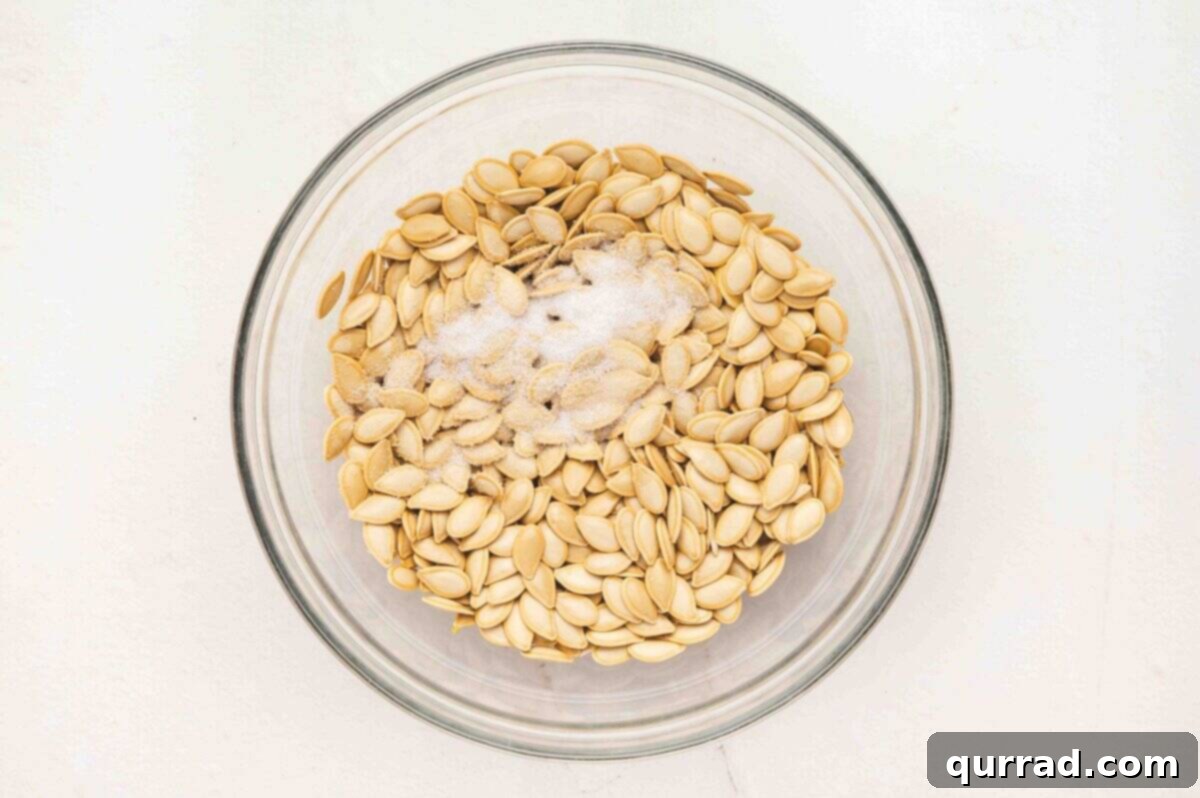
Step 3: Coat the Seeds with Oil and Seasonings. Transfer the thoroughly dried pumpkin seeds to a small mixing bowl. Add 2 tablespoons of olive oil and 1 teaspoon of coarse kosher salt. If you’re experimenting with other seasonings (like garlic powder, smoked paprika, or a sweet cinnamon-sugar mix), add them now. Toss all the ingredients together thoroughly until every single pumpkin seed is evenly coated with the oil and seasonings.
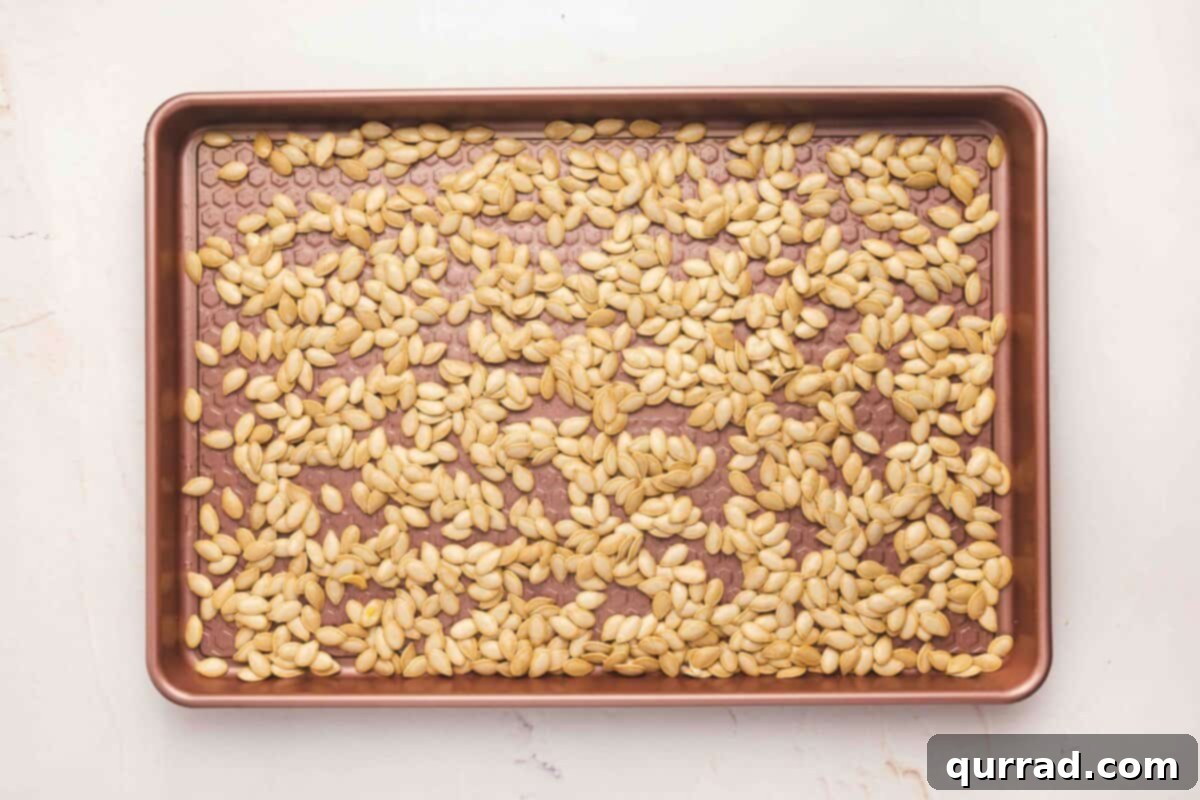
Step 4: Spread onto the Baking Sheet. Carefully spread the seasoned pumpkin seeds onto your prepared, lightly greased baking sheet. It’s vital to ensure they are arranged in a single, even layer without overlapping. This prevents steaming and guarantees that each seed gets direct heat exposure, leading to maximum crispiness.
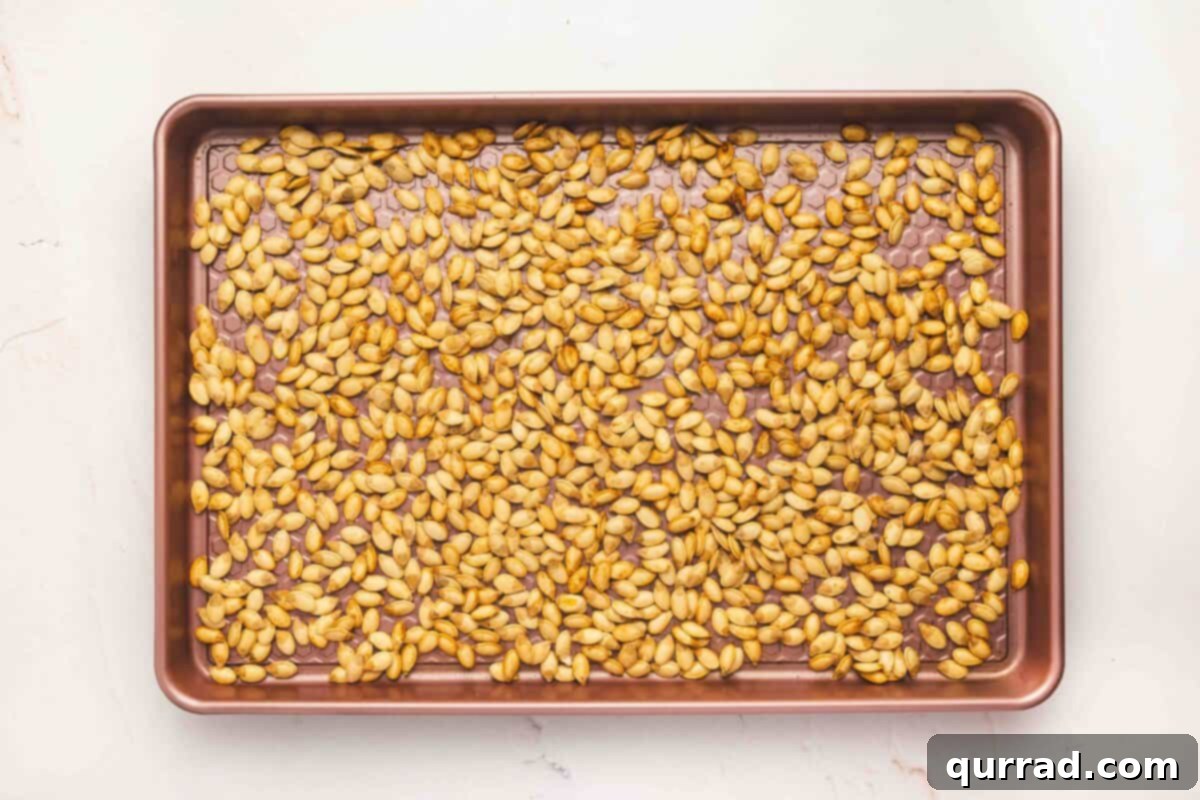
Step 5: Bake Until Golden and Crunchy. Place the baking sheet in the preheated oven. Bake the pumpkin seeds for approximately 12 to 15 minutes. To ensure consistent toasting and prevent burning, stir the seeds thoroughly every 5 minutes. With each stir, take a moment to taste a seed; this is the best way to determine if they’ve reached your desired level of crunch and doneness.
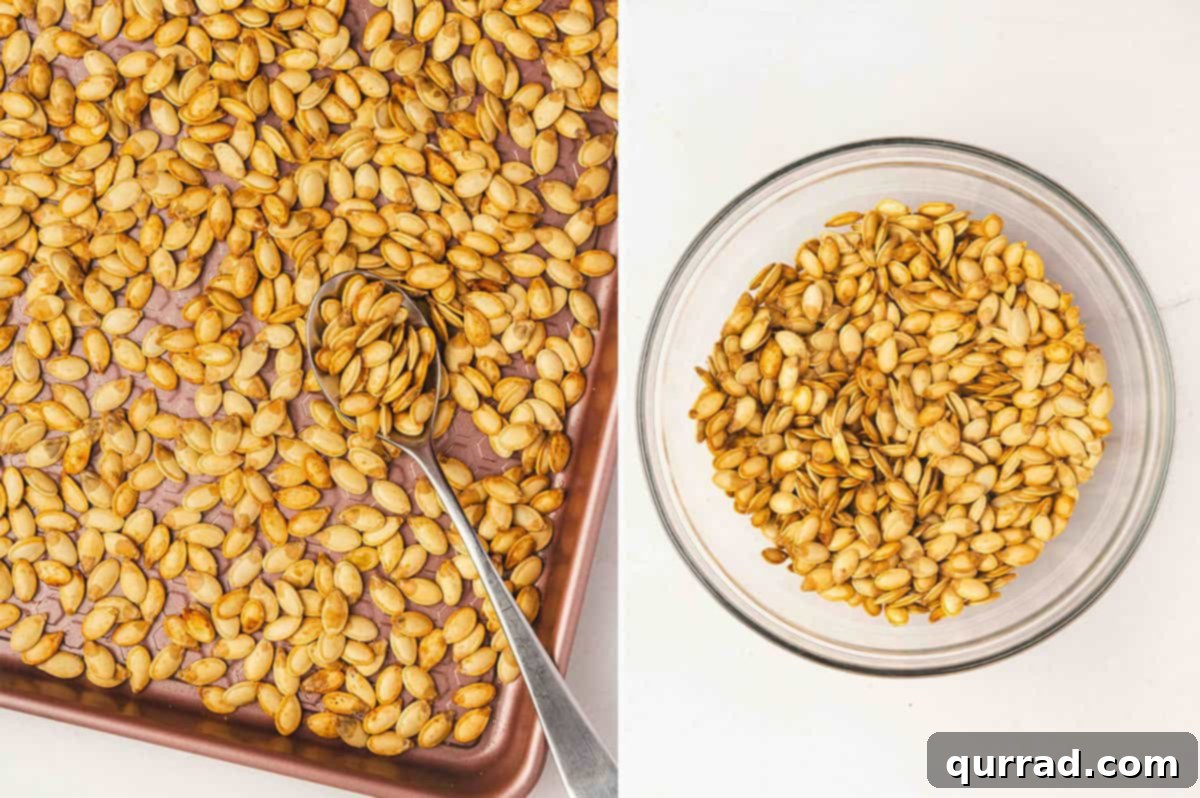
Step 6: Cool and Serve. Once your roasted pumpkin seeds are golden brown and perfectly crisp, remove the baking sheet from the oven. Immediately transfer the hot seeds to a clean bowl to cool. As they cool, they will continue to crisp up even further. They are delicious served warm, directly from the oven, or after they have completely cooled. Now, enjoy your homemade, perfectly crunchy snack!
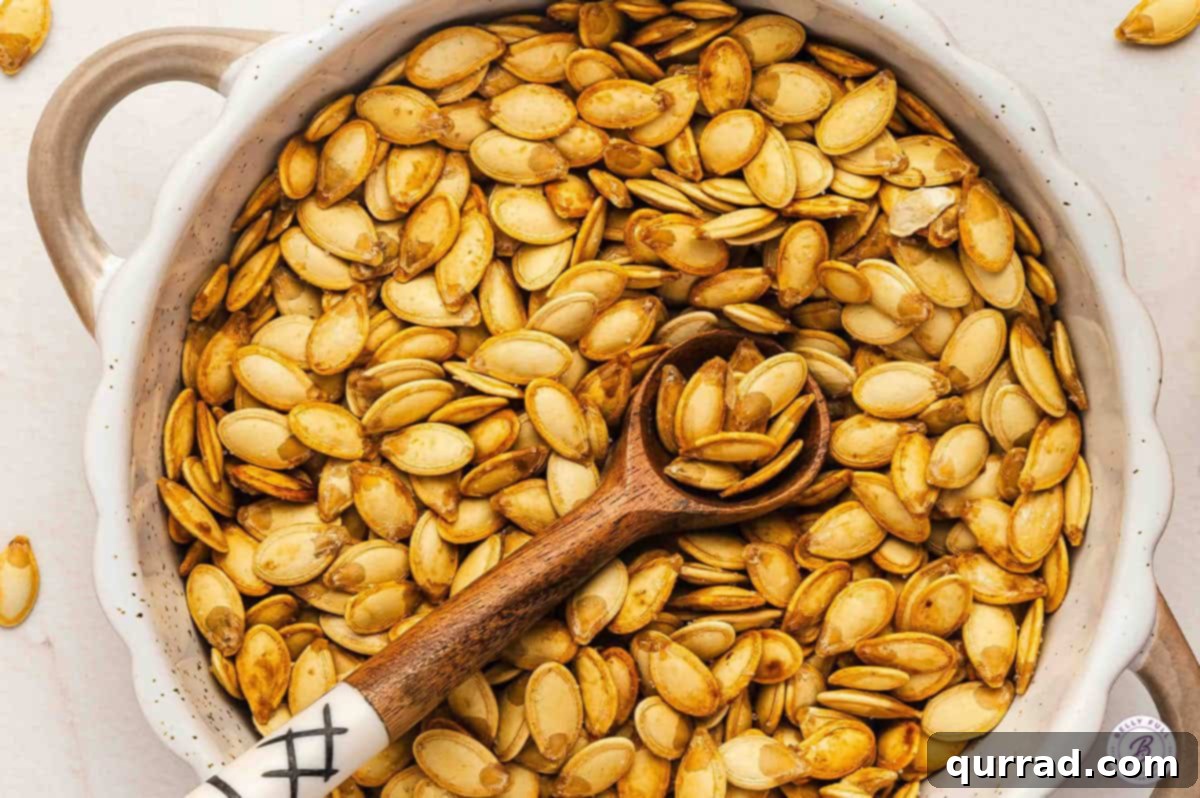
Serving Suggestions for Roasted Pumpkin Seeds
While these roasted pumpkin seeds are a stellar snack on their own, their versatility shines when incorporated into other dishes. Their satisfying crunch and nutty flavor can elevate a wide array of meals and snacks. Sprinkle them generously over creamy autumn soups, such as a rich carrot soup, a hearty tomato soup, or even a comforting butternut squash bisque. They provide a delightful textural contrast and a burst of savory depth. For salads, they’re a game-changer; toss them onto a fresh spinach apple salad or any seasonal green salad to add a salty, crunchy element that replaces traditional croutons. Beyond savory applications, they can be folded into homemade trail mix, added to your morning granola, or sprinkled over yogurt for an easy, protein-packed breakfast or snack. You can also use them as a crunchy garnish for roasted vegetables, a topping for baked goods like muffins or bread, or even crushed and used as a coating for chicken or fish. Keeping a small jar of these golden gems on your kitchen counter ensures they’re always within reach for a quick grab-and-go snack or a last-minute culinary enhancement.
How to Store Leftover Roasted Pumpkin Seeds
Proper storage is essential to maintain the crispiness and flavor of your homemade roasted pumpkin seeds. Once the seeds have fully cooled down to room temperature, transfer them to an airtight container. A glass jar with a tight-fitting lid works wonderfully, not only keeping them fresh but also making them visually appealing and easy to access. Store this container at room temperature, away from direct sunlight and humidity. When stored correctly, your roasted pumpkin seeds will remain fresh and delightfully crisp for up to 2 weeks. If, over time, you notice they’ve lost a bit of their initial crunch, don’t despair! You can easily revive them. Simply spread them back out on a baking sheet and pop them into a preheated oven at 300°F (150°C) for about 5 minutes. Keep a close eye on them to prevent burning, and they’ll emerge re-crisped and ready to enjoy once again.
More Easy Homemade Snack Recipes to Explore
If you’ve enjoyed making these roasted pumpkin seeds, you’ll love these other simple and wholesome homemade snack ideas that are perfect for any time of day:
- Homemade Granola Bars: Chewy, customizable, and far healthier than store-bought options.
- Date Balls: A naturally sweet and energy-boosting treat, perfect for a quick pick-me-up.
- Perfect Stovetop Popcorn: Forget microwave bags – learn how to make light, fluffy popcorn the old-fashioned way.
- Almond Joy Energy Bites: No-bake, easy to make, and tastes just like your favorite candy bar without the guilt.
- Roasted Chickpeas: Another wonderfully crispy, protein-packed snack that’s just as versatile as pumpkin seeds.
We hope you love this delicious and easy recipe for homemade roasted pumpkin seeds! If you try it, please consider leaving a review below to share your experience. Your feedback helps us and other home cooks. Don’t forget to follow us on TikTok, Instagram, Facebook, Pinterest, and YouTube for more delightful recipes and kitchen inspiration!