

Prepare to tantalize your taste buds with these incredibly easy Mexican Popsicles! Rich, creamy, deeply chocolatey, and kissed with a subtle spice, these homemade fudgesicles are a dessert revelation. Perfect for heating up any celebration, from Cinco de Mayo festivities to a hot summer afternoon, or simply whenever you crave a unique frozen treat.
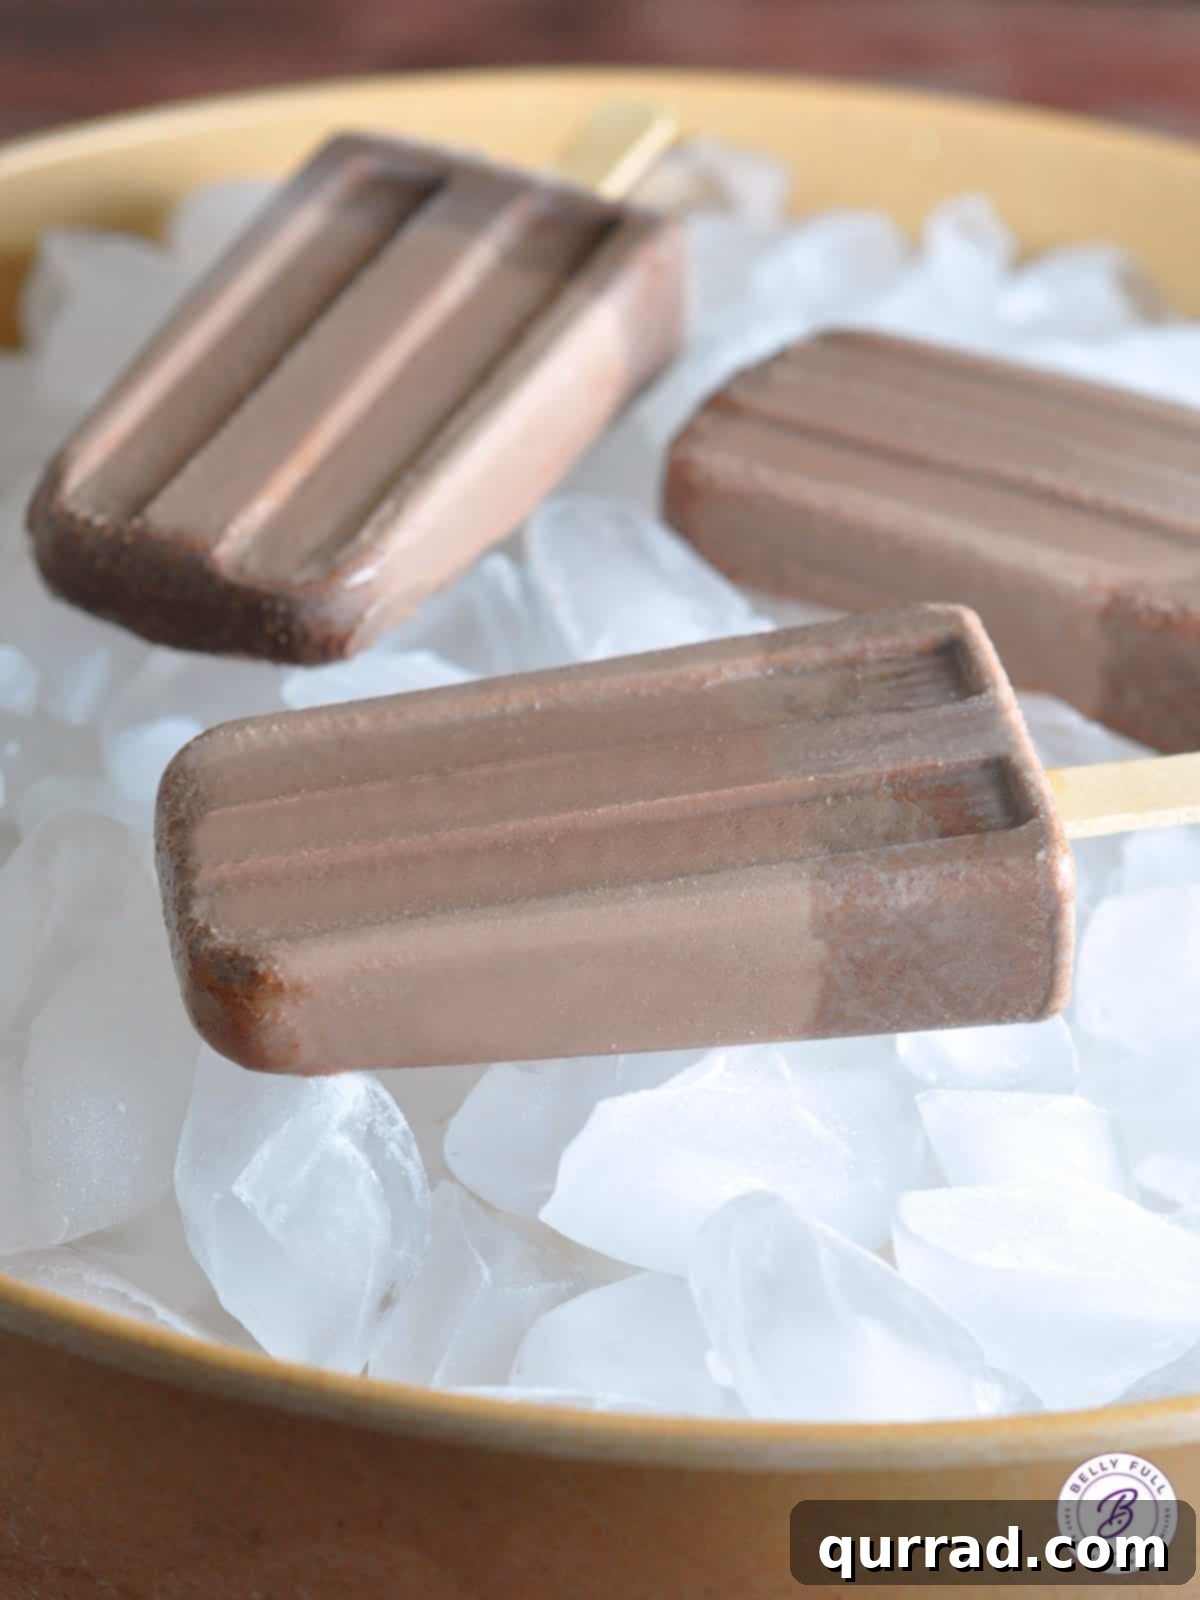
The Allure of Homemade Mexican Fudgesicles
There’s nothing quite like the refreshing joy of a homemade popsicle, especially when the temperatures soar. Living in regions where summer days regularly hit triple digits makes a frozen treat not just a luxury, but a necessity! While fruit-based popsicles are always a hit, sometimes you crave something a little more decadent, a little more adventurous. Enter the Mexican Fudgesicle.
These aren’t your average chocolate pops. These easy Mexican Popsicles are a masterful blend of rich, creamy chocolate, subtly warmed with aromatic cinnamon, and finished with a surprising, yet delightful, kick of cayenne pepper. The unique combination delivers a complex flavor profile that will have your lips tingling and your senses awakened. It’s an experience that transcends a simple dessert, offering a taste of Mexican culinary tradition in a wonderfully cool and refreshing format.
Making popsicles at home is surprisingly simple, requiring just a quality popsicle mold, a handful of carefully selected ingredients, and a bit of patience for freezing. The effort is minimal, but the reward is immense: a batch of creamy, chocolatey, and gently spiced fudgesicles that are far superior to anything you’d buy at the store. You control the quality of ingredients, the level of sweetness, and, most importantly, the intensity of that captivating spicy warmth. It’s a fun, family-friendly activity that culminates in a truly special dessert.
What Makes Mexican Chocolate So Special?
At the heart of these extraordinary fudgesicles is Mexican chocolate, an ingredient that sets them apart from conventional chocolate desserts. Unlike the smooth, often intensely sweet chocolate many are accustomed to, Mexican chocolate boasts a rich history and a distinctive character. Traditionally, it’s made from coarsely ground cacao beans, sugar, and a generous amount of cinnamon. Sometimes, other spices like vanilla or even a hint of chili are incorporated, creating a captivating blend of sweet, spice, and earthiness.
The texture of Mexican chocolate is typically more rustic and granular than its European counterparts, reflecting its traditional preparation methods. This slightly coarser grind means it melts a bit slower, gradually releasing its complex aromas and flavors. The prominent cinnamon notes are what truly define its flavor, providing a warm, inviting backdrop to the deep chocolate. When used in these popsicles, Mexican chocolate imparts an unparalleled depth and an authentic, subtly spiced essence that is utterly wonderful.
It’s important to seek out Mexican chocolate in disk or block form, rather than powder, to ensure you capture its authentic texture and flavor. Coarsely chopping these disks allows them to melt down beautifully, integrating seamlessly into the creamy base of the fudgesicles. This unique chocolate is more than just an ingredient; it’s a taste of tradition that elevates these popsicles into something truly memorable.
The Perfect Blend: Key Ingredients for Spicy Chocolate Fudgesicles
Crafting these delectable Mexican popsicles requires just a few key ingredients, each playing a crucial role in achieving that perfect balance of creamy, chocolatey, and spicy goodness. Simplicity is key, but quality makes all the difference.
- Mexican Chocolate Disks: As mentioned, this is the star of the show. Its distinctive spiced flavor, primarily from cinnamon, is what gives these popsicles their signature taste. Ensure you buy it in solid disk or block form, not powder, and coarsely chop it to aid melting. If authentic Mexican chocolate is unavailable, a high-quality semi-sweet chocolate bar with added cinnamon can be a suitable substitute.
- Brown Sugar: This isn’t just for sweetness; brown sugar contributes a lovely molasses note that adds depth and warmth to the chocolate flavor. It complements the spices beautifully, creating a richer, more nuanced sweetness compared to granulated white sugar.
- Cayenne Pepper: The secret ingredient that brings the “Mexican” heat! Just a small amount creates a subtle tingle on the lips, enhancing the chocolate without overpowering it. It’s a gentle warmth that makes the fudgesicles incredibly addictive. Don’t be afraid to adjust the amount to your preferred spice level, or omit it entirely if you prefer a non-spicy chocolate treat.
- Half-n-half: This dairy product, which is simply equal parts heavy cream and whole milk, provides the essential creaminess and richness that makes these fudgesicles so luxurious. It ensures a smooth, velvety texture when frozen. For a richer popsicle, you could use full heavy cream, or for a slightly lighter version, whole milk could work, though it may result in a less creamy texture. Dairy-free alternatives like full-fat coconut milk or almond milk can also be explored for those with dietary restrictions, though they will alter the flavor profile.
These four core ingredients, when combined with care, create a symphony of flavors that is both comforting and exciting. The beauty lies in their simplicity and the unique character they collectively impart to this frozen delight.
Essential Equipment for Popsicle Perfection
While the recipe itself is straightforward, having the right tools can make the process of crafting your homemade Mexican Fudgesicles even more enjoyable and ensure perfect results every time. You don’t need a gourmet kitchen full of gadgets, but a few key items are invaluable.
- Popsicle Molds: This is, of course, the most crucial piece of equipment. Standard bar-shaped molds, often holding about 1/3 cup each, are commonly used for this recipe. Molds come in various materials, including silicone, plastic, and stainless steel. Silicone molds are popular for their flexibility, making popsicles easy to unmold. Plastic molds are durable and often come with reusable sticks. Stainless steel molds are a more eco-friendly option, though they can be pricier. Consider a mold with individual compartments to prevent popsicles from sticking together during freezing, and ensure it comes with sticks or has slots for them.
- Double Boiler Setup: This gentle melting method is key for working with chocolate. A double boiler prevents the chocolate from scorching or seizing, ensuring a smooth, luscious mixture. You can easily create one by placing a medium heatproof glass bowl over a small pot of simmering water. The steam from the simmering water gently heats the bowl, melting the chocolate indirectly. Make sure the bottom of the bowl does not touch the water.
- Whisk or Spatula: For stirring the chocolate and other ingredients until smooth and well combined. A silicone spatula is excellent for scraping down the sides of the bowl, ensuring no precious chocolate is left behind.
- Measuring Cups and Spoons: Accurate measurements are vital for the perfect balance of flavors and textures in your fudgesicles.
- Liquid Measuring Cup with a Spout: A measuring cup with a spout will make pouring the liquid mixture into the popsicle molds much easier and neater, minimizing spills and mess.
- Freezer-Safe Plastic Bags or Airtight Container: For storing any uneaten popsicles, keeping them fresh and free from freezer burn.
With these essential tools at hand, you’re well-prepared to embark on your Mexican popsicle-making adventure, ensuring a smooth process from start to finish.
Crafting Your Mexican Chocolate Popsicles: Step-by-Step Guide
Making these rich and spicy chocolate popsicles is a surprisingly simple and rewarding process. Follow these detailed steps to achieve perfect, creamy results every time.
- Step 1: Gentle Melting with a Double Boiler. Begin by setting up your double boiler. Fill a small pot with about an inch or two of water and bring it to a gentle simmer over medium heat. Place a medium heatproof glass bowl over the pot, ensuring the bottom of the bowl does not touch the simmering water. Add your coarsely chopped Mexican chocolate and the half-n-half to the bowl. Stir slowly and constantly with a whisk or spatula. The goal is a gradual, even melt, which will prevent the chocolate from seizing or becoming grainy. Continue stirring until the chocolate is completely melted and the mixture is smooth and uniform.
- Step 2: Infusing Flavor and Cooling. Once the chocolate mixture is perfectly smooth, carefully remove the bowl from the heat. Stir in the brown sugar and cayenne pepper. Continue to stir until the sugar is fully dissolved and the spices are evenly incorporated. The mixture should be wonderfully glossy and inviting. Allow the mixture to cool slightly at room temperature. This step is important; pouring very hot liquid into plastic molds can sometimes cause issues, and slightly cooling it helps to prevent the sticks from sinking too deep or leaning when added later.
- Step 3: Filling the Molds. Carefully pour the cooled liquid chocolate mixture into your chosen popsicle molds. If using a mold with a narrow opening, a liquid measuring cup with a spout can be very helpful for a clean pour. Fill each mold to just below the fill line or about 1/4 inch from the top to allow for expansion during freezing. Avoid overfilling.
- Step 4: The Freezing Process. Transfer the filled molds to the freezer for an initial freeze of 60-90 minutes. This partial freeze allows the mixture to firm up enough to hold the popsicle sticks upright. After this initial freeze, insert the popsicle sticks into the center of each semi-frozen popsicle. Push them down about two-thirds of the way. Then, return the molds to the freezer and continue to freeze for at least another 5 hours, or preferably overnight, to ensure they are completely solid.
- Step 5: Effortless Release & Enjoyment. To remove your perfectly frozen fudgesicles from their molds, run hot water over the outsides of the molds for just a few seconds. Be careful not to let water get into the popsicle itself. This brief warmth will slightly loosen the popsicle from the mold. Gently pull the sticks to release your homemade Mexican Popsicles. If they don’t come out easily, run them under hot water for a few more seconds. Serve immediately and savor the rich, creamy, chocolatey, and subtly spicy delight!
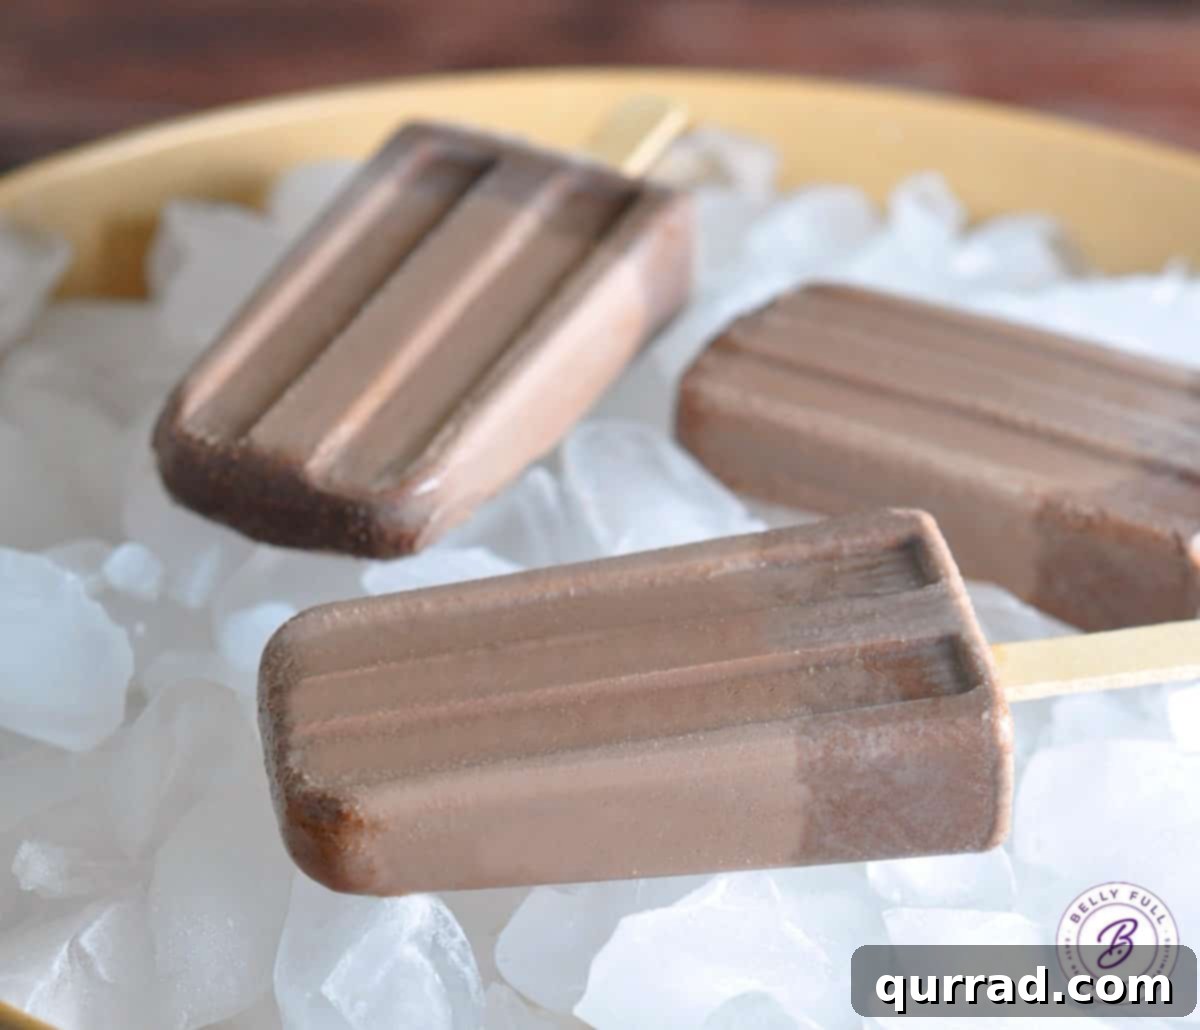
Pro Tips for the Best Mexican Fudgesicles
Achieving popsicle perfection is easy, but a few expert tips can elevate your Mexican Fudgesicles from good to truly exceptional. These insights will help you customize the recipe and troubleshoot any potential challenges.
- Substituting Mexican Chocolate: If you’re unable to find authentic Mexican chocolate disks, don’t despair! You can still create a fantastic version of these fudgesicles. Simply use a good quality semi-sweet chocolate bar (or even dark chocolate for a less sweet, more intense flavor) and add about 1/2 to 1 teaspoon of ground cinnamon to the mixture along with the brown sugar and cayenne. Taste and adjust the cinnamon to your liking. A tiny pinch of ground chili powder (like ancho or chipotle) could also be added for a more complex spice profile if you’re feeling adventurous.
- Customizing the Spice Level: The beauty of homemade treats is the ability to tailor them to your preference. We love the subtle, warming heat that 1/8 to 1/4 teaspoon of cayenne pepper lends to these fudgesicles. It’s enough to create a delightful tingle without being overtly spicy. If you’re sensitive to heat or making these for children, feel free to reduce the cayenne to a mere pinch or omit it entirely. You’ll still have a wonderfully rich and creamy chocolate popsicle with a hint of cinnamon. Conversely, if you crave more fire, you can gradually increase the cayenne, but do so carefully and taste as you go!
- Popsicle Molds Matter: This recipe was developed using a standard bar-shaped popsicle mold, with each cavity holding approximately 1/3 cup of liquid. If your molds are significantly larger or smaller, you might need to adjust the ingredient quantities accordingly. For larger molds, you may need to increase the recipe by 1.5 or 2 times. For smaller, fun-shaped molds, you might find you have extra mixture. Ensure your molds have lids or a way to hold the sticks straight as they freeze.
- Preventing Ice Crystals: For the creamiest fudgesicles, ensure the mixture is thoroughly combined and allow it to cool slightly before pouring into molds. Rapid freezing helps minimize ice crystal formation. Once fully frozen, store them in an airtight container or freezer bag to protect against freezer burn and maintain their smooth texture.
- For an Extra Boost of Flavor: Consider adding a splash of vanilla extract (about 1/2 teaspoon) to the chocolate mixture after it’s melted and off the heat. Vanilla enhances chocolate’s natural flavors beautifully. You could also experiment with a tiny bit of orange zest for a bright, aromatic twist that pairs wonderfully with chocolate and cinnamon.
With these tips, you’re empowered to create a batch of Mexican Fudgesicles that are perfectly suited to your taste and guarantee a delightful frozen experience.
Storing Your Delicious Frozen Treats
Once your Mexican Popsicles are perfectly frozen and released from their molds, proper storage is key to maintaining their delicious flavor and creamy texture. These homemade treats can be enjoyed for an extended period if kept correctly.
Any fudgesicles not immediately eaten need to remain in the freezer to prevent melting and spoilage. You have a couple of excellent options for storage:
- In the Molds: If your molds have individual lids or covers, you can simply keep the popsicles in their molds. This is convenient if you plan to eat them within a few days.
- Transfer to Freezer-Safe Bags or Containers: For longer storage, or to free up your molds for another batch, it’s best to remove the popsicles from their molds once fully frozen. Wrap each popsicle individually in plastic wrap or parchment paper to prevent them from sticking together and to minimize freezer burn. Then, transfer the wrapped popsicles to a large freezer-safe plastic bag or an airtight container. This method offers the best protection against ice crystals and flavor absorption from other freezer items.
Stored correctly, your Mexican Fudgesicles will maintain their quality and deliciousness for 1 to 2 months. Beyond this period, they might still be safe to eat, but their texture and flavor might start to degrade due to freezer burn. Always check for any off-flavors or excessive ice crystals before enjoying older frozen treats.
Why You’ll Love These Mexican Popsicles
These Mexican Popsicles are more than just a sweet dessert; they’re an experience that delivers on multiple fronts. Here’s why they are sure to become a new favorite:
- Unique Flavor Profile: The combination of rich chocolate, warm cinnamon, and a hint of cayenne pepper creates a flavor that is both exotic and comforting. It’s a delightful departure from typical chocolate treats.
- Perfectly Refreshing: On a hot day, there’s nothing better than a cold, creamy popsicle. These fudgesicles are incredibly refreshing, offering a cooling sensation with a surprising spicy twist that truly awakens the palate.
- Easy to Make: Despite their sophisticated taste, these popsicles are remarkably simple to prepare. With just a few ingredients and straightforward steps, even novice cooks can achieve impressive results.
- Versatile for Any Occasion: While they shine during summer and Cinco de Mayo celebrations, their unique appeal makes them suitable for any time you desire a special dessert. They’re equally at home at a backyard barbecue or as a unique after-dinner indulgence.
- Homemade Goodness: Making them yourself means you control the ingredients, ensuring a healthier and more personalized treat. Plus, there’s an undeniable satisfaction in crafting something so delicious from scratch.
Indulge in the rich, creamy, and subtly spicy delight of these Mexican Fudgesicles. They’re a dessert that truly stands out!
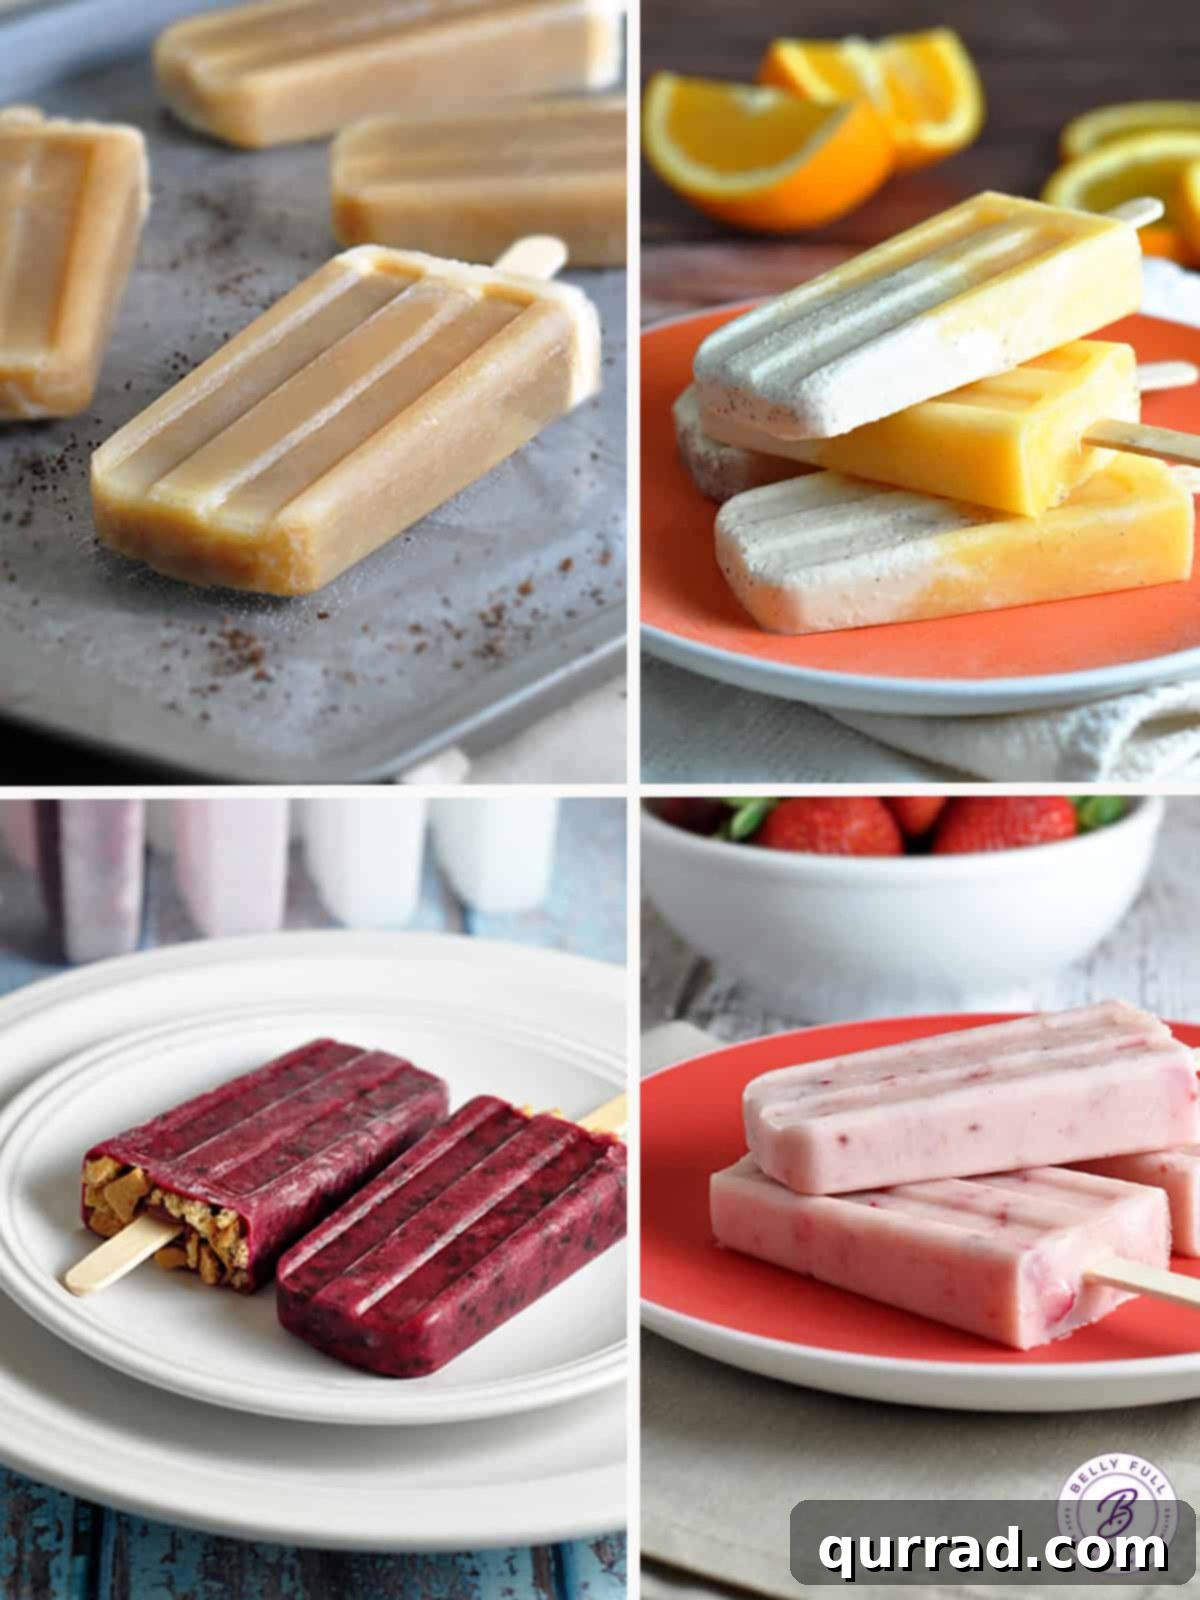
Discover More Frozen Delights
If you’ve fallen in love with the joy of homemade popsicles, there are countless other delicious frozen treats waiting to be discovered. Expand your frozen dessert repertoire with these delightful recipes:
- Root Beer Float Pops
- Orange Creamsicles
- Blackberry Cheesecake Pops
- Strawberry Jam Pops
We hope you enjoy this delicious and easy recipe! Be sure to share your creations and experiences.
Mexican Popsicles
15
mins
6
hrs
6
hrs
15
mins
6
popsicles
Ingredients
-
3/4
cup
chopped Mexican chocolate,
(see notes) -
2
cups
half-n-half -
2
tablespoons
brown sugar -
1/8-1/4
teaspoon
cayenne pepper
Instructions
-
Set up a double boiler by placing a medium heatproof glass bowl over a small pot of simmering water. Add chopped chocolate and half-n-half and stir slowly and constantly until melted.
-
Remove bowl from the heat and stir in the brown sugar and cayenne; stir until combined and smooth. Let cool slightly.
-
Carefully pour the liquid mixture into popsicle molds.
-
Transfer molds to the freezer for 60-90 minutes, place sticks in the molds, and continue to freeze for at least another 5 hours.
-
To remove pops, run hot water over the outsides of the molds for a few seconds, then gently pull the sticks.
Notes
Use semi-sweet chocolate. If you can’t find a bar of Mexican Chocolate, use semi-sweet chocolate instead and add in some cinnamon to the mix.
Skip the cayenne. We love the subtle heat that cayenne lends to these fudgesicles, but if the cayenne scares you, just leave it out. You’ll still have a really good frozen chocolate treat!
Popsicle molds. This popsicle recipe was created using a standard bar-shaped mold, each holding about 1/3 cup. If you are using a different mold, you might need to adjust the ingredients.
Nutrition
Calories:
291
kcal
|
Carbohydrates:
23
g
|
Protein:
4
g
|
Fat:
20
g
|
Saturated Fat:
12
g
|
Cholesterol:
31
mg
|
Sodium:
37
mg
|
Potassium:
272
mg
|
Fiber:
2
g
|
Sugar:
14
g
|
Vitamin A:
320
IU
|
Vitamin C:
0.7
mg
|
Calcium:
106
mg
|
Iron:
1.9
mg
Nutritional information given is an automatic calculation and can vary based on the exact products you use and any changes you make to the recipe. If these numbers are very important to you, I would recommend calculating them yourself.
Did you make this? Leave a rating below!