
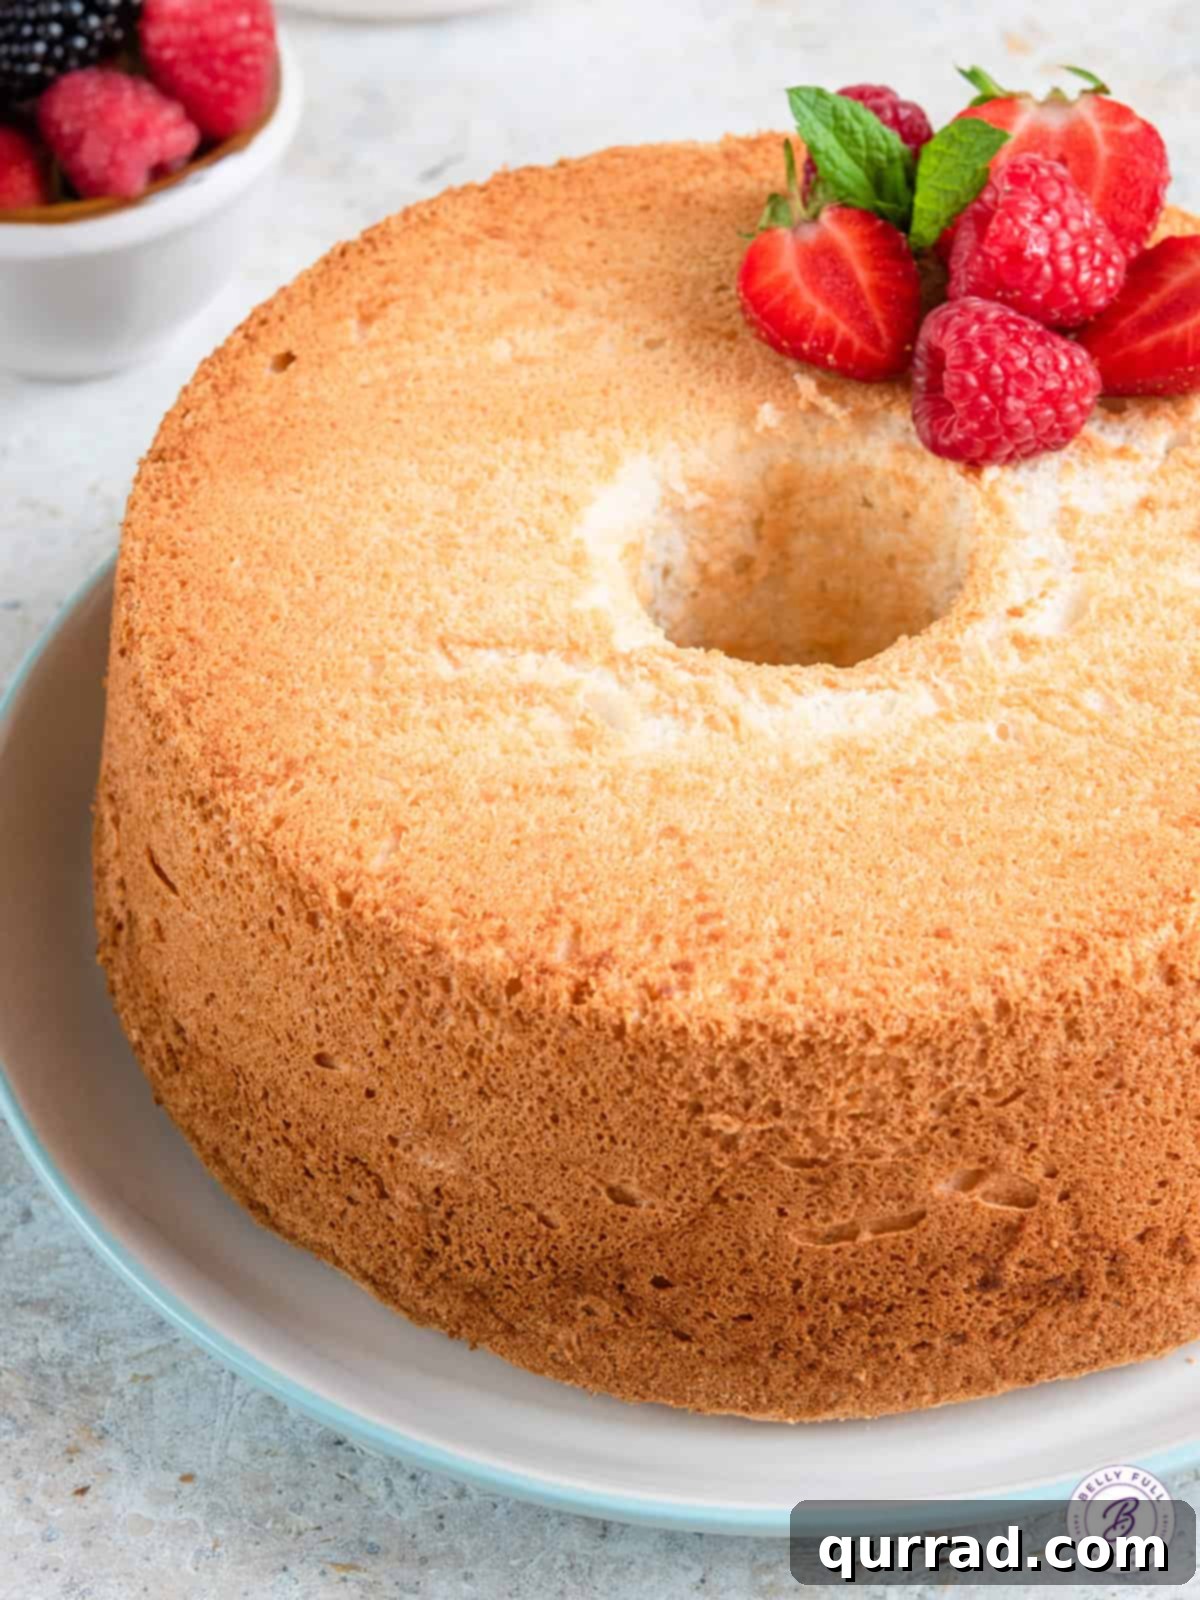
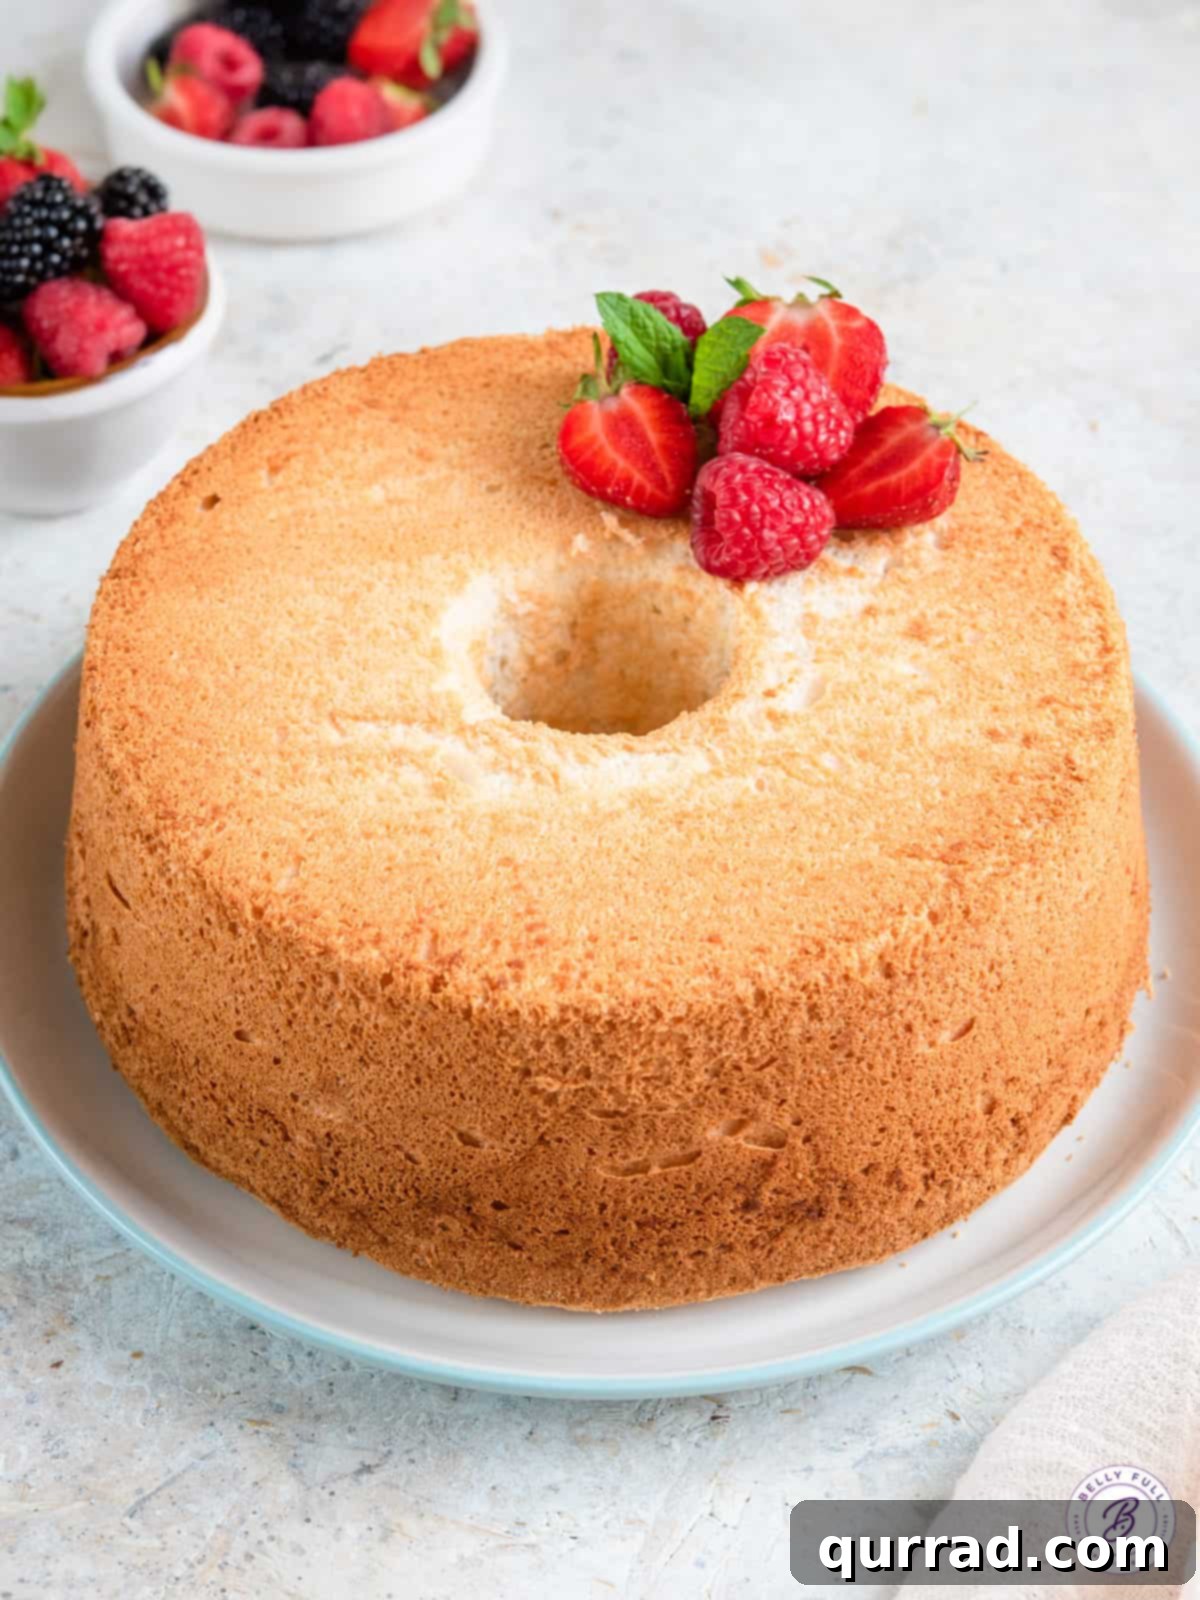
Welcome to the ultimate guide for creating the most delightful Angel Food Cake recipe you’ll ever bake. This isn’t just any cake; it’s a culinary masterpiece known for its ethereal lightness and delicate sweetness, designed to melt in your mouth with every cloud-like bite. Often perceived as complex, this homemade Angel Food Cake is surprisingly straightforward to prepare from scratch. Whether you prefer it simply elegant or adorned with your favorite toppings, its exceptional taste and remarkable texture will undoubtedly impress, proving that sometimes, the simplest things are truly the most extraordinary.
Unlocking the Secrets of Easy Angel Food Cake
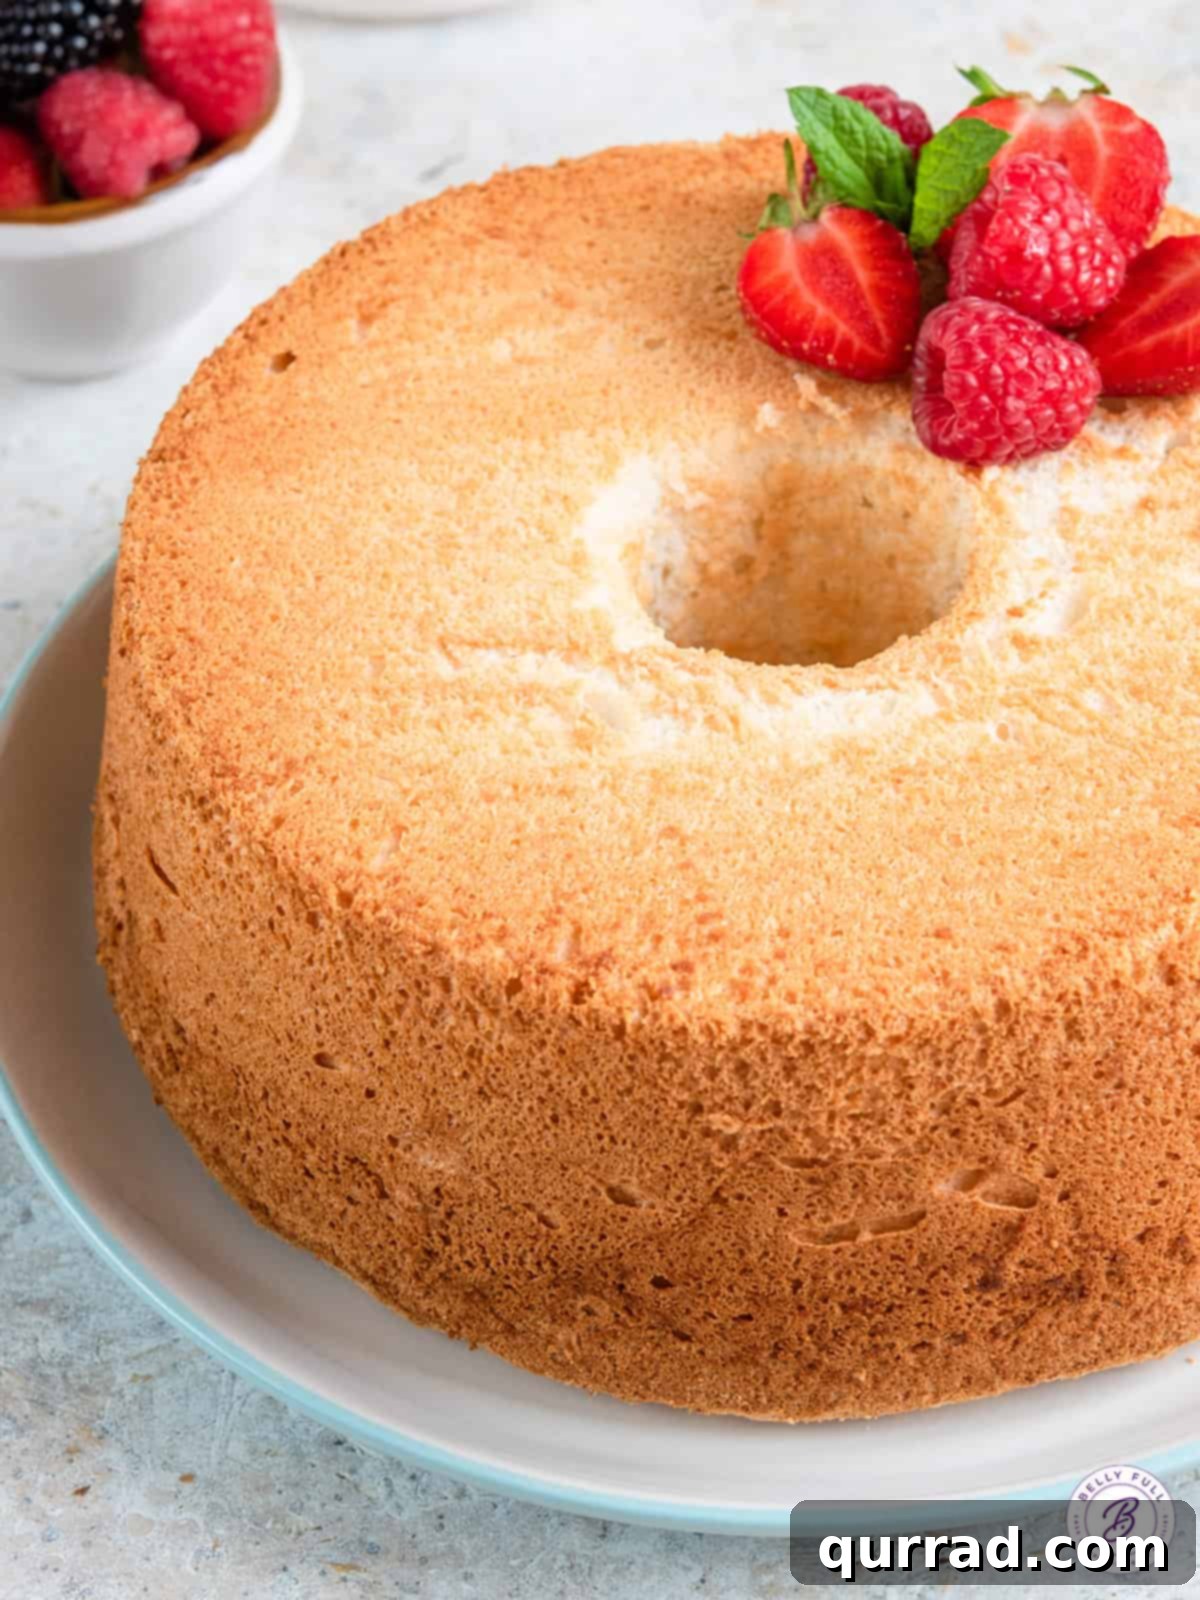
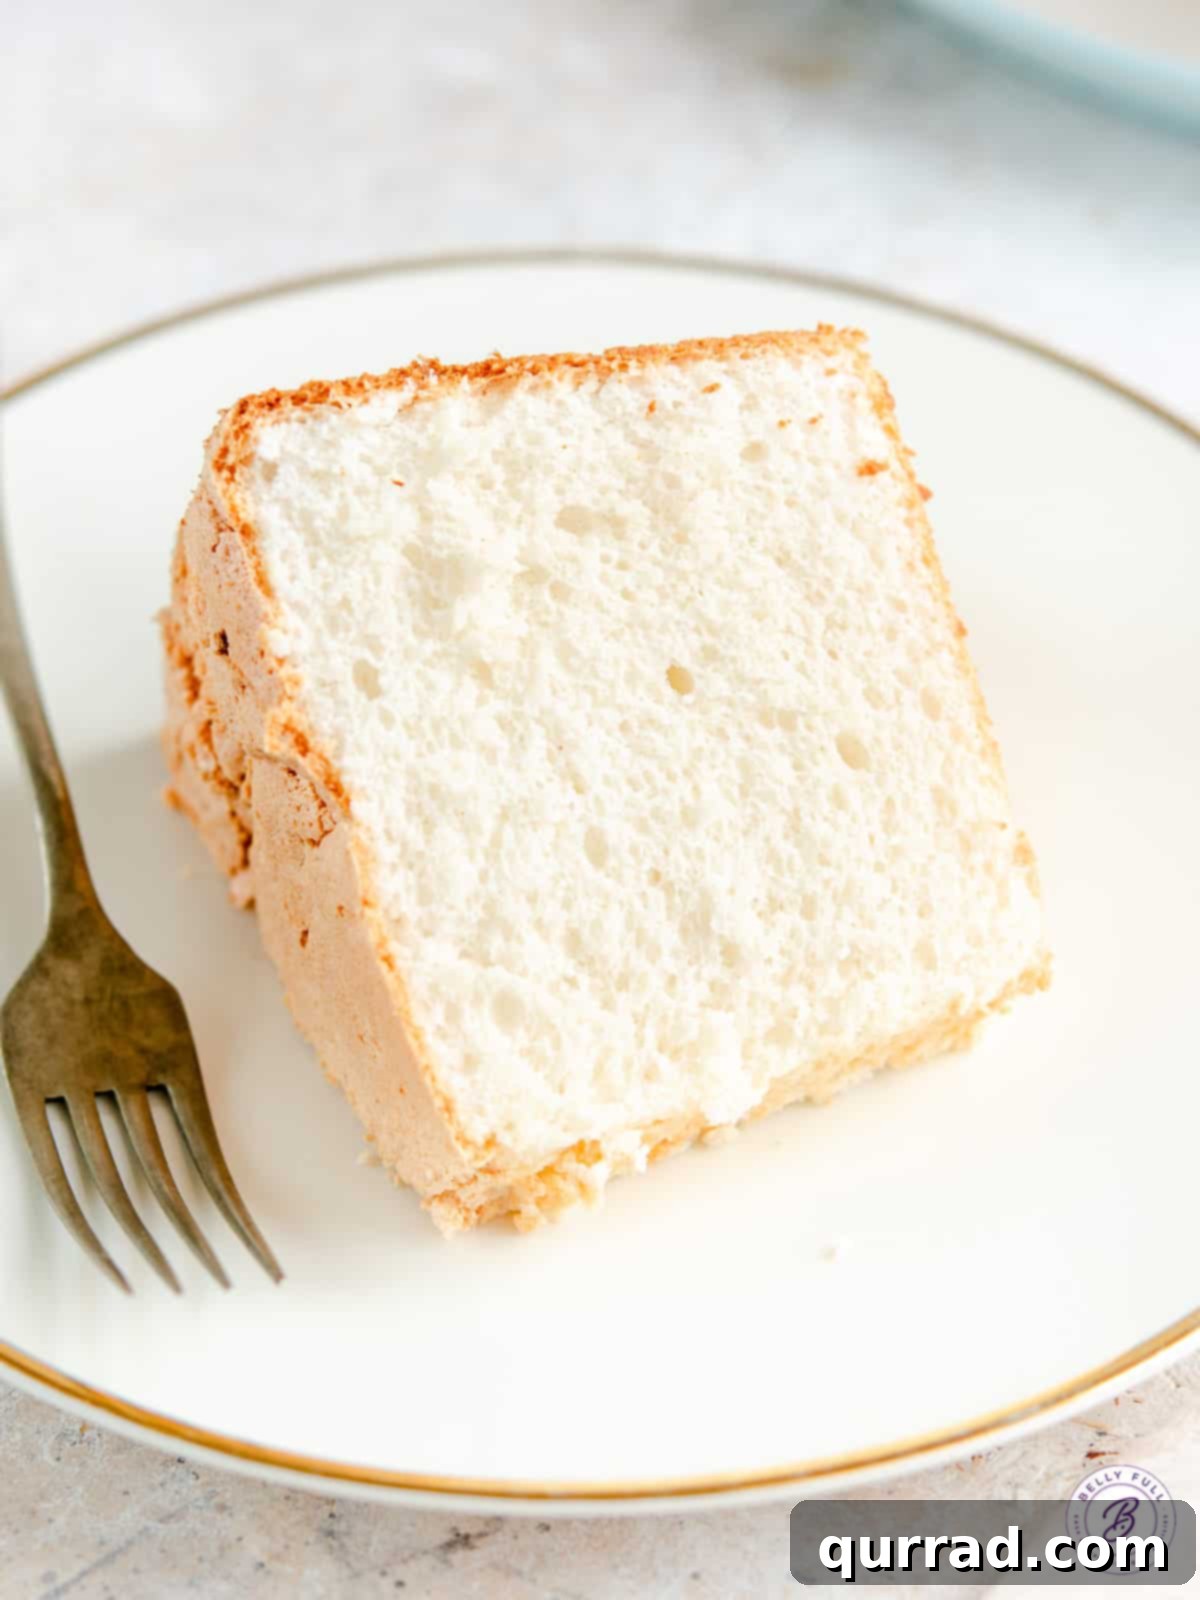
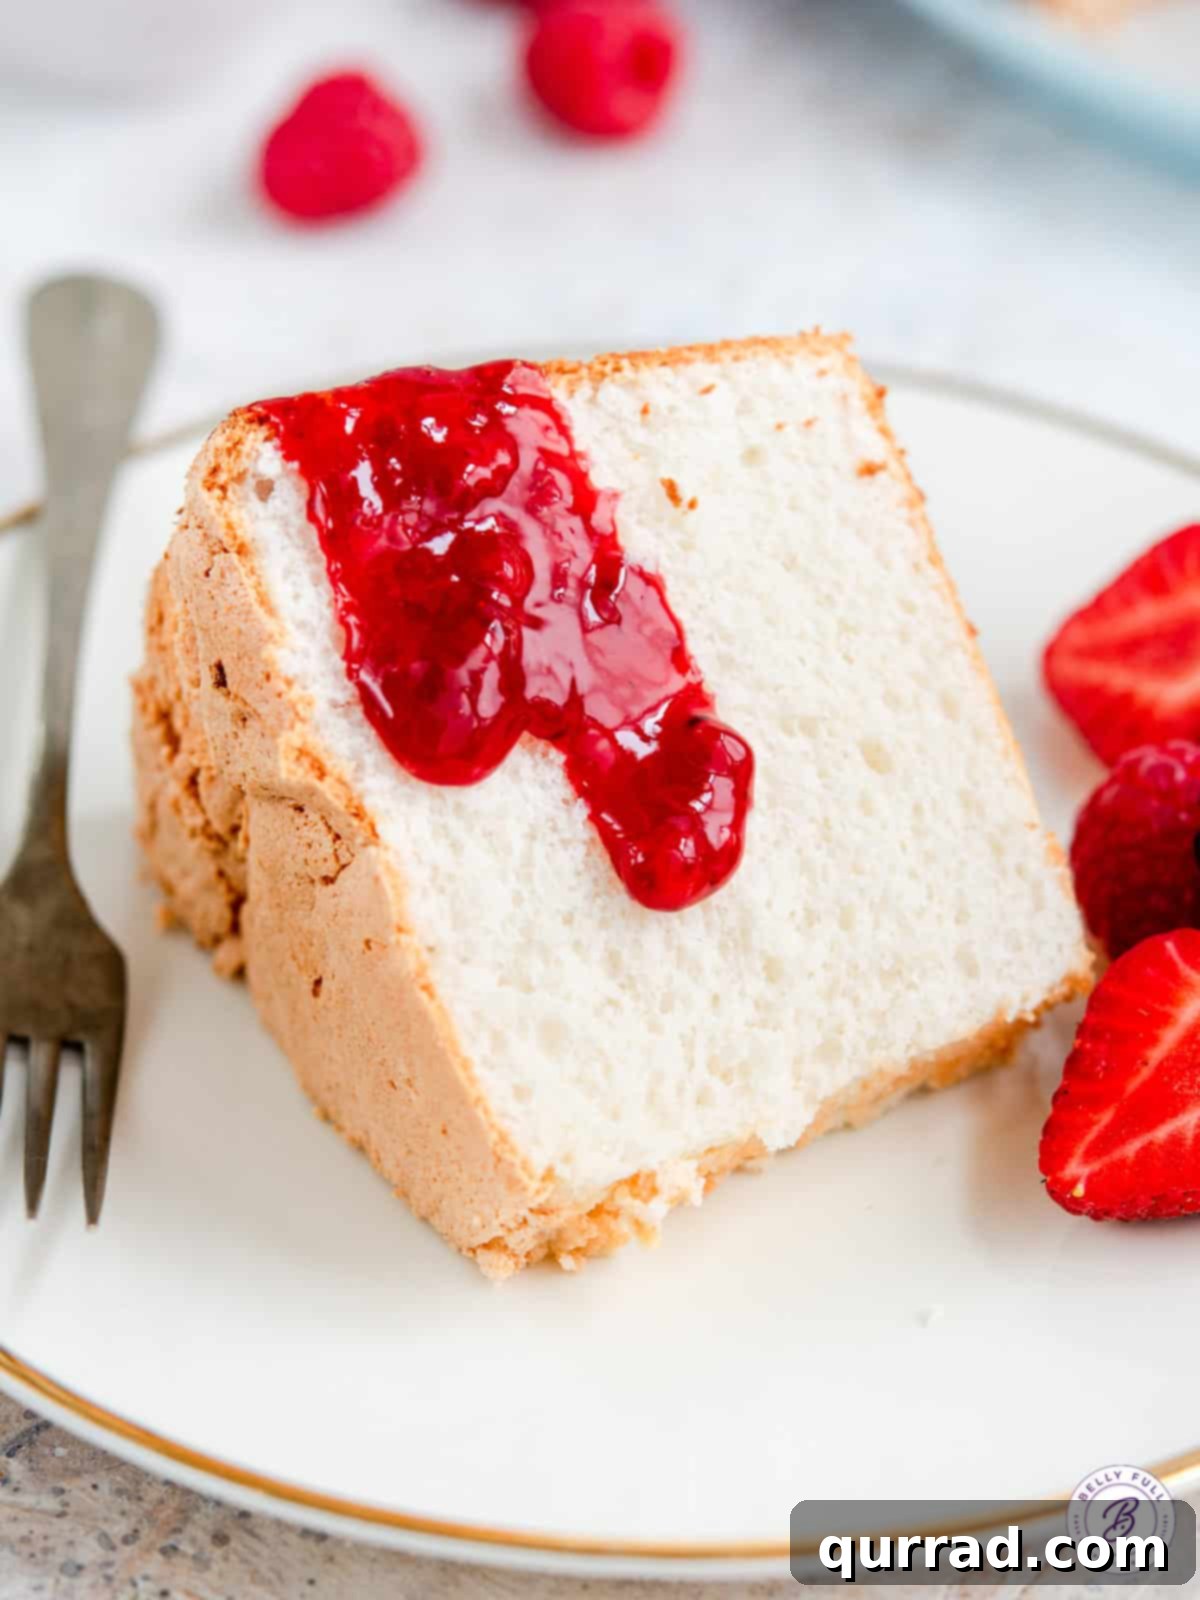
Angel Food Cake stands apart from virtually every other dessert. It’s a marvel of baking: incredibly light, exquisitely airy, with a subtle chewiness and a fluffy, snow-white interior encased in a delicately golden, slightly crackled crust. Its sweetness is perfectly balanced, never overwhelming. What truly sets it apart is its composition—completely devoid of butter, oil, or egg yolks, making it a naturally low-fat dessert that doesn’t compromise on an abundance of amazing flavor. This unique combination of characteristics makes it a true cake anomaly, a testament to the magic of simple ingredients.
Many home bakers shy away from Angel Food Cake, assuming its delicate nature makes it too challenging or fussy to master. The truth is, while it demands a bit of precision, the process itself is far from complicated. With a few key techniques and a careful approach, you can achieve a homemade Angel Food Cake that far surpasses any store-bought version in freshness, flavor, and that irresistible cloud-like texture. Let’s embark on this delightful baking journey together.
Essential Ingredients for Your Heavenly Cake
Crafting this iconic Angel Food Cake requires only a handful of fundamental ingredients, each playing a crucial role in achieving its signature texture and taste. The beauty of this recipe lies in its simplicity and the transformative power of these basic kitchen staples. The secret to its incredible lightness and tender crumb begins with properly sifting the flour and powdered sugar together.
- Egg Whites – These are the undisputed stars of Angel Food Cake. You need only the whites, absolutely free from even the tiniest speck of egg yolk, as any fat will prevent them from whipping up properly. Crucially, they must be at room temperature; this allows the proteins to relax and achieve maximum volume when whipped, creating that airy structure.
- All-Purpose Flour – While some recipes insist on cake flour, this recipe yields fantastic results with standard all-purpose flour, especially when prepared correctly. The key is proper sifting, which ensures a finer texture. We’ll delve into the flour choice in more detail below.
- Powdered Sugar (Confectioners’ Sugar) – Unlike many cakes that use granulated sugar in the dry mixture, powdered sugar is sifted with the flour here. Its fine texture contributes significantly to the cake’s light, tender, and incredibly smooth crumb, dissolving seamlessly into the batter.
- Cream of Tartar – This acidic dry powder is indispensable for Angel Food Cake. It acts as a stabilizer for the egg whites, helping them maintain their volume and structure, and preventing them from deflating. More importantly, it contributes to the cake’s distinctive chewy, pillow-y texture by inhibiting sugar crystallization. There is truly no direct substitute for its unique properties.
- Granulated Sugar – This sugar serves a dual purpose. Beyond sweetening the cake, it plays a vital role in stabilizing the whipped egg whites, working in conjunction with the cream of tartar to create a strong, glossy meringue that can support the cake’s structure.
- Vanilla Extract – A classic flavor enhancer, vanilla provides a warm, sweet, and aromatic base to the cake. Given the absence of fats like butter or yolks, extracts are paramount for developing a rich flavor profile.
- Almond Extract – For an extra layer of sophisticated flavor, almond extract is highly recommended. It complements the vanilla beautifully, lending a delicate, slightly nutty, and almost cherry-like note that elevates the cake’s overall taste.
- Coarse Salt – A small amount of salt is essential to balance the sweetness, enhancing the other flavors and preventing the cake from tasting bland or overly sugary. It subtly amplifies the vanilla and almond notes.
The Magic of Cream of Tartar Explained
Cream of tartar, a fine white powder found in the spice aisle, is often overlooked but is a cornerstone ingredient in this Angel Food Cake recipe. Chemically, it’s potassium bitartrate, a byproduct of winemaking. Its acidic nature is what makes it so valuable in baking, particularly when working with egg whites. When added to egg whites, it strengthens the protein structure, allowing them to whip up to a higher volume and creating a more stable foam. This stability is critical for the Angel Food Cake’s impressive height and airy structure. Furthermore, cream of tartar is instrumental in preventing the sugar in the batter from crystallizing, which could result in a grainy or crunchy texture. Instead, it contributes to the cake’s signature tender, slightly chewy, and soft crumb. Due to its unique chemical properties and specific impact on egg white stability and sugar crystallization, there isn’t a direct substitute that will yield the same perfect results for Angel Food Cake.
Demystifying Flour Choices: Cake Flour vs. All-Purpose Flour
The debate over using cake flour versus all-purpose flour for Angel Food Cake is a common one among bakers. While many traditional recipes and purists adamantly recommend only cake flour, this recipe has been thoroughly tested with both, and both yield excellent results. Cake flour, with its lower protein content and finer grind, typically produces an incredibly tender and slightly lighter crumb. It can also impart a very subtle, almost imperceptible flavor.
However, all-purpose flour, which is a pantry staple for most, works beautifully when prepared correctly. Its slightly higher protein content can result in a cake with a bit more structure and a looser crumb, though equally delicious. Through extensive testing, my preference has gravitated towards using all-purpose flour. The secret lies in pairing it with powdered sugar and sifting this combination not just once, but twice. This double-sifting process effectively aerates the flour, mimicking some of the benefits of cake flour by making the dry mixture exceptionally fine and light. This combination yields an Angel Food Cake with the absolute best texture and perfectly balanced sweetness, proving that you don’t always need a specialized ingredient for spectacular results.
Crafting Your Cloud: A Step-by-Step Guide to Angel Food Cake
While Angel Food Cake may seem a bit particular, mastering it is entirely achievable and incredibly rewarding. The process relies on careful preparation and gentle handling. Here’s a detailed summary of how to achieve baking perfection, ensuring your cake is light, airy, and utterly delicious:
- Prepare Egg Whites to Room Temperature: This crucial first step is non-negotiable for maximum volume. Gently separate your egg whites from the yolks, ensuring not even a trace of yolk gets into the whites. Place the egg whites in a very large, clean mixing bowl (preferably metal or glass, as plastic can retain grease) and allow them to sit at room temperature for at least 30 minutes, or even up to an hour. Room temperature egg whites whip up faster and achieve greater volume and stability than cold ones.
- Sift Dry Ingredients Thoroughly: In a separate bowl, combine the powdered sugar and all-purpose flour. Using a fine-mesh sieve, sift this mixture together twice. This essential step aerates the flours, removes any lumps, and ensures a super-fine, uniform consistency that will blend smoothly into the delicate egg whites without deflating them. Preheat your oven to 350°F (175°C) before proceeding to the next steps.
- Whip Egg Whites into a Meringue: To the room temperature egg whites, add the cream of tartar, vanilla extract, almond extract, and coarse salt. Begin beating with an electric mixer on medium speed. Continue until soft peaks form – these are peaks that hold their shape but gently curl over at the tip when the beater is lifted. Increase the speed to high and gradually add the granulated sugar, about two tablespoons at a time, allowing each addition to dissolve before adding the next. Continue beating until stiff, glossy peaks form. When you lift the beater, the peaks should stand upright and firm, and the meringue should look shiny and smooth. The sugar should be completely dissolved; rub a little between your fingers to check for grittiness.
- Gently Fold in Dry Ingredients: This is where patience is key. With a rubber spatula, gently fold the sifted flour mixture into the meringue. Do this gradually, adding about ½ cup of the flour mixture at a time. Use a light, upward folding motion, rotating the bowl as you go, to incorporate the flour without deflating the airy meringue. Overmixing will cause the cake to become dense. Continue until all the flour is just incorporated, and no streaks remain.
- Fill the Tube Pan: Carefully pour the delicate batter into an ungreased, nonstick 10-inch tube pan. It’s vital that the pan is ungreased; the batter needs to cling to the sides of the pan to rise properly. Gently tap the pan a few times on your countertop to release any large air pockets, but avoid aggressive banging that could deflate the batter.
- Bake to Golden Perfection: Place the tube pan on the lowest rack in your preheated 350°F (175°C) oven. Bake for approximately 35-38 minutes, or until the cake achieves a beautiful light golden-brown color on top, and the entire surface appears dry and springs back gently when lightly touched. An inserted toothpick should come out clean.
- Immediate Inversion and Cooling: This is a critical step for maintaining the cake’s height and airiness. Immediately after removing the cake from the oven, invert the pan. Many tube pans have little feet for this purpose; if yours doesn’t, invert it over the neck of a glass bottle. Allow the cake to cool completely upside-down for at least 2-3 hours, or even longer. This prevents the delicate structure from collapsing under its own weight as it cools.
- Release and Serve: Once the cake is completely cool, flip it right-side up. Using a thin, dull knife or an offset spatula, carefully run it around the outer edge of the cake and then around the center tube to loosen it from the pan. Gently push the bottom of the pan up to release the cake. Slice with a serrated knife and serve plain or with your preferred toppings.
The Indispensable Angel Food Cake Pan
Unlike most cake recipes that offer flexibility in pan choice – from bundt pans to 9×13 casserole dishes or cupcakes – Angel Food Cake is unique and absolutely requires a specific type of bakeware: an Angel Food Cake pan. You will need a nonstick 10-inch tube pan, typically with a removable bottom. It is crucial not to substitute this with a Bundt pan or any other regular cake pan. Angel Food Cake relies on the tube pan’s tall, straight sides and central tube for optimal structural support as it rises during baking. The batter clings to these ungreased sides, allowing it to climb high and maintain its iconic voluminous, airy texture. Some tube pans come equipped with small “feet” or prongs on the top rim, which allow you to invert the hot cake immediately after baking, keeping it elevated off the counter for proper cooling. If your pan doesn’t have these feet, simply invert it over the neck of a sturdy glass bottle to achieve the same essential cooling position.
The Art of Cooling Angel Food Cake Upside Down
The step of immediately inverting and cooling your Angel Food Cake upside down is not merely a suggestion; it’s a critical technique for success. Remember those beautifully whipped egg whites that give the cake its signature cloud-like texture and impressive height? They are incredibly delicate and fragile right after baking. If the cake is allowed to cool upright, its own weight would compress the warm, tender structure, causing it to collapse and become dense. This would completely ruin the beautiful airiness and gorgeous volume you worked so hard to achieve.
By inverting the pan, you allow gravity to work in your favor, gently stretching the cake’s delicate cell structure and preserving its height as it cools and sets. This extended, upside-down cooling period allows the cake to stabilize completely. Only once the cake is thoroughly cooled (which can take several hours), should you attempt to release it. To do so, you’ll need to carefully run a thin, dull knife or an offset spatula around the edges and the central tube to loosen it. A gentle tap of the pan on the counter can sometimes help encourage release, ensuring your perfectly baked cake comes out intact.
Expert Tips for Angel Food Cake Success
Achieving a flawless homemade Angel Food Cake is all about meticulous attention to detail and following key steps precisely. These tips will guide you to baking perfection:
- Always Sift Your Dry Ingredients Twice: This step cannot be overstated. While some traditional Angel Food Cake recipes may call for cake flour, this recipe utilizes all-purpose flour paired with powdered sugar. The combination is truly incredible, but its success hinges on proper sifting. Sift the flour and powdered sugar together not once, but twice. This aerates the mixture, removes any lumps, and ensures the finest, lightest texture, contributing to the cake’s tender crumb.
- Pure Egg Whites, No Yolks, Room Temperature: This is arguably the most critical aspect. When separating your eggs, be extremely vigilant to ensure there is absolutely no trace of egg yolk in the bowl designated for the whites. Even the tiniest spec of fat from the yolk can prevent your egg whites from whipping into firm, stable peaks, leading to a flat cake. Furthermore, ensure your egg whites are at room temperature before whipping. Warm egg whites whip up faster, achieve greater volume, and form a more stable meringue compared to cold egg whites.
- Utilize a Dedicated Tube Pan: As previously emphasized, this recipe requires a special 10-inch tube pan with a removable bottom. Do not attempt to use a Bundt pan or any other type of cake pan, as the unique structure of the tube pan is essential for the Angel Food Cake to rise and maintain its signature form.
- NEVER Grease Your Baking Pan: This might go against conventional baking wisdom, but trust the process! Resist the urge to use nonstick spray, butter, or any form of grease on your tube pan. The Angel Food Cake batter needs to cling to the ungreased sides of the pan as it bakes. This clinging action provides the necessary leverage for the cake to climb and achieve its brilliant height and volume. Greasing the pan will cause the batter to slide down, resulting in a flat, dense cake.
- Ensure Your Tube Pan is Completely Dry: Before gently pouring your delicate batter into the tube pan, double-check that the pan is spotlessly clean and completely dry. Any lingering moisture or debris can interfere with the batter’s ability to cling to the sides, hindering its rise and potentially compromising the final texture.
- Master the Art of Cutting: Angel Food Cake is delicate and airy, requiring a specific technique for slicing. Instead of a regular knife and a straight-down cutting motion, which would squish the tender cake, use a sharp, serrated knife. Employ a gentle sawing motion, similar to how you would slice freshly baked bread. This method glides through the delicate air pockets without crushing the cake, preserving its fluffy texture.
Watch the Magic Unfold: Angel Food Cake Video Guide
Delectable Angel Food Cake Toppings
One of the beautiful things about Angel Food Cake is its versatility. While it truly shines and is incredibly delicious all on its own, its delicate flavor profile makes it a perfect canvas for a variety of accompaniments. Fresh, seasonal berries are always a fantastic choice, but for those who enjoy a little extra indulgence, consider pairing it with one or more of these delightful condiments to elevate your dessert experience:
- Light and Fluffy Homemade Whipped Cream
- Rich and Velvety Caramel Sauce
- Bright and Tangy Raspberry Sauce
- Sweet and Fruity Strawberry Sauce
- Exotic and Flavorful Fig Jam
- A simple dusting of powdered sugar or cocoa powder for an elegant touch.
- Fresh fruit compotes like peach, blueberry, or mixed berry.
- A scoop of your favorite vanilla bean ice cream.
Proper Storage for Lasting Freshness
To ensure your homemade Angel Food Cake remains delightfully fresh and maintains its tender texture, proper storage is key:
- Countertop Storage: Any leftover Angel Food Cake can be stored at room temperature for up to 4 days. It is crucial to seal it tightly to prevent it from drying out. Place it in an airtight container or wrap it meticulously in plastic wrap, ensuring as much air as possible is removed. Keep it away from direct sunlight or sources of moisture.
- Freezing Angel Food Cake: Yes, Angel Food Cake freezes beautifully! To freeze either the entire cake or individual slices, first wrap them tightly in several layers of plastic wrap, removing all excess air. Then, place the wrapped cake or slices into a freezer-safe bag or an airtight container. It can be frozen for up to 3 months. When you’re ready to enjoy it, thaw the wrapped cake overnight in the refrigerator, and then allow it to come to room temperature before slicing and serving for the best texture.
Explore More Classic Dessert Delights:
If you’ve enjoyed baking this Angel Food Cake, you might love exploring other timeless dessert recipes that offer comfort and deliciousness:
- Creamy Homemade Tapioca Pudding
- Effortless 3 Ingredient Lemon Cake
- Moist and Flavorful Poppy Seed Cake
- Sweet and Spiced Hummingbird Cake
- Delightfully Simple Pistachio Cake
I sincerely hope you cherish this easy and incredibly delicious Angel Food Cake recipe. Please consider leaving a review below to share your experience! And for more culinary inspiration, don’t forget to follow Belly Full on TikTok, Facebook, Instagram, Pinterest, and YouTube!
Angel Food Cake
Angel Food Cake is like no other. It’s light, airy, slightly sticky, with a fluffy interior, and golden-crackled exterior, and has just the right amount of sweetness. It is void of butter, oil, egg yolks, and frosting, and yet delivers amazing flavor. Plus, it’s low-fat! It’s a cake anomaly.A lot of people think it’s complicated to make, so they would rather just buy it and not deal with the hassle. But I assure you, it’s actually really easy. Plus homemade, like most things, is so much better!Ingredients NeededYou only need a few simple ingredients to make this Angel Food Cake recipe, including flour and powdered sugar that are sifted together – the combination is incredible.(Scroll below to the printable recipe card for details and measurements.)Egg whites– Just the whites, not even a spec of yolk. They must be at room temperature.Flour– I use all-purpose flour. You can also use cake flour. See note below.Powdered sugar– Sifted with the flour for the most light and tender crumb.Cream of tartar– This helps stabilize the whipped egg whites and what gives the cake its chewy, pillow-y texture. Do not substitute. See note below.Granulated sugar– For the best sweetness, but also a necessary ingredient to stabilize the egg whites in addition to the cream of tartar.Vanilla extract– For flavor.Almond extract– For even more flavor. Almond extract sort of tastes like cherries! There’s not a whole lot in angel food cake to lend flavor, so I highly recommend the vanilla and almond extract.Coarse salt– For flavor and to balance out the sweetness.What is Cream of Tartar?Cream of tartar is an acidic dry powder (found where all the spices are) and is a key ingredient when making angel food cake. It not only helps stabilize the whipped egg whites, but it gives the cake its distinctive chew, which happens because cream of tartar prevents sugar in the batter from crystalizing into crunchiness. There really isn’t a substitute.Cake Flour vs. All-Purpose FlourWhile many recipes are adamant on using only cake flour for angel food cake, I’ve tested this recipe with cake flour and all-purpose flour and it works great with either. Since I always have all-purpose flour stocked in my pantry, that’s what I use.There is a subtle difference. Cake flour does tend to produce a lighter crumb and has a bit of taste to it, whereas all-purpose flour has a looser crumb with no flavor. My preference after testing this recipe several times is using all purpose flour and sifting it with powdered sugar. The combination renders the absolute best texture and sweet taste!How to Make Angel Food CakeAngel food cake is a bit finicky, but it’s not difficult to make at all. Here’s a summary.(Scroll to the bottom for our easy printable recipe with the complete directions, and don’t miss the helpful tips and video below.)Bring egg whites to room temperature.Place egg whites in a large bowl; let stand for at least 30 minutes to reach room temperature.Sift flour and powdered sugar.Sift together the powdered sugar and flour, twice.Make the batter.Add cream of tartar, vanilla extract, almond extract, and salt to the egg whites; beat on medium speed until soft peaks form. Switch to high speed and gradually add in 2 tablespoons of the granulated sugar at a time, until stiff glossy peaks form and sugar is dissolved. With a spatula, gradually fold in the flour mixture gently, 1/2 cup at a time.Fill a 10-inch tube pan.Gently pour batter into an ungreased, nonstick 10-inch tube pan. Tap a few times on the countertop to remove any air pockets.Bake.Bake at 350F on the lowest oven rack for about 35-38 minutes or until the cake is lightly browned and entire top appears dry.Invert the cake and cool.Immediately invert pan onto a cutting board or baking sheet and let sit upside-down, allowing to completely cool.Flip cake and remove from pan.Flip cake right side up again and run a dull knife around the side and center tube of the pan. Carefully remove from the pan.Serve.Slice and serve on its own or with your choice of toppings (suggestions below.)Angel Food Cake PanUnlike most cakes that can be converted to a bundt cake, 9×13 casserole cake, or even cupcakes, Angel Food Cake is different and does require an angel food cake pan.You will need a nonstick 10-inch tube pan. Do not use a bundt pan or any other type of cake pan. Angel food cake relies on a tube pan’s flat bottom and straight edges for optimal results. Some tube pans are built with little feet, which helps the upside-down cooling process, and eliminates the need to cool on a wire rack. If your tube pan does not have feet, that’s ok – just simply invert the pan onto the neck of a glass bottle.How to Cool Angel Food CakeAngel food cake needs to cool upside-down. Those egg whites we beat? They are the reason for this cake’s cloud-like texture and they are fragile right after baking. If you cool it upright, the cake’s own weight will crush itself and ruin that airiness and gorgeous height.After the cake is completely cooled, you’ll need to run a thin, dull knife around the edges to release it. You might also need to tap the tube pan on the counter several times to help loosen it.Tips for SuccessThe perfection to making homemadeangel food cake is in the details, which have to be followed exactly.Sift the flour and powdered sugar.While some Angel Food Cake recipes call for cake flour and granulated sugar, this recipe uses all-purpose flour and powdered sugar. And the combination is incredible. Those two ingredients must be sifted together. And you must do it twice.All egg whites, no yolks.When separating your eggs, make certain there is no trace of yolk in the bowl that holds the whites. Not even a spec of yolk. This could prevent your egg whites from forming peaks when beaten.Your egg whites also need to be at room temperature before whipping into stiff glossy peaks.Use a special tube pan.As mentioned above, you will need a special tube pan for this Angel Food Cake recipe.DO NOT grease the pan.It might not sound right, but trust me – avoid the urge to use nonstick spray, butter, or anything! Yes, the batter will cling to the sides of the ungreased pan as it bakes, but this actually helps it rise, cool, and achieve that brilliant height and volume Angel Food Cake is known for.Make certain your tube pan is completely dry before adding your batter.Any moisture or debris can prevent it from rising properly.Cut your cake properly.When cutting angel food cake, use a sharp, serrated knife and a gentle sawing motion – like you would with freshly baked bread. By using a regular knife and cutting straight down, you’ll squish the delicate cake.Video: Angel Food CakeAngel Food Cake ToppingsAngel Food Cake doesn’t need frosting or a topping – it’s so delicious all on its own. But we really do love it alongside some fresh berries and one or more of these extra sweet condiments.Homemade Whipped CreamCaramel SauceRaspberry SauceStrawberry SauceFig JamProper StorageCountertop.If you have any leftovers, you can store it at room temperature for up to 4 days. Make sure it’s sealed tightly in an airtight container or double wrap in plastic wrap, removing as much air as possible. Keep it away from light or moisture.Can you freeze angel food cake?Yep!To freeze it, wrap either the entire cake or individual slices in plastic wrap, tightly. Make sure to remove as much air as possible. Then place in a freezer-safe bag or container and freeze for up to 3 months. Thaw the wrapped cake in the refrigerator overnight and bring to room temperature before serving.More Classic Desserts:Homemade Tapioca Pudding3 Ingredient Lemon CakePoppy Seed CakeHummingbird CakeEasy Pistachio CakeI hope you love this delicious and easy recipe – be sure to give it a review below! Also don’t forget to follow Belly Full onTikTok,Facebook,Instagram,Pinterest, andYouTube!5from4Angel Food CakePrep:20minutesminsCook:35minutesminsCool Time:3hourshrsTotal:4hourshrs5minutesminsServings:12RateAngel Food CakeThisAngel Food Cake recipeis easy to make from scratch and can be enjoyed plain or with toppings. It’s sweet, light, and soft like a cloud where every bite melts in your mouth. What might look plain, is exceptional in taste and texture!Ingredients1x2x3x▢10largeegg whites,, room temperature▢1cuppowdered sugar▢1cupall-purpose flour▢1 & 1/2teaspoonscream of tartar▢1 & 1/2teaspoonsvanilla extract▢1/2teaspoonalmond extract▢1/4teaspooncoarse salt▢1cupgranulated sugarInstructionsPlace egg whites in a large bowl; let stand for at least 30 minutes to reach room temperature.Preheat oven to 350 degrees F.In another large bowl, sift the powdered sugar and flour together, twice. Set aside.To the bowl with the egg whites, add cream of tartar, vanilla extract, almond extract, and salt; beat on medium speed with an electric mixer until soft peaks form. Gradually add in the granulated sugar (2 tablespoons at a time), beating on high until stiff glossy peaks form and sugar is dissolved.With a spatula, gradually fold in the flour mixture gently, 1/2 cup at a time.Gently pour batter into an ungreased, nonstick 10-inch tube pan. Tap a few times on the countertop to remove any air pockets.Bake on the lowest oven rack for about 35-38 minutes or until the cake is lightly browned and entire top appears dry.Immediately invert pan onto a cutting board or baking sheet and let sit upside-down, allowing to completely cool, about 3 hours.Flip right side up again and run a dull knife around the side and center tube of the pan.Carefully remove from the pan.Slice and serve on its own or with your choice of whipped cream, fruit sauce, or fresh fruit.VideoNotesThe perfection of this cake is in the details, which have to be followed exactly! Please read the HELPFUL TIPS in this article to ensure your cake turns out with optimal results. Suggested toppings and proper storage information is also included in the article.Cake Flour vs. All-Purpose Flour.While many recipes are adamant on using only cake flour for angel food cake, I’ve tested this recipe with cake flour and all-purpose flour and it works great with either. Since I always have all-purpose flour stocked in my pantry, that’s what I use. The combination of AP flour and powdered sugar renders the most incredible texture and taste!NutritionCalories:159kcal|Carbohydrates:35g|Protein:4g|Fat:1g|Saturated Fat:1g|Sodium:95mg|Potassium:118mg|Fiber:1g|Sugar:27g|Calcium:3mg|Iron:1mgNutritional information given is an automatic calculation and can vary based on the exact products you use and any changes you make to the recipe. If these numbers are very important to you, I would recommend calculating them yourself.Save this recipe!Get this sent to your inbox, plus get new recipes from us every week!Please enable JavaScript in your browser to complete this form.Permalink Post PostEmail*SaveDid you make this? Leave a rating below!