
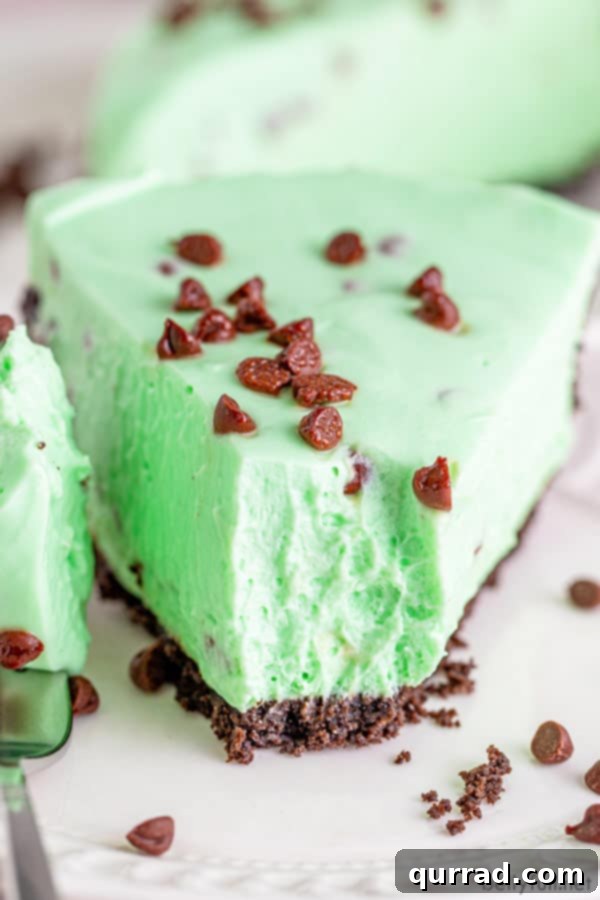
Indulge in a truly delightful and effortlessly elegant dessert with this Mint Chocolate Chip No Bake Cheesecake. This luscious, creamy creation features a silken mint-infused filling generously studded with chocolate chips, all nestled upon a rich, buttery Oreo crust. It’s the ultimate easy-to-make treat, perfect for any occasion – from refreshing summer gatherings and festive St. Patrick’s Day celebrations to cozy Christmas feasts. Say goodbye to complicated baking steps and hello to pure, minty chocolate bliss.
If you love the irresistible combination of mint and Oreo cookies in a no-bake format, you might also adore these simple 3-ingredient Oreo Truffles, offering another quick and delicious way to enjoy these flavors.
Discover the Ease of This No-Bake Cheesecake Sensation
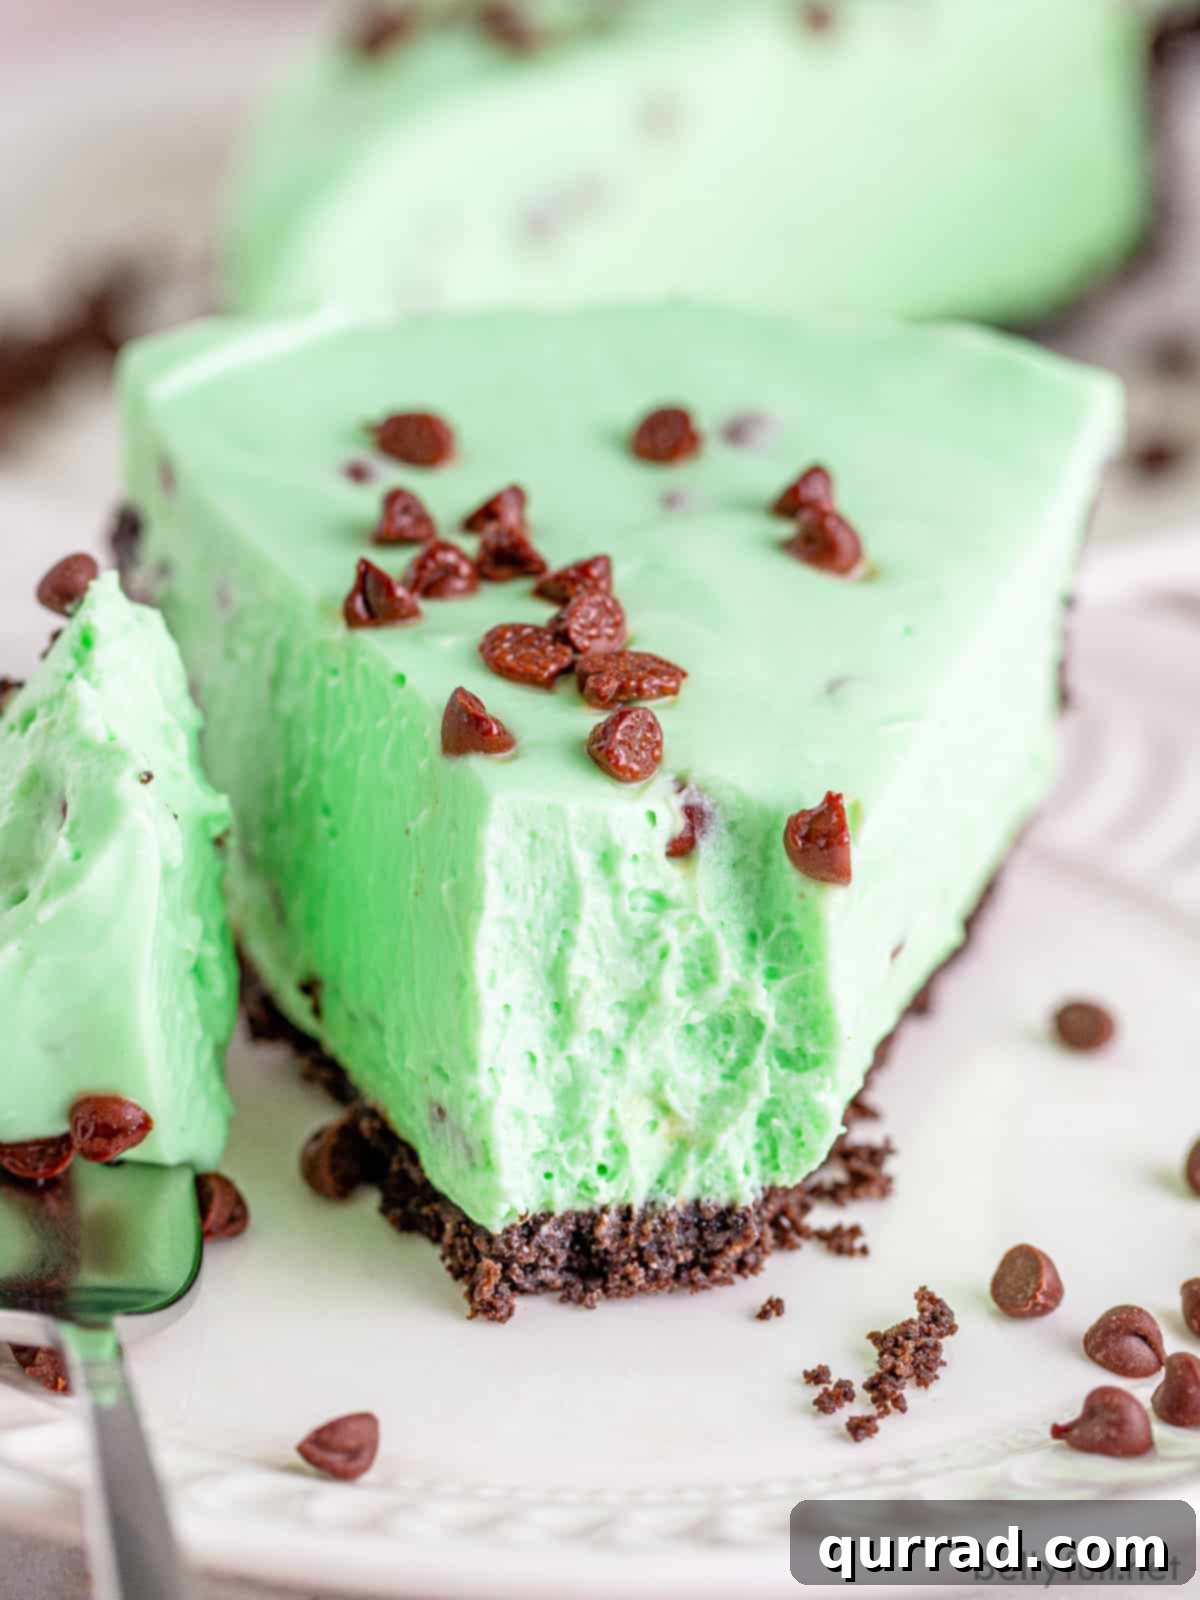
Whether it’s the rich, traditional baked cheesecake or its lighter, no-fuss counterpart, no-bake cheesecake, my affection for them runs deep. However, there’s an undeniable charm and convenience that comes with a no-bake dessert. Our website already boasts a collection of fantastic no-bake recipes, and this Mint Chocolate Chip No Bake Cheesecake is a spectacular new addition that has quickly become a firm favorite. Its simplicity doesn’t compromise on flavor or texture; in fact, it enhances the joy of dessert making.
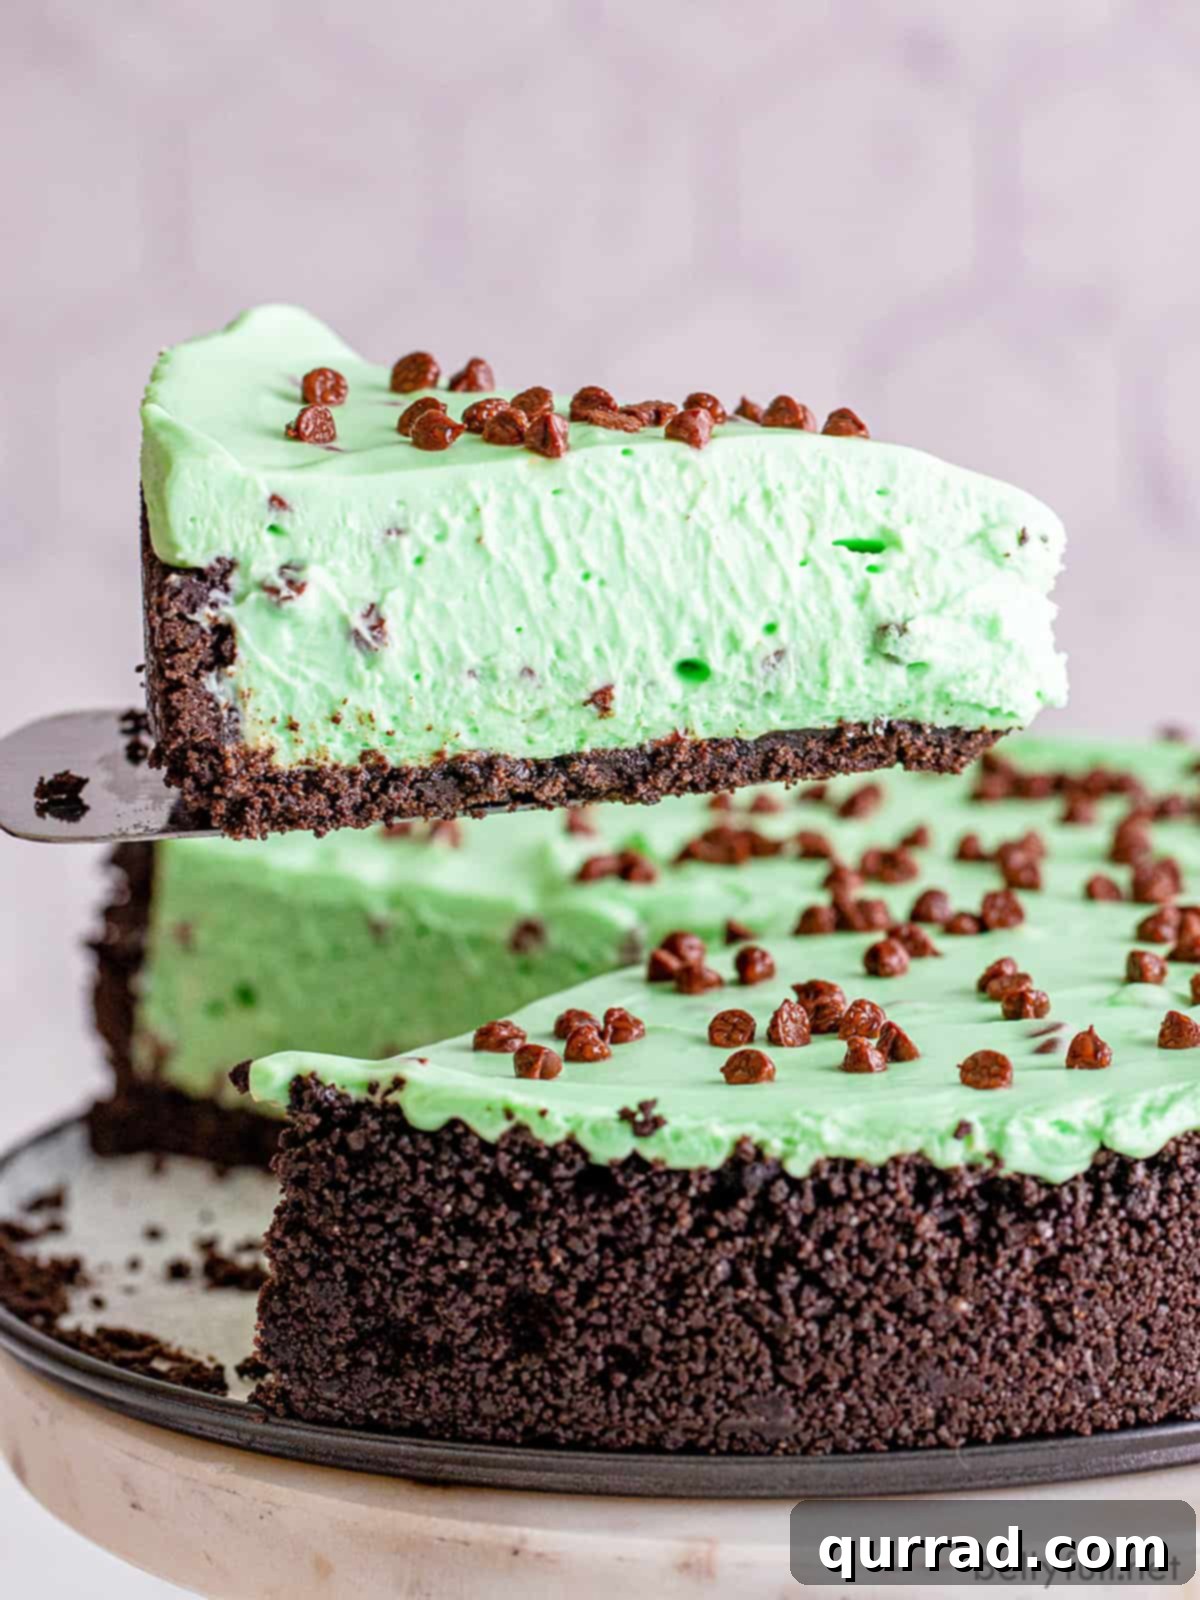
This effortless no-bake cheesecake strikes a flawless balance between the refreshing zest of mint and the indulgent sweetness of chocolate. The result is a vibrant flavor profile that is both invigorating and deeply satisfying. The filling itself is a masterpiece of texture: wonderfully luscious, incredibly smooth, and exquisitely creamy – precisely what you crave in a truly exceptional cheesecake. The best part? There’s absolutely no baking required, meaning this delightful dessert comes together quickly and easily. Forget the complexities of traditional cheesecakes: no need to pre-bake a crust, prepare a tedious water bath, or endure hours of slow cooling before transferring it to the fridge. This recipe simplifies the entire process, making a gourmet-quality dessert accessible to everyone.
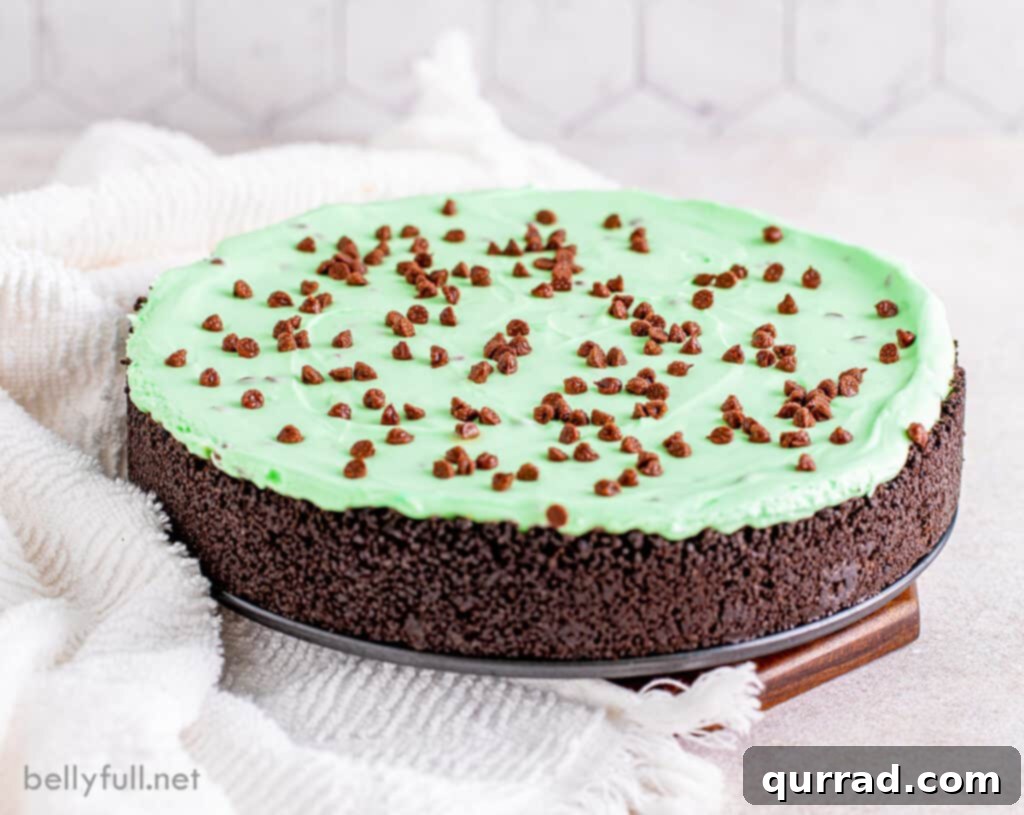
With its signature pale green hue, this mint cheesecake is a visually stunning treat, making it ideal for festive winter celebrations like Christmas, where it adds a touch of seasonal cheer. But its refreshing flavor also makes it an easy and fitting dessert for St. Patrick’s Day, symbolizing renewal and vibrant spring. Beyond holidays, the minty freshness and lack of oven time make it a perfect confection for hot summer days when you want something cool and light without heating up your kitchen. Essentially, this is a versatile, crowd-pleasing dessert that shines brightly year-round, proving that deliciousness knows no season.
Essential Ingredients for Your Minty Masterpiece
Crafting this incredible no-bake cheesecake requires just a handful of readily available ingredients, including a wonderfully simple 2-ingredient crust that sets the perfect foundation for our creamy filling. Each component plays a crucial role in achieving the desired flavor and texture, ensuring a truly unforgettable dessert experience.
- Oreos and Unsalted Butter – These two ingredients form the foundation of our irresistible crust. Oreos provide a rich, chocolatey base that beautifully complements the mint filling, while melted unsalted butter binds the crumbs together, creating a firm yet tender crust.
- Cream Cheese – The heart of any cheesecake! For the smoothest, lump-free filling, it’s absolutely essential to use softened cream cheese. Allow it to come to room temperature for at least an hour before you begin, as this will ensure it blends seamlessly with other ingredients.
- Sugar (Granulated and Powdered) – We utilize a combination of both granulated sugar and powdered sugar. Granulated sugar provides foundational sweetness, while powdered sugar contributes to the silky-smooth texture of the filling, dissolving easily and preventing any graininess.
- Heavy Whipping Cream – This is a key ingredient for achieving the light, airy, and stable consistency of our no-bake filling. When whipped to stiff peaks, it provides the necessary structure, allowing the cheesecake to set beautifully without any baking.
- Mini Chocolate Chips – The “chocolate chip” component of our mint chocolate chip dream! Mini chocolate chips are preferred as they distribute evenly throughout the filling, offering delightful bursts of chocolate in every bite without being overly large or overwhelming the delicate mint flavor.
- Peppermint Extract – This is where the magic happens for the signature mint flavor. Peppermint extract delivers a clean, refreshing taste that pairs perfectly with chocolate. Be mindful of its potency; a little goes a long way to achieve that ideal minty kick.
- Green Gel Food Coloring – While entirely optional, a few drops of green gel food coloring give this mint cheesecake its iconic and festive color. Gel food coloring is concentrated, so you’ll only need a small amount to achieve a vibrant hue without altering the filling’s consistency.
Crafting Your Perfect Mint Chocolate Chip Cheesecake: A Step-by-Step Guide
One of the many reasons I adore this cheesecake recipe is its unparalleled simplicity. There’s no need for a fussy water bath, no worrying about cracks, and certainly no lengthy, slow cooling times that test your patience. The process is straightforward: prepare your delectable crust, whip up the velvety filling, and then allow it to chill to perfection. To create this magnificent mint chocolate chip no bake cheesecake, follow these easy steps. While the full printable recipe card below offers precise measurements, remember to refer back to these helpful tips for guaranteed success.
- Prepare the Oreo Crust: Begin by finely crushing your Oreos. A food processor works wonders here, transforming them into uniform crumbs. Once crushed, drizzle in the melted unsalted butter. Stir thoroughly to ensure every crumb is coated, creating a moist, pliable mixture that will form a sturdy crust.
- Form the Crust: Firmly press the buttery Oreo crumbs into the bottom and up the sides of a 9-inch springform pan. For best results, use the flat bottom of a drinking glass or a measuring cup to pack the crumbs tightly and evenly. This compaction is crucial for a stable crust that won’t crumble when sliced.
- Chill the Crust: Place the prepared crust in the freezer while you move on to the filling. This quick chill helps to set the butter and firm up the crust, preventing it from becoming soggy once the filling is added.
- Create the Cream Cheese Base: In a large mixing bowl, beat the softened cream cheese until it’s smooth and creamy, with no lumps. Gradually add the granulated sugar, mixing until fully incorporated. Then, add the powdered sugar and peppermint extract, beating until combined and the mixture is light and fluffy.
- Whip the Heavy Cream: In a separate, medium-sized bowl, use an electric hand mixer to whip the heavy cream until it forms stiff peaks. Be careful not to overbeat, as this can cause the cream to become grainy or clumpy. The stiff peaks are vital for the structure and lightness of the cheesecake.
- Combine the Filling Components: Gently fold the whipped cream into the cream cheese mixture using a spatula. Continue folding until no streaks of whipped cream remain, ensuring a uniform, airy consistency. At this point, taste the mixture. If you desire a stronger mint flavor, add the remaining peppermint extract a little at a time, folding after each addition.
- Add Color and Chocolate Chips: Introduce a few drops of green gel food coloring to achieve your desired shade of mint green. Remember that gel coloring is potent, so start with a small amount. Gently fold it in until the color is evenly distributed (you can also skip this step if you prefer a natural color). Finally, fold in the mini chocolate chips, distributing them evenly throughout the luscious filling.
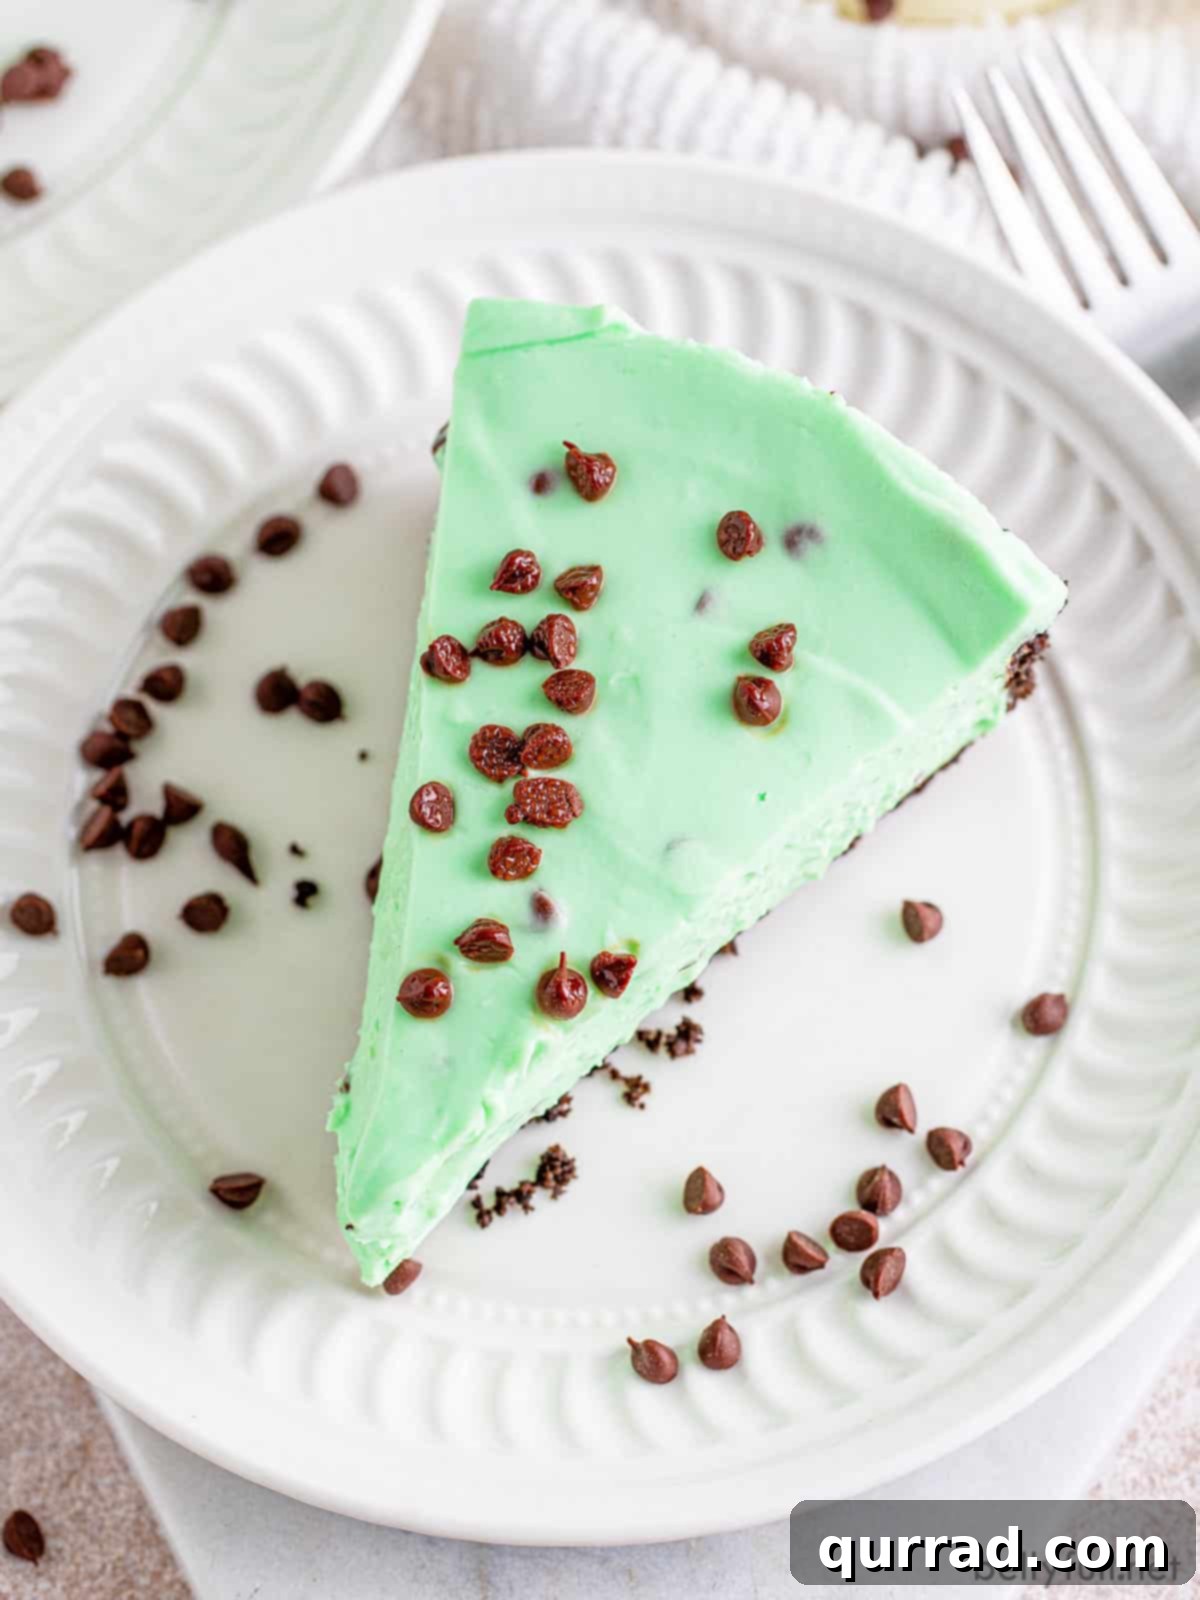
- Assemble and Chill: Pour the completed filling over the chilled Oreo crust in the springform pan. Use a spatula to smooth out the top surface. If you wish, sprinkle a few extra mini chocolate chips on top for garnish. Cover the cheesecake tightly with plastic wrap and transfer it to the refrigerator. This no-bake cheesecake requires at least 8 hours to set properly, but for the best texture and stability, chilling it overnight is highly recommended.
- Serve and Enjoy: Once fully chilled, carefully remove the outer ring of the springform pan. Slice the cheesecake with a warm, clean knife for neat portions and serve as is, or with your favorite toppings. Prepare to be amazed by this effortlessly delicious dessert!
Essential Tips for No-Bake Cheesecake Perfection
Whether you’re a seasoned baker or this is your very first foray into making a mint cheesecake or any no-bake cheesecake, keeping these helpful tips in mind will ensure your dessert turns out perfectly every time. These simple pointers can make all the difference between a good cheesecake and an absolutely sublime one.
- Achieve Stiff Peaks with Heavy Whipping Cream: This step is non-negotiable for a stable, light, and airy cheesecake. The heavy whipping cream acts as the primary stabilizer for your filling. Ensure it is whipped fully, vigorously, until it forms firm, distinct stiff peaks. If it’s not whipped enough, your cheesecake may not set properly and could be too soft.
- Press the Crust Down Firmly: A solid crust is the foundation of your no-bake cheesecake. After combining the Oreo crumbs and melted butter, don’t just gently pat them into the pan. Instead, use the bottom of a flat glass or a measuring cup to firmly and evenly pack the crumbs into place. This prevents a crumbly crust and ensures it holds together beautifully when sliced.
- Start with a Small Amount of Peppermint Extract: Peppermint extract can vary significantly in potency from one brand to another. To avoid an overpowering mint flavor, always begin with a smaller amount than the recipe suggests, perhaps just 1/4 teaspoon for the initial mix. Taste the filling, and then gradually add more, 1/8 teaspoon at a time, until you reach your desired level of mintiness. You’ll be surprised how much vibrant mint flavor a small amount can impart.
- Chill Overnight for Best Results: While this no-bake cheesecake requires a minimum of 8 hours in the refrigerator to properly set, preparing it the day before you plan to serve it is truly the best approach. An overnight chill allows all the flavors to meld beautifully and ensures the filling achieves its optimal firm, creamy texture, making for cleaner slices and an overall more enjoyable experience.
- Ensure Cream Cheese is Room Temperature: As mentioned, using softened cream cheese is critical. If it’s too cold, it won’t blend smoothly, leaving unsightly lumps in your otherwise silky filling. Plan ahead and take it out of the fridge an hour or two before you start.
- Use Quality Ingredients: While this recipe is simple, the quality of your ingredients, especially the cream cheese and heavy cream, significantly impacts the final taste and texture. Opt for full-fat versions for the richest, creamiest result.
Elevate Your Cheesecake: Delicious Topping Ideas
While this Mint Chocolate Chip No Bake Cheesecake is absolutely divine served just as it is, sometimes adding a little something extra can elevate the experience and make it even more special. Here are some of my favorite topping ideas to take your cheesecake to the next level, adding both visual appeal and complementary flavors:
- Homemade Whipped Cream: A classic choice that never disappoints. A dollop of light, airy whipped cream adds a delicate contrast to the rich cheesecake.
- Extra Mini Chocolate Chips: Simple yet effective! A sprinkle of additional mini chocolate chips on top reinforces the “chocolate chip” aspect and adds a pleasant textural crunch.
- Rich Chocolate Sauce: A drizzle of warm or cool homemade chocolate sauce creates a beautiful marble effect and deepens the chocolatey goodness, enhancing the mint-chocolate pairing.
- Chopped Andes Mints: For an intense burst of mint and chocolate, finely chopped Andes Mints scattered over the top are a fantastic choice, adding both flavor and a lovely green accent.
- Mint Oreo Cookie Crumbs: Take the Oreo theme further by crushing a few extra Mint Oreos (or regular Oreos) and sprinkling them over the cheesecake for added crunch and flavor.
- Fresh Mint Sprigs: For a sophisticated touch, a few fresh mint leaves can add a vibrant green garnish and a subtle aromatic hint of mint.
- Chocolate Shavings or Curls: Use a vegetable peeler on a chocolate bar to create delicate chocolate shavings or curls for an elegant and delicious finish.
Storage and Freezing Guidelines for Your Cheesecake
Proper storage is key to maintaining the delicious taste and perfect texture of your Mint Chocolate Chip No Bake Cheesecake. Being a no-bake dessert with dairy components, it requires careful handling to ensure it remains fresh and firm.
- How to Store No-Bake Cheesecake: This mint chocolate chip cheesecake must be kept refrigerated right up until you are ready to serve it. Any leftovers should be promptly returned to the fridge. If left out at room temperature for more than an hour, especially in warm conditions, the filling will begin to soften and wilt, losing its desirable texture and potentially compromising its safety. Always store it in an airtight container or covered tightly with plastic wrap to prevent it from absorbing other odors and to maintain its freshness.
- Can I Freeze No-Bake Cheesecake? Absolutely, this mint chocolate chip no-bake cheesecake freezes beautifully, allowing you to enjoy it weeks or even months later. However, it’s crucial that the cheesecake has fully chilled and set in the refrigerator before you proceed with freezing. To freeze, first ensure it’s firm. Then, carefully remove it from the springform pan. Wrap the entire cheesecake tightly in several layers of plastic wrap, making sure there are no exposed areas. Follow this with a layer of heavy-duty aluminum foil for extra protection against freezer burn. It can be frozen for up to 3 months without significant loss of quality. When you’re ready to enjoy it, thaw the cheesecake in the refrigerator overnight. This slow thawing process helps to maintain its creamy texture.
More Delicious Cheesecake Recipes:
- No Bake Apple Cheesecake
- Sopapilla Cheesecake
- Oreo Cheesecake
- Chocolate Cheesecake
We truly hope you adore this incredibly delicious and easy recipe! If you try it, please consider leaving a review below to share your experience. And don’t forget to connect with Belly Full on TikTok, Facebook, Instagram, Pinterest, and YouTube for more delightful recipes and culinary inspiration!
Overall Rating: 5 out of 5 stars (based on 1 review)
Mint Chocolate Chip No Bake Cheesecake
20 mins
8 hrs
8 hrs 20 mins
12 slices
Ingredients
For the Crust
- 30 whole Oreos
- 7 tablespoons unsalted butter (melted)
For the Filling
- 24 ounces cream cheese (softened to room temperature)
- 1/2 cup granulated sugar
- 3/4 cup powdered sugar
- 1 teaspoon peppermint extract
- 1 1/4 cup heavy whipping cream
- green gel food coloring
- 1/2 cup mini chocolate chips
Instructions
- Place the Oreos in the bowl of a food processor; pulse until they are tiny crumbs. Drizzle in the melted butter. Give it a stir with a spoon to make sure the crumbs are coated in the butter.
- Press the crumbs into a 9-inch springform pan on the bottom and up the sides. (I like to use the bottom of a flat glass or measuring cup to pack the crumbs in place.)
- Place the crust in the freezer while you prepare the filling.
- In a large bowl, whip the cream cheese with an electric hand mixer (you can also do this with a stand mixer and the paddle attachment.) Add the granulated sugar and mix it in. Add the powdered sugar, vanilla, and 1/2 teaspoon peppermint extract; mix to combine. Set aside.
- In a medium bowl using an electric hand mixer, whip the heavy cream to stiff peaks – do not overbeat or it will be clumpy.
- Fold the whipped cream into the cream cheese mixture until there are no streaks left. (Taste and add the remaining 1/2 teaspoon peppermint extract if you want more of a mint flavor.) Add a few drops of green gel food coloring to your desired color – a little bit of food coloring goes a long way (or leave it out if you don’t care about it being green.) Fold it in gently.
- Fold in the chocolate chips.
- Add the filling to the crust and smooth out the top. Add more chocolate chips on top, if desired. Cover and place in the fridge for at least 8 hours, ideally overnight.
- Take off the outer attachment of the pan, slice, and serve with toppings or as is.
Notes
Nutrition
Calories: 450 kcal | Carbohydrates: 26g | Protein: 4g | Fat: 37g | Saturated Fat: 22g | Polyunsaturated Fat: 1g | Monounsaturated Fat: 9g | Trans Fat: 1g | Cholesterol: 115mg | Sodium: 209mg | Potassium: 105mg | Fiber: 1g | Sugar: 23g | Vitamin A: 1347IU | Vitamin C: 1mg | Calcium: 83mg | Iron: 1mg
Nutritional information given is an automatic calculation and can vary based on the exact products you use and any changes you make to the recipe. If these numbers are very important to you, I would recommend calculating them yourself.