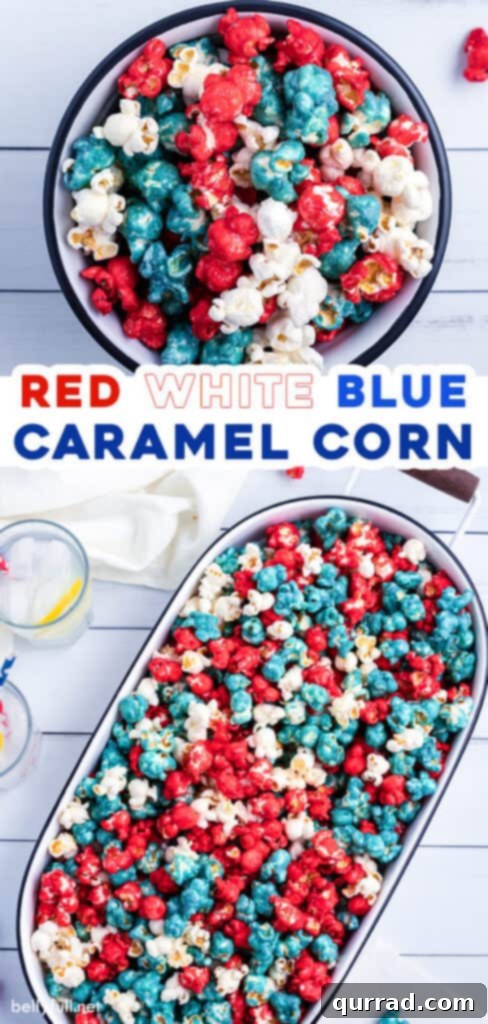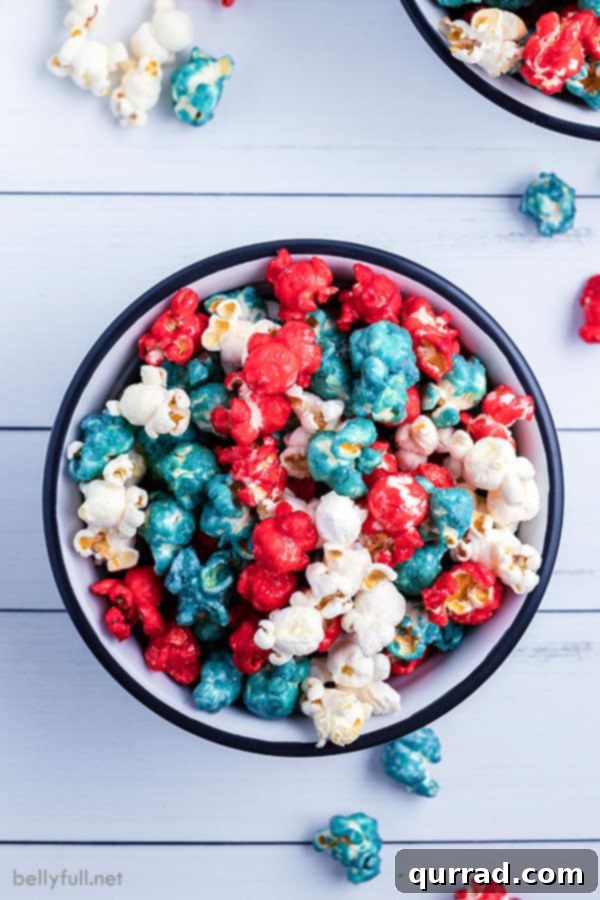
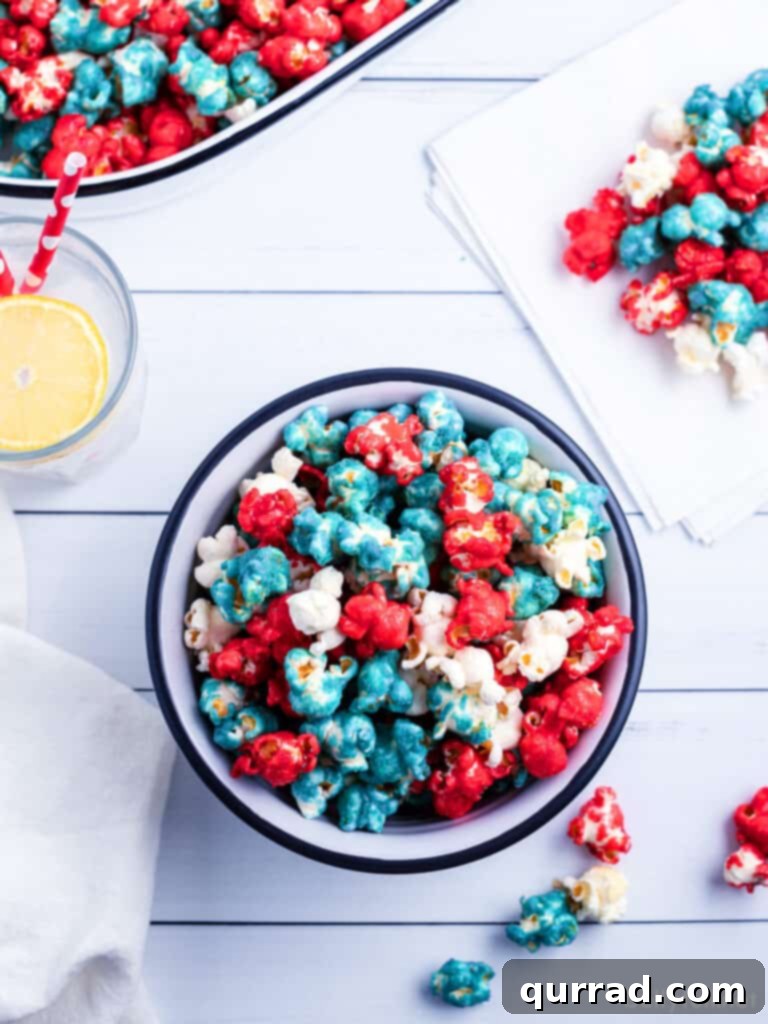
Get ready to elevate your holiday celebrations with the ultimate homemade treat: Red, White, and Blue Caramel Corn! This delightful snack is an irresistible blend of sweet, chewy, and crunchy textures, all adorned in patriotic colors perfect for Memorial Day, the 4th of July, Labor Day, or any festive occasion. Forget store-bought alternatives; our easy-to-follow recipe promises a gourmet experience that’s not only incredibly delicious but also a joy to make.
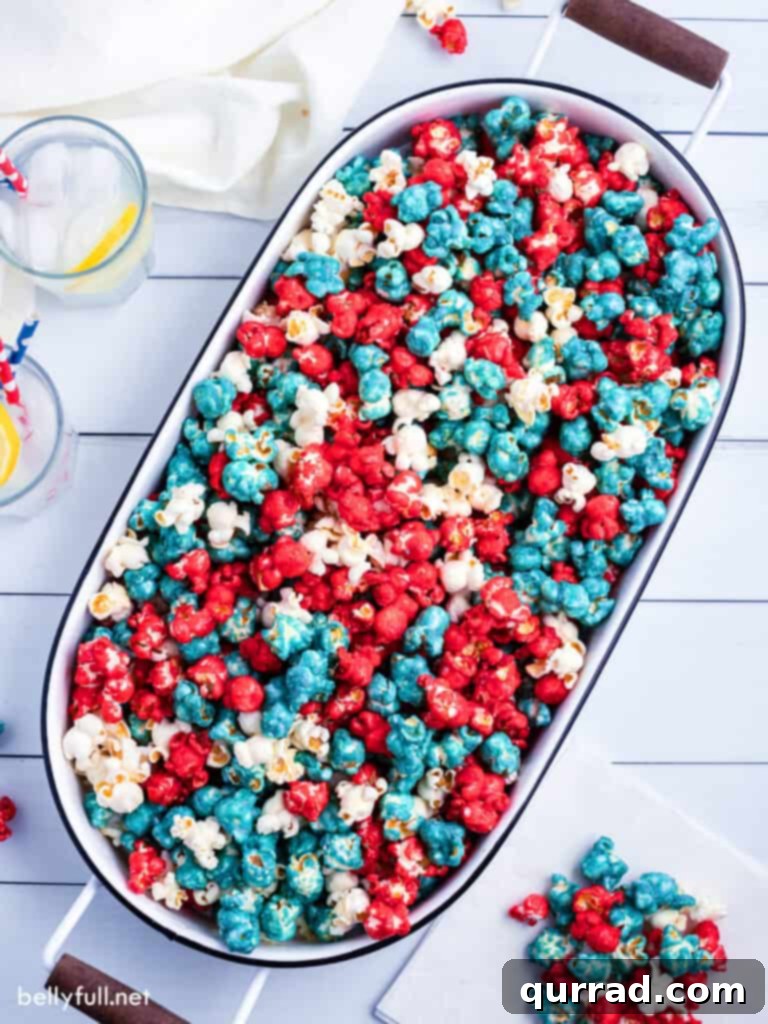
There’s something truly special about homemade caramel corn. The aroma alone fills your kitchen with warmth, promising a nostalgic treat that transcends generations. For us, this recipe holds an extra special place. After patiently waiting for two years, my daughter finally got her braces off, and her unwavering excitement to enjoy popcorn and caramel again was truly infectious. This vibrant red, white, and blue caramel corn isn’t just a perfect holiday snack; it’s a celebration of simple joys and cherished moments shared with loved ones.
What sets this recipe apart is its meticulous approach, ensuring every kernel is perfectly coated in a rich, buttery caramel. We start with the best, freshest stovetop popcorn, which forms the ideal foundation for this irresistible treat. This golden popcorn is then generously coated in a luscious, homemade caramel mixture, infused with striking red and blue food coloring, and finally baked to achieve that signature non-sticky, crunchy finish. The result is a visually stunning and incredibly tasty snack that will be the star of any gathering.
Why Homemade Caramel Corn Reigns Supreme
While store-bought caramel corn offers convenience, nothing compares to the freshness, quality, and customizable nature of a homemade batch. When you make caramel corn from scratch, you control every ingredient, ensuring a superior flavor profile free from artificial preservatives and unwanted additives. The rich, buttery notes of homemade caramel are simply unparalleled, melting in your mouth with every bite. Moreover, the process of creating this delicious confection is surprisingly simple and incredibly rewarding, making it a fantastic kitchen project for individuals and families alike. You can adjust the sweetness, the chewiness, and even add your own creative twists, making each batch uniquely yours.
The Foundation: Perfect Popcorn for Caramel Corn
The secret to exceptional caramel corn begins with exceptional popcorn. While air-popped or even good quality bagged popcorn can work in a pinch, we wholeheartedly recommend making your popcorn from scratch on the stovetop. This method yields fluffy, tender kernels with an unparalleled freshness and texture that truly makes a difference in the final product. Stovetop popcorn also tends to be less prone to dryness, creating a more absorbent canvas for the rich caramel sauce.
Tips for Stovetop Popcorn Perfection:
- Use Quality Kernels: Invest in good quality unpopped popcorn kernels for the best results.
- Right Oil, Right Amount: Use a neutral, high-smoke-point oil like canola, vegetable, or coconut oil. You only need enough to lightly coat the bottom of the pot.
- Test Kernels: Heat 2-3 kernels with the oil in a large, heavy-bottomed pot over medium-high heat. Once they pop, add the rest of your kernels in a single layer.
- Ventilation is Key: Leave the lid slightly ajar or use a lid with vents to allow steam to escape. This prevents soggy popcorn.
- Shake, Don’t Stir: Once kernels start popping rapidly, gently shake the pot back and forth to prevent burning and ensure even popping.
- Listen for Silence: Remove from heat when the popping slows to several seconds between pops to avoid burning.
For this recipe, you’ll need a generous amount of popped popcorn—17 cups, to be precise. We’ll reserve 3 cups as plain white popcorn, while the remaining 14 cups will be split into two bowls, ready to receive their patriotic red and blue caramel coatings.
Crafting the Luscious Caramel: A Simple Stovetop Method
Making the perfect caramel sauce for popcorn might sound intimidating, but this recipe makes it incredibly easy, requiring no special equipment like a candy thermometer. The key to success lies in the right ingredients and attentive stirring. The combination of unsalted butter, light brown sugar, and light corn syrup creates a rich, sweet base. The addition of baking soda at the end is crucial; it reacts with the sugar mixture to create tiny air bubbles, which results in a softer, more pliable caramel that won’t break your teeth and adheres beautifully to each popcorn kernel.
Ingredients for Your Homemade Caramel:
- Unsalted butter
- Light brown sugar
- Light corn syrup
- Baking soda
- Vanilla extract
Making the Caramel Sauce:
- Melt and Combine: In a medium-sized heavy-bottomed pot (or a nonstick skillet for easier cleanup), melt together the unsalted butter, light brown sugar, and light corn syrup over medium heat. Stir constantly to ensure the sugar dissolves evenly.
- Bring to a Boil: Once the ingredients are fully combined and smooth, bring the mixture to a gentle boil. Continue to stir continuously for about 3-5 minutes. This cooking time is essential for the caramel to thicken and develop its flavor without becoming overly hard.
- Remove from Heat and Finish: Carefully remove the pot from the heat. This is where the magic happens! Stir in the baking soda and vanilla extract. You’ll notice the mixture will bubble and lighten in color, becoming more airy. This is exactly what you want for that perfect caramel corn texture.
Adding the Patriotic Flair: Red, White, and Blue!
The vibrant colors are what truly make this caramel corn special for holidays like the 4th of July and Memorial Day. Once your caramel sauce is ready, you’ll work quickly to divide and color it. This step is a lot of fun and brings the festive spirit to life!
To achieve the stunning red, white, and blue effect:
- The White Base: The 3 cups of plain, uncolored popcorn you set aside will serve as your “white” component, offering a lovely contrast to the vibrant colored kernels.
- Divide the Caramel: Quickly divide the freshly made caramel sauce into two separate medium bowls. Speed is key here, as caramel cools and hardens fast.
- Coloring Time: Add red food gel coloring to one bowl of caramel and royal blue food gel coloring to the other. Stir vigorously until you achieve your desired deep, patriotic shades. We highly recommend using gel food coloring over liquid dyes. Gel colors are more concentrated, producing richer, more vibrant hues without diluting the caramel mixture. Wilton Icing Colors Food Gel in “Red-No Taste” and “Royal Blue” are excellent choices for vivid results.
- Coat the Popcorn: Working swiftly, pour one bowl of colored caramel over one of your bowls of popcorn (7 cups). Toss immediately and thoroughly with a silicone spatula until every kernel is beautifully coated. Repeat the process with the other colored caramel and the remaining popcorn. Transfer these colored popcorn mixtures onto separate baking sheets lined with parchment paper or a silicone mat and sprayed generously with nonstick spray to prevent sticking.
The Baking Secret: Achieving Crispy Perfection
The final crucial step in creating the perfect homemade caramel corn is baking it at a low temperature. This process is essential for two key reasons: it thoroughly dries out the caramel, preventing it from becoming sticky and ensuring a delightful crunch, and it helps the caramel adhere evenly to each popcorn kernel, creating a consistent texture throughout.
- Preheat Oven: Preheat your oven to a low temperature, typically 250 degrees Fahrenheit (120 degrees Celsius). This gentle heat is enough to slowly bake the caramel without burning it.
- Prepare Baking Sheets: Ensure your baking sheets are ready. Coating them with nonstick spray or lining them with parchment paper or a silicone baking mat is crucial to prevent the sticky caramel from adhering to the pan.
- Bake and Stir: Spread the coated popcorn evenly across the prepared baking sheets. Bake for approximately 45 minutes. During this time, it’s vital to rotate the pans and stir the popcorn with a spatula every 15 minutes. This ensures uniform baking and prevents clumping, allowing the caramel to crisp up perfectly.
- Cool Completely: Once baked, remove the caramel corn from the oven. Allow it to cool completely on the baking sheets. As it cools, the caramel will harden further, developing its characteristic crunch. Resist the urge to combine it with the plain popcorn until it’s fully cooled to prevent it from sticking together.
Essential Tips for Homemade Caramel Corn Success
Achieving that perfect, non-sticky, crunchy caramel corn is easy with a few simple tricks:
- Mise en Place (Everything in its Place): Have all your ingredients measured, popcorn popped, food coloring ready, and baking sheets prepared before you start making the caramel. Caramel sets quickly, so you need to work fast once it’s off the heat.
- Nonstick Pot or Skillet: Use a sturdy, heavy-bottomed pot or a large nonstick skillet for making the caramel sauce. This helps prevent burning and makes cleanup much easier.
- Silicone Spatula is Your Best Friend: When stirring the caramel and coating the popcorn, a silicone spatula works wonders. It’s heat-resistant and prevents the sticky caramel from adhering as much as a wooden spoon or metal utensil might. You can even lightly coat your spatula with nonstick spray before stirring the hot caramel and popcorn.
- Choose Gel Food Coloring: For vibrant, true patriotic colors, always opt for gel food coloring. Liquid food dyes can dilute the caramel and often result in paler, less intense shades. We recommend high-quality gel brands like Wilton Icing Colors Food Gel (specifically “Red-No Taste” and “Royal Blue”) for the best results.
- Even Spreading on Baking Sheets: Don’t overcrowd your baking sheets. Spreading the caramel corn in a thin, even layer allows for proper airflow and ensures that all kernels crisp up uniformly during baking.
- Cooling is Crucial: Allow the caramel corn to cool completely and undisturbed before mixing it with the plain popcorn or attempting to break it apart. This ensures the caramel hardens and prevents stickiness.
- Gluten-Free Friendly: Good news for those with dietary restrictions! Traditional caramel corn made with these ingredients is naturally gluten-free. Just ensure all your individual ingredients (like corn syrup) are certified gluten-free if cross-contamination is a concern.
Storing and Serving Your Patriotic Caramel Corn
Once you’ve created a batch of this fantastic Red, White, and Blue Caramel Corn, you’ll want to ensure it stays fresh and crunchy for as long as possible. Proper storage also allows you to prepare this delicious treat ahead of your holiday celebrations.
How Long Does Caramel Corn Last?
When stored correctly, homemade caramel corn will remain fresh and delightfully crunchy for up to two weeks. The key is to protect it from moisture and air, which can cause it to become soft and sticky.
Storage Tips:
- Air-Tight Container: The most important rule for storing caramel corn is to use an air-tight container. A large plastic container with a tight-fitting lid or a sturdy cookie tin works perfectly.
- Room Temperature: Store the container at room temperature on your kitchen counter or in a pantry. There’s no need to refrigerate it, as the cold can sometimes make the caramel a bit too hard.
- Avoid Humidity: Try to keep the caramel corn away from humid environments, as moisture is the enemy of crispy treats.
Creative Serving Ideas:
This patriotic caramel corn is not just a snack; it’s a centerpiece! Here are some fun ways to serve it:
- Grand Display: Pour the combined red, white, and blue caramel corn into a large, decorative bowl for a stunning visual impact at your holiday party.
- Individual Portions: For easy grabbing and a charming presentation, divide the caramel corn into individual serving cups or small paper bags.
- Festive Gifts: Bag up portions in clear cellophane bags, tie them with a festive red, white, or blue ribbon, and you have adorable, delicious party favors or gifts for friends and family.
- Movie Night Upgrade: Elevate your family movie night with a bowl of this special caramel corn. It’s a guaranteed crowd-pleaser!
- Dessert Bar Addition: Include it as part of a larger dessert spread alongside cookies, cupcakes, and other patriotic treats.
Caramel Corn Variations and Customizations
While the red, white, and blue theme is perfect for patriotic holidays, the beauty of this homemade caramel corn recipe lies in its versatility. You can easily adapt it to suit any occasion or personal preference. Here are a few ideas to get your creative juices flowing:
- Seasonal Colors: Swap the red and blue food coloring for other festive hues. Think green and red for Christmas, pastels for Easter, orange and black for Halloween, or even team colors for game day!
- Nutty Additions: For an extra layer of flavor and crunch, fold in some roasted nuts like pecans, walnuts, or almonds after the popcorn is coated with caramel, but before baking.
- Chocolate Drizzle: Once the caramel corn has completely cooled, melt some white, milk, or dark chocolate and drizzle it generously over the popcorn for an extra decadent touch.
- Sprinkles Galore: For an even more festive look, sprinkle some themed sprinkles over the caramel corn right after you’ve coated it (before baking) or once it’s cooled and drizzled with chocolate.
- Spice It Up: A pinch of cinnamon, nutmeg, or even a dash of cayenne pepper (for a sweet-and-spicy kick) can be added to the caramel sauce for a unique flavor profile.
- Sea Salt Caramel: Enhance the classic caramel flavor with a sprinkle of flaky sea salt over the caramel corn right after it comes out of the oven.
Frequently Asked Questions About Homemade Caramel Corn
Here are some common questions and troubleshooting tips to ensure your caramel corn turns out perfectly every time:
Why is my caramel corn sticky?
Stickiness usually occurs if the caramel wasn’t cooked long enough or if it wasn’t baked sufficiently. Ensure you boil the caramel for the recommended 3-5 minutes and bake it for the full 45 minutes, stirring frequently, to allow it to dry out and crisp up. High humidity can also contribute to stickiness, so try to make it on a dry day if possible.
Can I use microwave popcorn instead of stovetop?
While stovetop popcorn is highly recommended for its texture and freshness, you can use microwave popcorn if you prefer. Just be sure to use plain, unbuttered varieties to avoid conflicting flavors, and ensure it’s fully popped with minimal unpopped kernels.
How can I make my caramel corn extra crunchy?
To maximize crunch, ensure you bake it for the full duration and allow it to cool completely and undisturbed on the baking sheets. You can also try reducing the amount of corn syrup slightly, as corn syrup contributes to chewiness.
My caramel hardened too fast before I could coat the popcorn! What went wrong?
This is a common issue! Caramel hardens quickly as it cools. Ensure all your popcorn is ready and divided, and your food coloring and spatulas are at hand before you even start making the caramel. Work quickly when dividing and mixing the caramel with the popcorn.
Can I make this caramel corn ahead of time?
Absolutely! This recipe is perfect for making in advance. Store it in an airtight container at room temperature, and it will stay fresh and delicious for up to two weeks. This makes it an ideal treat for busy holiday preparations.
More Delicious Popcorn Recipes to Explore
If you love popcorn as much as we do, be sure to check out some of our other fantastic recipes:
- Perfect Stovetop Popcorn
- Garlic Bread Popcorn
- (Christmas) Caramel Popcorn
- S’mores Popcorn
{4th of July} Caramel Corn Recipe Card
{4th of July} Caramel Corn
Easy Homemade Caramel Corn that’s sweet, chewy, crunchy and all decorated in red, white, and blue for Memorial Day and 4th of July. It’s the most delicious and fun caramel popcorn recipe!
Ingredients
- 17 cups stovetop popcorn
- 3/4 cup unsalted butter
- 1 1/2 cups light brown sugar
- 1/3 cup light corn syrup
- 1/2 teaspoon baking soda
- 1 teaspoon vanilla extract
- Red and royal blue food coloring (gel recommended, see note below)
Instructions
- First, make some stovetop popcorn (or use good quality store-bought, air-popped). Divide 14 cups of the popcorn evenly among two very large bowls. Set the remaining 3 cups aside for the white portion.
- Preheat your oven to 250 degrees F (120 degrees C). Lightly spray 2, 9×13 inch baking pans with nonstick cooking spray, or line them with parchment paper/silicone mats.
- In a medium-sized heavy-bottomed pot, melt together the unsalted butter, light brown sugar, and light corn syrup over medium heat. Bring the mixture to a gentle boil, stirring continuously with a silicone spatula. Continue to gently boil and stir for 3 minutes. Remove the pot from the heat and stir in the baking soda and vanilla extract. The mixture will bubble and lighten.
- Working quickly, divide the hot caramel mixture evenly between two medium bowls. Add enough red food gel coloring to one bowl to achieve a vibrant red shade. Add enough royal blue food gel coloring to the other bowl for a rich blue shade. Stir each vigorously until the color is uniform.
- Still working fast before the caramel hardens, pour one bowl of the colored caramel over one bowl of popcorn (7 cups). Toss immediately and thoroughly with a silicone spatula until all the popcorn is evenly coated. Repeat this process with the other bowl of colored caramel and the second bowl of popcorn.
- Transfer the red and blue coated popcorn mixtures to your prepared baking pans, spreading them into an even layer. Place the pans in the preheated oven and bake for 45 minutes. Remember to rotate the pans and stir the popcorn in each pan with a nonstick-sprayed spatula every 15 minutes to ensure even baking and prevent sticking.
- After baking, remove the caramel corn from the oven and allow it to cool completely on the baking sheets. The caramel will crisp up as it cools.
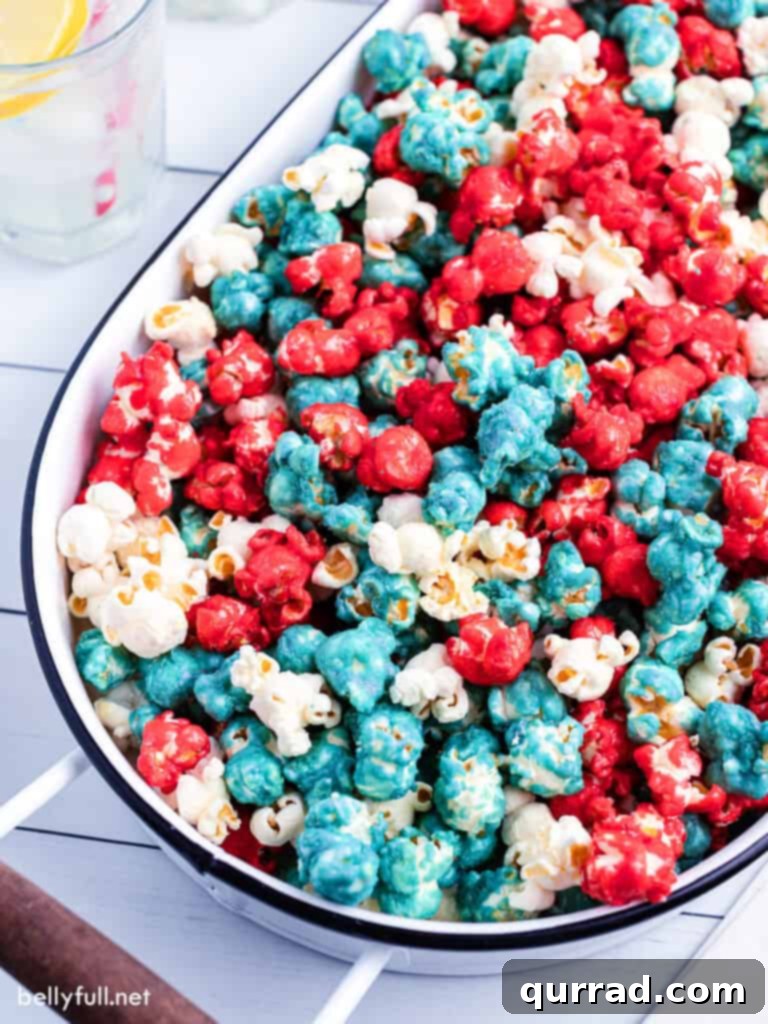
- Once fully cooled, gently break apart any large clumps of red caramel popcorn and blue caramel popcorn. Combine both colored batches with the reserved 3 cups of plain white popcorn in a very large bowl. Toss gently to combine and distribute the colors evenly.
- Serve in a big festive bowl, individual serving cups, or wrap portions in cellophane bags with a ribbon for a charming presentation. Enjoy!
- NOTE: For the most vibrant and true red and blue colors, we highly recommend using Wilton Icing Colors Food Gel. We specifically used “Red- No Taste” and “Royal Blue” for this recipe to achieve these striking patriotic shades.
Nutrition
Calories: 208kcal | Carbohydrates: 33g | Protein: 2g | Fat: 9g | Saturated Fat: 5g | Trans Fat: 1g | Cholesterol: 22mg | Sodium: 44mg | Potassium: 65mg | Fiber: 2g | Sugar: 24g | Vitamin A: 272IU | Calcium: 20mg | Iron: 1mg
Nutritional information is an estimate and can vary based on the exact products you use and any changes made to the recipe. If precise numbers are crucial, please calculate them independently.
We truly hope you love this delicious and simple recipe as much as we do. It’s the perfect blend of festive fun and irresistible flavor, guaranteed to bring smiles to your holiday gatherings. If you try it, please consider leaving a review below to let us know what you think!