
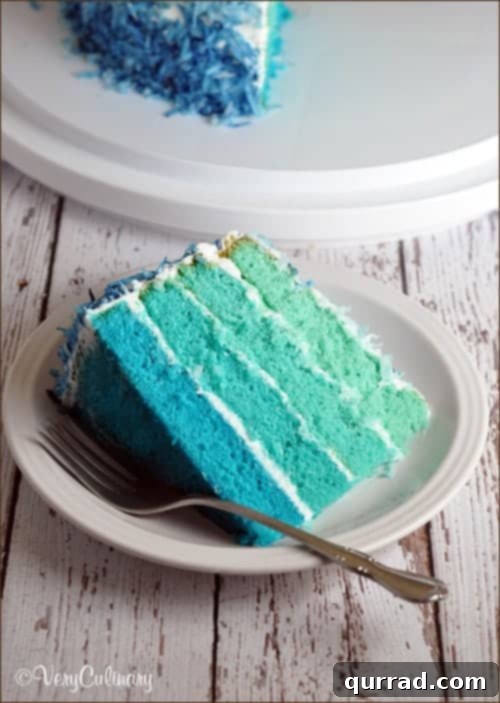
Prepare to amaze your guests with this stunning 4-tiered Ombre Cake, boasting multiple enchanting shades of blue! It might look like a masterpiece reserved for professional bakers, but you’ll be surprised at how accessible and enjoyable it is to create. Get ready for your party to be filled with “oohs” and “aahs” as everyone marvels at this beautiful, delicious center-piece.
Embracing the Baking Challenge: My Ombre Cake Journey
Truth be told, I’ve never considered myself a serious baker. My culinary comfort zone leans heavily towards savory dishes, and when it comes to desserts, I typically stick to the basics: simple cookies, reliable sheet cakes, or a classic bundt cake. The thought of intricate frosting designs, like delicate rosettes or elaborate ruffles, always sent a shiver down my spine. And a 4-tiered cake? That was firmly in the realm of professional patissiers, not my home kitchen.
That is, until my son turned six. Like many kids, he has a knack for spotting the most visually captivating things, and one day, he stumbled upon a picture of an ombre cake. With wide, pleading eyes and that irresistible “Please, Mom?” he melted my heart and instantly pushed me far beyond my baking boundaries. Deep down, I knew this meant a considerable commitment of time and effort, and probably a few hours on my feet, but his excitement was contagious. It was time to step up to the plate – or rather, to the stand mixer.
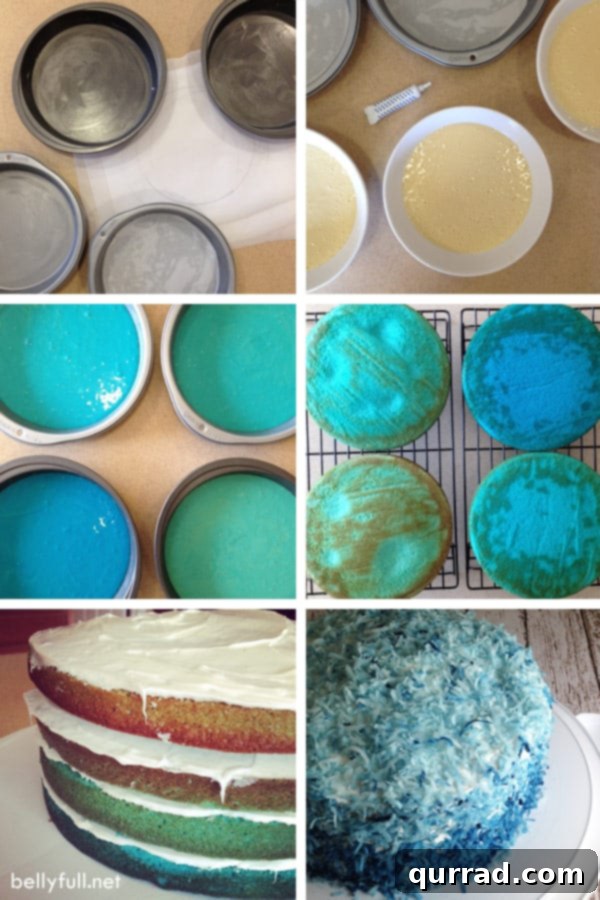
What I discovered, much to my surprise, was that creating this spectacular blue ombre cake wasn’t nearly as daunting as I had imagined. Yes, it involves several steps, and patience is definitely a virtue, but the process itself was incredibly fun and rewarding. It felt more like an artistic endeavor than a chore, especially when I saw the beautiful gradients of blue come to life. I even documented my progress on Instagram, sharing the journey with fellow aspiring home bakers.
Mastering the Ombre Effect: Tips for a Visually Stunning Cake
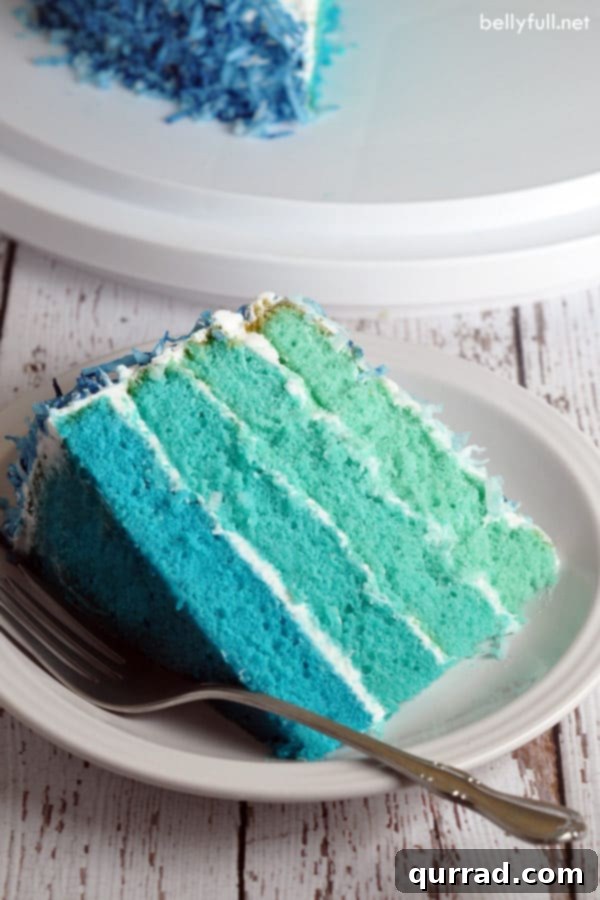
Looking back, there were a couple of minor points I would adjust if I were to make it again. For instance, I’d aim for a slightly more pronounced color variation between the second and third layers to enhance the gradient effect. Additionally, a bit more frosting between each layer would have made for an even grander presence. However, these are minor critiques in an otherwise triumphant baking experience. The cake turned out beautifully, and most importantly, my son absolutely adored it! And really, that’s what truly matters.
The success of the blue ombre cake was so overwhelming that my daughter has already put in her request for next year’s birthday cake: a dazzling purple ombre creation. It seems my days of “not really being a baker” are officially over, replaced by a newfound confidence and joy in tackling more ambitious dessert projects.
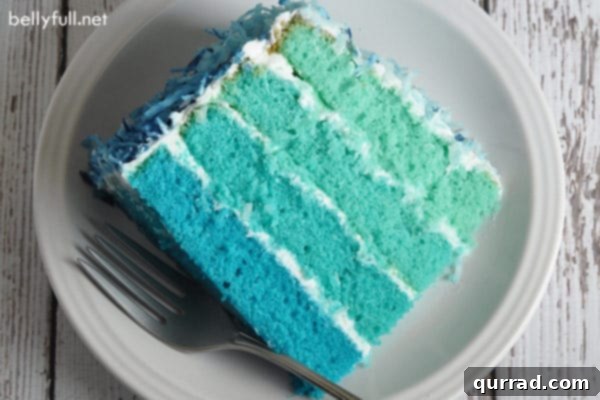
The ombre effect, whether in shades of blue, purple, or any color imaginable, transforms a simple cake into a breathtaking showstopper. It creates an illusion of depth and artistry that captivates every eye. Achieving this gradient look involves dividing your cake batter or frosting into portions and coloring each with progressively increasing amounts of food coloring. This simple technique yields incredibly impressive results, proving that you don’t need a culinary degree to create something truly extraordinary.
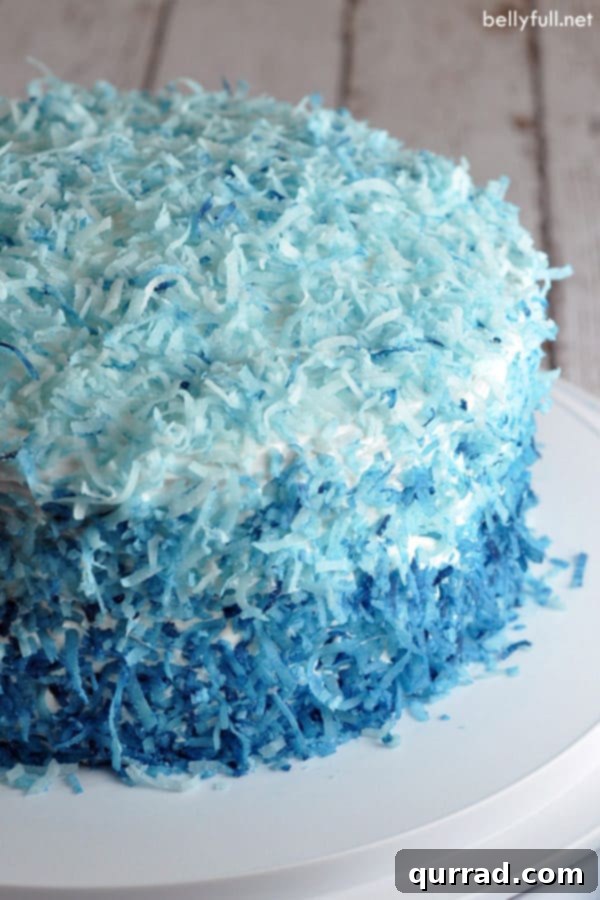
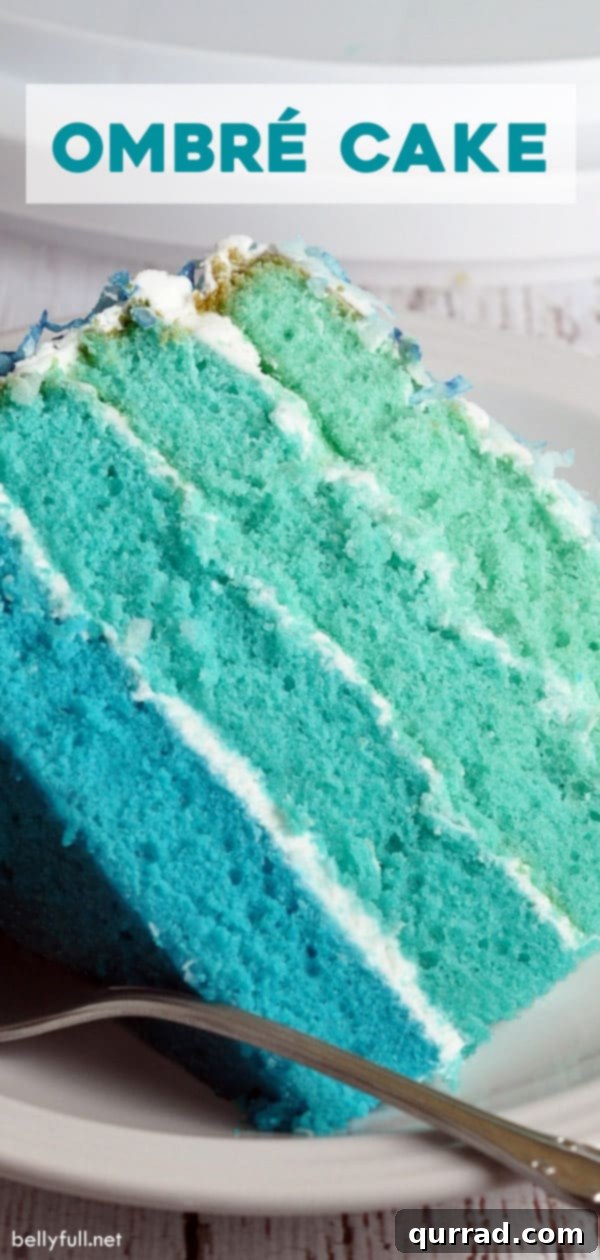
One of the beauties of an ombre cake is its versatility. While a traditional buttercream provides a smooth canvas for the color transition, adding a textured element like tinted shredded coconut, as I did, adds another layer of visual interest and flavor. The gentle cascade of color from dark to light on the exterior, mirroring the layers within, makes every slice a delightful surprise.
This recipe is designed to guide you through each step, ensuring that even if you’re a novice baker, you can achieve a stunning outcome. From preparing the perfect cake batter to crafting a silky-smooth frosting and assembling the layers with precision, we’ll cover all the essentials. Remember, baking is a journey of discovery, and every cake is a chance to create something memorable. Don’t be afraid to experiment with your favorite colors and make this ombre cake uniquely yours!
Other Cakes We Love to Bake!
- Swiss Roll Cake
- Angel Food Cake
- Strawberry Skillet Cake
- Texas Sheet Cake
- Cinnamon Cake
I hope you love this delicious ombre cake recipe as much as we do – be sure to give it a review below and share your creations! Also don’t forget to follow Belly Full onFacebook,Instagram,Pinterest, and YouTube for more amazing recipes and baking inspiration!
How To Make This Ombre Cake: A Step-by-Step Guide
Blue Ombre Cake
Pin
Ingredients
For the Cake
- 3 3/4 cups all-purpose flour
- 3/4 teaspoon baking soda
- 1/2 teaspoon salt
- 2 1/4 cups granulated sugar
- 1 cup vegetable oil
- 4 large eggs
- 2 teaspoons vanilla
- 1 1/2 cups buttermilk
- food coloring
For the Frosting
- 4 cups unsalted butter, , cut into pieces, at room temperature
- pinch of salt
- 10 cups powdered sugar
- 2 tablespoons vanilla
- 6-8 tablespoons milk
- 7 ounces unsweetened shredded coconut, , divided into thirds
Instructions
-
Preheat your oven to 350 degrees F (175 C). For even baking, position an oven rack in the lower third. Prepare four 9-inch-round cake pans by generously buttering them, then lining the bottoms with parchment paper. This crucial step prevents sticking and ensures your beautiful cake layers release easily. Set these prepared pans aside.
-
In a medium-sized bowl, sift together the all-purpose flour, baking soda, and salt. Sifting helps to aerate the dry ingredients, preventing lumps and contributing to a light, fluffy cake texture. Once combined, set this mixture aside.
-
In a large mixing bowl, using an electric mixer, cream together the granulated sugar and vegetable oil on medium-high speed. Continue beating for about 3 minutes until the mixture appears thick and creamy. Next, add the eggs one at a time, ensuring each is fully incorporated before adding the next. Stir in the vanilla extract. Increase the mixer speed to high and beat for approximately 2 minutes until the batter becomes light and fluffy. Reduce the mixer speed to low. Gradually incorporate the sifted flour mixture in three additions, alternating with the buttermilk. Begin and end with the flour mixture. Beat until the batter is smooth and well combined, which should take about 2 minutes. Avoid overmixing, as this can lead to a tough cake.
-
Carefully divide the cake batter evenly among four separate bowls. Now for the fun part: tint each bowl of batter with varying shades of your chosen color (for blue, I used approximately 10, 6, 3, and 1 drop of food coloring, but quantities may need adjustment depending on your specific food dye or gel and desired intensity). Pour each tinted batter into your four greased cake pans. Bake two pans at a time to ensure even cooking. Bake for about 15 minutes, or until a toothpick inserted into the center of a cake comes out clean. If baking all four pans at once (which may require a longer baking time of closer to 30 minutes), start checking for doneness at 15 minutes and then every 5 minutes thereafter. Let the cakes cool in their pans for 15 minutes before inverting them onto wire racks to cool completely. Gently remove the parchment paper if it adheres. If any cake layers have domed tops, use a serrated knife to carefully level them for a flat, even stack.
-
Prepare your decadent frosting: In a large mixing bowl, beat the room temperature butter and a pinch of salt with an electric mixer on medium speed until it’s light, fluffy, and smooth, which typically takes about 2 minutes. Gradually add the powdered sugar, beating until the mixture is smooth and lump-free. Incorporate the vanilla extract. Increase the mixer speed to medium-high and continue beating for another 2 minutes until the frosting is thick and creamy. Finally, beat in the milk, adding it a little at a time, until the frosting reaches a perfectly spreadable consistency. You might not need all 8 tablespoons, so add incrementally.
-
Time to assemble your stunning ombre cake: Place the darkest colored cake layer onto your chosen cake plate or serving platter. Spread approximately 1 1/2 cups of frosting evenly over this layer. Continue stacking the cake layers, moving from the darkest shade to the lightest, spreading an equal amount of frosting between each one. Once all layers are stacked, cover the entire outside of the cake with the remaining frosting, aiming for a smooth finish. To create the exterior ombre effect, divide the shredded coconut into three separate plastic bags. Add increasingly more drops of the same food coloring to each bag (e.g., lightest, medium, darkest shade of blue) and shake vigorously until the coconut is fully and uniformly tinted. Starting at the base of the cake, gently pat the deepest colored coconut around the bottom perimeter. Work your way upwards, applying the medium shade next, and finally topping the cake with the lightest shade of coconut. This creates a beautiful, cascading ombre effect on the exterior.
-
Your magnificent ombre cake is now complete! Slice into it to reveal the incredible layered gradient, serve generously, and prepare for compliments! Enjoy every delicious bite.
Notes for Ombre Cake Perfection
- **Baking Multiple Pans:** While I used 4 pans and baked them simultaneously, this extended the baking time to approximately 30 minutes instead of 15 minutes per pan. If you opt for this method, start checking for doneness after 15 minutes, then continue in 5-minute intervals, as oven temperatures can vary significantly. Using an oven thermometer can help ensure accuracy.
- **Store-Bought Frosting Alternative:** If you’re short on time or prefer a shortcut, you can absolutely use 2 (14 ounce) containers of good quality whipped white frosting. You will still need to divide and tint it accordingly to achieve the ombre effect.
- **Color Versatility:** The beauty of an ombre cake lies in its adaptability! This recipe and technique will work flawlessly with any other color you desire – don’t feel limited to blue. Imagine vibrant pinks, cheerful yellows, or rich purples!
- **Coconut Alternatives:** If shredded coconut isn’t your preference, don’t worry! You can achieve a fantastic exterior ombre by simply dividing your frosting into several portions and tinting each one a different shade. Then, apply the frosting to the cake in horizontal bands, blending gently where the colors meet. Sprinkles in varying shades can also add a playful touch.
- **Advance Preparation:** This ombre cake is perfect for making ahead! You can bake the cake layers a day in advance, wrap them tightly in plastic wrap, and store them at room temperature. The assembled and frosted cake will keep well in an airtight container in the refrigerator for up to 2-3 days before serving. Just bring it to room temperature for about 30-60 minutes before slicing for the best texture and flavor.
Nutrition Information
Nutritional information given is an automatic calculation and can vary based on the exact products you use and any changes you make to the recipe. If these numbers are very important to you, I would recommend calculating them yourself.