
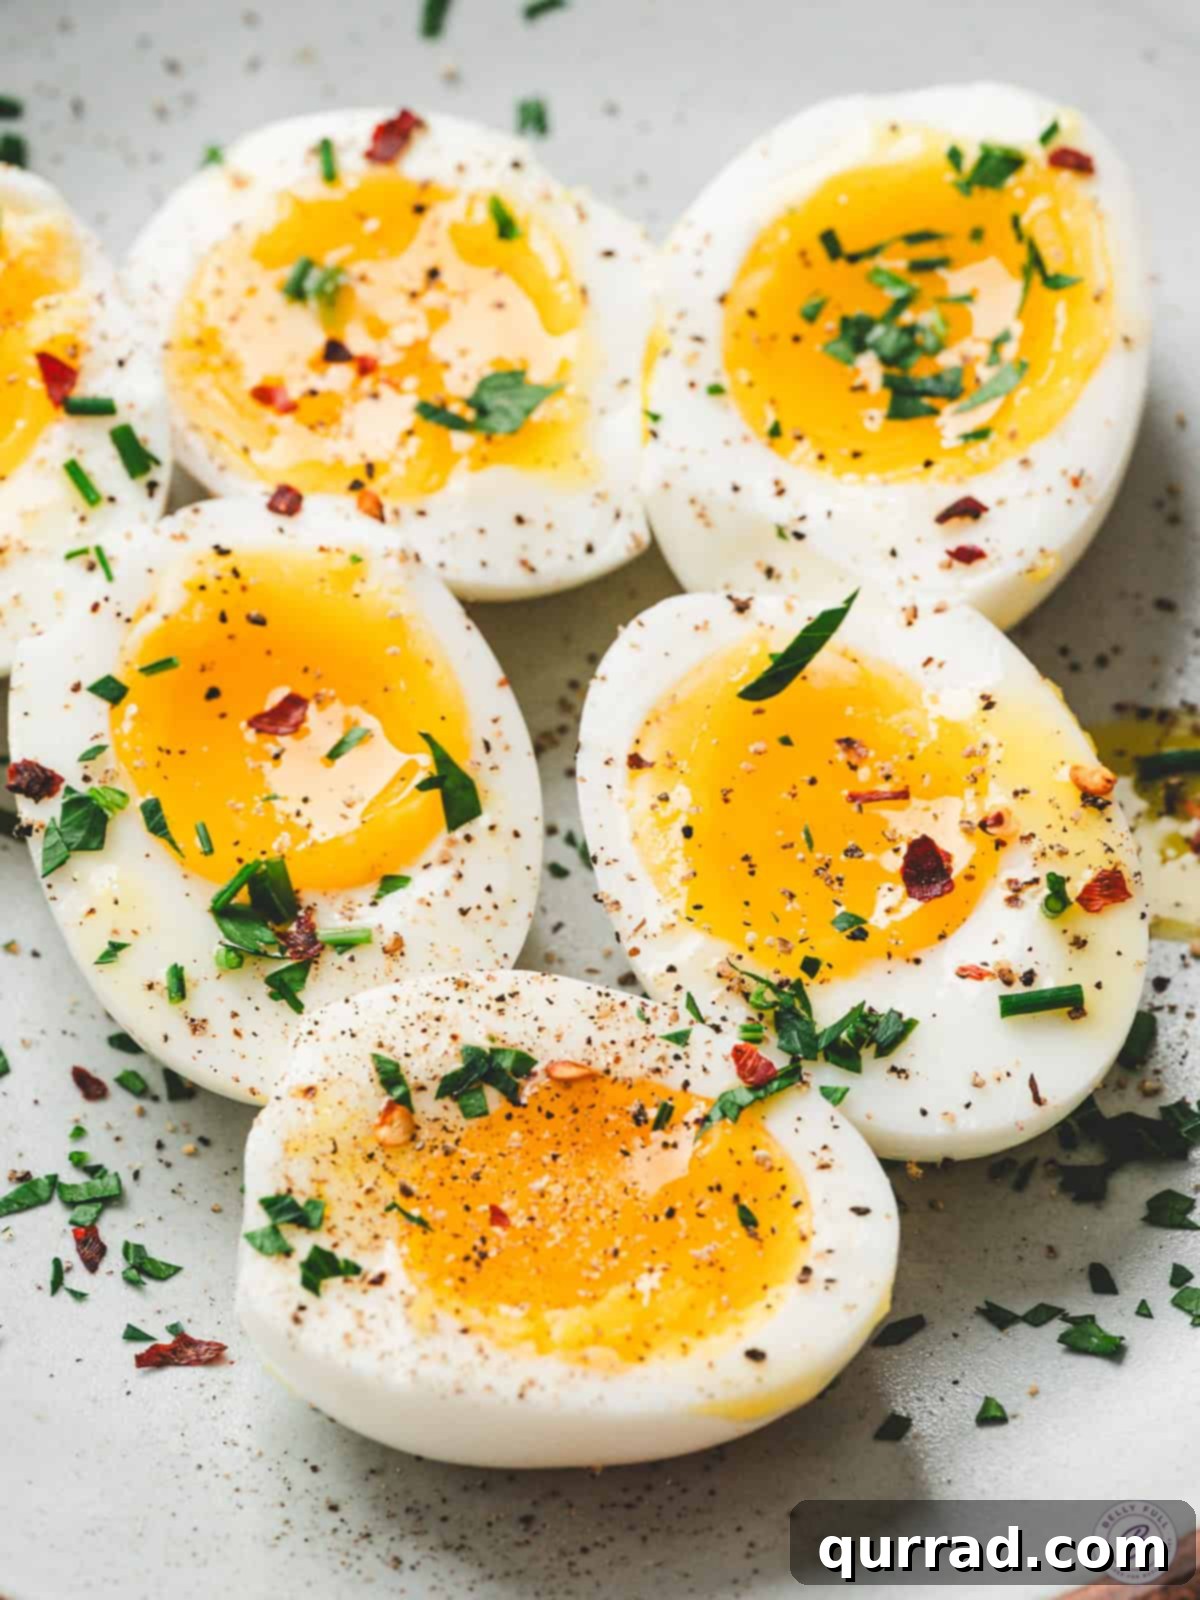
Perfect Jammy Eggs: The Ultimate Guide to Creamy Yolk Perfection
Discover the secret to making the perfect jammy eggs, achieving that coveted sweet spot between soft-boiled and hard-boiled. Jammy eggs boast firm, tender whites and a glossy, thick yolk that’s just slightly runny, offering an irresistible richness to any dish. Requiring only eggs and water, this simple recipe takes mere minutes to prepare, making it an ideal addition to toast, salads, ramen bowls, and more. Whether you’re a seasoned chef or a beginner cook, mastering the art of jammy eggs will elevate your culinary skills and leave you craving more.
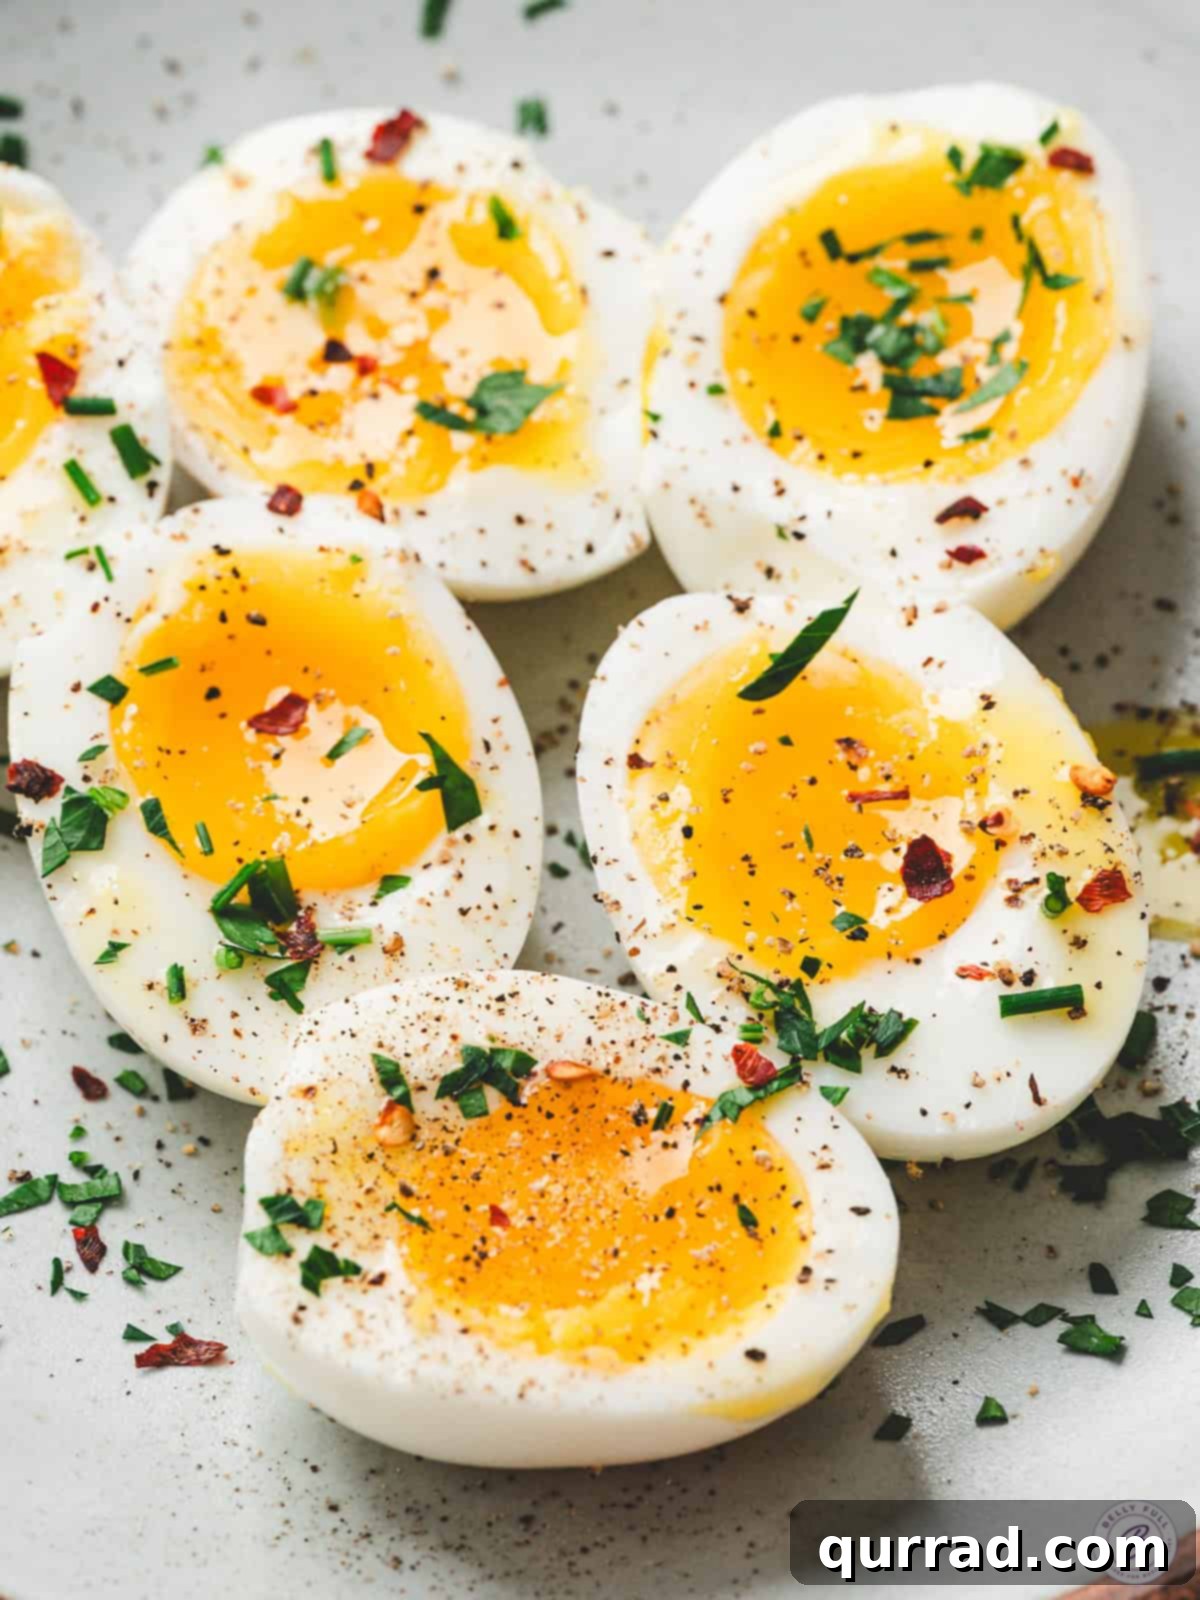
As a huge fan of both classic hard-boiled eggs and the delight of a runny yolk, I can confidently say that jammy eggs have become a weekly staple in my kitchen. The method is straightforward: carefully place cold eggs into gently boiling water for just under seven minutes, then immediately transfer them to an ice bath for a couple of minutes to ensure the yolks remain soft and glossy. The “tap-and-peel” technique guarantees that the shells come off easily without damaging the delicate whites, resulting in beautifully clean halves every single time. I often prepare a small batch of these for quick breakfast preparation, either slicing them atop buttered toast or adding one to a steaming bowl of ramen for instant comfort with minimal effort.
Expert Tips for Achieving the Best Jammy Eggs
- Start with Cold Eggs: Always use eggs straight from the refrigerator. The cold start provides greater control over the cooking process, preventing the yolks from cooking too quickly. Room-temperature eggs can cause the yolks to set faster, potentially requiring a shorter cooking time. Beginning with cold eggs ensures consistency and a perfectly jammy yolk every time.
- Cook in Small Batches and a Single Layer: For the best results, cook no more than four eggs at once. This ensures they fit comfortably in a single layer, preventing the water temperature from dropping significantly. A single layer also guarantees even heat distribution, which is crucial for achieving uniformly cooked yolks. Overcrowding the pot can lead to uneven cooking, resulting in some yolks being runny while others are firm.
- Precision is Key: Set a Timer and Stick to It: The magic of jammy eggs lies in precise cooking time. Even a mere 15 to 30 seconds can drastically alter the yolk’s consistency, transforming it from soft and glossy to fully set. Most recipes suggest a cooking time between 6 minutes 30 seconds and 7 minutes 30 seconds, and our method falls squarely within that sweet spot. Consistency is key, so always use a timer and adhere to the recommended cooking time for optimal results.
- Prepare an Ice Bath Before Boiling: An ice bath is essential for halting the cooking process immediately after boiling. As soon as the timer goes off, promptly move the eggs to the ice water. This rapid chilling stops the cooking instantly, preserving the yolk’s soft and jammy texture, and significantly eases the peeling process. The ice bath is a critical step in achieving the perfect jammy egg.
- Peel from the Air Pocket: When peeling, begin at the air pocket end, where the shell lifts most effortlessly. Often, you can remove large pieces of the shell cleanly from this point. If the shell sticks, gently run a little water underneath to help loosen the membrane without tearing the delicate egg white. This technique will minimize damage and ensure your jammy eggs look as good as they taste.
Jammy Eggs Recipe
Ingredients:
- 4 large eggs, cold, straight from the fridge
- Water
- Salt and black pepper, or optional seasonings and toppings
Instructions:
- Optional Step (but highly recommended): Gently tap the wider, rounded end of each egg with a spoon until you hear a soft snap, being careful not to crack the shell. This helps detach the membrane for easier peeling.
- Fill a medium-sized pot halfway with water and bring to a boil.
- Using a slotted spoon or spider strainer, gently lower the eggs into the boiling water and immediately set a timer for exactly 6 minutes, 45 seconds. Leave the pot uncovered.
- While the eggs are cooking, prepare an ice bath by filling a medium-sized bowl with water and a generous amount of ice cubes.
- Once the timer goes off, immediately remove the eggs from the boiling water with a slotted spoon and submerge them in the ice water. Set another timer for exactly 2 minutes, 30 seconds.
- After 2 minutes, 30 seconds, carefully tap the larger end of each egg on a work surface and gently roll to create small fractures all over to loosen the shell.
- Start peeling at the larger end, where the air pocket is. You can also run a little water underneath the shell to help loosen it, being careful not to tear the egg.
- Slice the eggs in half lengthwise or mash and enjoy with salt and pepper or your favorite seasonings like chili crisp, everything bagel seasoning, or fresh herbs.
Step-by-Step Guide: Visualizing the Jammy Egg Perfection
Making jammy eggs is a breeze! Follow these detailed steps with accompanying photos to guarantee perfect results every time.
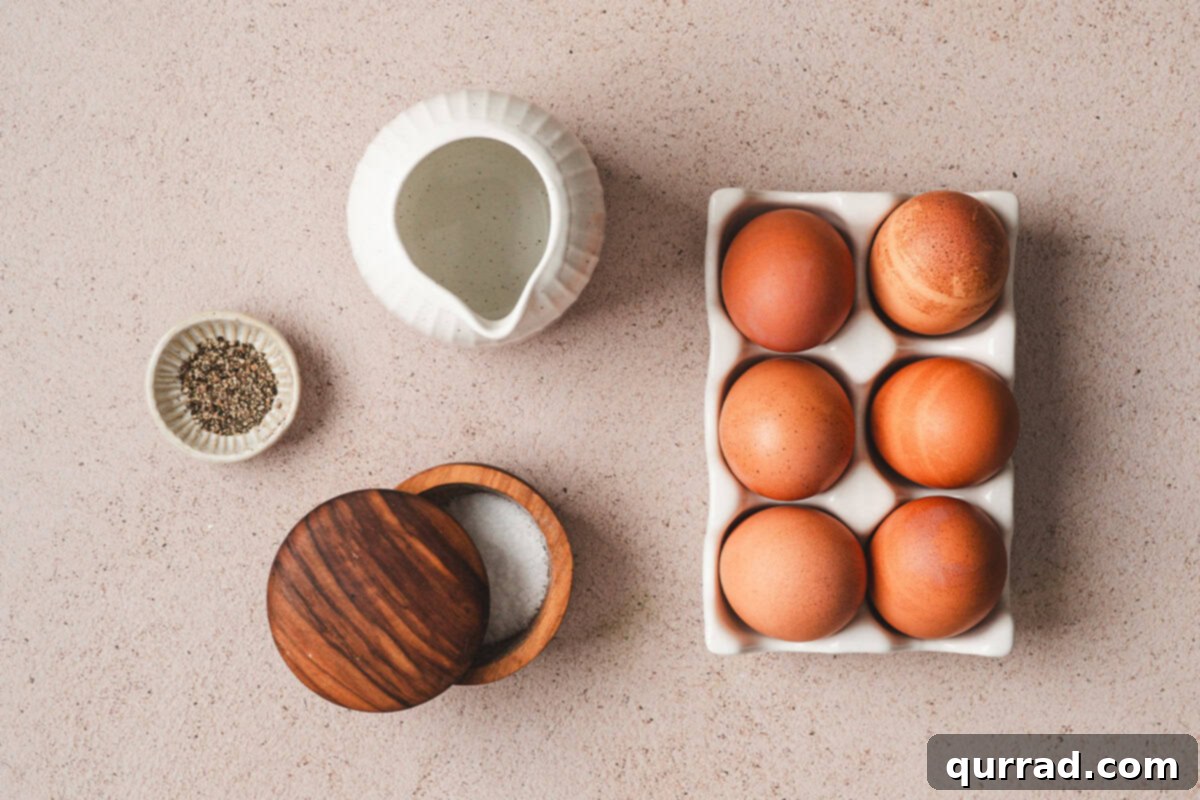
Step 1: Gather the Ingredients – Start by assembling your essentials: four large eggs straight from the refrigerator, water, and your preferred seasonings (salt and pepper are classic!). Optional, but recommended: gently tap the wider, rounded end of each egg to loosen the membrane for easier peeling later.
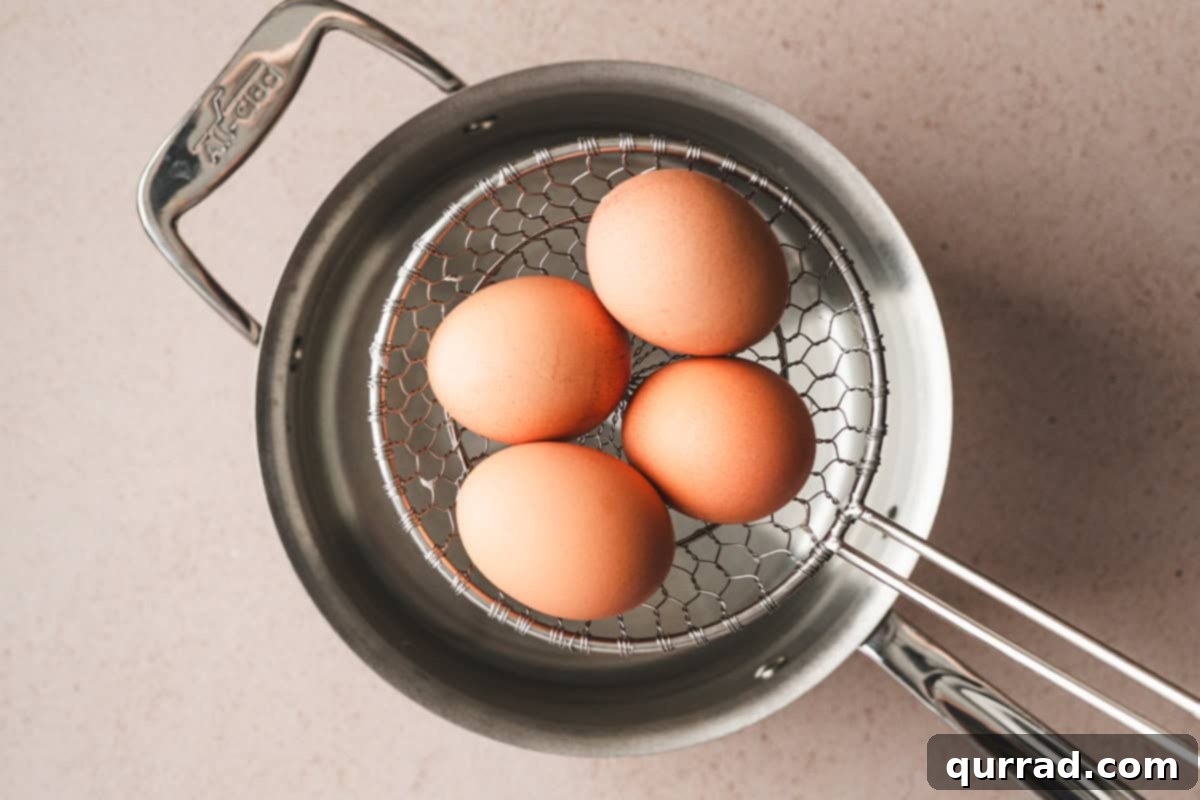
Step 2: Cook the Eggs – Fill a medium-sized pot halfway with water and bring it to a steady boil over medium-high heat. Once boiling, use a slotted spoon or spider strainer to carefully lower the four eggs into the pot. Immediately start a timer for precisely 6 minutes and 45 seconds. Make sure to leave the pot uncovered during the cooking process.
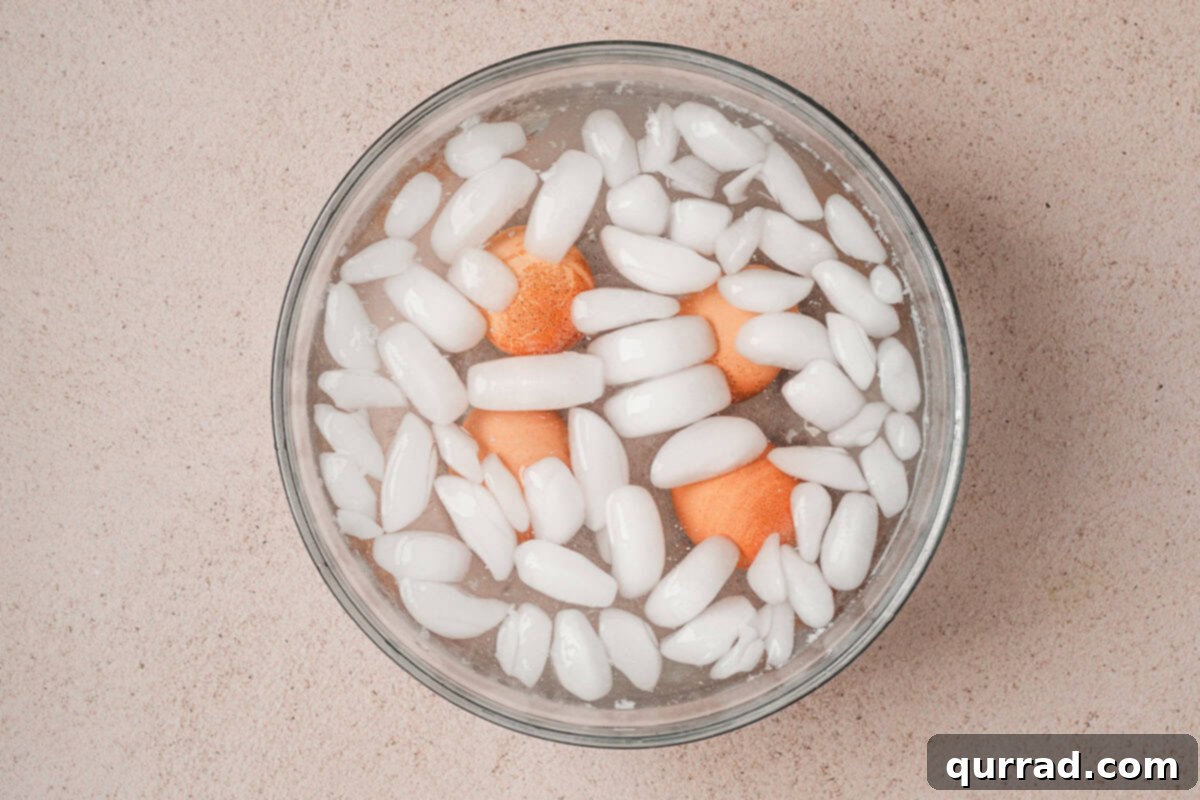
Step 3: Shock and Cool – While the eggs are cooking, prepare your ice bath by filling a medium bowl with cold water and plenty of ice cubes. This will promptly halt the cooking process once the eggs are removed from the boiling water. When the timer sounds, use the slotted spoon to transfer the eggs directly into the ice bath. Set another timer for 2 minutes and 30 seconds. The eggs should feel slightly warm but cool enough to handle after this cooling period.
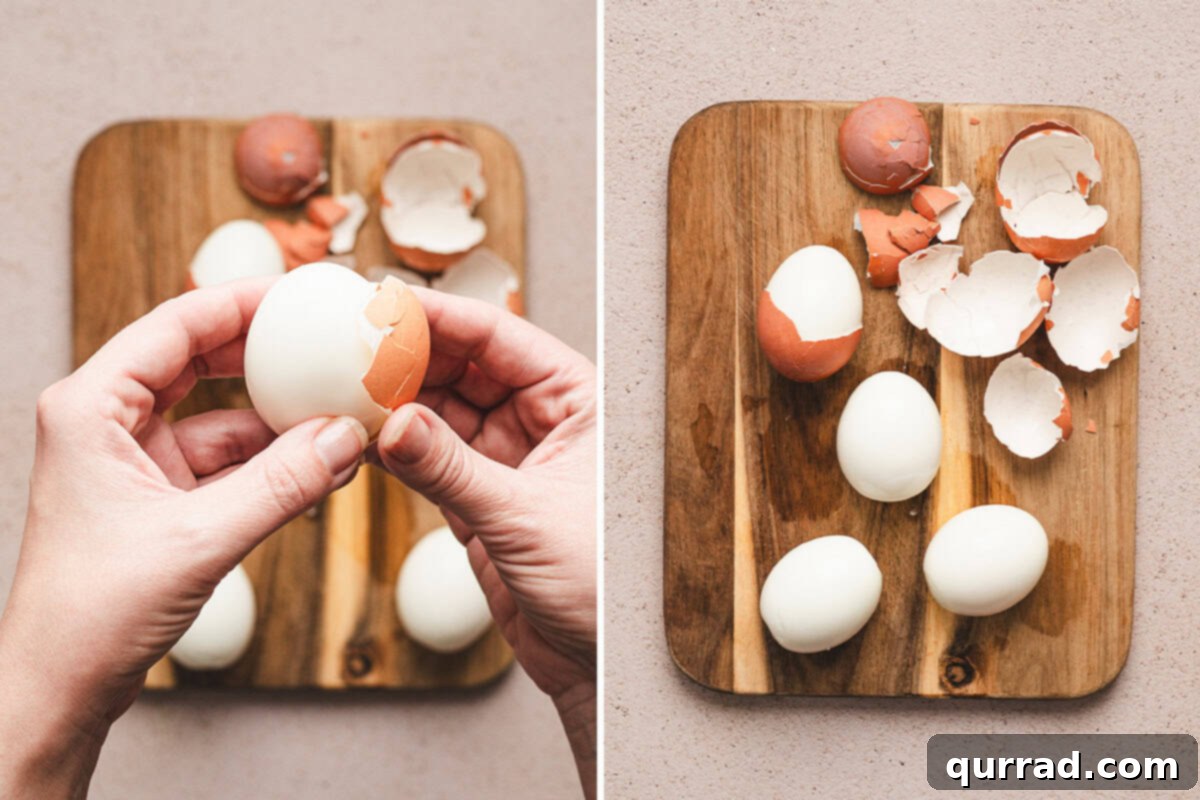
Step 4: Peel the Eggs – After the eggs have cooled, tap the larger end of each egg on a work surface to gently crack the shell. Gently roll the egg to create small fractures all over, which helps to loosen the shell. Begin peeling at the air pocket end, using a little water under the shell if needed to prevent tearing the egg.
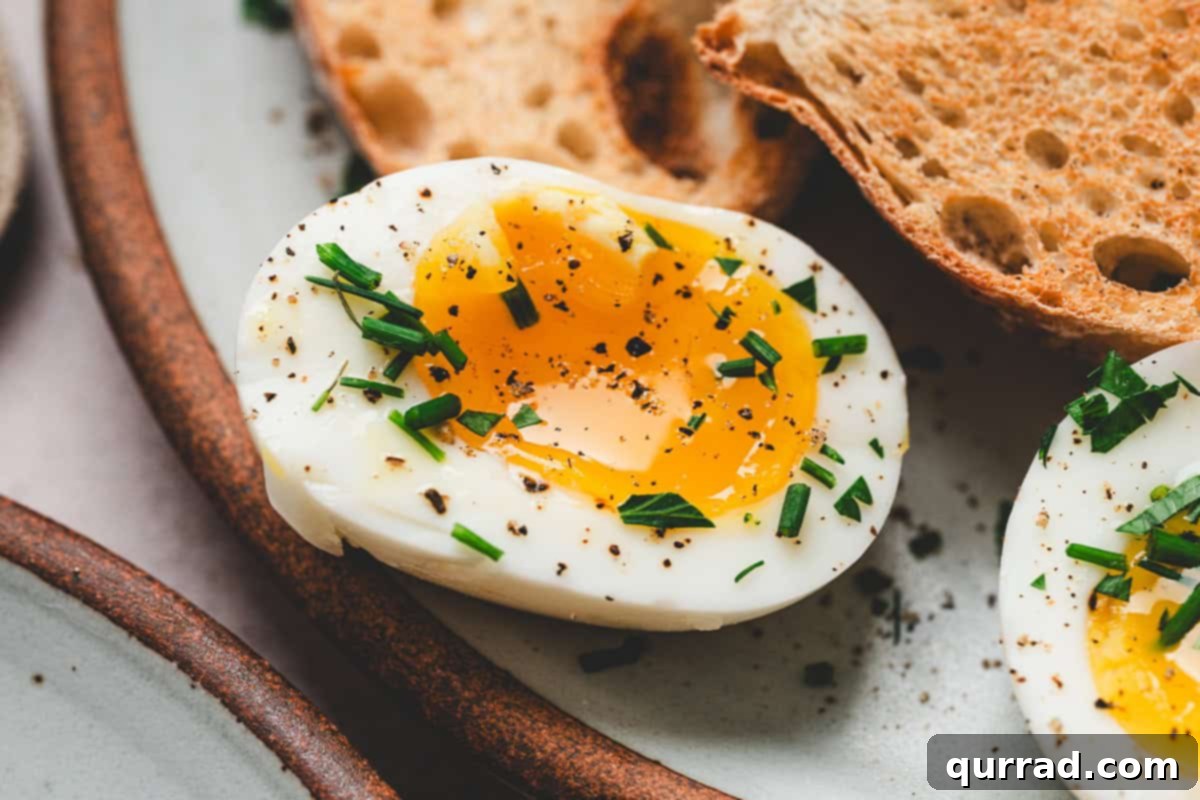
Step 5: Serve and Enjoy – Slice each egg in half or mash lightly and season with salt and pepper to taste. Explore toppings like chili crisp, everything bagel seasoning, or fresh herbs. Serve as is, or pair with toast or a flavorful bowl of ramen.
Elevate Your Jammy Eggs: Delicious Additions
Turn up the flavor of your jammy eggs with these delightful toppings and additions:
- Everything bagel seasoning
- Chili crisp or hot honey
- Fresh herbs like chives or parsley
- Flaky salt or smoked paprika
- Soy sauce or furikake for ramen
Jammy Egg Serving Suggestions: Versatility at Its Finest
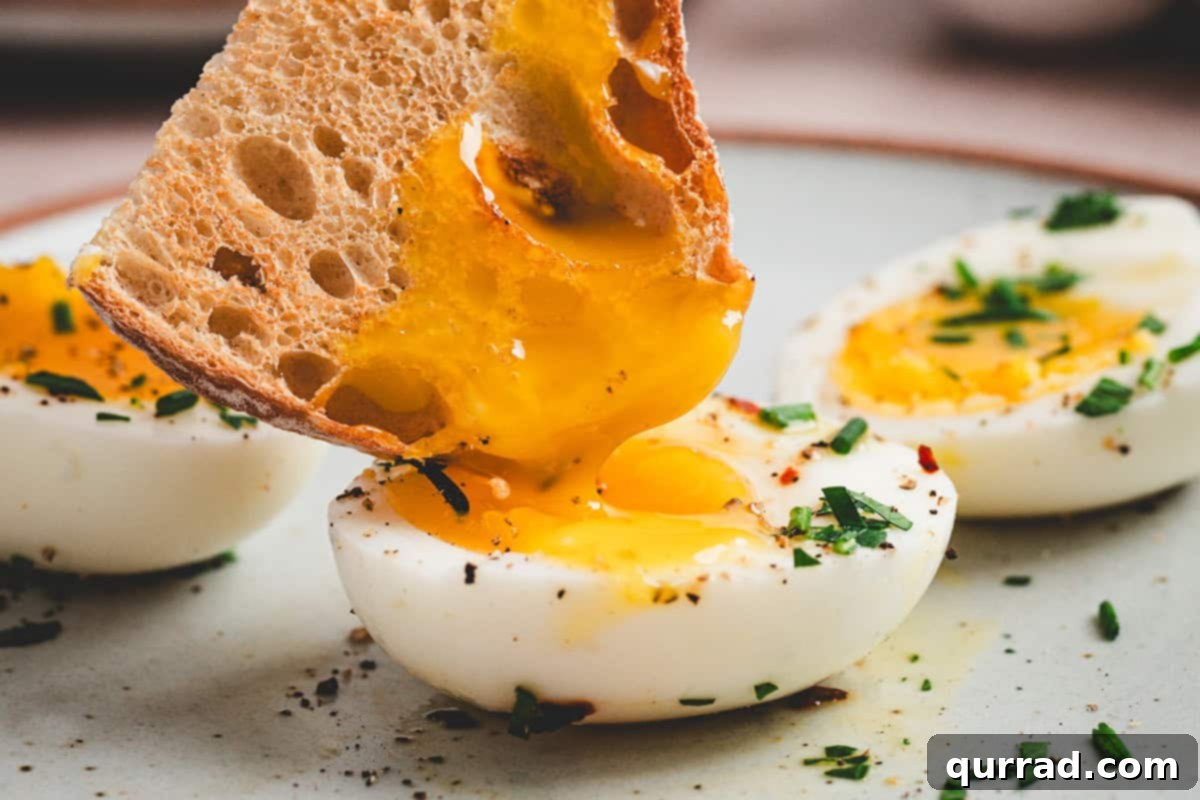
I frequently prepare jammy eggs because they complement virtually any meal. On most mornings, I slice and serve them with toasted Dutch oven bread, garnished with flaky salt and freshly ground black pepper. I particularly enjoy adding one to ground beef ramen bowls or hot and sour ramen soup for added richness and comfort. My kids are also fans, especially when I leave the yolk just runny enough for dipping bread into it, which always feels like a quick breakfast win. These eggs also shine on salads and grain bowls or can be mashed with chili crisp for a satisfying snack. Once you incorporate them into your routine, you’ll discover countless ways to enjoy them.
Storage Tips: Keeping Your Jammy Eggs Fresh
Jammy eggs store well, making them ideal for meal preparation. For optimal texture, store the eggs unpeeled in an airtight container in the refrigerator for up to seven days. If you prefer to peel them in advance, store the peeled eggs in a sealed container with a slightly damp paper towel or submerged in cold water to prevent them from drying out. Peeled eggs are best consumed within three days. Reheating is not recommended, as warming can cause the yolk to set and lose its signature soft, jammy center. They are best served straight from the refrigerator or allowed to sit at room temperature for a minute or two before serving.
Explore More Egg-cellent Recipes
Craving more delicious egg recipes? Check out these easy and flavorful options:
- The Best Scrambled Eggs
- 1-Minute Soufflé-Style Egg
- Frico Eggs
- Air Fryer Egg Frittata
We hope you enjoy this delightful and straightforward recipe. Don’t forget to rate it below and share your experience! And be sure to follow us on TikTok, Facebook, Instagram, Pinterest, and YouTube for more delicious recipes and cooking tips!