
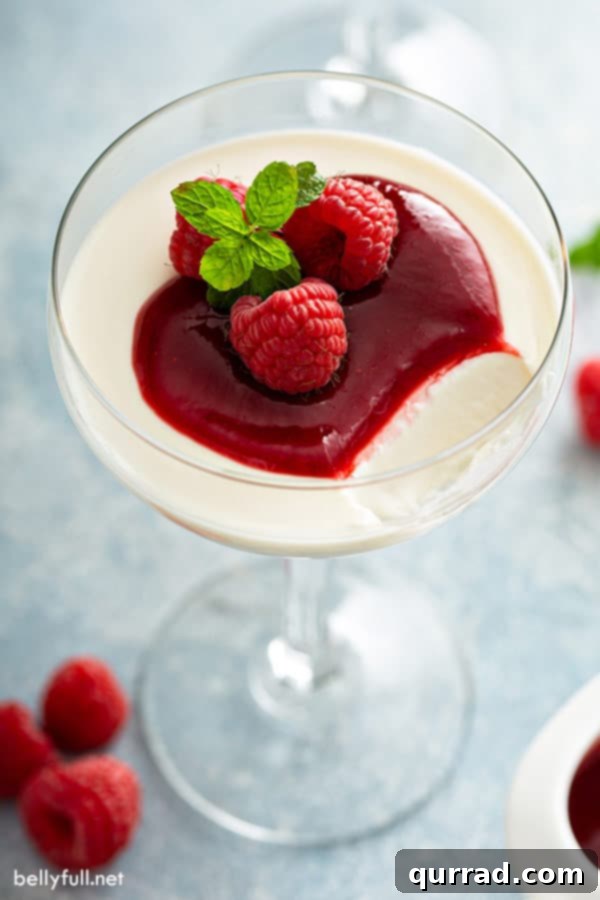
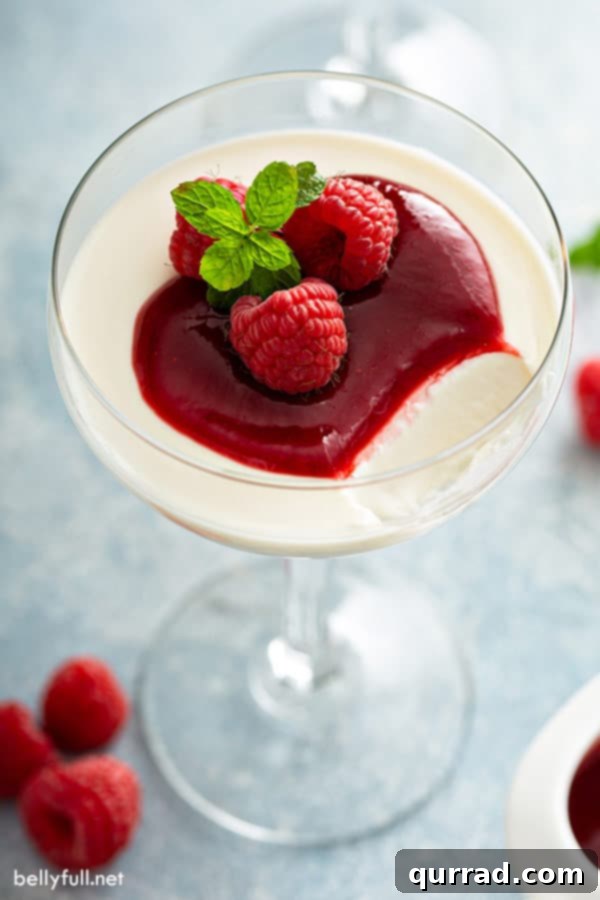
Panna cotta, meaning “cooked cream” in Italian, is a divinely simple yet sophisticated chilled dessert that has captivated palates worldwide. While it often graces the menus of upscale restaurants, its true beauty lies in how incredibly easy it is to create at home with just a few staple ingredients. This comprehensive guide will walk you through crafting a perfectly creamy, melt-in-your-mouth vanilla panna cotta that looks impressive served in elegant glasses or dramatically unmolded onto a dessert plate, often accompanied by a vibrant fruit sauce.
5 STAR REVIEW
“This recipe is excellent! Served it for Christmas dinner. My niece said it was so good. She couldn’t stop thinking about it. It’s going to become my family Christmas dessert tradition from now on.” – Debbie
What is Panna Cotta? The Quintessential Italian Dessert
Panna Cotta, an iconic Italian dessert, translates literally to “cooked cream,” perfectly describing its core essence. This beloved treat is essentially a chilled custard made from a delightful blend of sweetened cream, subtly thickened with unflavored gelatin. Unlike many traditional custards, panna cotta doesn’t rely on eggs for its silky texture, making it notably lighter and offering a distinctively delicate mouthfeel. Its simplicity belies its elegance, allowing the pure, rich flavor of cream and vanilla to shine through.
Originating from the Piedmont region of Italy, panna cotta has evolved from humble beginnings into a globally recognized dessert. Traditionally, it is prepared in small molds or ramekins, then artfully unmolded onto a plate and embellished with a variety of sweet fruit coulis, chocolate sauces, or caramel. Each spoonful delivers a luxurious, creamy sensation that melts effortlessly, leaving a lingering, sweet satisfaction. While it shares some similarities with other creamy desserts like crème brûlée or flan, panna cotta stands apart with its unique egg-free composition and often a less intensely sweet profile, allowing for a broader appreciation of its primary ingredients.
Our vanilla panna cotta recipe harnesses this classic approach, focusing on premium vanilla to elevate the creamy base. This dessert is not only a delight to eat but also incredibly versatile. It’s naturally gluten-free, and with a few simple substitutions, it can even be adapted for dairy-free or vegetarian diets, ensuring almost everyone can enjoy a taste of this Italian masterpiece. Its make-ahead nature also makes it an ideal choice for entertaining, allowing you to impress guests without last-minute kitchen stress.
Why You’ll Love This Easy Vanilla Panna Cotta Recipe
You might associate panna cotta with sophisticated dining experiences, but I’m here to tell you that this elegant dessert is surprisingly straightforward to prepare in your own kitchen. This recipe simplifies the process without compromising on taste or texture, making it perfect for both novice and experienced home cooks. Here’s why this vanilla panna cotta will become your new go-to dessert:
- Effortless Elegance: Despite its gourmet appearance, the steps are minimal. You’ll be amazed at how easily you can create such a beautiful and delicious treat.
- Few Ingredients, Big Flavor: With just a handful of basic ingredients – cream, sugar, gelatin, and vanilla – you can achieve a dessert that tastes incredibly luxurious and rich.
- Perfect Make-Ahead Dessert: Panna cotta requires chilling overnight, making it an ideal candidate for preparing in advance. This frees up your time on the day of your dinner party or special occasion.
- Customizable: While vanilla is a timeless choice, the base recipe is incredibly adaptable. You can infuse it with other flavors or experiment with various sauces and toppings to suit any preference or season.
- Naturally Gluten-Free: For those with dietary restrictions, this panna cotta is a naturally gluten-free option, ensuring that everyone at the table can enjoy a delightful dessert.
Forget complex techniques and long ingredient lists; this recipe delivers a sublime dessert experience with maximum impact and minimal effort. It’s truly a testament to the beauty of Italian culinary simplicity.
Essential Tips for Panna Cotta Perfection
Achieving that perfectly smooth, jiggly, and melt-in-your-mouth panna cotta is easier than you think. Here are some comprehensive tips, especially for beginners, to ensure your dessert turns out flawless every time:
- Understanding Gelatin: The Key to Structure: Gelatin is crucial for panna cotta’s set. Always “bloom” your gelatin first by sprinkling it over cold water and letting it sit for 5-10 minutes. This allows the granules to absorb water and swell, ensuring it dissolves smoothly into the warm cream mixture without clumps. If the gelatin isn’t fully dissolved, your panna cotta won’t set properly, leading to a runny or uneven texture.
- Mastering Temperature Control: When heating your cream mixture, the goal is to get it hot enough to dissolve the sugar and gelatin, but *never* to boil it. Boiling can degrade the gelatin’s thickening properties, rendering it ineffective. Aim for a gentle simmer or steaming point (around 140°F / 60°C). Remove it from the heat as soon as you see steam rising and small bubbles forming around the edges of the pan.
- Accelerating the Chilling Process (Optional but Handy): If you’re short on time and can’t wait for the mixture to cool to room temperature naturally, you can employ an ice bath. Place your saucepan or a heat-proof bowl containing the panna cotta mixture into a larger bowl filled with ice and a little water. Stir occasionally until the mixture cools down, then pour it into your chosen dessert cups or ramekins. This can significantly reduce the initial cooling time before refrigeration.
- Troubleshooting Setting Issues: If your panna cotta remains liquid after adequate chilling, revisit these potential culprits:
- Incomplete Gelatin Dissolution: Ensure the bloomed gelatin was whisked into the warm cream until no granules remained.
- Boiling the Cream: As mentioned, boiling destroys gelatin. Be vigilant about the temperature.
- Insufficient Chilling Time: Panna cotta needs ample time to set. Overnight chilling (10-12 hours) is ideal for a firm set and best flavor development, though at least 4-6 hours is usually the minimum.
- Perfecting the Unmolding Technique (if applicable): While serving in glasses is convenient, unmolding adds a touch of sophistication. To do this successfully:
- Run a thin, sharp knife (or a small offset spatula) around the top edge of each chilled ramekin to gently loosen the panna cotta from the sides.
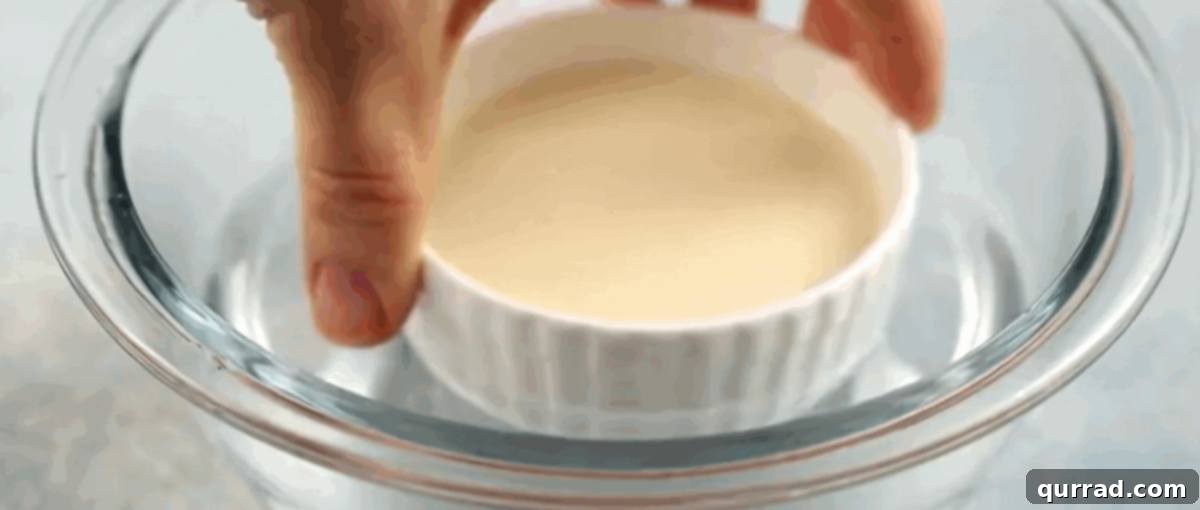
- Dip the bottom of each ramekin, one at a time, into a shallow bowl of hot (not boiling) water for about 3-5 seconds. This brief warmth helps to release the gelatin’s grip.
- Invert the ramekin onto the center of your serving plate. Give it a very gentle shake or a slight tug on the knife blade (if still inserted) and it should slide out beautifully. If it doesn’t, dip it again for another second or two.
- Flavor Enhancements and Variations: Don’t limit yourself to vanilla! You can experiment with other extracts (almond, peppermint), citrus zests (lemon, orange), or even coffee/chocolate infusions. Just add these with the vanilla extract.
Classic Vanilla Panna Cotta
5 minutes
5 minutes
12 hours
12 hours 10 minutes
8
Pin
This vanilla panna cotta recipe is a simple, creamy, classic Italian dessert. It’s incredibly easy to make, but looks so impressive and tastes luxurious served with a rich fruit sauce. Also naturally gluten-free and can be altered for a dairy-free or vegetarian version. See below the recipe card for step-by-step images and detailed instructions.
Ingredients
- 2 tbsp cold water
- .25 oz. unflavored gelatin, (1 tbsp)
- 2 cups heavy cream
- 1 cup half and half*
- 1/3 cup granulated sugar
- 2 tsp vanilla extract
- raspberry sauce, for serving
- small fresh mint leaves, for serving
Instructions
-
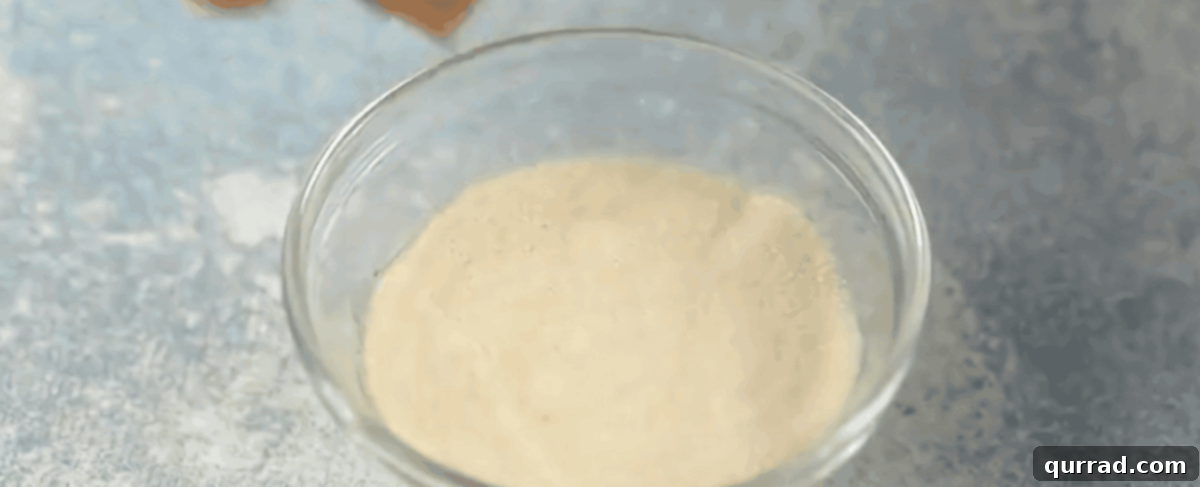
Bloom the gelatin: Pour the cold water into a small bowl. Evenly sprinkle the powdered gelatin over the water. Allow it to sit undisturbed for 5-10 minutes, or until the gelatin has absorbed the water and become thick and jelly-like. This process is essential for ensuring a smooth, lump-free panna cotta.
-
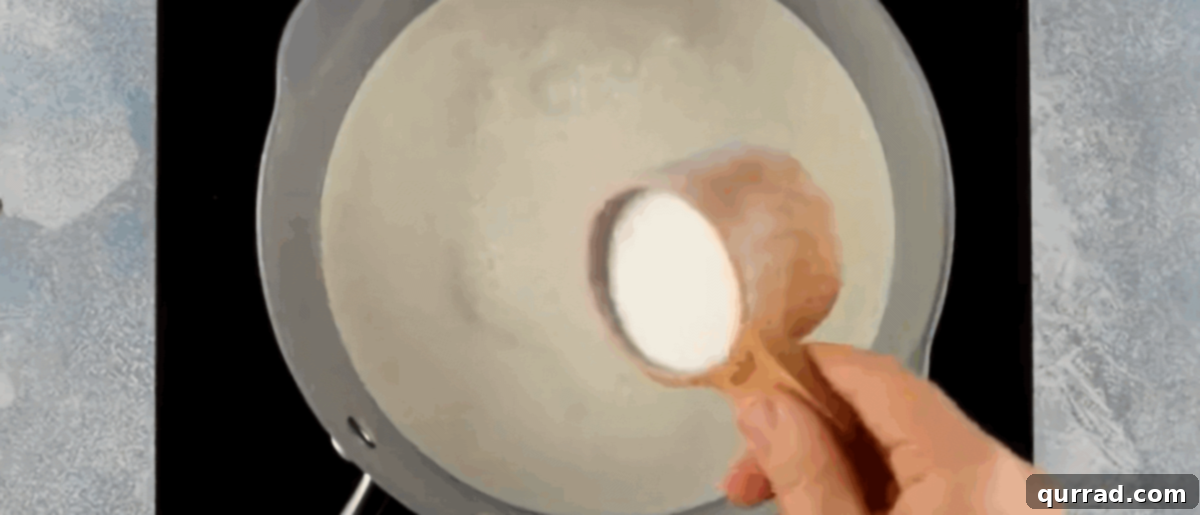
Heat the cream mixture: In a medium to large saucepan, combine the heavy cream, half and half, and granulated sugar. Place the saucepan over medium heat. Whisk continuously and gently to help the sugar dissolve and prevent scorching. Heat the mixture until it is hot and steaming, reaching approximately 140°F (60°C). It is crucial not to let the mixture come to a rolling boil, as this can destroy the gelatin’s setting ability.
-
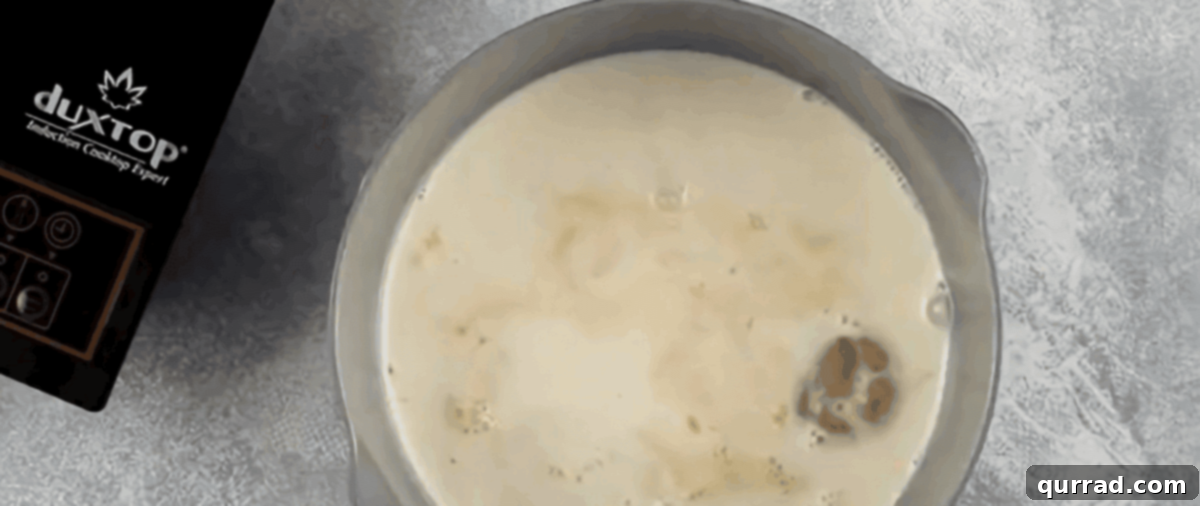
Dissolve gelatin and add vanilla: Immediately remove the pan from the heat. Add the bloomed gelatin and the vanilla extract to the hot cream mixture. Whisk vigorously until the gelatin is completely dissolved and no lumps remain. The residual heat from the cream will help the gelatin melt seamlessly. Stirring ensures even distribution of vanilla flavor.
-
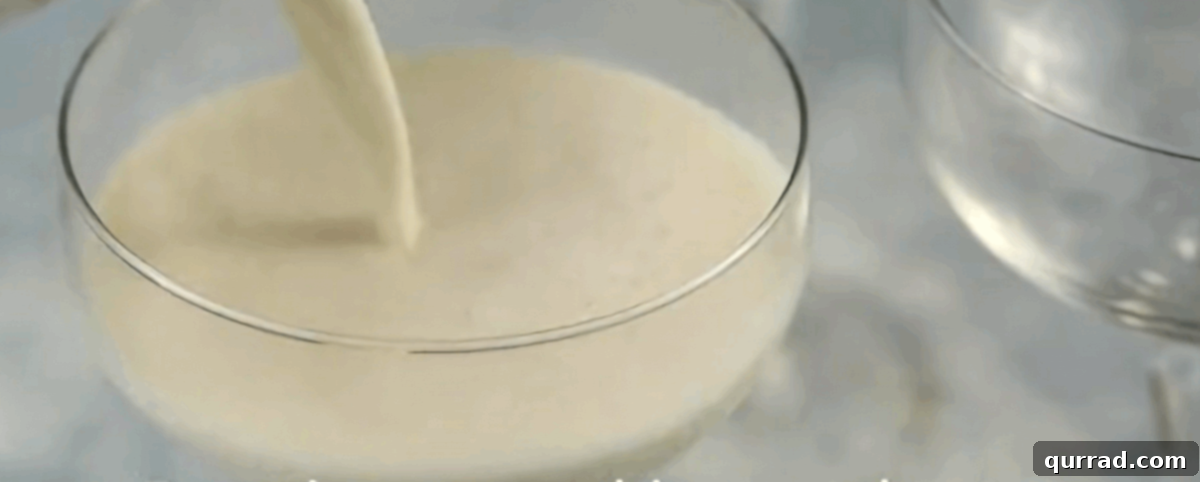
Portion and chill: Carefully divide the warm cream mixture among eight 4-ounce ramekins, small glasses, or decorative tumblers. Fill each container to about ½ cup, leaving a small space at the top. Allow the panna cotta to cool completely to room temperature on your countertop. Once cooled, cover each ramekin or glass with plastic wrap to prevent a skin from forming and absorb refrigerator odors. Transfer them to the refrigerator and chill for a minimum of 6 hours, but ideally overnight (10-12 hours), for the best set and flavor.
-
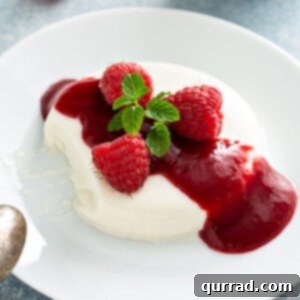
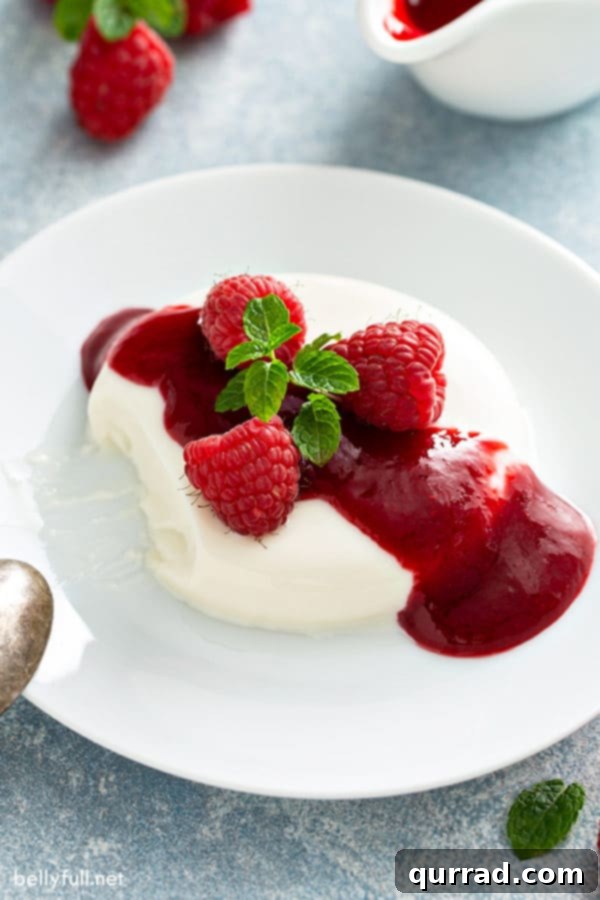
Unmolding (optional): If you prefer the classic unmolded presentation, gently run a thin, dull knife or a small offset spatula around the inside top edge of each chilled ramekin to loosen the panna cotta. Next, prepare a shallow bowl of hot (but not boiling) water. Dip the bottom of each ramekin, one at a time, into the hot water for approximately 3 seconds. This brief warmth helps to melt the outer layer of the panna cotta just enough for it to release. Quickly invert the ramekin onto the center of a small serving plate. A slight, gentle shake should allow the panna cotta to slide out cleanly. If it doesn’t, dip it again for another second.
-
Garnish and serve: Just before serving, drizzle each panna cotta with 1-2 tablespoons of your favorite raspberry sauce or other fruit coulis. For an added touch of elegance and freshness, garnish with a small fresh mint leaf. Serve immediately and savor this exquisite Italian dessert!
Video Guide
Recipe Notes
*The half ‘n half can be substituted with ¾ cup heavy cream and ¼ cup whole milk. In total, you will be using 2 3/4 cups heavy cream and 1/4 cup whole milk. This adjustment maintains the rich consistency.
Vegetarian Option: For a vegetarian version, substitute gelatin with an equal amount of agar-agar powder, following the package instructions for activation, as it may differ slightly from gelatin. Agar-agar sets more firmly, so you might need to adjust quantities for a delicate wobble.
Dairy-Free Option: To make this panna cotta dairy-free, replace heavy cream and half and half with full-fat coconut milk (from a can, well-shaken) and almond milk respectively. Be aware that coconut milk will impart a subtle coconut flavor.
Nutrition Facts
Carbohydrates: 11g |
Protein: 3g |
Fat: 25g |
Saturated Fat: 16g |
Cholesterol: 93mg |
Sodium: 37mg |
Potassium: 84mg |
Sugar: 9g |
Vitamin A: 982IU |
Vitamin C: 1mg |
Calcium: 70mg
Nutritional information is an estimate provided by an online calculator and can vary based on specific product brands, ingredient substitutions, and preparation methods. If precise dietary values are critical, please calculate them independently using your exact ingredients.
Did you make this? Leave a rating below!
How to Make Panna Cotta: Step-by-Step Visual Guide
For those who appreciate a visual walkthrough, here’s a detailed step-by-step guide with accompanying images to ensure your panna cotta preparation is smooth and successful:
How to Store Homemade Panna Cotta
One of the many advantages of panna cotta is its excellent make-ahead potential. This characteristic makes it an ideal dessert for entertaining, as it allows you to prepare it well in advance and eliminate last-minute stress. Once chilled and fully set, panna cotta will keep beautifully in the refrigerator. To store, ensure each serving (whether in ramekins or glasses) is individually covered tightly with plastic wrap to prevent it from absorbing any refrigerator odors and to maintain its fresh texture. Properly stored, your homemade panna cotta will remain delicious for up to 3 days. Always remember to add your chosen fruit sauce or garnishes just before serving to maintain their freshness and vibrant appearance.
Creative Serving Suggestions & Flavor Variations
While classic vanilla panna cotta is a delight on its own, its versatility truly shines when you explore different serving styles and flavor combinations. Don’t be afraid to get creative!
Presentation Ideas:
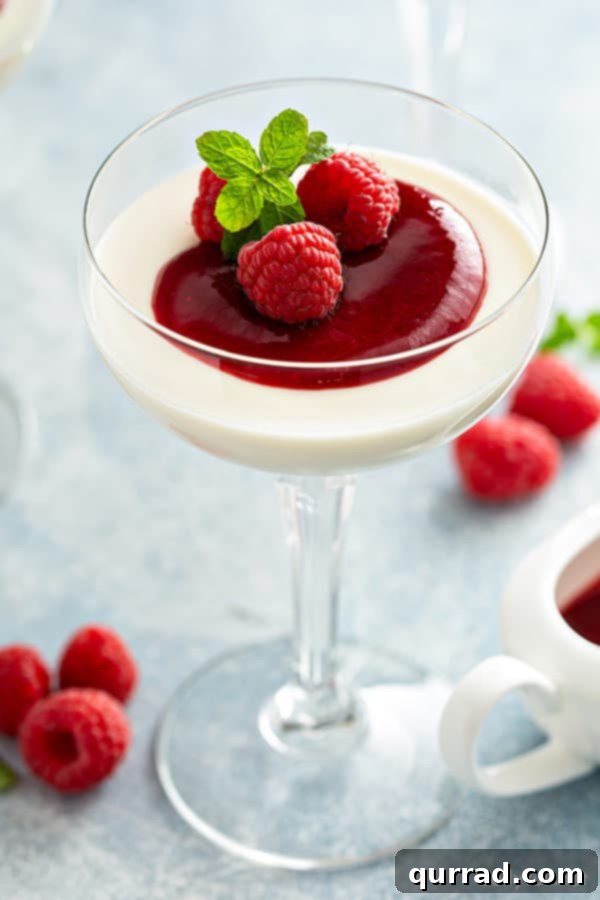
- Classic Unmolded: As detailed in the instructions, unmolding panna cotta onto a plate offers an elegant, restaurant-quality presentation. This allows the sauce to pool beautifully around the base.
- Served in Glasses: For a simpler yet equally chic approach, serve the panna cotta directly in wine glasses, tumblers, or small jars. This eliminates the need for unmolding and makes for easy serving. Layering fruit or sauce at the bottom before pouring the cream can also create an appealing visual.
- Parfaits: For a delightful texture contrast, layer cooled panna cotta with fruit compotes, crushed cookies, or granola in clear glasses to create attractive parfaits.
Sauces and Toppings:
The right accompaniment can elevate your panna cotta from delicious to extraordinary. Here are some favorites:
- Fruit Sauces: A vibrant raspberry sauce is a traditional and highly recommended pairing, offering a lovely tart contrast to the sweet cream. Other berry sauces like strawberry, blueberry, or mixed berry coulis also work wonderfully. Simple fruit compotes made with peaches, cherries, or mangoes are equally delightful.
- Caramel & Chocolate: For those with a sweeter tooth, a rich salted caramel sauce or a decadent homemade chocolate sauce provides a luxurious topping. You can also dust your panna cotta with cocoa powder and garnish with elegant chocolate curls for a sophisticated finish.
- Nutty Crunch: A sprinkle of toasted slivered almonds, crushed pistachios, or candied pecans can add a delightful textural crunch.
- Herbal Touches: Fresh mint leaves are a classic garnish, adding a refreshing aroma and a pop of green color.
Flavor Variations:
Beyond vanilla, the possibilities are endless for infusing your panna cotta:
- Coffee Panna Cotta: Dissolve 1-2 teaspoons of instant espresso powder into the hot cream mixture.
- Lemon or Orange Zest Panna Cotta: Add 1-2 tablespoons of finely grated citrus zest to the cream as it heats, then strain it out before chilling for a subtle citrusy aroma.
- Spiced Panna Cotta: Infuse the cream with cinnamon sticks, star anise, or cardamom pods while heating, then strain.
- Coconut Panna Cotta: Substitute some or all of the heavy cream with full-fat coconut milk for a tropical twist (especially good with mango sauce!).
Other Dreamy Desserts to Explore
If you’ve fallen in love with the smooth, creamy texture of panna cotta, you might also enjoy these other delightful and easy-to-make desserts:
- Homemade Tapioca Pudding
- No-Bake Chocolate Pudding Pie
- Easy Lemon Trifle
- White Chocolate Raspberry Parfaits
Mastering panna cotta opens up a world of elegant dessert possibilities with minimal fuss. Enjoy creating this creamy Italian classic and delighting your loved ones with a taste of pure bliss!