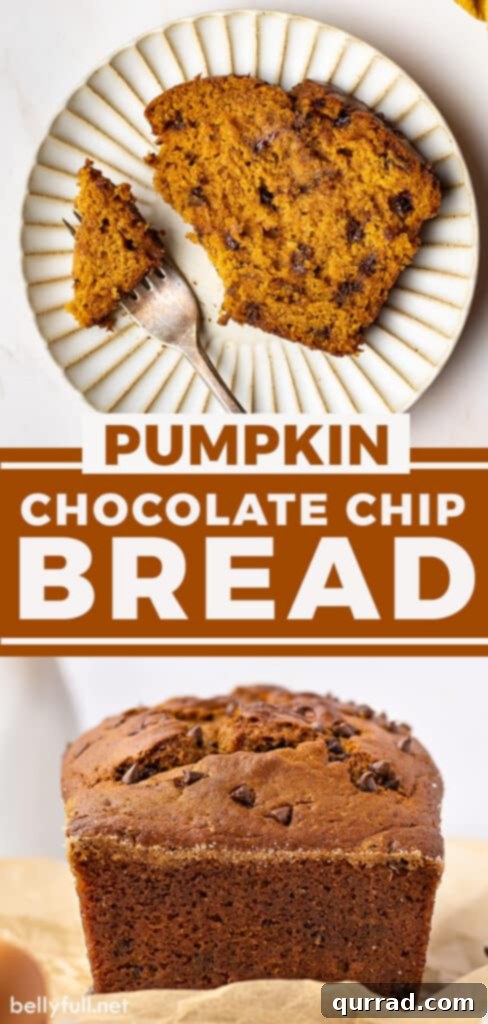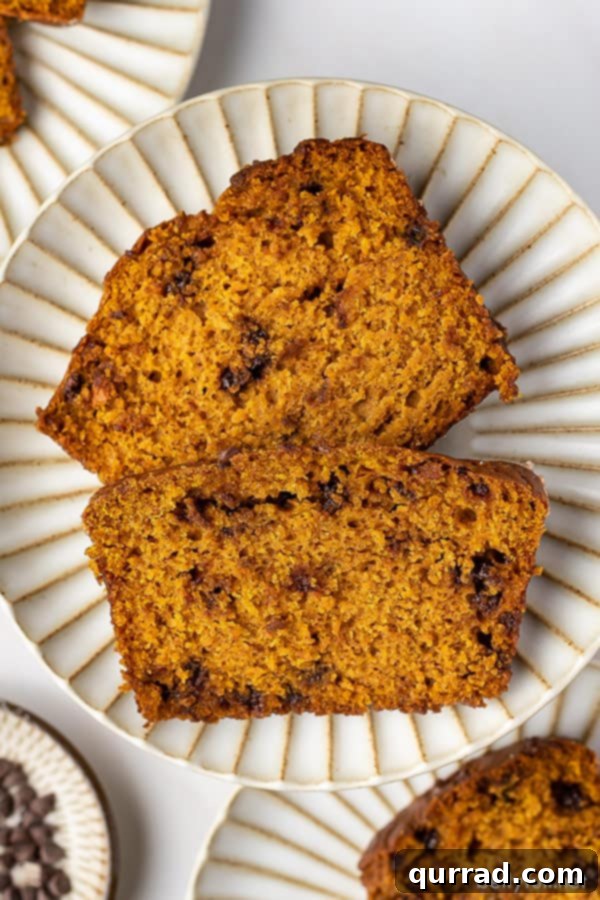
Welcome to your new favorite fall tradition! This irresistibly moist and tender Pumpkin Chocolate Chip Bread is the epitome of comfort, making it a quick and easy treat perfect for any occasion. Whether you’re looking for a delightful breakfast, a satisfying afternoon snack, or a warm dessert, this bread delivers. Best of all, you don’t need any fancy equipment – just a bowl and a spatula will do the trick!
Imagine a crisp autumn morning, the aroma of warm spices filling your home, and a slice of this heavenly bread in hand. Enjoy it fresh from the oven, perhaps with a generous swipe of cinnamon butter, for an experience that truly captures the essence of the season.
Discovering the Best Pumpkin Chocolate Chip Bread
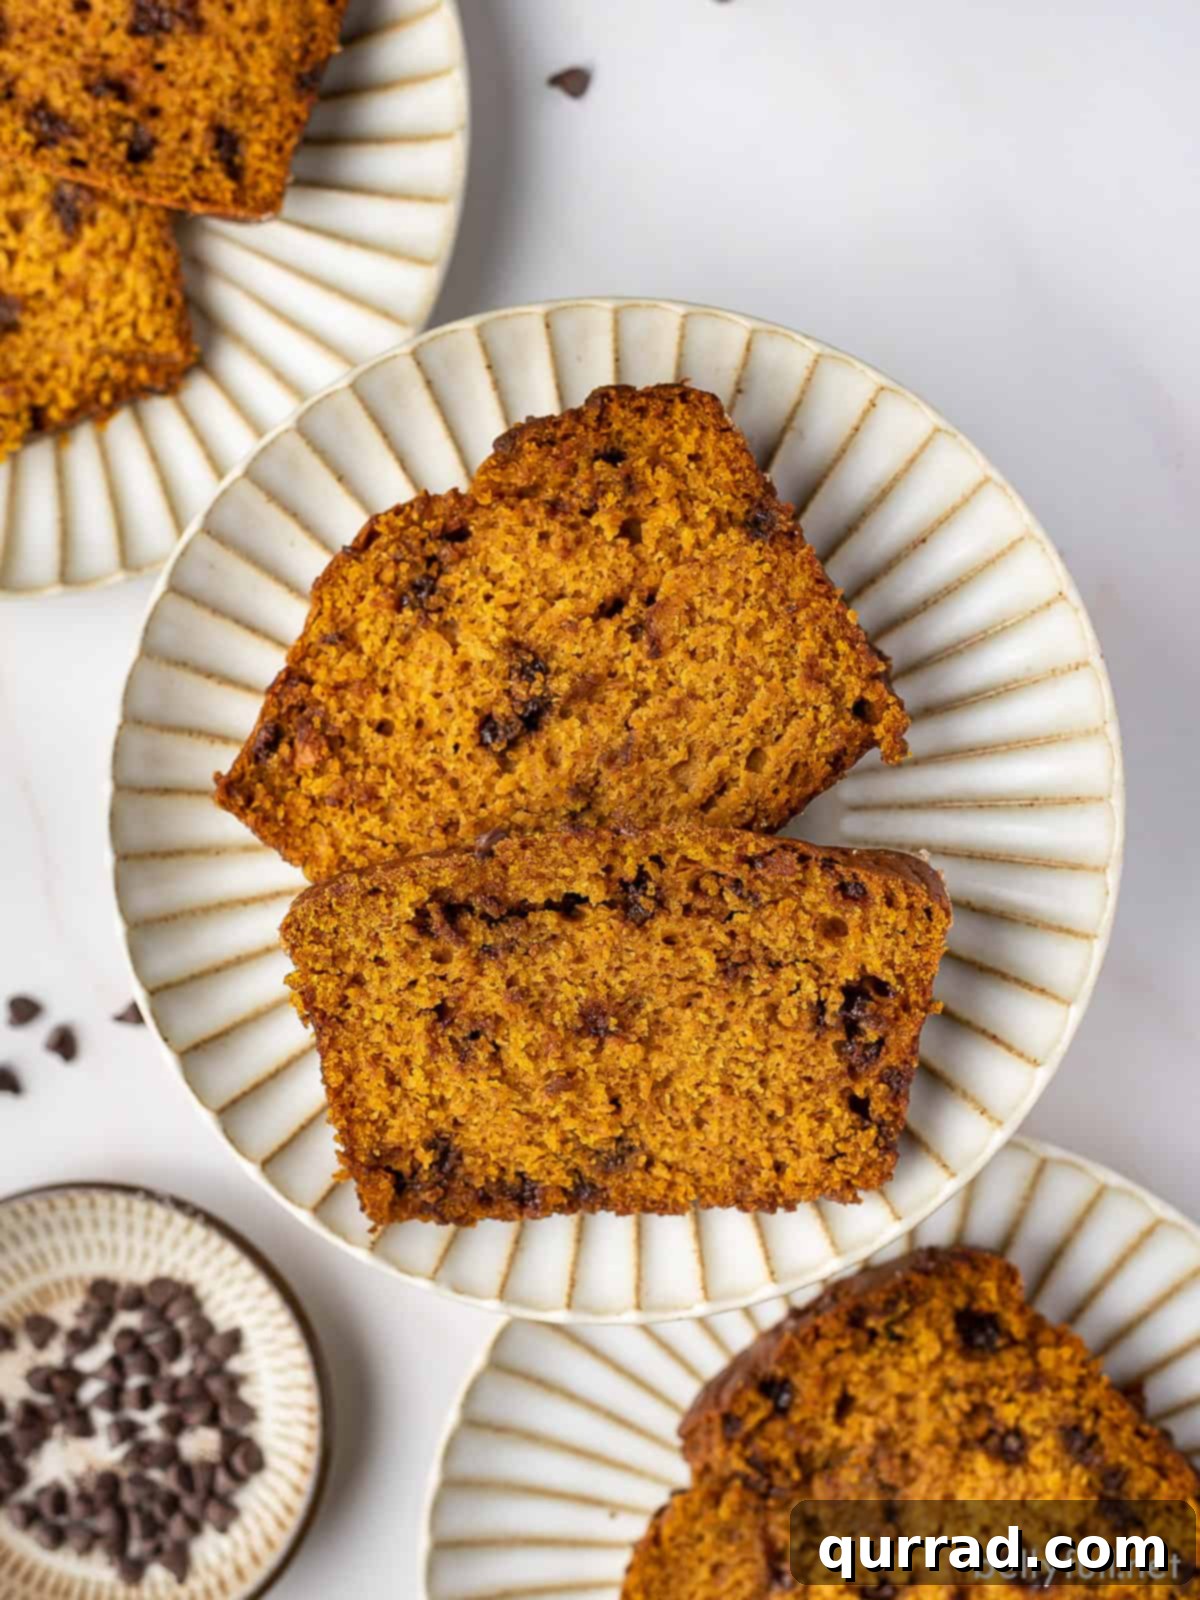
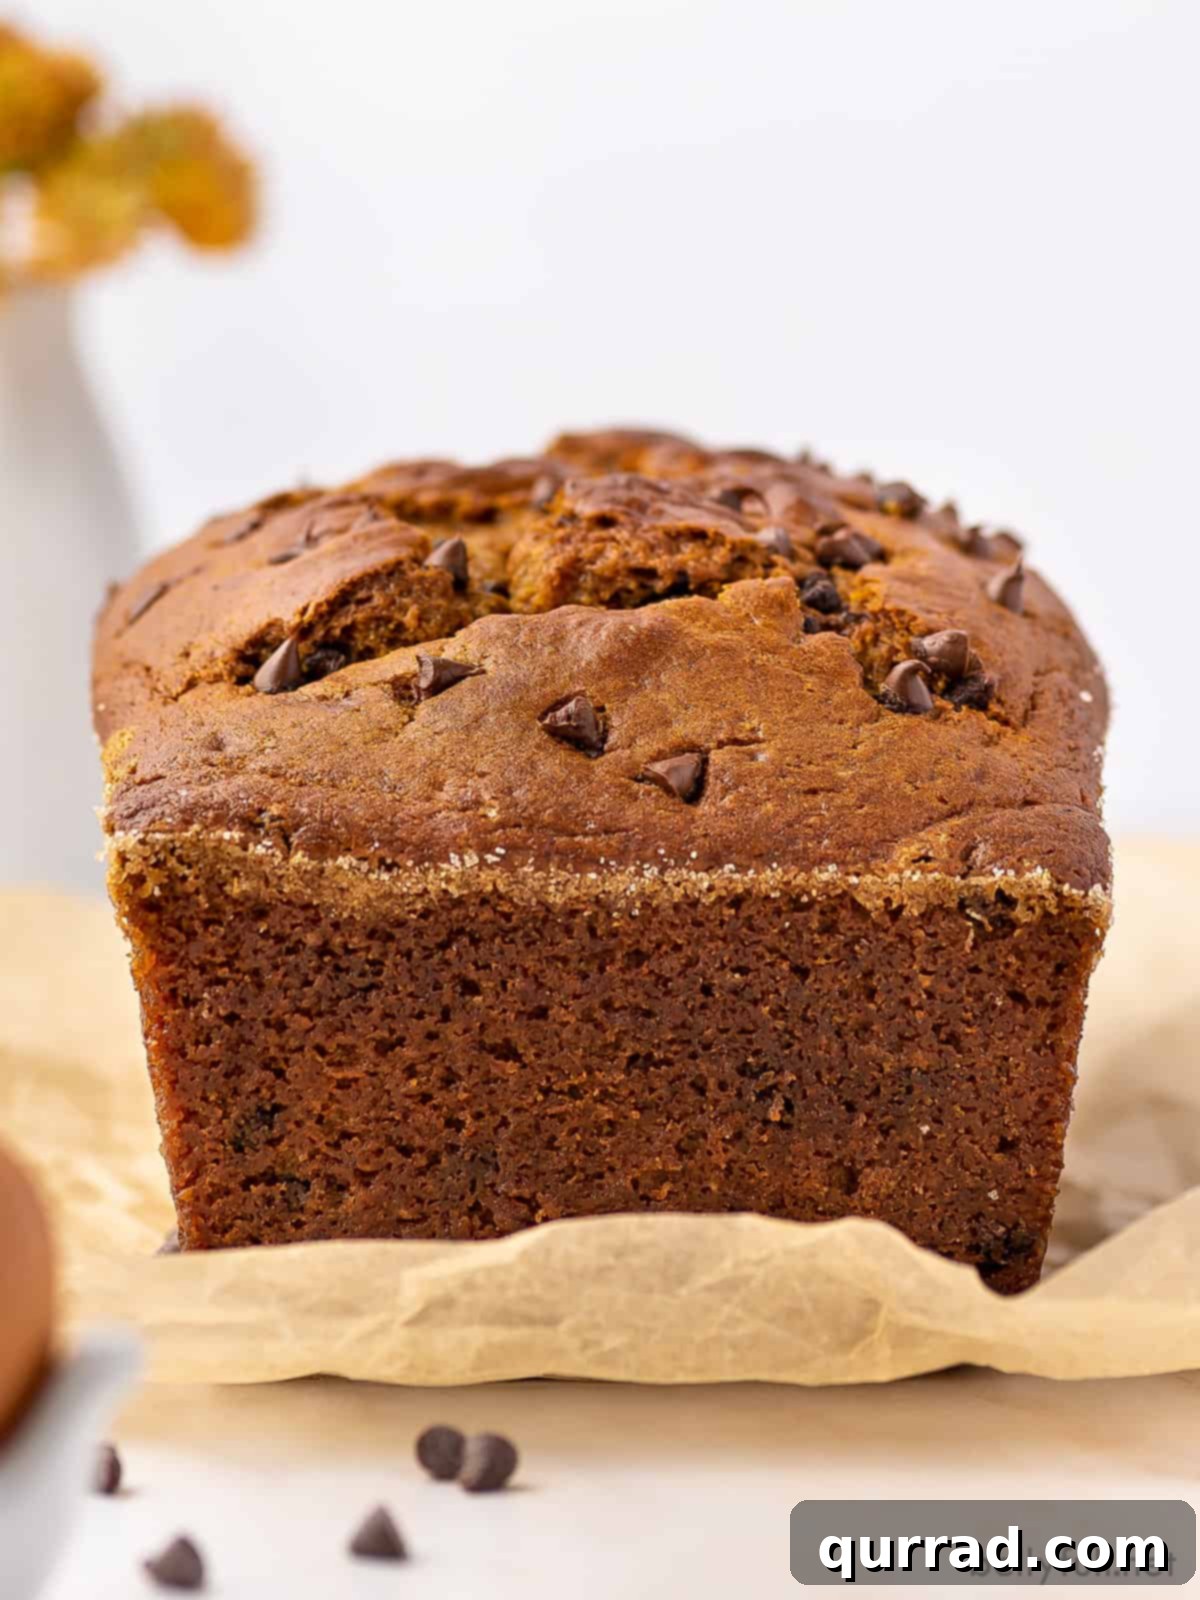
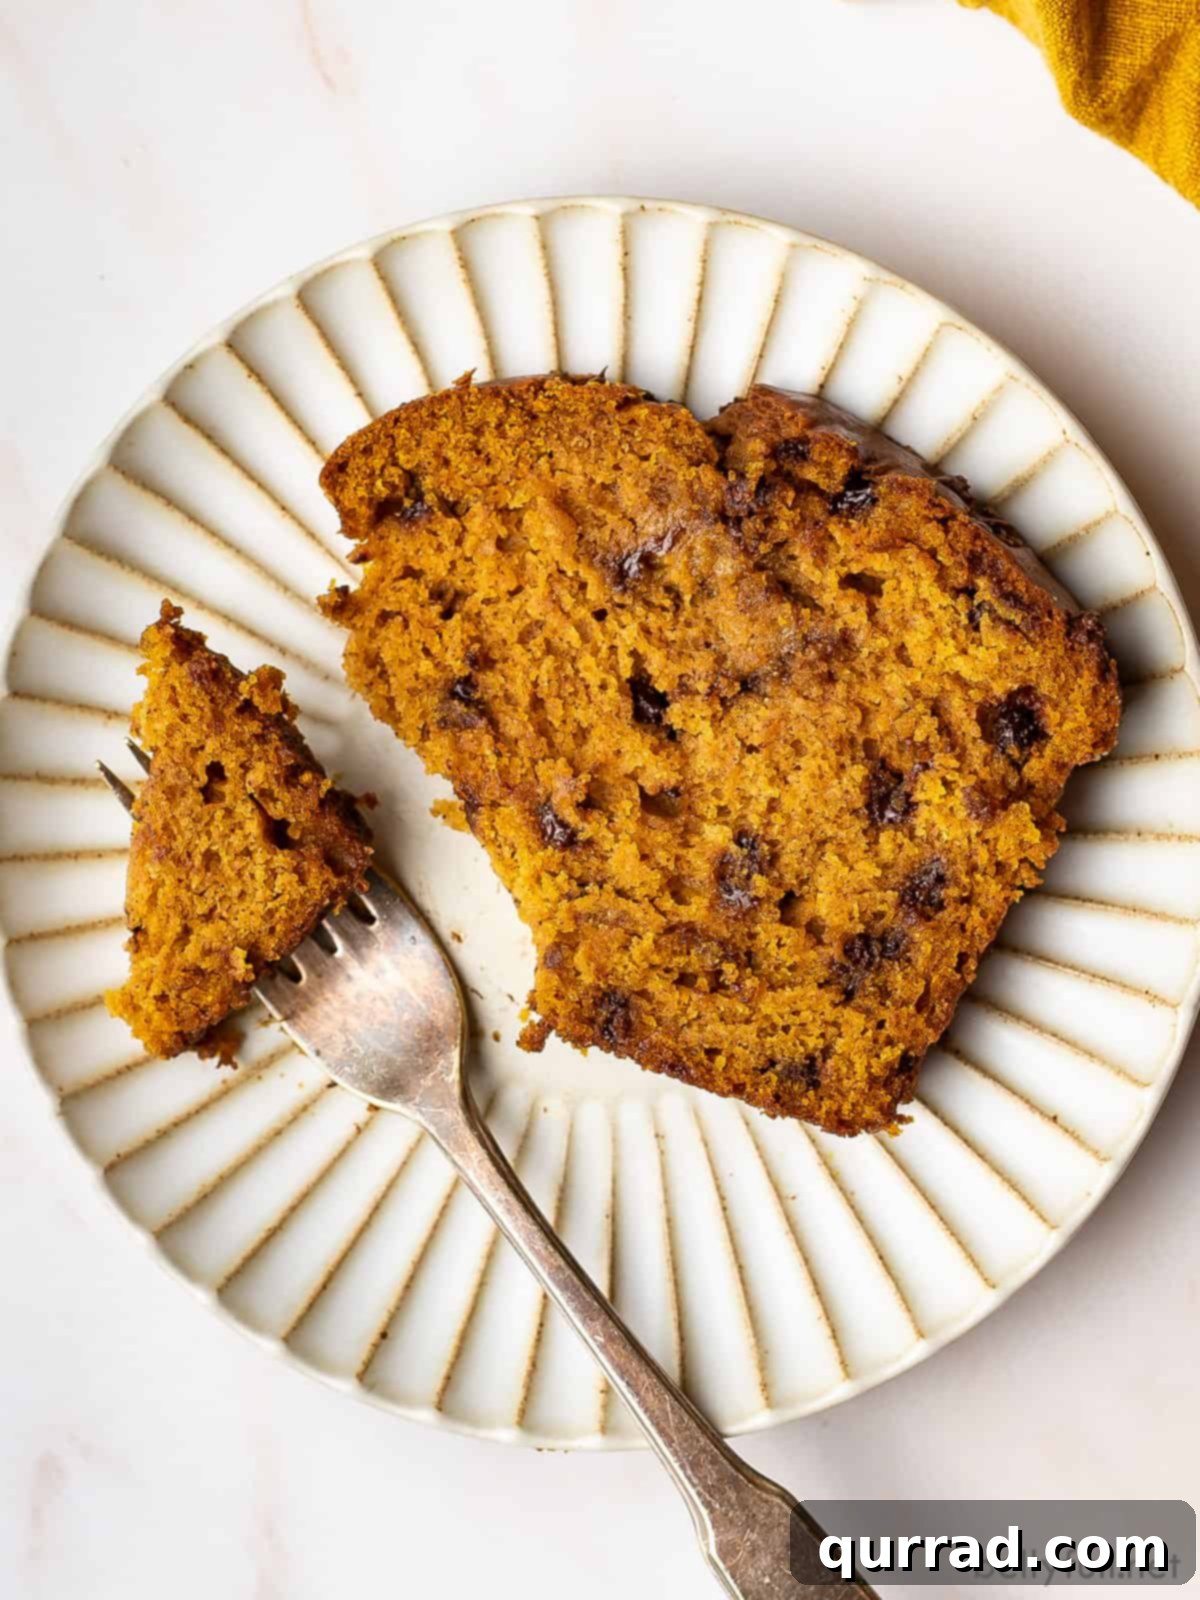
What makes this particular Pumpkin Chocolate Chip Bread recipe stand out? It’s a harmonious blend of rich pumpkin flavor, warm spices, and the delightful sweetness of chocolate chips, all culminating in a loaf that is exceptionally moist and tender. Every bite is an experience, balanced perfectly between the earthy notes of pumpkin and the indulgent bursts of chocolate. But there’s a secret ingredient that elevates this recipe from great to truly exceptional: a sweet and warmly spiced cinnamon-sugar crust that coats the entire loaf. This isn’t just an ordinary quick bread; it’s a culinary masterpiece that draws inspiration from the technique used in my acclaimed banana bread, guaranteeing a delicious caramelized exterior that provides an irresistible textural contrast to the soft interior.
Beyond its incredible taste, this recipe is designed for simplicity. Forget the hassle of dragging out a heavy electric mixer or a cumbersome blender. All you need are a few basic kitchen tools – a mixing bowl, a whisk, and a spatula – to create a bakery-quality loaf right in your own kitchen. This makes it an ideal recipe for busy weeknights, lazy weekends, or when you simply crave the comforting flavors of fall without the fuss.
Why You’ll Fall in Love with This Recipe
If you’re searching for a foolproof recipe that captures the spirit of autumn, look no further. This Pumpkin Chocolate Chip Bread is:
- Effortlessly Easy: No special equipment or advanced baking skills are required. It’s a straightforward recipe that yields impressive results every time.
- Incredibly Moist: Thanks to key ingredients like pumpkin puree and sour cream, this bread boasts an unparalleled moistness that keeps it fresh for days.
- Bursting with Flavor: A generous amount of pumpkin puree and aromatic pumpkin pie spice ensures a deep, authentic pumpkin flavor in every slice, perfectly complemented by rich chocolate chips.
- Perfect for Any Occasion: Whether served warm for breakfast, packed in lunchboxes, enjoyed as an afternoon treat with coffee, or presented as a comforting dessert, it’s always a hit.
- A Seasonal Favorite: The quintessential fall bake that embodies the coziness and warmth of the season, making it perfect for holiday gatherings or simply enjoying at home.
Essential Ingredients for Your Perfect Loaf
The magic of this pumpkin bread lies in a carefully selected combination of ingredients that ensure maximum flavor and moisture. Each component plays a crucial role in creating a balanced and delicious loaf. Below, we’ll dive deeper into why each ingredient is chosen and how it contributes to the final result.
(You’ll find precise measurements and detailed instructions in the printable recipe card further down this page.)
- Cinnamon-Sugar Crust: This isn’t just a garnish; it’s a game-changer. A simple mixture of granulated sugar and ground cinnamon is swirled into your buttered loaf pan. As the bread bakes, this mixture caramelizes, creating a wonderfully crisp, sweet, and fragrant crust that adds an extra layer of flavor and texture, setting this bread apart.
- Sugars (Granulated and Brown): The combination of both granulated sugar and brown sugar is vital. Granulated sugar provides foundational sweetness and helps tenderize the crumb, while brown sugar adds a deeper, molasses-rich flavor profile and contributes significantly to the bread’s moistness and chewy texture.
- All-Purpose Flour: The backbone of any quick bread, regular all-purpose flour provides the necessary structure. Ensure you measure it correctly by spooning it into your measuring cup and leveling it off, rather than scooping directly from the bag, which can lead to a denser loaf.
- Pumpkin Pie Spice: This fragrant blend is key to achieving that classic fall flavor. I highly recommend using my homemade pumpkin pie spice recipe, which contains just five common spices. Alternatively, a good quality store-bought blend works perfectly. It infuses the bread with notes of cinnamon, nutmeg, ginger, and cloves, enhancing the pumpkin beautifully.
- Baking Soda: As a leavening agent, baking soda reacts with the acidic ingredients (like pumpkin puree and sour cream) to create carbon dioxide bubbles. These bubbles expand during baking, helping the bread rise and creating a light, airy texture.
- Salt: A pinch of salt is essential for balancing the sweetness and enhancing all the other flavors in the bread. Don’t skip it, as it prevents the bread from tasting flat.
- Pure Pumpkin Puree: This is the star ingredient! Make absolutely sure you grab a can of pure pumpkin puree and not pumpkin pie filling. Pumpkin pie filling contains added sugars and spices that will alter the flavor and texture of your bread. Pure pumpkin puree provides moisture, a beautiful orange hue, and that unmistakable pumpkin taste.
- Sour Cream: This is one of my “secret ingredients” for achieving an incredibly moist and tender crumb. The fat and acidity in sour cream break down gluten strands, resulting in a softer texture, and add a subtle tang that complements the sweetness. If sour cream isn’t available, full-fat Greek yogurt can be used as a suitable substitute.
- Vegetable Oil: Unlike butter, which can make baked goods dense, vegetable oil contributes pure, consistent moisture without adding additional flavor. It helps keep the bread soft and tender. Canola oil or other neutral-flavored oils can be substituted; however, avoid strong-flavored oils like olive oil.
- Vanilla Extract: Just a splash of good quality vanilla extract enhances all the other flavors, adding a warm, aromatic depth to the bread.
- Mini Chocolate Chips: While regular-sized chocolate chips certainly work, mini chocolate chips are my preference because they distribute more evenly throughout the batter, ensuring a delightful chocolate burst in every single bite. Don’t forget to reserve a small handful for sprinkling on top before baking, creating a beautiful visual appeal.
Crafting Your Perfect Pumpkin Chocolate Chip Loaf: A Step-by-Step Guide
Creating this wonderfully moist chocolate chip pumpkin bread is surprisingly simple and requires no electric mixer, making it accessible for bakers of all skill levels. Follow these easy steps to achieve a perfectly baked loaf every time:
(For the complete, detailed recipe with precise measurements, please refer to the printable recipe card below.)
- Prepare Your Pan and Preheat Oven: Begin by preheating your oven to a steady 350 degrees F (175 degrees C). This ensures your oven is at the correct temperature when the bread goes in, promoting even baking. Next, thoroughly grease a 9×5-inch nonstick loaf pan with butter. Make sure to cover every inch, including the corners, to prevent sticking and ensure a beautiful release. In a small bowl, combine the cinnamon and granulated sugar for the crust. Sprinkle this mixture into the buttered pan, swirling it around until the pan is evenly coated. Discard any excess cinnamon-sugar. This step creates that incredible caramelized crust.
- Whisk Wet Ingredients: In a large mixing bowl, combine the granulated sugar, brown sugar, vegetable oil, large eggs, and vanilla extract. Whisk these ingredients together vigorously until they are well combined and the mixture appears smooth and creamy. This helps to dissolve the sugars and incorporate air, contributing to a tender crumb.
- Combine Dry Ingredients: In a separate bowl, sift together the all-purpose flour, pumpkin pie spice, baking soda, and salt. Sifting helps to eliminate lumps and ensures these dry ingredients are evenly distributed, leading to a consistent texture in your bread.
- Gently Combine Wet and Dry: Gradually add the dry ingredient mixture to the wet ingredients in the large bowl. Using a spatula or wooden spoon, stir until just combined. Be careful not to over-mix; over-mixing can develop the gluten in the flour too much, resulting in a tough, dense bread. A few streaks of flour are perfectly acceptable at this stage.
- Incorporate Pumpkin and Sour Cream: Now, gently stir in the pure pumpkin puree and sour cream. Continue to mix until they are just incorporated into the batter. Again, resist the urge to over-mix. These ingredients contribute significantly to the bread’s moisture and tenderness.
- Fold in Chocolate Chips: Finally, gently fold in the mini chocolate chips until they are evenly distributed throughout the batter. You want them well dispersed but avoid crushing them or overworking the batter.
- Bake to Perfection: Pour the prepared batter into your cinnamon-sugar coated loaf pan, spreading it evenly. For an extra touch, sprinkle a few more mini chocolate chips over the top. Transfer the pan to the preheated oven and bake for approximately 60 minutes. Begin checking for doneness around the 55-minute mark. The bread is ready when a wooden skewer or toothpick inserted into the center comes out clean or with only a few moist crumbs attached. If the top of the loaf starts to brown too quickly, loosely tent it with aluminum foil during the last part of the baking time to prevent over-browning.
- Cool and Enjoy: Once baked, remove the loaf pan from the oven and allow the bread to cool in the pan for about 10-15 minutes. This allows the bread to set and prevents it from falling apart when removed. After this initial cooling, carefully transfer the bread from the pan to a wire cooling rack to cool completely. Cooling on a rack ensures air circulation around all sides, preventing the bottom from becoming soggy and allowing the internal structure to fully set. Slice and savor this delightful autumn treat!
Mastering Your Pumpkin Chocolate Chip Bread: Expert Tips for Success
Achieving the perfect pumpkin chocolate chip bread is within reach with these helpful tips and tricks. Pay attention to these details for a consistently delicious outcome:
- Avoid Over-Mixing: This is perhaps the most crucial tip for any quick bread. Once you’ve added the dry ingredients to the wet, and especially after incorporating the pumpkin puree and sour cream, mix only until the ingredients are just combined. Over-mixing develops the gluten in the flour, leading to a tough, dense, and less tender loaf. A few small lumps or streaks of flour are far better than an over-mixed batter.
- Tent with Foil for Even Browning: If you notice the top of your loaf browning too quickly during baking, but the center isn’t quite done, simply create a loose “tent” with aluminum foil and place it over the bread. This shields the top from direct heat, allowing the interior to catch up without burning the crust. This is particularly helpful around the halfway point of the baking time.
- Do Not Over-Bake: All ovens can vary, so it’s vital to start checking your bread for doneness a bit before the suggested baking time – typically around 55 minutes for this recipe. An over-baked loaf will be dry and crumbly. The best indicator is the toothpick test: insert a wooden skewer or toothpick into the center of the loaf. It should come out clean or with only a few moist crumbs attached, but not wet batter.
- Cool on a Wire Rack: Once your pumpkin bread is out of the oven, allow it to cool in the loaf pan for about 10 to 15 minutes. This allows the bread to set properly and prevents it from crumbling. After this initial cooling period, carefully remove the bread from the pan and transfer it to a wire cooling rack. Cooling on a rack ensures that air circulates all around the loaf, preventing the bottom from becoming soggy due to trapped steam. It also allows the internal structure of the bread to fully stabilize.
- Room Temperature Ingredients: For optimal emulsification and a smoother batter, ensure your eggs, sour cream, and pumpkin puree are at room temperature before mixing. This allows them to combine more easily and evenly, leading to a better texture in your finished bread.
- Measure Flour Correctly: For accurate results, spoon your flour into the measuring cup and then level it off with the back of a knife. Scooping flour directly with the measuring cup can compact it, leading to too much flour and a dry, dense bread.
Serving Suggestions and Perfect Pairings
This quick bread is incredibly versatile and delicious, whether enjoyed warm straight from the oven or at room temperature. However, for an elevated experience, consider these serving suggestions:
- The Classic Enhancement: My absolute favorite way to enjoy this bread is with a generous smear of homemade cinnamon butter. The spiced sweetness of the butter perfectly complements the pumpkin and chocolate, taking each bite to a new level of indulgence. If cinnamon butter isn’t on hand, regular unsalted butter is also a fantastic choice, allowing the bread’s flavors to shine.
- Breakfast Power-Up: For a more substantial breakfast, add a layer of your favorite nut butter, such as almond butter or peanut butter. This not only adds extra protein and healthy fats but also creates a satisfying and flavorful combination that will keep you energized.
- Dessert Deluxe: Transform this bread into a decadent dessert by serving it warm with a scoop of vanilla bean ice cream or a dollop of freshly whipped cream. A drizzle of caramel or a sprinkle of toasted pecans would make it even more luxurious.
- Coffee or Tea Companion: This pumpkin chocolate chip bread is the ideal companion for your morning coffee, afternoon tea, or a comforting mug of hot chocolate. Its rich flavors and moist texture perfectly complement hot beverages.
- Seasonal Garnish: For a beautiful presentation, dust the top with a light sprinkle of powdered sugar, or add a few extra mini chocolate chips after it’s cooled.
Storing and Freezing for Lasting Enjoyment
One of the many joys of this pumpkin chocolate chip bread is how well it stores, allowing you to savor its deliciousness for days, or even months, to come. Proper storage ensures your loaf remains moist and flavorful.
- Room Temperature Storage: For immediate enjoyment, pumpkin chocolate chip bread will remain wonderfully fresh at room temperature for 3 to 4 days. To keep it at its best, ensure it is tightly wrapped in plastic wrap, aluminum foil, or stored in an airtight container to prevent it from drying out. Place it on your counter or in a cool, dry pantry.
- Refrigerated Storage: If you prefer to extend its freshness slightly, the bread can be stored in the refrigerator for up to a week. Again, wrap it tightly in foil or plastic wrap and place it in a large zip-top bag or an airtight container. Keep in mind that refrigerating baked goods can sometimes alter their texture slightly, but a quick warm-up often revives them.
- Freezing for Long-Term Enjoyment: This pumpkin chocolate chip bread freezes exceptionally well, making it perfect for meal prepping or having an extra loaf on hand for unexpected guests or cravings. I often bake an extra loaf specifically for freezing!
- How to Freeze a Whole Loaf: Allow the bread to cool completely to room temperature. This is crucial; freezing warm bread will cause condensation and lead to ice crystals. Once cool, wrap the entire loaf tightly in plastic wrap, then wrap it again in aluminum foil. This double layer protects against freezer burn. Place the wrapped loaf in a large freezer-safe zip-top bag. It will last for up to 3 months in the freezer.
- How to Freeze Individual Slices: For convenient grab-and-go portions, slice the cooled loaf, then wrap individual slices tightly in plastic wrap before placing them in a freezer-safe bag or container. This allows you to thaw just what you need.
- Thawing Instructions: To thaw a frozen loaf or slices, simply transfer them to the refrigerator overnight. For quicker thawing of individual slices, you can microwave them for 30-60 seconds until warm, or let them sit at room temperature for an hour or so.
- Reheating: For that “freshly baked” experience, warm slices in the microwave for 15-30 seconds, or wrap them in foil and reheat in a preheated oven at 300°F (150°C) for about 10-15 minutes, until heated through.
Explore More Easy Pumpkin Recipes
If you’ve fallen in love with the comforting flavors of pumpkin, you’re in for a treat! The versatility of pumpkin in baking and cooking knows no bounds. Here are some more delightful and easy pumpkin recipes to inspire your autumn kitchen adventures:
- Pumpkin Pecan Crescent Rolls: Flaky, buttery crescent rolls with a warm pumpkin and pecan filling – a perfect holiday breakfast or brunch item.
- Pumpkin Cinnamon Rolls: Soft, gooey cinnamon rolls infused with pumpkin, topped with a luscious cream cheese frosting. An absolute crowd-pleaser!
- Mini Pumpkin Pies: All the classic flavor of pumpkin pie in adorable, individual servings. Great for portion control or parties.
- Pumpkin Spice Snowball Cookies: Melt-in-your-mouth shortbread cookies with a hint of pumpkin spice, rolled in powdered sugar.
- Pumpkin Fluff: A light, airy, and incredibly easy no-bake pumpkin dessert that’s perfect for dipping or enjoying by the spoonful.
We truly hope you enjoy this delicious and incredibly easy pumpkin chocolate chip bread recipe. Your feedback means the world to us, so please don’t hesitate to leave a review below! And for more mouthwatering recipes and culinary inspiration, be sure to follow us on Facebook, Instagram, Pinterest, and YouTube!
Pumpkin Chocolate Chip Bread
Sweet, moist, and tender, this Pumpkin Chocolate Chip Bread is a quick and easy fall treat. Serve with a dollop of butter for breakfast or enjoy for dessert in the evening. No mixer required!
Pin Recipe
Print Recipe
Ingredients
For the Pan
- 1/4 cup granulated sugar
- 1/2 teaspoon cinnamon
- Butter (for greasing the pan)
For the Batter
- 1/2 cup granulated sugar
- 1/2 cup brown sugar
- 1/2 cup vegetable oil
- 2 large eggs
- 1 teaspoon vanilla extract
- 1 1/2 cups all-purpose flour
- 2 teaspoons pumpkin pie spice
- 1 teaspoon baking soda
- 1/2 teaspoon salt
- 1 cup canned pumpkin puree (make sure it’s pure pumpkin, not pie filling)
- 1/2 cup sour cream (or Greek yogurt)
- 1/2 cup mini chocolate chips (plus more for sprinkling on top)
Instructions
- Preheat your oven to 350 degrees F (175 degrees C).
- In a small bowl, whisk together the 1/4 cup granulated sugar and 1/2 teaspoon cinnamon for the pan coating.
- Thoroughly grease a 9×5-inch nonstick loaf pan with butter, ensuring all surfaces and corners are covered. Sprinkle the cinnamon-sugar mixture into the pan and swirl it around until the pan is evenly coated. Discard any excess.
- In a large bowl, whisk together the 1/2 cup granulated sugar, 1/2 cup brown sugar, vegetable oil, eggs, and vanilla extract until well combined and smooth.
- In a separate bowl, sift together the flour, pumpkin pie spice, baking soda, and salt. Add these dry ingredients to the wet mixture, stirring until just incorporated. Be careful not to over-mix.
- Stir in the pumpkin puree and sour cream until just combined. Again, avoid over-mixing.
- Gently fold in the 1/2 cup mini chocolate chips.
- Pour the batter into the prepared loaf pan and spread evenly.
- Sprinkle additional mini chocolate chips over the top of the batter, if desired.
- Bake for about 60 minutes, or until a wooden skewer or toothpick inserted into the center comes out clean. Begin checking for doneness after 55 minutes, as oven temperatures can vary. If the top of the loaf begins to brown too quickly, loosely tent it with aluminum foil for the remaining baking time.
- Allow the bread to cool in the pan for 10-15 minutes, then carefully remove it and transfer to a wire rack to cool completely before slicing and serving.
- Slice and enjoy your delicious homemade pumpkin chocolate chip bread!
Nutrition
Carbohydrates: 49g |
Protein: 4g |
Fat: 17g |
Saturated Fat: 12g |
Polyunsaturated Fat: 1g |
Monounsaturated Fat: 2g |
Trans Fat: 1g |
Cholesterol: 45mg |
Sodium: 260mg |
Potassium: 119mg |
Fiber: 2g |
Sugar: 33g |
Vitamin A: 3960IU |
Vitamin C: 1mg |
Calcium: 51mg |
Iron: 2mg
Nutritional information is an estimate and can vary based on the exact products used and any modifications made to the recipe. If precise nutritional values are important to you, we recommend calculating them yourself using your specific ingredients.
Did you make this recipe? We’d love to hear from you! Leave a rating and comment below to share your experience.