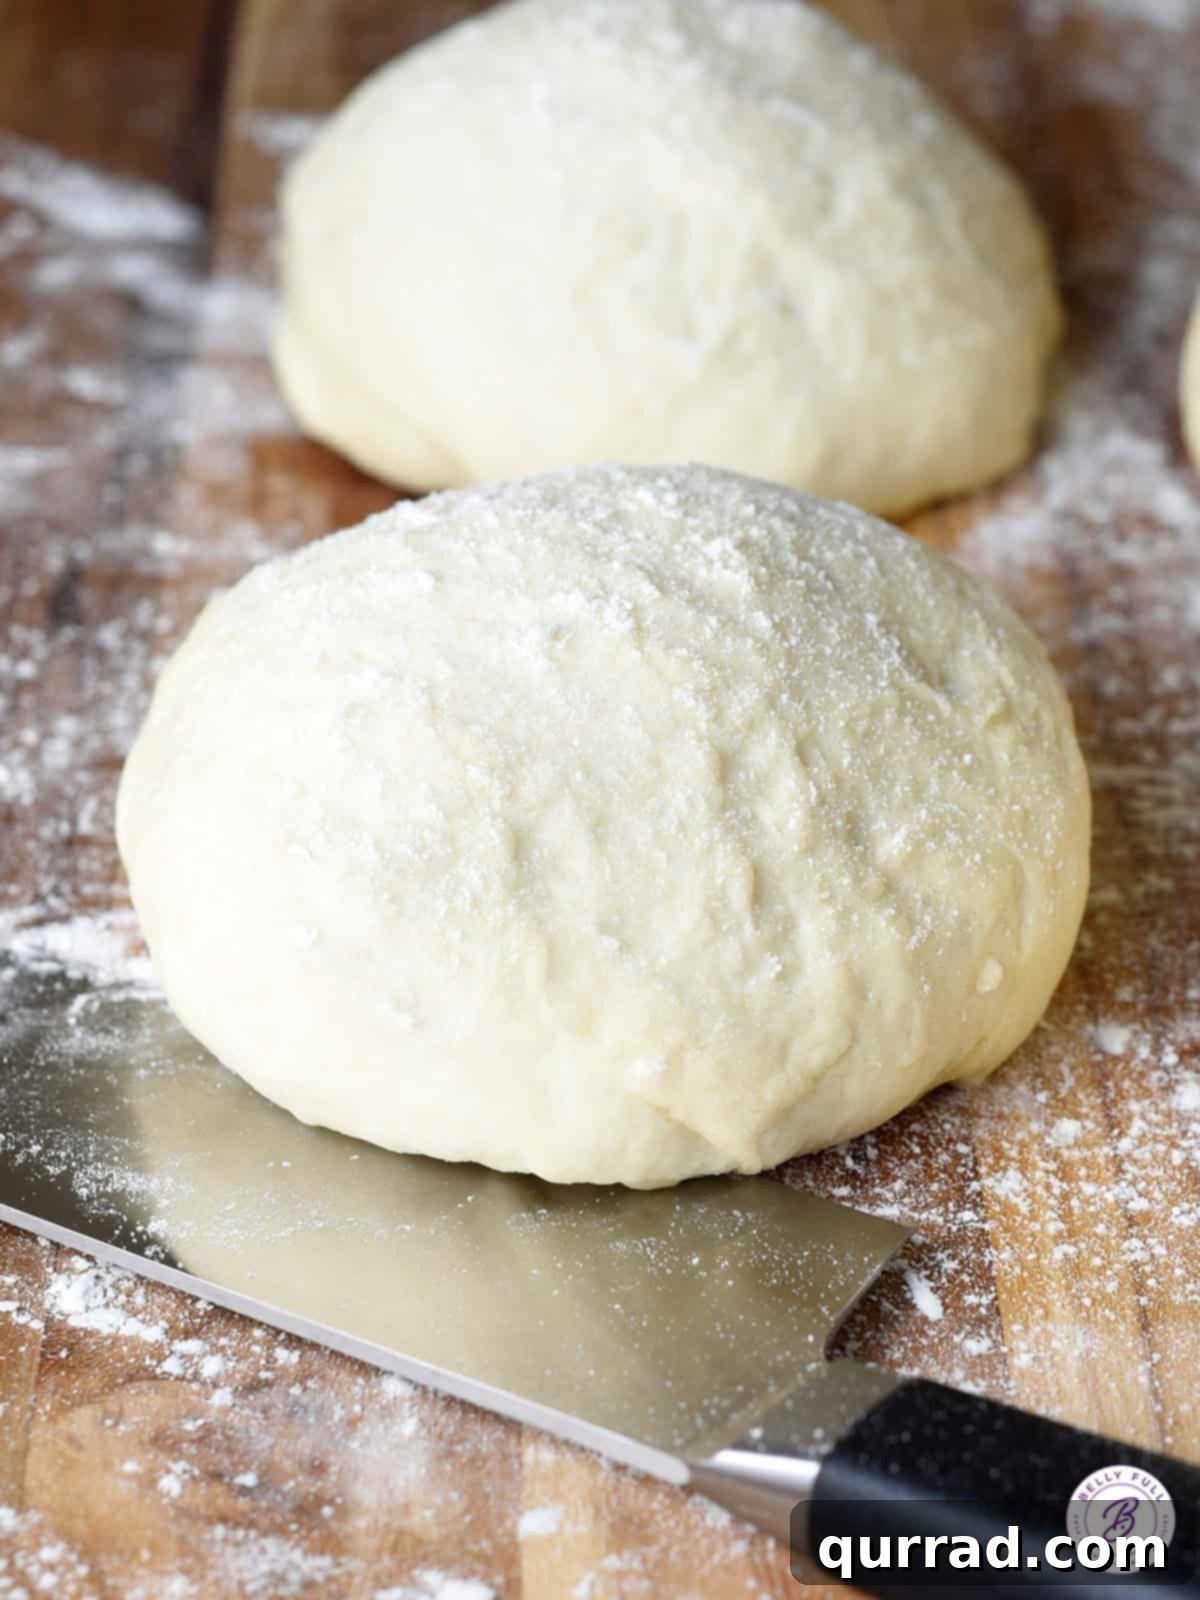
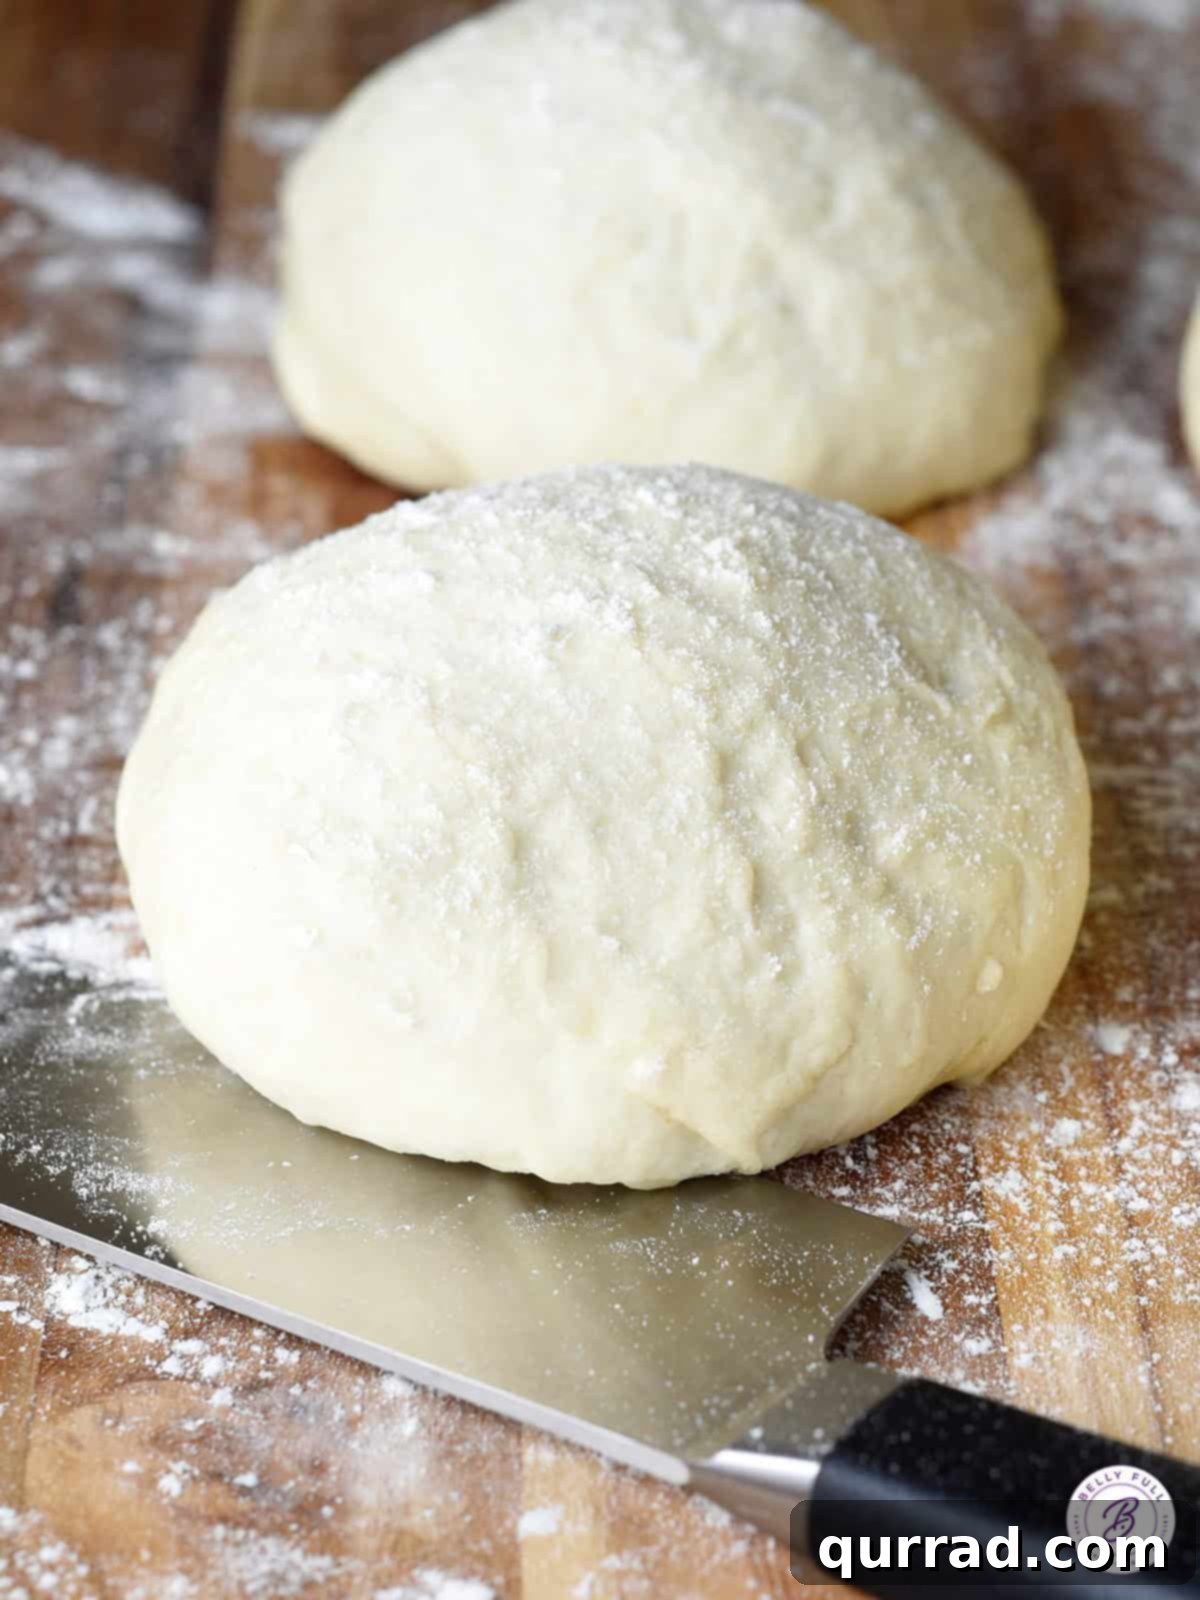
Forget the myth that homemade pizza dough is a daunting task reserved for professional chefs or those with high-end kitchen gadgets. This Quick and Easy Pizza Dough Recipe shatters that misconception, proving that a truly magnificent pizza crust is achievable right in your own kitchen, with minimal effort and no specialized equipment. Imagine mixing everything in just one bowl, allowing it to rise for a mere hour, and then giving it a couple of gentle kneads before it’s ready to transform into the base of your culinary masterpiece. This versatile recipe yields enough dough for one generous large pizza, which can be effortlessly halved for two medium-sized pizzas, or even quartered to create individual, personal pan delights. Get ready to experience the joy of a foolproof, consistently delicious homemade pizza crust every single time!
Rave Reviews for This Easy Pizza Dough
With countless positive testimonials, this recipe has consistently earned top marks from home bakers. Here’s what some of our happy users have to say:
Ashley shares, “This has become my absolute go-to pizza dough recipe, and honestly, we make pizza almost weekly now! I’ve lost track of how many times I’ve whipped up a batch. It’s simply excellent – always perfect!”
Kate exclaims, “I’ve experimented with so many different pizza dough recipes over the years, and without a doubt, this one is our family’s undisputed favorite. The texture and flavor are just incredible!”
James notes, “I’ve prepared this recipe at least half a dozen times now, and it never, ever disappoints. My entire family absolutely adores it, and it makes pizza night a huge success every time.”
My culinary journey with yeast used to be filled with trepidation, a common fear among many home bakers. That apprehension slowly melted away as I dipped my toes into the world of baking with recipes like these delightful Cheese Zombies and mastered the art of homemade sandwich bread. Now, I can confidently say I am completely obsessed with this particular easy pizza dough recipe. It truly changed my perception of baking with yeast!
A couple of years ago, my wonderful husband surprised me with a pizza steel and a fun set of pizza topping dice for my birthday – a gift, I must admit, that was clearly as much for him as it was for me! Little did he know, however, just how much delicious, freshly baked pizza he was about to enjoy from that moment until, well, forever. This isn’t just an easy pizza dough recipe; it’s genuinely the best. Sometimes, I find myself making a fresh batch every single week, a testament to its simplicity and incredible flavor. It’s transformed our meal routines and brought so much joy to our kitchen, making pizza night a highly anticipated event.
The Best Pizza Dough Recipe: Why You’ll Be Obsessed
This quick and easy pizza dough recipe isn’t just good; it’s truly the best for several compelling reasons. It removes common barriers to homemade pizza, making the process enjoyable and rewarding:
- No Special Equipment Needed: Forget about investing in expensive stand mixers or specialized dough hooks. This recipe is designed for accessibility, requiring nothing more than a few basic kitchen bowls and a sturdy wooden spoon. It democratizes the art of pizza making, ensuring anyone can achieve bakery-quality results without a hefty investment in gadgets.
- Incredibly Easy and Quick to Make: What sets this recipe apart is its astonishing simplicity. The dough requires only one rise, which significantly cuts down on overall preparation time. Furthermore, the kneading process is minimal – just 1 to 2 gentle turns are all it takes. This means less time fussing in the kitchen and more time enjoying the anticipation of a delicious meal.
- Perfect for Meal Prep: Make Ahead Convenience: Life gets busy, and that’s where the make-ahead potential of this dough shines. You can prepare it days in advance and store it in the refrigerator, allowing you to have fresh dough on hand whenever a pizza craving strikes. For even longer storage, this dough freezes beautifully for up to several months. Detailed storage instructions are provided below, making meal planning a breeze.
- Straightforward, Simple Ingredients: You don’t need a pantry full of exotic items for this recipe. It relies on fundamental baking staples: warm water, active dry yeast, a touch of sugar, quality olive oil, salt, and all-purpose flour. This minimalist ingredient list not only keeps things simple but also ensures the authentic, classic flavor of homemade pizza crust truly stands out, allowing you to customize toppings to your heart’s content.
- Consistently Foolproof Results: This recipe has been tested and perfected to deliver a reliable, delicious crust every single time. Even if you’re new to baking with yeast or making pizza from scratch, you can trust that this guide will lead you to a beautifully risen, flavorful dough that’s ready for your favorite toppings.
Key Ingredients for Your Perfect Pizza Dough
Understanding the role of each ingredient is key to consistently perfect pizza dough. Here’s a closer look at what goes into this simple yet effective recipe:
- Lukewarm Water (about 110°F): The temperature of your water is crucial for activating the yeast. Water that is too cold won’t wake up the yeast, leading to a flat dough, while water that is too hot can kill it, yielding the same disappointing result. Aim for a temperature that feels like a warm bath – comfortable to the touch, but not hot.
- Instant Dry Yeast: This is the leavening agent that makes your dough rise, giving it that wonderfully airy texture. Instant yeast is fantastic because it can be mixed directly with the dry ingredients, but in this recipe, we “bloom” it in water first to ensure it’s active and ready to work its magic. Two packets (1/4 ounce each) are typically around 4.5 teaspoons.
- Granulated Sugar: A small amount of sugar doesn’t just add a touch of sweetness to the crust; it acts as food for the yeast, helping it to activate and grow. This helps ensure a robust rise and contributes to the golden-brown color of the baked crust.
- Olive Oil: Good quality olive oil is essential. It adds richness and flavor to the dough, makes it more pliable, and contributes to a tender interior and a crisp exterior. Don’t skimp on the oil for greasing the bowl either, as it prevents sticking and aids in the dough’s development.
- Coarse Salt: Salt is vital for flavor balance, enhancing the taste of the flour and yeast. It also helps to control the yeast’s activity, preventing it from rising too quickly and developing unwanted flavors.
- All-Purpose Flour: For this easy recipe, standard all-purpose flour works wonderfully. It provides the structure for the dough. While bread flour or 00 flour can also be used for different textures (chewier or finer, respectively), all-purpose flour keeps it simple and accessible, yielding excellent results. Remember to spoon and level your flour, rather than scooping directly from the bag, to ensure accurate measurements and prevent a dense crust.
Helpful Tips and Creative Variations for Success
Elevate your homemade pizza game with these expert tips and delightful variations:
- Always Use Fresh Yeast: The vitality of your yeast is paramount. You’ll know your instant dry yeast is still active and good to go if it becomes foamy after sitting in warm water with a pinch of sugar for about 5 minutes. If there’s no foam, it’s best to discard it and use a new batch. An inactive yeast means a dough that won’t rise, leading to a dense and unappetizing crust. (For reference, one standard packet of yeast contains 1/4 ounce or approximately 2 & 1/4 teaspoons, so this recipe uses about 4 & 1/2 teaspoons total.)
- Exercise Restraint with Toppings: I understand the temptation to load up your pizza with an abundance of delicious toppings. However, for the crispiest, most perfectly cooked pizza, less is often more. Excessive toppings introduce too much moisture and can weigh down the crust, preventing it from cooking through properly and achieving that desirable crispness. Aim for a balanced distribution that allows the crust to shine.
- Bake at the Highest Possible Temperature: To mimic the intense heat of professional pizza ovens, bake your pizzas at the highest temperature your home oven can safely reach. This is typically between 500-550 degrees F (260-290 degrees C). High heat ensures a quick bake, which is crucial for a crisp crust and beautifully melted cheese without drying out the toppings.
- Invest in a Quality Baking Surface: A good, heavy baking stone or a pizza steel is a game-changer for crispy crusts. These tools absorb and retain a tremendous amount of heat energy, which is then rapidly transferred directly to the dough as it bakes. This intense, immediate heat blast creates a perfectly crisp bottom crust and helps the dough puff up quickly.
- Swap Oils for a Different Flavor Profile: While olive oil provides a classic Mediterranean flavor, feel free to replace it with avocado oil if you prefer a more neutral taste or have dietary considerations. Both oils offer healthy fats and contribute to the dough’s texture and pliability.
- Infuse Garlicky Flavor: For those who adore garlic, adding a teaspoon of garlic powder along with the flour can give your pizza crust a subtle yet delicious garlicky aroma and taste. It’s a simple addition that enhances the overall flavor profile of your homemade pizza.
- Speed Up the Rise Time in Cooler Environments: If you’re baking in a cooler kitchen, especially during winter months, a little warmth can significantly accelerate the dough’s rising process. Place the bowl of dough on a heating pad set to low, or in a slightly warm (but not hot) oven that has been turned off, to create an ideal environment for yeast activity.
- Mastering the Stretch: Once your dough has risen, resist the urge to use a rolling pin aggressively. For an airy, bubbly crust, gently stretch the dough by hand, working from the center outwards. This preserves the air bubbles formed during fermentation, which contribute to a lighter, chewier texture.
- Pre-Bake Your Crust (Par-Bake): If you prefer an extra-crispy crust, especially for pizzas with wetter toppings, consider a short pre-bake of the plain dough for 5-7 minutes before adding sauce and toppings. This helps to set the crust and prevents it from becoming soggy.
5 Stars from 277 Reviews
Easy Pizza Dough: Your Go-To Homemade Crust
Rate This Recipe | Pin for Later | Print Recipe
Ingredients
- 1 & 1/2 cups lukewarm water (about 110F)
- 2 packets (1/4 ounce each) instant dry yeast
- 2 teaspoons granulated sugar
- 1/4 cup olive oil , plus more for greasing the bowl and drizzling
- 1 teaspoon coarse salt
- 4 cups all-purpose flour (spooned and leveled), plus more for your work surface
Instructions
-
Pour the lukewarm water into a large mixing bowl; sprinkle the instant dry yeast over the top and let it stand until it becomes foamy, which should take approximately 5 minutes. This step ensures your yeast is active. Once foamy, whisk in the granulated sugar, olive oil, and salt. Gradually add the all-purpose flour, stirring until a sticky dough begins to form.
-
Lightly brush a separate large bowl with a little olive oil to prevent sticking. Carefully transfer the dough into this oiled bowl and drizzle a small amount of olive oil over the top of the dough. Cover the bowl securely with plastic wrap or a clean kitchen towel and place it in a warm, draft-free spot. Allow the dough to rise until it has visibly doubled in size, which typically takes about 1 hour.
-
Once the dough has risen, turn it out onto a lightly floured work surface. Gently knead the dough only 2 to 3 times – this minimal kneading helps to develop the gluten without overworking it. Form the dough into a smooth round. Let the dough rest for about 10 more minutes; this allows the gluten to relax, making it easier to shape.
-
Your versatile pizza dough is now ready to use! You can use the entire batch for 1 large pizza, cut it in half to create 2 medium pizzas, or divide it into 4 equal portions for individual-sized pizzas. For comprehensive details on optimal baking techniques for a crispy crust, various ways to utilize this dough, and proper storage methods, please refer to the additional sections of this article.
Recipe Video Guide
For a visual walkthrough, watch our step-by-step video guide on how to make this quick and easy homemade pizza dough. Follow along to ensure perfect results!
Nutrition Information
Serving: 1 slice | Calories: 297kcal | Carbohydrates: 49g | Protein: 7g | Fat: 7g | Saturated Fat: 1g | Sodium: 293mg | Potassium: 84mg | Fiber: 2g | Sugar: 1g | Calcium: 9mg | Iron: 3mg
Nutritional information provided is an automatic calculation and may vary based on the exact products used and any modifications made to the recipe. If precise numbers are critical for your dietary needs, we recommend calculating them independently using your specific ingredients.
Love this recipe? Don’t miss out on more delicious ideas! Sign up for our weekly newsletter to get new recipes delivered straight to your inbox and easily save your favorites for later.
Did you make this recipe? We’d love to know what you think! Leave a rating and review below to share your experience!
Achieving the Perfect Crispy Pizza Crust: Your Guide
The secret to a truly outstanding pizza often lies in its crust – that irresistible balance of chewy interior and shatteringly crisp exterior. While this dough is inherently amazing, how you bake it makes all the difference in achieving that desired crispness. Whether you’re aiming for a classic Neapolitan style or a more robust American pie, mastering the bake is key. Here’s my definitive guide and suggestions for baking this easy pizza dough to perfection, ensuring a consistently crispy crust every time:
- Preheat with a Pizza Stone or Steel to Extreme Heat: This step is non-negotiable for superior crispness. Place your pizza stone or steel in the oven *before* preheating. Turn your oven to its highest possible temperature, typically between 500-550 degrees F (260-290 degrees C). Allow it to preheat for at least 30 minutes, and ideally for a full hour. This ensures the stone or steel is thoroughly saturated with heat, ready to deliver an immediate, intense thermal shock to the dough.
- Expertly Shape Your Dough: Once your dough has rested, gently transfer it to a piece of lightly floured parchment paper. This paper will serve as a convenient sling to move your pizza into the hot oven. Starting from the center, use your fingertips to gently press and stretch the dough outwards into a round shape, aiming for a thickness of about 1/4 to 1/2-inch. If you desire a slightly thicker, chewier edge (the “cornicione”), you can gently pinch the very edges to create a small lip. Avoid overworking the dough; let its natural elasticity guide your hands.
- Mindful Topping Application: Less is Truly More: Transfer the parchment paper with the flattened dough onto a pizza peel or a sturdy rimless baking sheet. Before adding your main toppings, brush the dough lightly with a little olive oil – this helps with browning and flavor. Then, apply your chosen sauce and toppings. This is where restraint is crucial! Do not overload your pizza with too many ingredients. Excess moisture and weight from toppings will prevent the crust from becoming crispy, leading to a soggy bottom. A light, balanced distribution ensures every element cooks evenly and beautifully.
- The Hot Bake for Golden Perfection: Carefully slide the pizza, still on its parchment paper, from the peel directly onto the preheated baking stone or steel in the oven. Bake for approximately 8-10 minutes. Keep a close eye on it: the crust should be beautifully browned and puffed, and the cheese should be melted and golden, with some delightful bubbly spots. For an extra touch, you can sprinkle a little more cheese over the top during the last 2 minutes of baking until it’s perfectly melted and bubbly. The parchment paper can be easily removed halfway through cooking if you wish, by gently pulling it out from under the pizza. Once baked to perfection, remove the pizza, slice, and serve immediately to enjoy that incredible crisp crust!
Creative Ways to Use Your Versatile Homemade Pizza Dough
This easy pizza dough isn’t just for traditional pies; its versatility knows no bounds! Once you have this reliable homemade pizza crust recipe in your arsenal, a world of culinary possibilities opens up. Here are some of our absolute favorite and most creative ways to utilize this incredible dough:
- Classic Pizzas: The foundation for any great pizza! Pair it with our homemade marinara sauce for timeless favorites like a Margherita Pizza adorned with fresh basil and mozzarella, a sweet and savory Hawaiian pizza, or a tangy BBQ Chicken Pizza. Don’t forget the fun and unexpected Breakfast Pizza, perfect for brunch!
- Stromboli: Roll out the dough, layer with your favorite meats, cheeses, and vegetables, then roll it up and bake for a delicious, hearty meal that’s perfect for slicing and sharing.
- Calzones: Similar to stromboli but folded into a crescent shape. Fill with ricotta, mozzarella, and your choice of fillings, then bake until golden and puffy for a delightful individual meal.
- Pizza Rolls: Miniaturize the fun! Roll the dough thin, spread with sauce and cheese, roll into a log, slice, and bake for bite-sized savory snacks that are perfect for parties or lunchboxes. Try our Cheesy Supreme Pizza Rolls for a crowd-pleasing option.
- Breadsticks: A simple yet incredibly satisfying use. Cut the dough into strips, brush with olive oil, sprinkle with garlic powder and Parmesan, and bake until golden. Perfect for dipping in marinara sauce or for a quick appetizer. Our Cheater Skillet Breadsticks are a must-try!
- Garlic Knots: Twist strips of dough, tie into knots, and bake before tossing in a luscious garlic-parsley butter. An irresistible side dish for any Italian meal.
- Focaccia: This dough can be adapted for a quick focaccia. Press into an oiled pan, dimple with your fingers, drizzle with more olive oil, and top with herbs or coarse salt before baking for a chewy, aromatic bread.
- Mini Pizzas/Pizza Bites: Use a cookie cutter to create small rounds for appetizer-sized pizzas, perfect for entertaining or involving kids in the cooking process.
How to Properly Store and Thaw Homemade Pizza Dough for Future Use
One of the fantastic advantages of this easy pizza dough recipe is its incredible make-ahead and storage potential. Having prepped dough on hand means a fresh, homemade pizza is always just a short bake away. Follow these guidelines to ensure your dough remains fresh and ready for action, whether for a few days or several months:
- Ensure Dough Has Fully Risen Before Storage: It’s crucial that your dough completes its initial rise before you store it. After preparing the dough and allowing it to double in size (approximately 1 hour), it’s ready for storage. Whether you plan to use it as one large dough ball, two medium portions, or four individual ones, allow this full rise to occur first. Storing dough before it has risen will result in a denser, less airy crust.
- Refrigerator Storage (Up to 3 Days): Once your dough has finished its initial rise, lightly coat it with a thin layer of olive oil to prevent drying. Place the dough ball (or divided portions) into an airtight container or a bowl tightly covered with plastic wrap. Ensure there’s enough room for the dough to expand slightly, even in the fridge. The cold temperature will significantly slow down the yeast activity, allowing the dough to keep fresh in the refrigerator for up to 3 days. This is perfect for weekend meal prep or when you know you’ll want pizza soon.
- Freezer Storage (Up to 2 Months): For longer-term storage, the freezer is your best friend. After the dough has completely finished rising, divide it into your desired portions (halves or quarters work well for common pizza sizes). Lightly oil each portion, then wrap them individually and tightly in plastic wrap, followed by a layer of aluminum foil, or place them in a resealable freezer-safe bag, pressing out as much air as possible. This double-layer protection prevents freezer burn. Stored this way, your pizza dough will maintain excellent quality in the freezer for up to 2 months.
- Thawing Frozen Pizza Dough: Proper thawing is key to reactivating the yeast and ensuring a pliable dough.
- Ideal Method (Refrigerator Overnight): The best way to thaw frozen pizza dough is slowly, in the refrigerator, overnight (for about 8-12 hours). This gradual thaw allows the yeast to gently wake up and the dough to regain its texture without shock.
- Quick Method (Room Temperature): If you’ve forgotten to thaw it overnight, don’t panic! You can place the frozen dough on a lightly oiled plate or parchment paper on the kitchen counter. Cover it loosely with plastic wrap and let it defrost and come to room temperature for a few hours (2-4 hours, depending on kitchen temperature and dough size). The dough should feel soft and pliable before use.
- Reheating Leftover Pizza: While not directly about dough storage, knowing how to reheat pizza properly ensures your efforts don’t go to waste. For crispy results, reheat slices in a hot skillet over medium heat for a few minutes per side, or in a toaster oven at 350°F (175°C) until cheese is melted and crust is crisp. Avoid the microwave if you want to prevent a soggy crust!
Troubleshooting Common Pizza Dough Issues
Even with the best recipes, sometimes things don’t go exactly as planned. Here are some common pizza dough problems and how to fix them:
- Dough Not Rising:
Cause: Dead yeast, water too cold or too hot, or expired yeast.
Solution: Ensure your water is lukewarm (around 105-115°F or 40-46°C). Always check yeast expiration dates. If your yeast doesn’t foam after 5 minutes in water with sugar, discard and use fresh yeast. Also, ensure your rising environment is warm and draft-free. - Dough is Too Sticky:
Cause: Too much water or not enough flour. Humidity can also play a role.
Solution: Gradually add a small amount of flour, a tablespoon at a time, while kneading until the dough reaches a manageable, slightly tacky but not overly sticky consistency. Be careful not to add too much flour, which can lead to a dry, tough crust. - Dough is Too Stiff/Dense:
Cause: Too much flour, too much kneading, or yeast didn’t activate properly.
Solution: If you’ve added too much flour, you might need to add a tiny bit more water (a teaspoon at a time) to soften it. Ensure you’re not over-kneading, especially with this easy dough recipe. If the yeast was the problem, refer to the “Dough Not Rising” solution. - Crust is Too Tough or Chewy:
Cause: Over-kneading, too much flour, or not allowing the dough enough time to rest.
Solution: This recipe calls for minimal kneading; sticking to 1-2 turns is key. Make sure your flour measurements are accurate (spoon and level). Always allow the dough to rest for the recommended time before shaping to relax the gluten. - Crust is Soggy:
Cause: Oven not hot enough, too many wet toppings, or crust not fully cooked.
Solution: Always preheat your oven to its maximum temperature with a pizza stone/steel for at least 30-60 minutes. Go light on wet toppings. Consider pre-baking your crust for 5-7 minutes before adding sauce and toppings to ensure a crisp base.
More Easy Homemade Bread Recipes We Love
If you’ve discovered the joy and simplicity of baking this easy pizza dough, you’re ready to explore even more delightful homemade bread creations. Here are some of our other favorite straightforward bread recipes that are perfect for any occasion:
- Naan Bread: Soft, chewy, and perfect for dipping or as a base for flatbread pizzas.
- Focaccia: A rustic Italian bread with a crispy exterior and airy interior, often topped with herbs and olive oil.
- Irish Soda Bread: A quick bread that doesn’t require yeast, known for its dense texture and slightly tangy flavor.
- Easy Beer Bread: Requires no yeast or kneading, just a few ingredients for a flavorful, hearty loaf.
- World’s Easiest Sandwich Bread: A staple recipe for soft, fluffy homemade bread that’s far superior to store-bought.
We truly hope you enjoy this delicious and incredibly easy pizza dough recipe as much as we do! Your feedback is invaluable, so please be sure to give it a review below and share your experience. Don’t forget to connect with the Belly Full community and stay updated with our latest recipes and tips by following us on TikTok, Facebook, Instagram, Pinterest, and YouTube. Happy baking!