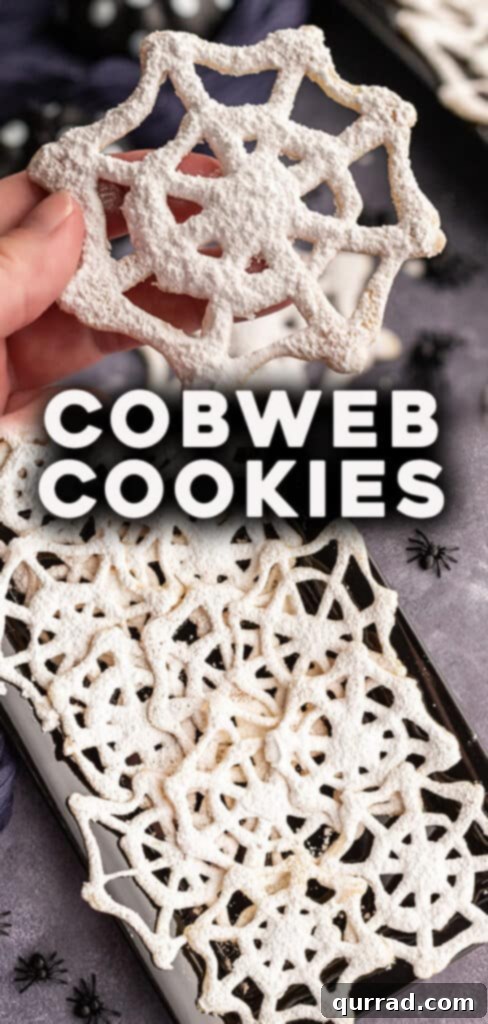
Get ready to cast a spell of deliciousness this Halloween with our incredibly simple yet spectacularly spooky Cobweb Halloween Cookies! These treats are so easy to whip up, requiring just a few common pantry ingredients, yet they promise maximum impact and flavor. They’re not just cookies; they’re edible works of art that are as delightful to look at as they are to eat. Imagine the gasps and smiles when your guests encounter these intricate, sweet spiderweb creations on your Halloween dessert table.
Pairing these hauntingly good spider web cookies with our beloved Mummy Oreo Balls would create an absolutely adorable and unforgettable Halloween spread. Together, they form a dynamic duo that’s perfect for any festive gathering, from casual family nights to elaborate Halloween parties. Prepare to be the star of the season with these charming and easy-to-make confections!
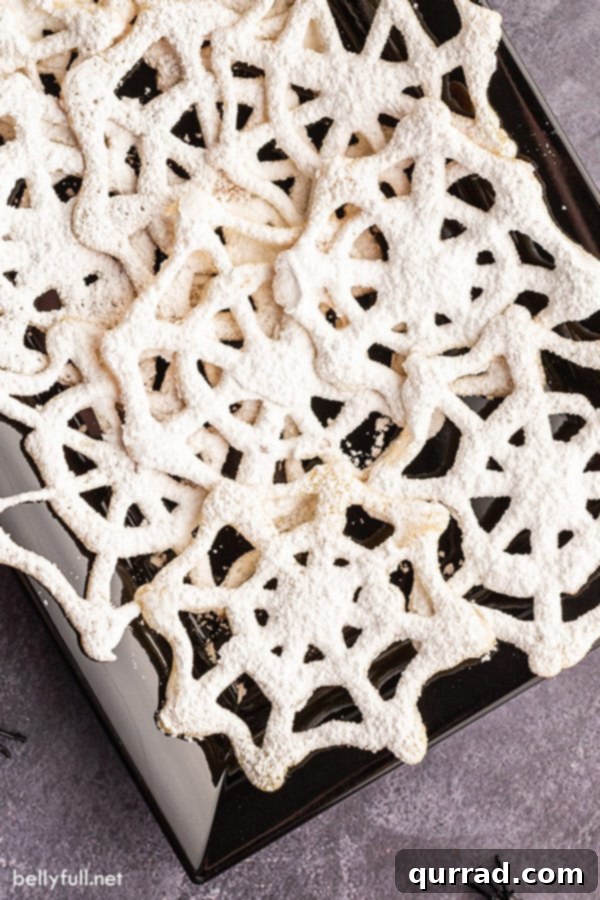
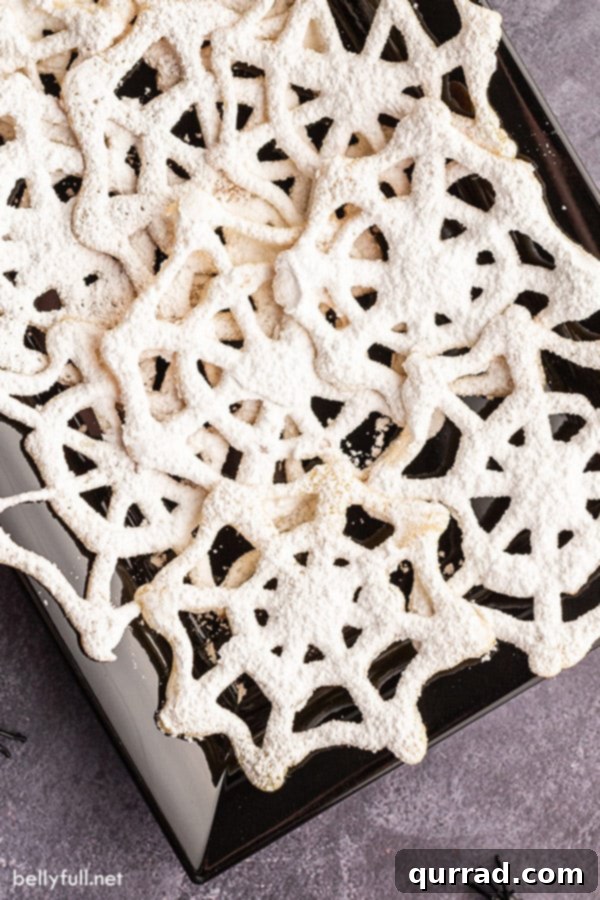
Unleash the Fun with Spooky Cobweb Cookies
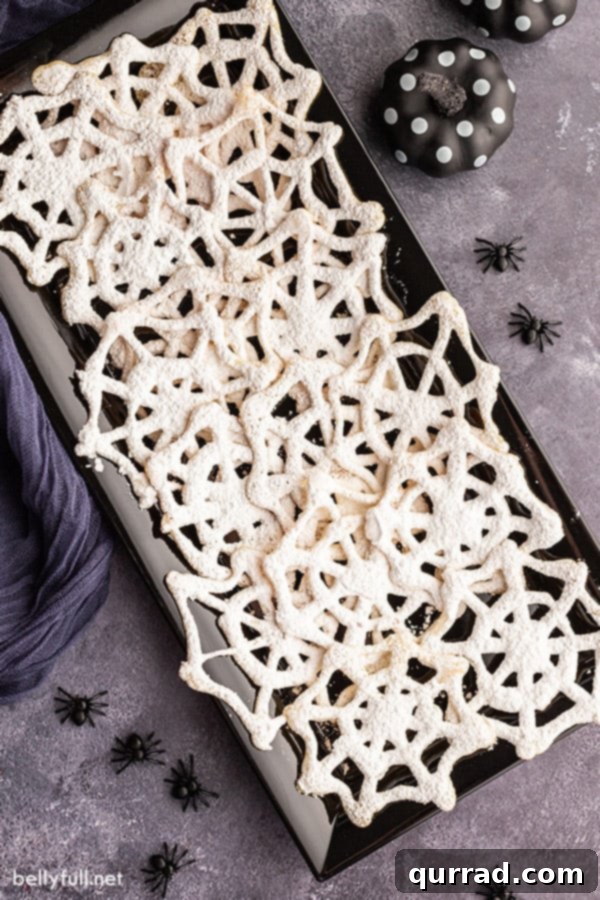
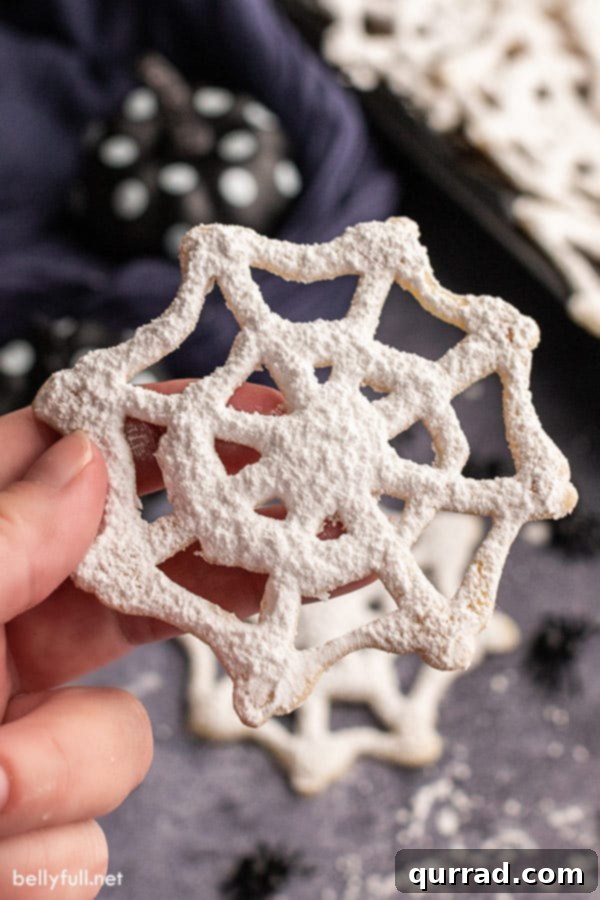
There’s something truly magical about these Cobweb Halloween Cookies. They strike the perfect balance between creepy and cute, making them an ideal addition to any Halloween celebration. The bright, snowy white dusting of powdered sugar beautifully contrasts with their golden-brown base, softening the “creepy” factor while still unmistakably shouting “Halloween!” They are charming, playful, and guaranteed to be a conversation starter at your next party.
The texture of these cookies is surprisingly unique and utterly delightful. The batter, with its smooth consistency, cooks up like a delicate pancake, but thanks to the generous amount of sugar, it crisps up beautifully as it cools. Each bite offers a satisfying crunch followed by a sweet, airy texture that reminds many of mini funnel cakes you might find at a carnival. This unexpected texture is part of their charm, making them a refreshing alternative to traditional chewy or crispy cookies. They’re light, sweet, and incredibly addictive – you might just find yourself reaching for “just one more”!
What You’ll Need for These Eerie-sistible Treats
One of the best aspects of these spider web cookies is how few ingredients they require. You likely have most of these pantry staples on hand already, making these a last-minute savior for any Halloween festivity. No special trips to the store are needed for exotic spices or specialty flours. This simplicity means less hassle and more time to enjoy the spooky season!
- All-purpose flour: The fundamental building block, providing structure for your delicate webs.
- Granulated sugar: Adds sweetness and helps achieve that delightful crisp texture.
- Powdered sugar: The finishing touch, creating the illusion of fresh, spooky cobwebs.
- Vegetable oil: Contributes to the tender crumb and ensures a smooth batter for easy squeezing.
- Whole milk: Adds richness and moisture, resulting in a more flavorful and pliable batter.
- Vanilla extract: A touch of vanilla elevates the flavor profile, adding warmth and depth to the sweetness.
- Eggs: Act as a binder, helping to hold the cookies together and contributing to their structure.
Crafting Your Cobweb Halloween Cookies: A Step-by-Step Guide
Don’t let their intricate appearance fool you; these cookies are surprisingly straightforward to make. The process is a fun and interactive baking experience, perfect for getting into the Halloween spirit. Just follow these simple steps, and you’ll have a batch of impressive cobweb cookies ready in no time!
- Begin by preheating your oven to 325 degrees Fahrenheit (160 degrees Celsius). This will be used for a quick bake to achieve the final crispness.
- In a medium-sized mixing bowl, combine all the ingredients except the powdered sugar. Use a hand-held electric mixer to beat them together until the batter is smooth and well-combined. Ensure there are no lumps for a consistent squeeze.
- Carefully transfer the batter into a plastic squeeze bottle. A bottle with a narrow opening is crucial for creating those delicate web designs. This tool is your best friend for precision!
- Heat a griddle over medium heat. Once hot, lightly grease it to prevent sticking. A non-stick griddle works wonderfully for this.
- Working quickly and with a steady hand, squeeze the batter onto the hot griddle to form your cobweb pattern. Start by creating four thin, straight lines that intersect at a central point, forming a star shape. Then, squeeze curved, thin streams of batter to connect these lines, creating the iconic web effect. Cook for approximately 30 seconds, or until the edges turn golden brown. Carefully flip the cookie and cook for another 30 seconds on the other side.
- Once cooked on the griddle, transfer these delicate cookies to a nonstick cookie sheet.
- Bake them in your preheated oven for about 5 minutes. This oven step is key to transforming them from soft griddle cakes into wonderfully crisp cookies.
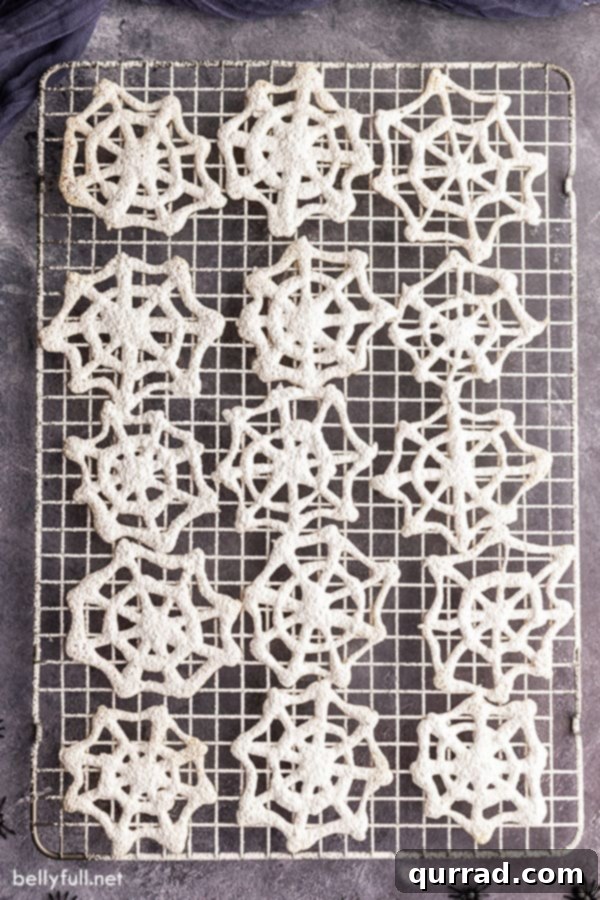
- After baking, transfer the cookies to a wire rack to cool completely. As they cool, they will continue to crisp up, achieving that perfect texture.
- Once cool, liberally sprinkle the cobweb cookies with powdered sugar. This final flourish not only adds sweetness but also enhances their spooky, web-like appearance. Enjoy your ghostly treats!
Tips for Success: Mastering Your Cobweb Creations
Making these cobweb cookies is a fun and rewarding experience, but a few simple tips can help you achieve perfect results every time. Don’t worry if your first few attempts aren’t flawless – like real spiderwebs, these cookies don’t need to be perfect to be enchanting!
- The Right Squeeze Bottle is Key: A squeeze bottle with a very narrow opening is highly recommended for creating those delicate, fine lines that make the cobweb design so striking. If you don’t have one on hand, look for plastic picnic-style condiment bottles at your local grocery or discount store. As an alternative, you can also use a sturdy plastic freezer bag: simply fill it with batter, snip off a tiny corner, and use it as a makeshift piping bag. The smaller the opening, the more intricate your webs will be.
- Don’t Be Heavy-Handed with the Batter: When squirting out the batter, remember that it will spread slightly as it cooks on the hot griddle. Using too much batter will result in thick lines and a solid, blob-like cookie rather than a delicate web. Aim for thin, even streams to maintain the intricate design. A light touch and steady hand are your best friends here.
- Utilize a Griddle for Efficiency: While you can use a fry pan, a griddle is far superior for making these cookies. Its larger surface area allows you to cook several cobweb cookies at once, significantly speeding up the process and making it more enjoyable. This is especially helpful if you’re making a big batch for a party.
- Practice Makes Perfect (and is Part of the Fun!): These cookies can be a little tricky initially, as you get a feel for the batter consistency and the squeeze bottle technique. Don’t be discouraged if your first few aren’t picture-perfect. Plan on making a couple of “test” cookies to get the hang of pouring the batter and forming the webs. Once you find your rhythm, it becomes a breeze, and you’ll be churning out beautiful cobwebs in no time.
- Handle with Care – They’re Delicate: Once cooked, these cookies are quite delicate and can break easily if not handled gently. Use a thin spatula to carefully flip them on the griddle and transfer them to the baking sheet and cooling rack. Remember, imperfect spiderwebs still look great, so a small crack here or there only adds to their rustic charm!
Storing Your Spooky Cobweb Cookies
These delightful cobweb cookies are truly at their best when enjoyed fresh, straight off the cooling rack. The crispness and delicate texture are most pronounced when they are newly made. However, if you find yourself with leftovers (which is unlikely!), you can store them in an airtight container with a loose-fitting lid at room temperature for up to 2 days. The loose lid helps to prevent them from becoming too soft, preserving some of their crisp texture. While they might lose a little of their initial crunch over time, their flavor remains wonderfully sweet and festive.
More Spooktacular Halloween Recipes to Explore
Looking to expand your Halloween treat repertoire? We’ve got a cauldron full of other fantastic recipes that are perfect for the season. From savory bites to more sweet sensations, these recipes are sure to add more frightful fun to your festivities:
- Monster Munch: A sweet and salty snack mix that’s as colorful as it is delicious.
- Mummy Oreos Balls: Adorable, no-bake treats that are almost too cute to eat.
- Monster Oreo Pops: Fun, decorated Oreos on a stick, perfect for little monsters.
- Witches Brew: A vibrant and bubbly punch that’s guaranteed to be a hit.
- Mummy Hot Dogs: A savory classic with a spooky Halloween twist, loved by all ages.
Cobweb Halloween Cookies Recipe Card
Here’s the full, printable recipe for these amazing Cobweb Halloween Cookies. Gather your ingredients and get ready to bake some magic!
Equipment
- Squeeze bottle with narrow tip
- Hand-held electric mixer
- Large griddle or non-stick frying pan
- Nonstick cookie sheet
- Wire cooling rack
Ingredients
- 3/4 cup all-purpose flour
- 1 cup granulated sugar
- 1/4 cup vegetable oil
- 1/4 cup whole milk
- 1/2 teaspoon vanilla extract
- 2 large eggs
- 1/4 cup powdered sugar (for dusting, or more to your preference)
Instructions
- Preheat your oven to 325 degrees F (160 degrees C). Prepare a nonstick cookie sheet by lining it with parchment paper if desired.
- In a medium-sized bowl, use an electric mixer to beat together the all-purpose flour, granulated sugar, vegetable oil, whole milk, vanilla extract, and eggs until the mixture is smooth and all ingredients are thoroughly combined. Ensure there are no lumps in the batter.
- Carefully pour the batter into a plastic squeeze bottle that has a narrow opening. This is crucial for creating the delicate web designs.
- Heat a large griddle or a non-stick frying pan over medium heat. Once hot, lightly grease the surface with a small amount of vegetable oil or cooking spray.
- Working quickly, squeeze the batter onto the hot griddle to form your cobweb patterns. Start by drawing four thin, straight lines that intersect at a common center point, creating a star shape. Then, squeeze curved, thin streams of batter to connect these lines, completing the spiderweb design. Cook each cookie for approximately 30 seconds, or until it turns golden brown on the underside. Carefully flip the cookie with a thin spatula and cook for another 30 seconds on the second side.
- Once cooked on the griddle, carefully transfer the warm, delicate cookies to the prepared nonstick cookie sheet.
- Place the cookie sheet into the preheated oven and bake for 5 minutes. This short baking time in the oven is essential for making the cookies truly crisp, transitioning them from a pancake-like texture to a firm, cookie-like consistency.
- After baking, immediately transfer the cookies to a wire rack to cool completely. They will continue to crisp up as they cool down.
- Once fully cooled, generously sprinkle the cobweb cookies with powdered sugar, creating a beautiful, eerie frosting effect. Serve immediately and enjoy your delicious, spooky treats!
Nutrition
Approximate nutritional information per serving (1 cookie, based on 30 servings):
- Calories: 63 kcal
- Carbohydrates: 10g
- Protein: 1g
- Fat: 2g
- Saturated Fat: 2g
- Cholesterol: 13mg
- Sodium: 6mg
- Potassium: 11mg
- Fiber: 1g
- Sugar: 8g
- Vitamin A: 21 IU
- Calcium: 5mg
- Iron: 1mg
Nutritional information provided is an automatic calculation and may vary based on the specific brands and exact products you use, as well as any modifications you make to the recipe. If precise nutritional values are crucial for your dietary needs, we recommend calculating them independently using your specific ingredients.
We truly hope you love this delicious and remarkably simple recipe for Cobweb Halloween Cookies! Your feedback is invaluable, so please consider leaving a review below once you’ve tried them. And don’t forget to connect with Belly Full on Facebook, Instagram, Pinterest, and YouTube for more fantastic recipes and culinary inspiration!
*Recipe inspiration originally from Better Crocker