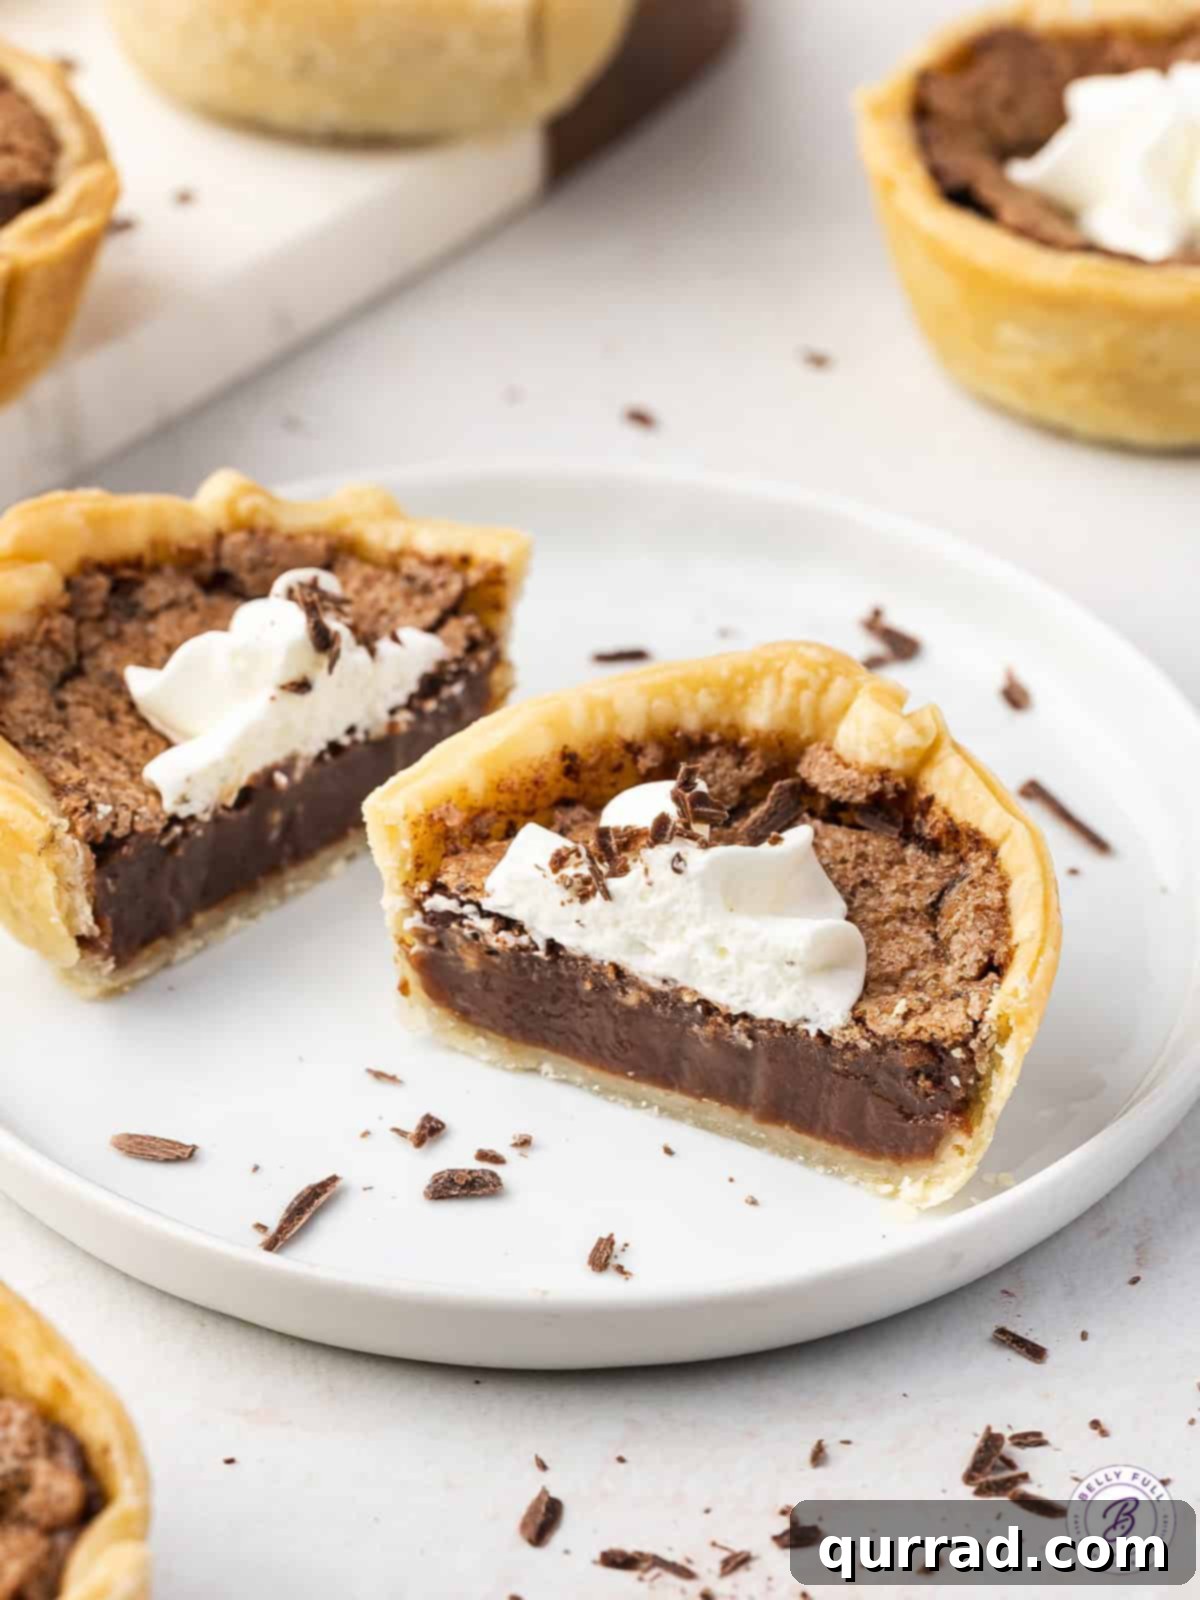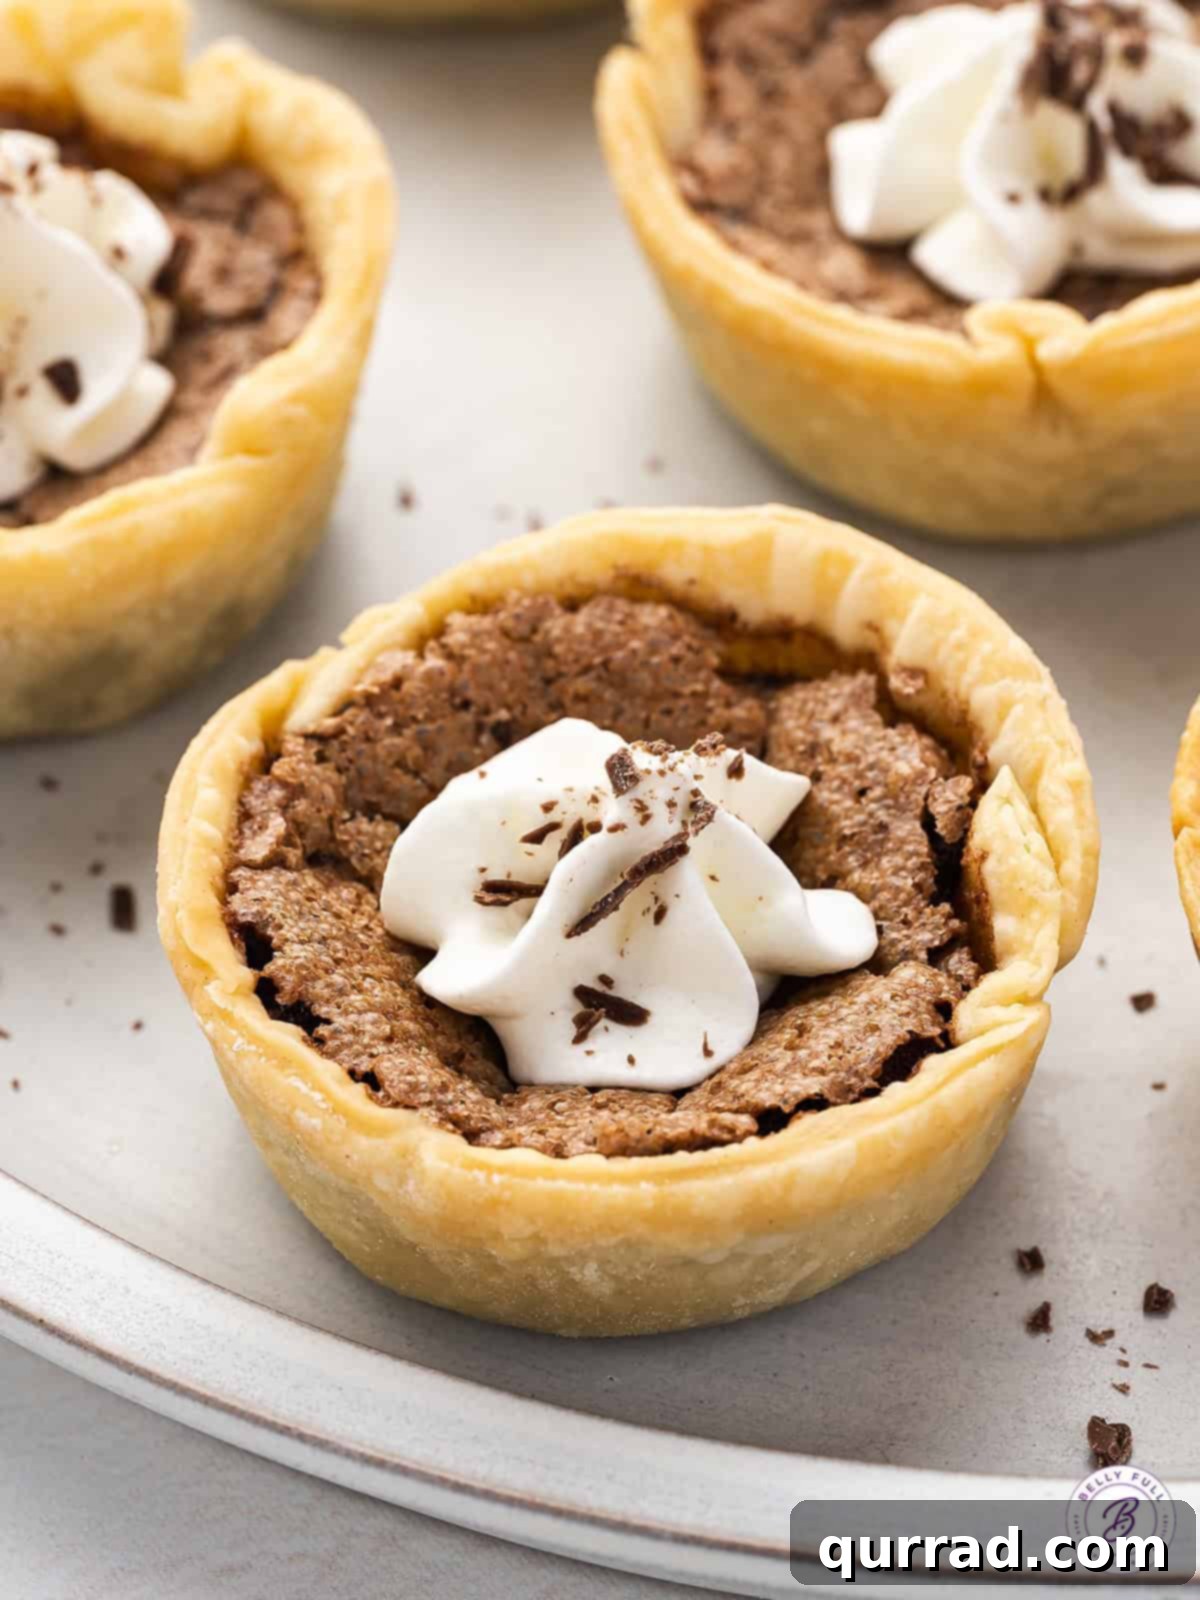
Indulge in the irresistible charm of these delightful Mini Chocolate Pies. Perfectly portioned and bursting with rich, creamy chocolate flavor, these individual desserts capture the essence of a classic chocolate pie in an adorable, bite-sized form. They are incredibly easy to prepare, requiring minimal prep time, yet delivering maximum impact. Whether you’re hosting a sophisticated dinner party, a casual get-together, or simply craving a sweet treat for yourself, these mini pies are guaranteed to be a crowd-plepleaser. Their elegant appearance and convenient size make them an ideal choice for any dessert spread, offering a touch of homemade goodness without the fuss of a full-sized pie.
Building on the success of my beloved easy chocolate pie recipe, I’ve lovingly adapted it to create these charming mini versions. Each mini pie features a wonderfully rich, deeply chocolatey filling that is perfectly balanced in sweetness, all nestled within a delightfully flaky, golden-brown crust. Baked conveniently in muffin tins, these individual desserts are not only a feast for the eyes but also provide the perfect serving size, making them an excellent addition to holiday gatherings, birthday celebrations, or any festive occasion where a variety of treats is appreciated. Forget the hassle of slicing and serving; these mini pies offer effortless elegance and a truly satisfying dessert experience.
Why You’ll Love These Mini Chocolate Pies
These mini chocolate pies are more than just a dessert; they’re a delightful experience designed for convenience and indulgence. Here’s why they’re sure to become a favorite in your recipe collection:
- Perfect Portions: No more messy slicing! Each pie is a perfect individual serving, making them ideal for entertaining and simplifying dessert time.
- Rich & Creamy Flavor: Enjoy the classic, decadent taste of a traditional chocolate pie, featuring a silky-smooth filling that melts in your mouth.
- Easy to Make: With straightforward instructions and readily available ingredients, even novice bakers can achieve impressive results.
- Versatile for Any Occasion: From elegant holiday spreads to casual family dinners, these mini pies fit right in.
- Customizable: Easily adapt them with various toppings and flavor enhancements to suit your taste.
- Great for Meal Prep: They store beautifully, allowing you to prepare them in advance and enjoy them throughout the week.
Essential Tips for Perfect Mini Chocolate Pies
Achieving the perfect mini chocolate pie is easier than you think. Follow these expert tips to ensure your pies turn out beautifully flaky, perfectly filled, and utterly delicious every single time:
- Choosing the Right Pie Crust: While I personally adore using my homemade pie crust recipe for its superior flakiness and flavor, high-quality store-bought refrigerated rolled pie crusts are an excellent and convenient alternative. Opt for brands known for good texture. Remember, the crust is the foundation, so choose wisely!
- Preventing Tears in the Crust: When you’re pressing the pie crust circles into your muffin tin, handle them gently. It’s crucial to ensure a snug fit without any rips or tears. If a small tear does occur, don’t fret! Simply use your fingertips to carefully press the dough back together, sealing any openings before adding the filling. This prevents leaks and ensures a neat finish.
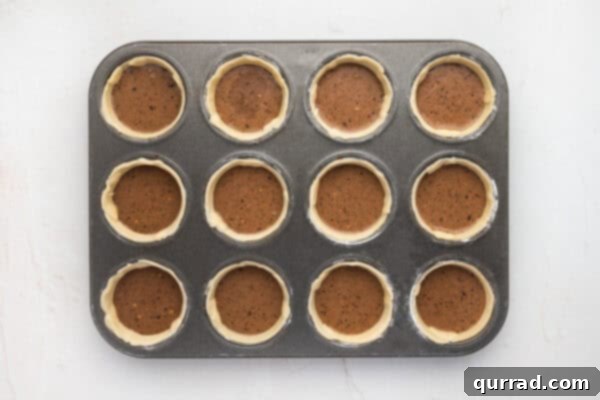
- Avoiding Overfilling the Crusts: The chocolate pie filling will naturally puff up a bit during the baking process before settling back down. To prevent overflow and ensure a beautiful presentation with a visible crust edge, make sure to fill each mini pie crust no more than three-quarters full. This leaves just enough room for expansion and showcases that lovely golden crust.
- Enhancing the Chocolate Flavor: For an even deeper, more complex chocolate profile that will truly impress, consider incorporating 1/2 teaspoon of instant espresso powder into your filling mixture. Don’t worry, it won’t make your pies taste like coffee! Instead, the espresso acts as a flavor enhancer, intensifying the richness of the cocoa and creating a more robust, sophisticated chocolate experience. It’s a secret ingredient many professional bakers swear by!
- Chilling the Crusts: After forming your mini pie shells in the muffin tins, transfer them to the refrigerator while you prepare the filling. This brief chill helps the crust maintain its shape during baking, preventing excessive shrinking and ensuring a wonderfully flaky texture.
★
★
★
★
Mini Chocolate Pies
25
22
47
18 mini pies
Pin
Ingredients
- 2 9-inch unbaked refrigerated rolled pie crusts, (homemade or store bought)
- 1 & 1/4 cups granulated sugar
- 3 & 1/2 tablespoons unsweetened cocoa powder
- 2 large eggs
- 1/4 cup unsalted butter, melted
- 5 ounces half-n-half, (see note)
- 1/2 teaspoon vanilla extract
- pinch of salt
- homemade whipped cream, for topping
- chocolate shavings, for garnish
Instructions
-
Preheat your oven to 350 degrees F (175 C). Lightly grease two standard 12-count muffin pans with nonstick cooking spray, ensuring every cavity is prepared to prevent sticking.
-
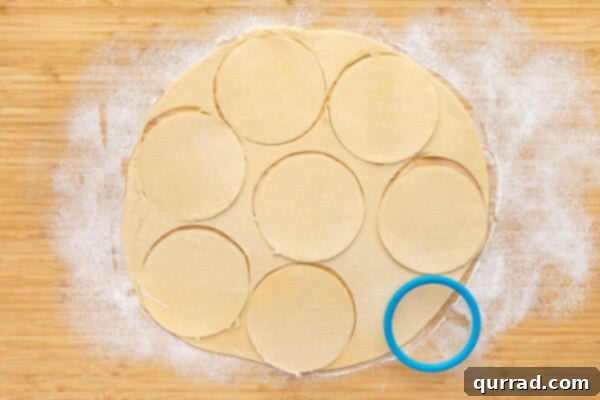
On a lightly floured work surface, carefully unroll your pie crusts. Using a rolling pin, roll them out evenly to approximately 1/8-inch thickness. Take a 3 & 1/2-inch cookie cutter (or a round glass/cup of similar diameter) and cut out a total of 18 circles from the pie crusts. If necessary, gather any dough scraps, gently re-roll them, and cut out additional circles until you have 18.

-
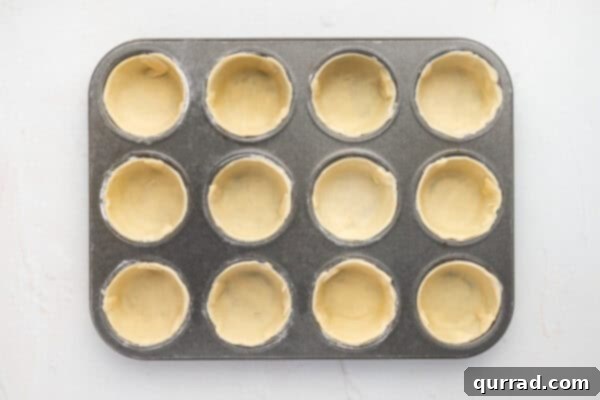
Carefully place each pie crust circle into 18 individual slots of your prepared muffin pans. Gently press the dough down into the bottom and around the sides of each cavity, ensuring the crust fits snugly and there are no visible tears or gaps. This creates a neat cup for your filling.
-
Transfer the muffin pans containing the pie crusts to the refrigerator. Allow them to chill while you proceed with preparing the delectable chocolate filling.
-
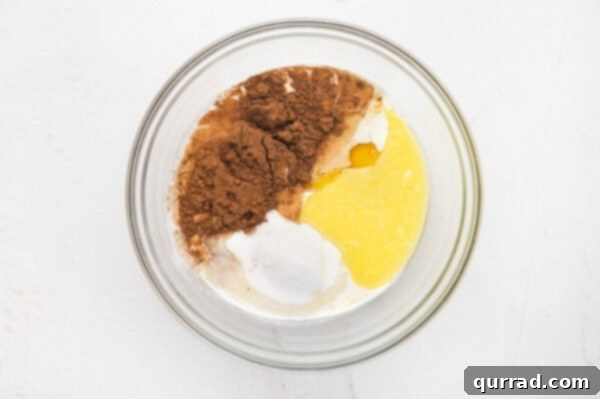
In a medium-sized mixing bowl, combine 1 & 1/4 cups granulated sugar, 3 & 1/2 tablespoons unsweetened cocoa powder, 2 large eggs, 1/4 cup melted unsalted butter, 5 ounces half-n-half, 1/2 teaspoon vanilla extract, and a tiny pinch of salt. Whisk all the ingredients together thoroughly until they are well combined and the mixture is smooth. The filling will have a thin consistency at this stage, which is perfectly normal.
-
Retrieve the muffin pans with the chilled pie crusts from the refrigerator.
-
Carefully and evenly distribute the prepared chocolate filling among all 18 pie crusts in the muffin pans. Remember the golden rule: do not fill them more than three-quarters of the way full to allow for proper baking and a beautiful crust exposure.
-
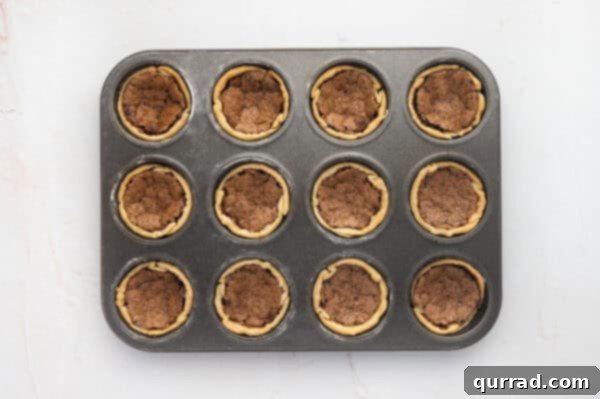
Bake the mini chocolate pies in the preheated oven for approximately 22 minutes, or until the filling has set and a thin, slightly crackled crust forms on the surface of the chocolate filling. It’s common for the filling to puff up significantly during baking; rest assured, it will gently deflate once the pies are removed from the oven, which is a normal part of the process.
-
Once baked, remove the muffin pans from the oven. Allow the pies to cool in the pans on a wire rack for about 30 minutes. After this initial cooling, carefully run a dull knife or thin spatula around the perimeter of each pie to loosen it from the muffin tin, then transfer the pies to the wire rack to cool completely. This prevents the crust from becoming soggy.
-
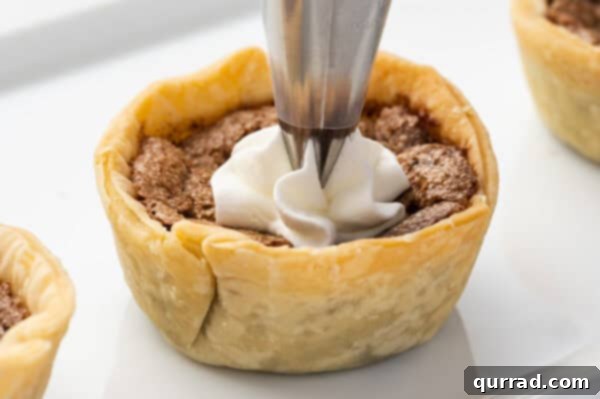
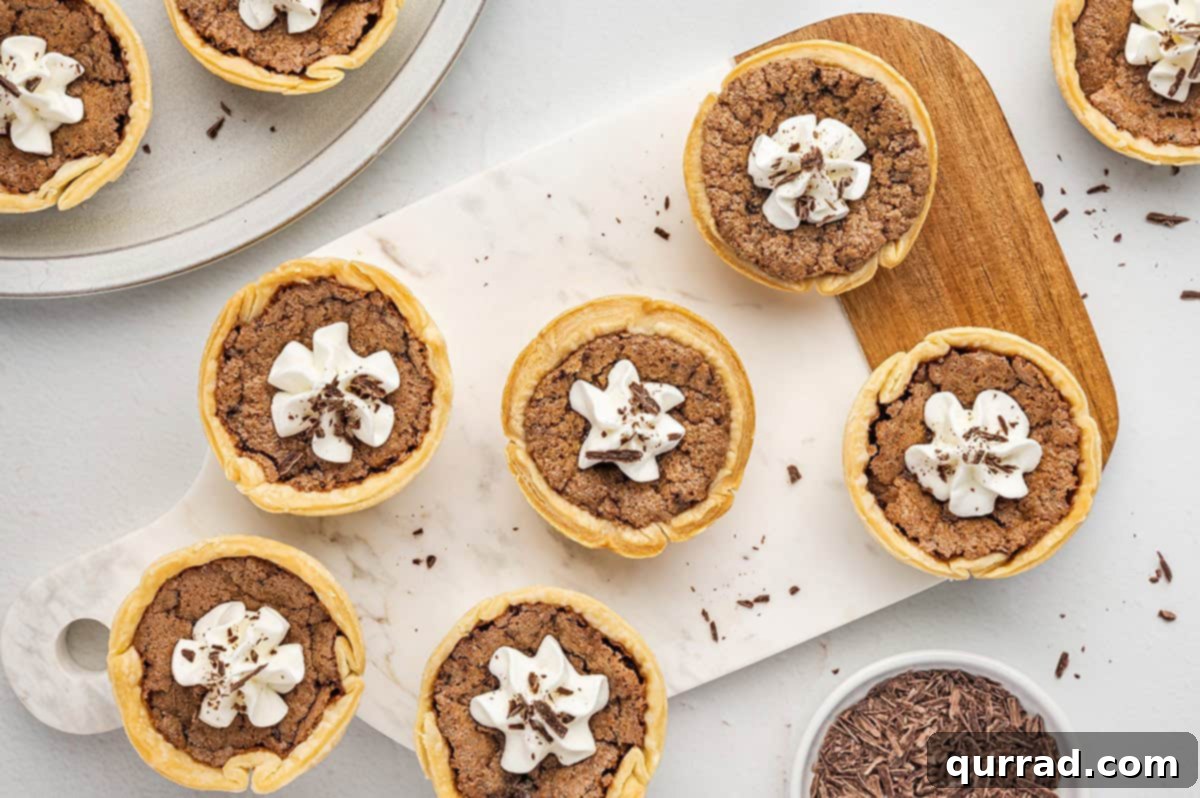
These delicious mini chocolate pies can be served either chilled or at room temperature, depending on your preference. For an elegant finish, pipe a generous dollop of fresh homemade whipped cream on top of each pie and garnish with delicate chocolate shavings or curls.
Video Overview
For a visual guide on preparing these delectable mini chocolate pies, you can often find helpful video tutorials that walk you through each step. While specific video content is dynamic, conceptual guides demonstrate techniques for rolling pie crusts, filling muffin tins, and achieving that perfect golden crust and silky filling.
Recipe Notes
Nutrition Information (per mini pie)
Carbohydrates: 26g |
Protein: 2g |
Fat: 10g |
Saturated Fat: 4g |
Polyunsaturated Fat: 1g |
Monounsaturated Fat: 4g |
Trans Fat: 0.1g |
Cholesterol: 28mg |
Sodium: 103mg |
Potassium: 55mg |
Fiber: 1g |
Sugar: 14g |
Vitamin A: 133IU |
Vitamin C: 0.1mg |
Calcium: 18mg |
Iron: 1mg
Please note: Nutritional information provided is an estimated automatic calculation. Actual values may vary based on specific brands used, ingredient substitutions, and precise measurements. For exact dietary needs, it is recommended to calculate nutritional data independently using your specific ingredients.
Creative Serving Suggestions for Your Mini Chocolate Pies
These mini chocolate pies are delightful on their own, but a few thoughtful additions can elevate them into truly spectacular desserts. While I love serving them at a comfortable room temperature, they are equally delicious when chilled, offering a different texture experience. Here are some ideas to make your mini pies shine:
- Classic Whipped Cream & Chocolate: The ultimate pairing! A generous swirl of homemade whipped cream is a must, offering a light, airy contrast to the rich chocolate. Finish with delicate chocolate shavings or elegant chocolate curls for a professional touch.
- Fruity Companions: Introduce a burst of freshness with a drizzle of vibrant raspberry sauce, complementing the deep chocolate notes beautifully. Fresh berries like raspberries, strawberries, or blackberries scattered around the plate also add color and tartness.
- Caramel Indulgence: For those who love a sweet and salty combination, a luscious drizzle of homemade caramel sauce takes these pies to another level of decadence. A sprinkle of sea salt flakes alongside the caramel can enhance this experience.
- Nutty Crunch: Add a textural contrast with a sprinkle of finely chopped toasted pecans, walnuts, or almonds over the whipped cream.
- A Hint of Mint: For a refreshing twist, a tiny mint leaf on top of the whipped cream adds a lovely aroma and visual appeal, especially fitting during the holidays.
- Coffee Pairing: Serve alongside a freshly brewed cup of coffee or a rich espresso for an adult treat that truly highlights the chocolate flavor.
Storing Your Mini Chocolate Pies for Lasting Freshness
One of the many benefits of these mini chocolate pies is how well they store, allowing you to enjoy them for days or even prepare them ahead of time for special events. Proper storage is key to maintaining their delicious flavor and texture:
- Countertop Storage (Short-term): If you plan to serve your pies within a day and they haven’t been topped with whipped cream, they can safely remain at room temperature. Simply place them on a serving platter or in a container and lightly cover them with aluminum foil or plastic wrap to protect them from air exposure and keep them fresh.
- Refrigeration (Medium-term): For storage beyond one day, or if your pies are already adorned with whipped cream, refrigeration is essential. Transfer any leftover pies to an airtight container. To prevent them from sticking together or getting crushed, it’s best to separate layers with a sheet of waxed paper or parchment paper if stacking. Stored in the refrigerator, these mini chocolate pies will maintain their quality for up to 4 days. Keep in mind that as they chill, the crust may slightly dry out over time, but the filling will remain creamy.
- Freezing (Long-term): For longer storage, mini chocolate pies freeze beautifully. Once the baked pies have cooled completely to room temperature, wrap each individual pie tightly in aluminum foil. This layer of foil provides protection against freezer burn. After wrapping, place the foil-wrapped pies into a heavy-duty Ziploc freezer bag or an airtight freezer-safe container. They can be frozen for up to 2 months. When you’re ready to enjoy them, simply transfer the frozen pies to the refrigerator and allow them to thaw overnight. For an extra touch, you can briefly warm them in a low oven (around 300°F/150°C) for 5-10 minutes to crisp up the crust before adding fresh toppings.
Frequently Asked Questions About Mini Chocolate Pies
Here are answers to some common questions you might have while making or enjoying these delightful mini chocolate pies:
- Can I use a different type of crust? Absolutely! While a traditional flaky pie crust works best, you could experiment with a graham cracker crust or even a crushed cookie crust (like Oreos) for a different flavor profile. Adjust baking times accordingly as these often don’t require pre-baking.
- What if my filling cracks? A thin, crackled crust on top of the filling is actually normal and expected for this type of pie, indicating it’s perfectly set. Don’t worry, it won’t affect the creamy texture underneath!
- Can I make these gluten-free? Yes, you can! Use your favorite gluten-free pie crust recipe or a store-bought gluten-free crust. The filling itself is naturally gluten-free.
- Why did my pies overflow during baking? This typically happens if the pie cavities were overfilled. Remember to only fill them about three-quarters of the way full.
- Can I prepare the filling in advance? You can prepare the filling up to a day in advance and store it covered in the refrigerator. Whisk it again briefly before pouring into the crusts to ensure it’s well combined.
- How do I get clean edges when removing them from the muffin tin? Ensure the pies are thoroughly cooled before attempting to remove them. Running a thin, dull knife around the edge helps loosen them without damaging the crust. If they’re still stuck, a brief chill in the freezer (10-15 minutes) can sometimes make them easier to pop out.
Fun Variations and Customizations
While these mini chocolate pies are fantastic as is, don’t hesitate to get creative with variations and toppings to suit your taste or specific occasion:
- Mint Chocolate: Add a few drops of food-grade mint extract to the chocolate filling for a refreshing mint chocolate pie. Top with whipped cream and a sprinkle of crushed peppermints.
- Spicy Chocolate: For a subtle kick, include a pinch of cayenne pepper in the chocolate filling. The heat will beautifully enhance the chocolate flavor.
- Nutty Delight: Mix finely chopped toasted pecans or walnuts into the chocolate filling before baking, or sprinkle them over the top before serving.
- Orange Zest: Grate a little orange zest into the chocolate filling for a bright, citrusy note that pairs wonderfully with chocolate.
- Coffee Infusion: Beyond the espresso powder, you can add a tablespoon of strong brewed coffee or coffee liqueur to the filling for a more pronounced mocha flavor.
- Coconut Cream: Top with a dollop of coconut whipped cream instead of dairy whipped cream for a tropical twist or to cater to dairy-free guests.
- Gourmet Toppings: Experiment with toppings like toasted coconut flakes, miniature chocolate chips, a dusting of cocoa powder, or even a drizzle of white chocolate.
I genuinely hope you cherish this delectable and straightforward recipe for Mini Chocolate Pies! Your feedback is invaluable, so please consider leaving a review below after you’ve tried them. And for more mouthwatering recipes and culinary inspiration, remember to connect with Belly Full across all our social platforms: TikTok, Facebook, Instagram, Pinterest, and YouTube!