
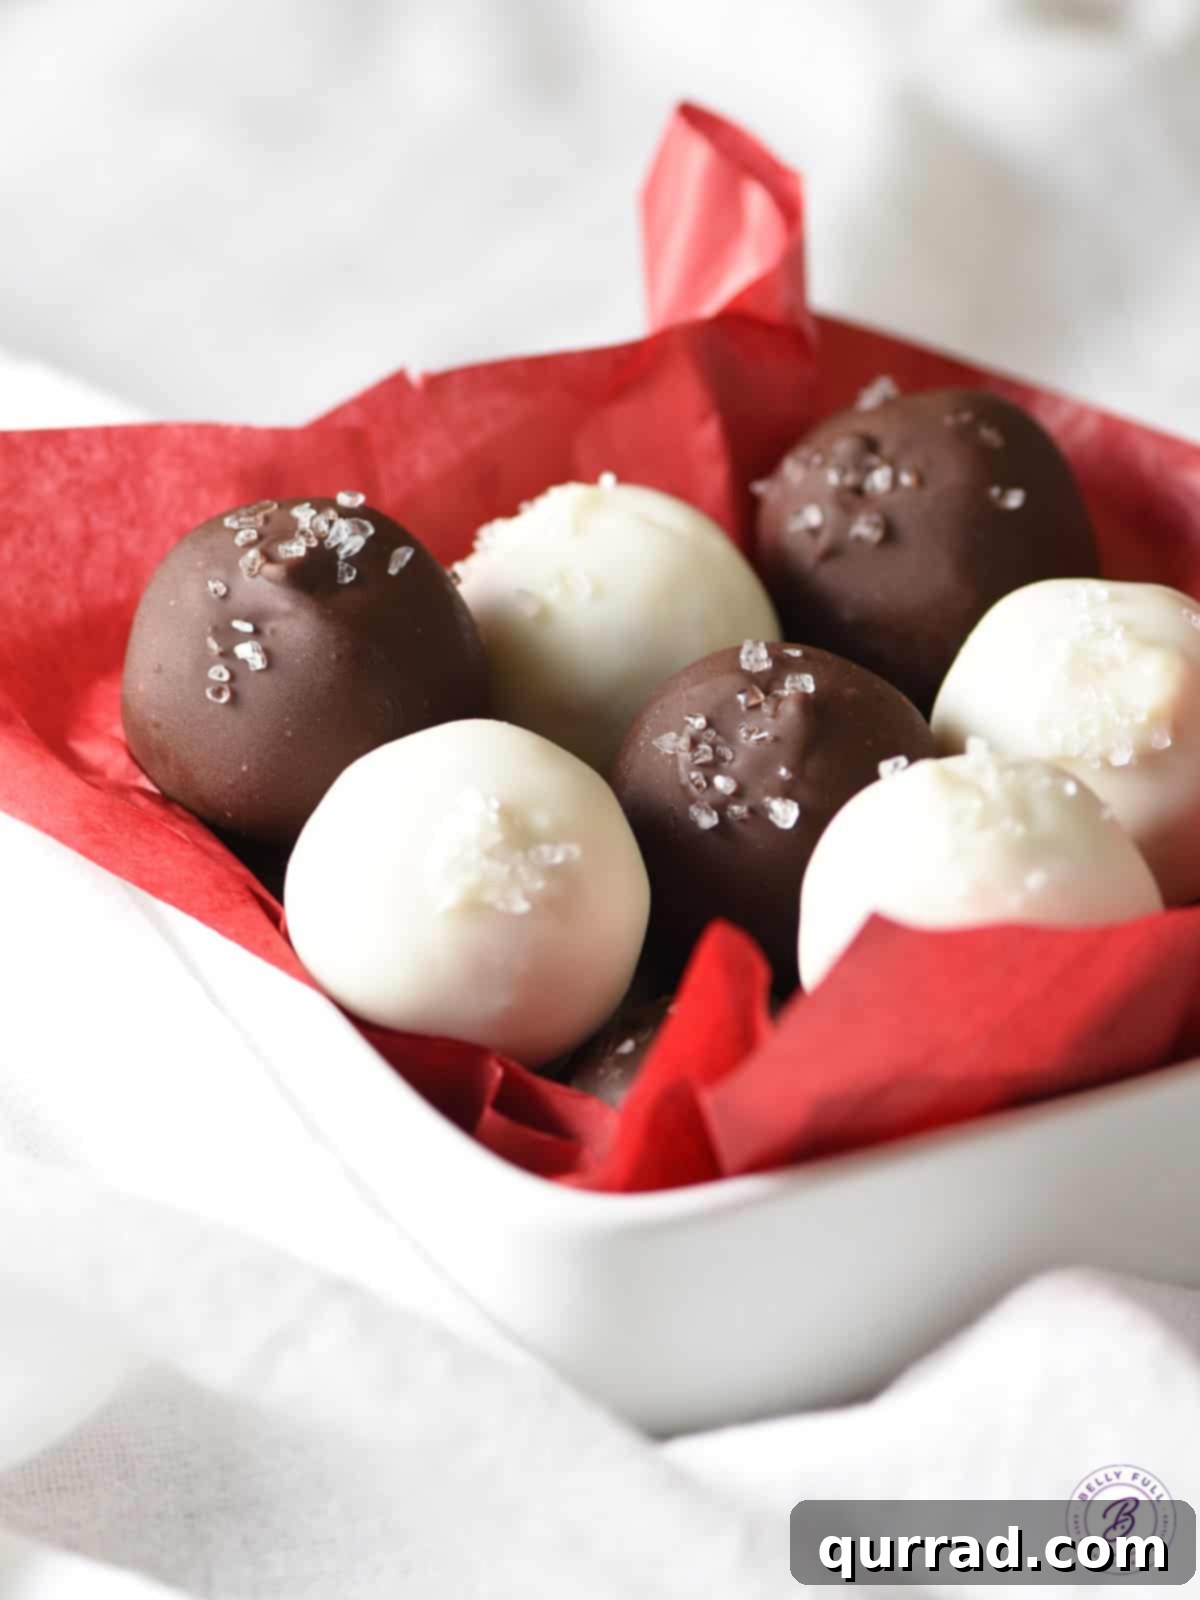
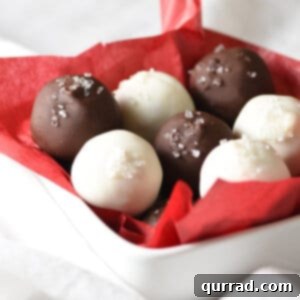
Embrace the festive spirit with these absolutely scrumptious Eggnog Cake Balls, a bite-sized dessert that promises to be the star of your next holiday gathering. Featuring a tender, moist center infused with the rich, unmistakable flavor of eggnog, each ball is lovingly enveloped in a smooth, luxurious chocolate coating. These delightful confections are not just delicious; they are incredibly easy to make ahead, saving you precious time during the busy holiday season. Prepare to impress your family and friends with a treat that captures the essence of winter celebrations in every single bite!
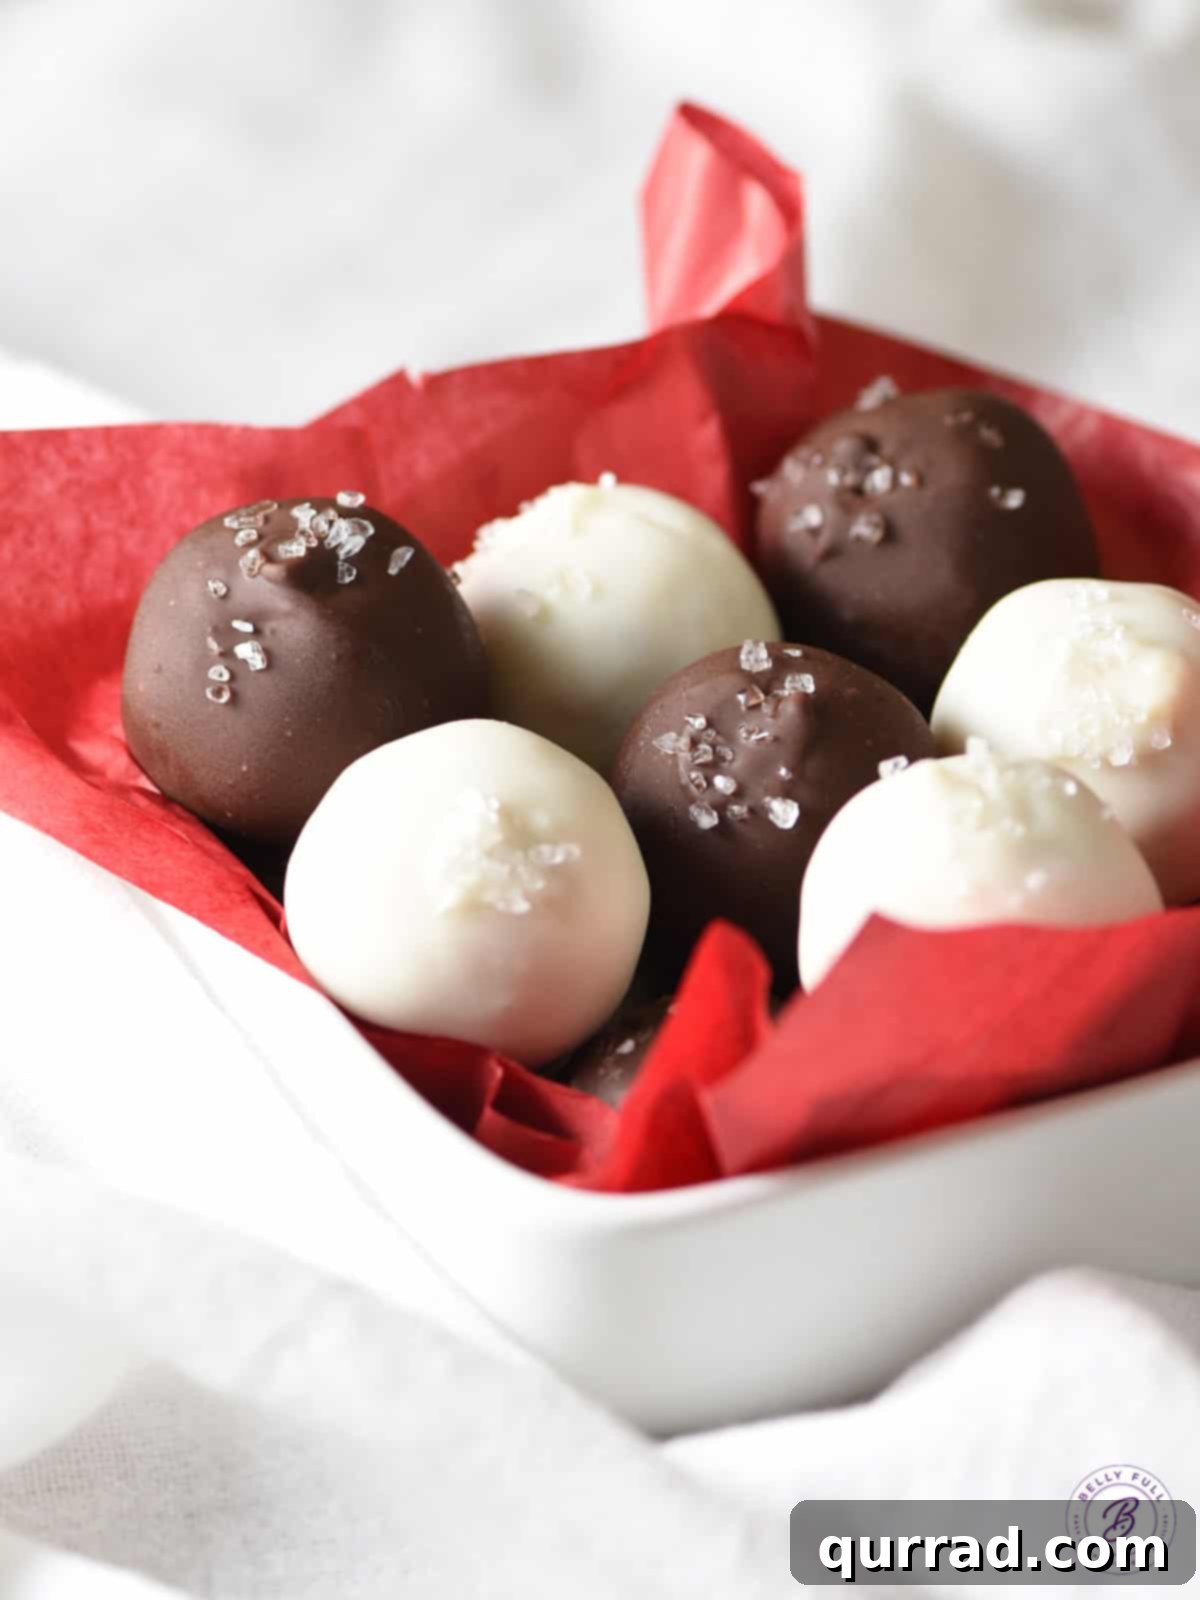
Eggnog Cake Balls: The Ultimate Holiday Indulgence
The holiday season is synonymous with warmth, joy, and, of course, an abundance of delicious treats. Among the plethora of festive desserts, Eggnog Cake Balls stand out as a uniquely delightful creation. They combine the beloved, creamy flavor of eggnog with the universally adored concept of cake pops (without the stick!). Every year, as the festive decorations come out, I find myself drawn to the kitchen to whip up a batch of these. My kids, fresh from school, often greet me with the eager question, “What did you make today?!” And let me tell you, when these eggnog wonders are on the counter, they don’t last long! Last week, I had to gently intervene after the seventh one to ensure there were enough for guests.
These aren’t just a casual after-school snack; they’re an absolute showstopper. If you’re ever asked to bring a dish to a holiday party or potluck, volunteering to make these Eggnog Cake Balls is a decision you won’t regret. They are incredibly delicious, perfectly portioned for entertaining, and — a huge bonus for busy hosts — they can be prepared well in advance. This makes them an ideal choice for hassle-free holiday entertaining, allowing you more time to enjoy the festivities.
What Exactly Are Cake Balls? A Sweet Innovation Explained
Cake balls, often considered a cousin to the popular cake pop and the sophisticated truffle, are a brilliant invention that transforms leftover or freshly baked cake into an entirely new dessert experience. At their core, they are a harmonious blend of finely crumbled cake and creamy frosting, mixed together to create a dense, truffle-like consistency. This mixture is then rolled into small, uniform balls, chilled to firm perfection, and finally dipped in a decadent candy coating – be it vanilla, milk chocolate, dark chocolate, or white chocolate. The possibilities don’t end there; they can be adorned with a variety of toppings like festive sprinkles, crunchy cookie crumbs, or, as in this recipe, a sprinkle of flaky sea salt to beautifully contrast the sweetness.
What makes cake balls so incredibly appealing is their simplicity and versatility. They require minimal baking skill, yet yield impressively fantastic, bite-sized treats perfect for any occasion. The beauty lies in the endless flavor combinations you can explore. Imagine lemon cake with cream cheese frosting and a white chocolate coating, or chocolate cake with peppermint frosting and dark chocolate. For our holiday-themed creation, the classic, spiced flavor of eggnog takes center stage, making these cake balls an unforgettable addition to your festive dessert table.
Beyond their delightful taste and texture, cake balls are incredibly convenient. Their small size makes them easy to eat, requiring no plates or cutlery, which is ideal for mingling at parties. They are also highly customizable, allowing you to match them to any theme or color scheme. Once you master the basic technique, a world of creative cake ball variations opens up before you.
Crafting Your Eggnog Cake Balls: Essential Ingredients for Success
Creating these delightful Eggnog Cake Balls requires just a handful of readily available ingredients. Each component plays a crucial role in achieving the perfect flavor and texture. Here’s a closer look at what you’ll need and why:
- Pound Cake Mix (16-ounce box): This forms the base of our cake balls. Using a mix makes the process incredibly simple and ensures a consistently moist and tender cake. You can opt for a vanilla or golden pound cake mix.
- Eggnog (2/3 cup): The star ingredient that infuses our cake with its signature holiday flavor. While our homemade eggnog offers unparalleled richness, a good quality store-bought eggnog works perfectly and saves time. The fat content in eggnog also contributes to the cake’s moistness.
- Unsalted Butter (1/4 cup), softened: Butter adds richness, flavor, and helps achieve a tender crumb in the cake. Ensure it’s softened to room temperature for smooth incorporation into the batter.
- Large Eggs (2): Eggs provide structure, moisture, and act as a binding agent for the cake, helping it rise and hold its shape.
- Rum (2 tablespoons) or Rum Extract (2 teaspoons): A classic companion to traditional eggnog, rum enhances the festive flavor profile. For an alcohol-free version, simply substitute with rum extract or omit entirely if preferred. This adds a sophisticated depth to the cake.
- Nutmeg (1/2 teaspoon): This warm spice is essential for that authentic eggnog taste. A dash of freshly grated nutmeg can elevate the flavor even further, adding a fragrant, cozy note.
- Whipped Vanilla Frosting (16-ounce container): This is key for binding the cake crumbs and adding moisture and sweetness to create the truffle-like consistency. You’ll only need about three-quarters of the container, so be careful not to overdo it, or your cake balls might become too sticky or wet.
- Candy Melts (48 ounces, vanilla and/or chocolate): This forms the smooth, hardened outer shell of your cake balls. You can use a single flavor or mix vanilla and chocolate for visual variety. See our detailed tip below on why candy melts are preferred for coating.
- Sea Salt (coarse): A sprinkle of coarse sea salt on top not only adds a beautiful visual touch but also brilliantly enhances the chocolate flavor and balances the sweetness of the cake balls, creating a truly irresistible treat.
Expert Tip: Candy Melts vs. Regular Chocolate Chips for Coating
When it comes to achieving that perfectly smooth, glossy, and firm coating for your cake balls, the choice of chocolate matters. I highly recommend using specialized candy melts, such as Wilton candy melts or Ghirardelli White Melting Wafers. These products are specifically designed for candy making, offering a superior consistency when melted – smooth, fluid, and easy to work with. Crucially, once dried and hardened, they maintain their firm texture even at room temperature, preventing sticky fingers and messy presentations. This “snapping” quality is what you’re aiming for.
While regular chocolate chips can be used, they often require a bit more finesse and a slight modification to achieve a similar result. Standard chocolate chips contain different fats that can make them seize or not harden properly at room temperature, leading to a softer, potentially melting coating. If you do opt for regular chocolate (dark, milk, or white chocolate chips), I strongly advise combining it with a neutral fat like coconut oil. The addition of about 1 tablespoon of coconut oil per 1 cup of chocolate chips will help thin the chocolate to a desirable dipping consistency and aid in faster hardening once cooled. To do this, melt the chocolate chips and coconut oil together gently, stirring until completely smooth. Keep the melted mixture warm over a double boiler or in a slow cooker on a “warm” setting if working with large batches to maintain fluidity.
Mastering the Art of Eggnog Cake Balls: A Step-by-Step Guide
Making these elegant eggnog truffle balls is a fun and rewarding process that requires minimal skill, though careful attention to a few steps and some essential chill time will ensure perfection. Follow these detailed instructions to create your holiday masterpieces:
- Prepare and Bake the Cake: Begin by preheating your oven to 350 degrees F (175 C). Line a standard 9×5-inch loaf pan with parchment paper, allowing a slight overhang on two sides to create “handles” for easy removal later. In a large mixing bowl, combine the pound cake mix, eggnog, softened unsalted butter, large eggs, rum (or rum extract), and nutmeg. Using an electric mixer, beat the ingredients on medium speed until they are thoroughly blended and the batter is smooth. Avoid overmixing, as this can lead to a tough cake. Pour the prepared batter evenly into your parchment-lined loaf pan. Bake for 55 to 60 minutes, or until a long wooden skewer or toothpick inserted into the center of the cake comes out clean. Once baked, let the cake cool in the pan on a wire rack for 10 minutes. This allows it to firm up slightly before handling. Then, using the parchment paper overhang, carefully lift the cake out of the pan and transfer it to the wire rack to cool completely. This step is crucial; the cake must be entirely cool before proceeding.
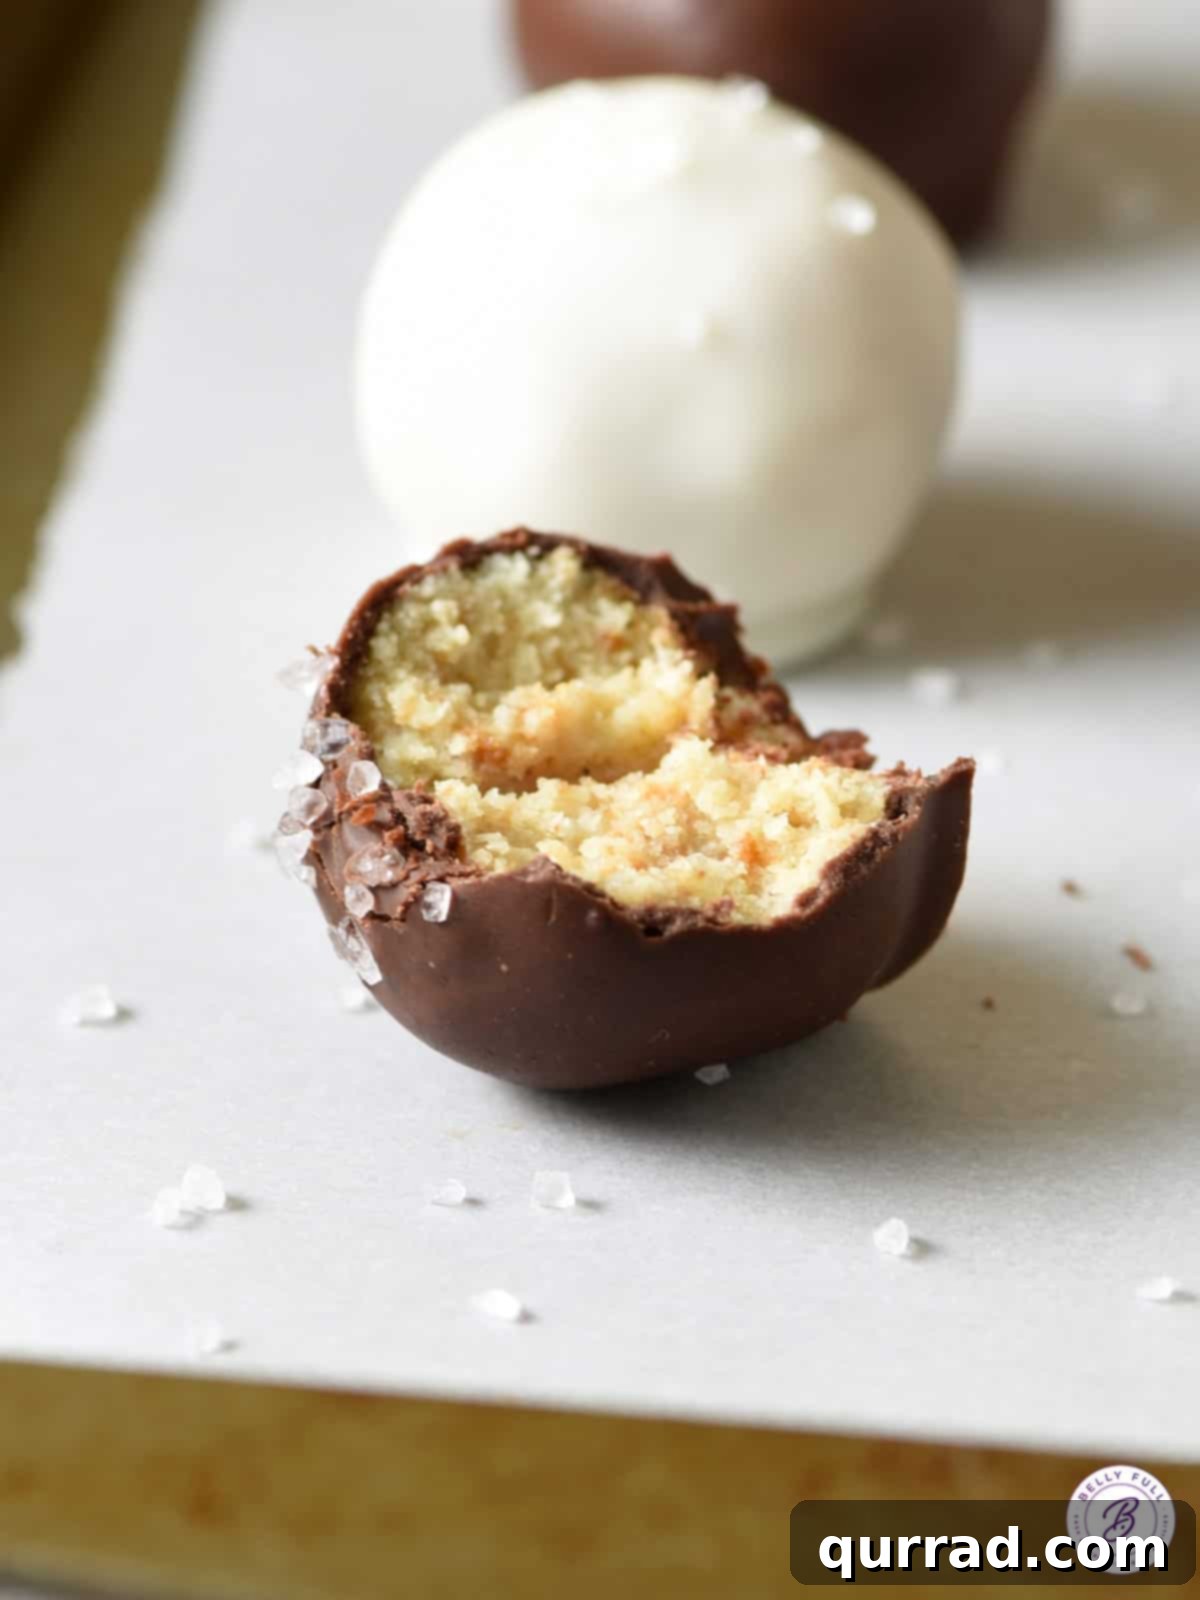
- Crumble and Combine with Frosting: Once the cake is completely cool, crumble it into a large mixing bowl. Ensure there are no large chunks remaining; the finer the crumbs, the smoother your cake balls will be. You can do this by hand or use a food processor for ultra-fine crumbs. Next, add approximately three-quarters of the 16-ounce container of whipped vanilla frosting to the bowl. It’s important not to add too much frosting, as an overly moist mixture will result in sticky, difficult-to-form balls that may crack when coated. You can save any leftover frosting for another use. Using the back of a sturdy wooden spoon or a fork, mix the cake crumbs and frosting thoroughly until they are well combined and form a dense, pliable dough-like consistency. The mixture should hold together when squeezed but not be excessively sticky.
- Form the Cake Balls: Using a 1-tablespoon cookie scoop (or simply measuring spoons), portion out even amounts of the cake mixture. Gently knead each portion with your hands for a few seconds until it feels cohesive and smooth, then roll it into a uniform 1-inch ball. Aim for consistency in size for even coating and presentation.
- Chill for Firmness: Arrange the formed cake balls in a single layer on a parchment-lined baking sheet. Cover the baking sheet tightly with plastic wrap and place it in the refrigerator for several hours, or preferably overnight. This chilling period is absolutely essential. It allows the cake balls to firm up significantly, making them much easier to handle and preventing them from falling apart or creating streaks when dipped into the warm chocolate coating. Do not skip or rush this step.
- Coat with Decadent Chocolate: When your cake balls are thoroughly chilled and firm, it’s time for the coating. Place your candy melts (vanilla, chocolate, or both) in a deep, microwave-safe bowl. Microwave according to the package instructions, typically in 30-second intervals, stirring well after each interval, until the candy melts are completely melted and smooth. Be careful not to overheat the chocolate, as this can make it seize or burn. Once melted, carefully place one chilled cake ball onto the tines of a fork (this allows excess chocolate to drip off easily). Lower the cake ball into the melted chocolate, then use a spoon to pour the chocolate over the entire surface, ensuring it’s fully coated. Gently tap the fork against the side of the bowl to allow any excess chocolate to drip back into the bowl.
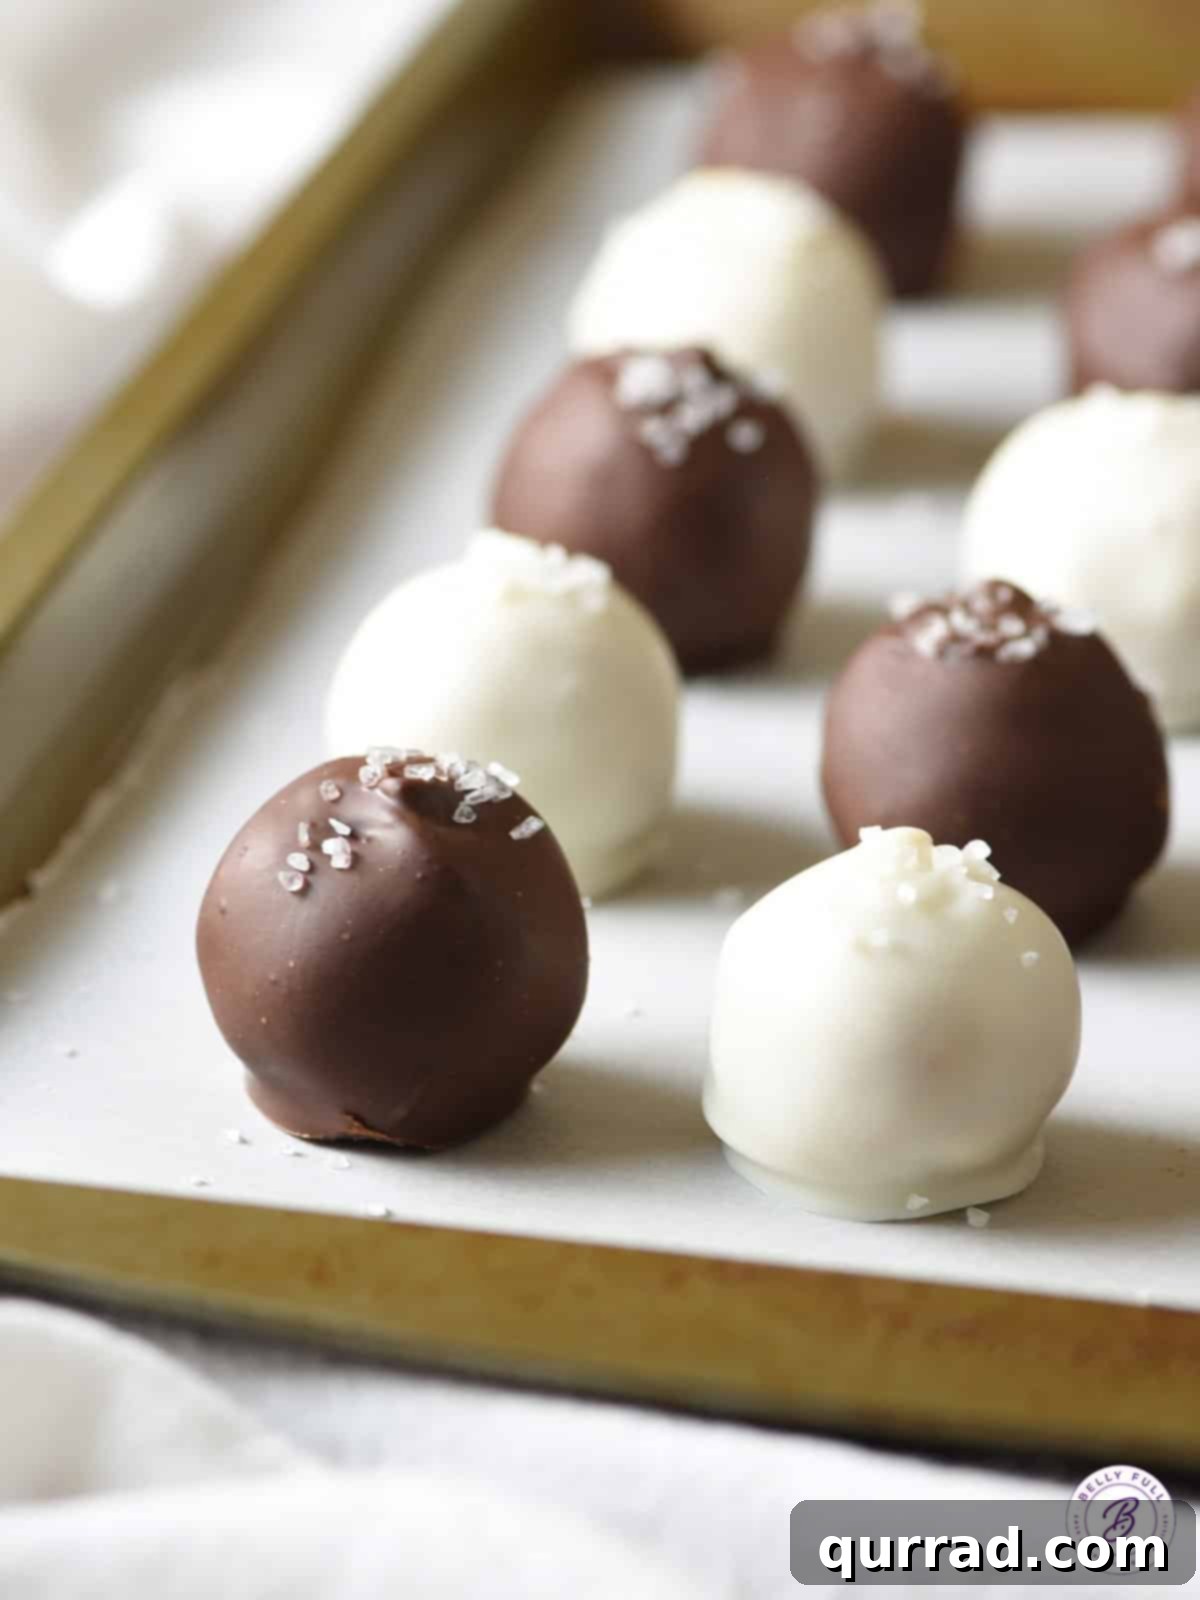
- Sprinkle with Sea Salt: Immediately after coating each cake ball, while the chocolate is still wet and pliable, carefully transfer it back to the parchment-lined baking sheet. Sprinkle a few granules of coarse sea salt onto the top of the chocolate-coated ball. The salt will adhere as the chocolate sets, providing that wonderful flavor contrast and visual appeal. Repeat this process with all remaining cake balls, working quickly so the chocolate doesn’t set before you can add the salt.
- Final Chill to Set: Once all the cake balls are coated and sprinkled, return the baking sheet to the refrigerator for at least 30 minutes. This final chill will allow the chocolate coating to fully set and harden, giving your Eggnog Cake Balls that perfect crisp shell. Once set, they are ready to be served and enjoyed!
Pro Tips for Eggnog Cake Ball Perfection
Achieving perfectly uniform and delicious Eggnog Cake Balls is simple with a few expert tips:
- Don’t Over-Frost: The biggest mistake is adding too much frosting to the cake crumbs. This makes the mixture overly moist, sticky, and difficult to roll, and can lead to cracked coatings. Start with three-quarters of the container and add more in tiny increments only if needed. The mixture should feel like playdough.
- Thorough Chilling is Key: Ensure your cake mixture is well-chilled before rolling and that the formed balls are thoroughly firm before dipping. This prevents them from falling apart in the warm chocolate and helps the coating set smoothly. Overnight chilling is ideal.
- Keep Your Chocolate Warm: While dipping, if your candy melts start to thicken, reheat them briefly in the microwave for 10-15 seconds or keep them warm over a double boiler. A thin, fluid coating is easier to work with.
- Work Quickly with Toppings: Sprinkles, sea salt, or other decorations should be applied immediately after dipping each ball, before the chocolate coating has a chance to set.
- Experiment with Flavors: While eggnog is divine, don’t hesitate to try other cake mixes or frosting flavors. Spice cake, gingerbread, or even a classic vanilla cake can be excellent bases, paired with cream cheese, caramel, or chocolate frostings.
- Prevent Cracking: If your chocolate coating cracks, it’s usually due to a significant temperature difference between the very cold cake ball and the warm chocolate, or the chocolate being too thick. Ensure your chocolate is at the right consistency and the cake balls aren’t excessively cold straight from the freezer (though a good chill from the fridge is perfect).
Proper Storage for Lasting Freshness
One of the best features of Eggnog Cake Balls is their excellent shelf life, making them ideal for holiday prep. Here’s how to store them to maintain their deliciousness:
- Storing Uncoated Cake Balls: If you’re preparing them in advance and plan to dip them later, the uncoated cake balls can be stored in an airtight container in the refrigerator for up to 2 days. For longer storage, you can freeze them for up to 6 weeks. When ready to coat, simply transfer them from the freezer to the refrigerator to thaw overnight before dipping. This method is fantastic for splitting the workload.
- Storing Fully Coated Cake Balls: Once dipped and the chocolate coating is completely set and hardened, these cake balls are quite stable.
- Room Temperature: They can be left out at cool room temperature (below 70°F/21°C) in an airtight container for up to 4 days, especially if your candy melts don’t soften easily.
- Refrigerator: For extended freshness and in warmer climates, store them in an airtight container in the refrigerator for up to 2 weeks. The cool temperature helps maintain their firm texture and prolongs shelf life.
- Freezer: For long-term storage, arrange the fully coated cake balls in a single layer in a freezer-safe resealable plastic bag or airtight container, separated by parchment paper if layering. They can be frozen for up to 6 weeks. To enjoy, thaw them overnight in the refrigerator before serving.
Frequently Asked Questions (FAQs) About Eggnog Cake Balls
Here are some common questions about making and enjoying Eggnog Cake Balls:
- Can I make these gluten-free? Yes! Simply use a gluten-free pound cake mix and ensure all other ingredients (like frosting) are certified gluten-free. The instructions remain the same.
- What if I don’t have rum? Can I substitute it? Absolutely. You can use 2 teaspoons of rum extract for a non-alcoholic version that still captures the flavor. For a completely alcohol-free dessert, you can omit the rum/extract altogether, though the flavor profile will be slightly different.
- My cake ball mixture is too crumbly/too wet. What should I do? If it’s too crumbly, add a tiny bit more frosting (half a tablespoon at a time) until it reaches a playdough-like consistency. If it’s too wet, you can try adding a few tablespoons of extra cake crumbs (if you have them) or a little powdered sugar to absorb excess moisture. Chill the mixture again to help it firm up.
- Why did my chocolate coating crack? Cracking often occurs if the cake balls are too cold (straight from the freezer) when dipped into warm chocolate, causing a sudden temperature shock. Ensure your cake balls are chilled from the refrigerator, not frozen solid. Also, very thick chocolate coating can be more prone to cracking; thin it with a little coconut oil if needed.
- Can I use real chocolate instead of candy melts? Yes, but it requires tempering real chocolate for a shiny, stable, non-melting coating. If you’re not comfortable tempering, use our tip above about adding coconut oil to regular chocolate chips.
- How far in advance can I make these? You can make the cake balls (uncoated) up to 2 days in advance and refrigerate, or freeze for up to 6 weeks. Once coated, they last up to 4 days at room temperature, 2 weeks in the fridge, or 6 weeks in the freezer. They are a perfect make-ahead holiday treat!
Discover More Festive Eggnog Delights!
If you’ve fallen in love with the rich, spiced flavor of eggnog in these cake balls, you’ll certainly want to explore these other fantastic eggnog-infused recipes, perfect for expanding your holiday baking repertoire:
- Eggnog Cookies: Soft, chewy cookies brimming with the taste of the holidays.
- Eggnog Muffins: A delicious way to start your holiday mornings, complete with a delightful streusel topping.
- Homemade Eggnog: Experience the ultimate creamy, spiced beverage from scratch.
- Eggnog Cheesecake Bars: A decadent, creamy dessert that’s sure to impress.
We truly hope you adore this delightful and surprisingly easy recipe for Eggnog Cake Balls. They’re a testament to how simple ingredients and a little patience can create truly memorable holiday magic. Don’t forget to share your creations and experiences with us!
Eggnog Cake Balls
15 mins
1 hr
4 hrs
5 hrs 15 mins
50 cake balls
Pin Recipe
Ingredients
- 16 ounce box Pound Cake mix
- 2/3 cup eggnog
- 1/4 cup unsalted butter, softened
- 2 large eggs
- 2 tablespoons rum (or 2 teaspoons rum extract for alcohol-free)
- 1/2 teaspoon nutmeg
- 16 ounce container whipped vanilla frosting (approx. 3/4 container used)
- 48 ounces vanilla or chocolate candy coating (or 24 ounces of each)
- Coarse Sea Salt, for sprinkling
Instructions
- Preheat oven to 350°F (175°C). Line a 9×5-inch loaf pan with parchment paper, leaving a slight overhang on 2 sides.
- In a large bowl, beat pound cake mix, eggnog, butter, eggs, rum, and nutmeg together with an electric mixer until blended. Pour into the prepared loaf pan.
- Bake for 55-60 minutes or until a long wooden skewer inserted in center comes out clean. Cool in pan on a wire rack for 10 minutes. Remove from pan to wire rack, and cool completely.
- Crumble the cooled cake into a large bowl, ensuring no large chunks remain. Add up to three-quarters of the container of frosting to the bowl (do not use more, or the cake balls will be too moist). Mix to combine thoroughly with the back of a wooden spoon or fork.
- Using a cookie scoop, portion tablespoons of the mixture. Gently knead with your hands until it stays together, then form into 1-inch balls. Transfer to a parchment-lined baking sheet.
- Cover the baking sheet with plastic wrap and place in the refrigerator for several hours (preferably overnight), until the balls are firm.
- Place candy coating in a deep microwave-safe bowl and microwave according to package directions until melted and smooth.
- Place a chilled cake ball onto fork tines and lower into the melted chocolate. Using a spoon, pour chocolate over the ball to coat completely. Tap the fork on the side of the bowl to allow any excess chocolate to run off.
- Place back on the parchment-lined baking sheet and immediately sprinkle with a few granules of coarse sea salt before the coating dries. Repeat with all cake balls.
- Place the finished cake balls in the refrigerator for 30 minutes until the coating is fully set. Enjoy!
Nutrition
|
Carbohydrates: 31g
|
Protein: 1g
|
Fat: 11g
|
Saturated Fat: 9g
|
Cholesterol: 22mg
|
Sodium: 78mg
|
Potassium: 21mg
|
Fiber: 1g
|
Sugar: 29g
|
Vitamin A: 62IU
|
Vitamin C: 1mg
|
Calcium: 13mg
|
Iron: 1mg
Nutritional information is an automatic calculation and can vary based on the exact products you use and any changes you make to the recipe. If these numbers are very important to you, we recommend calculating them yourself.