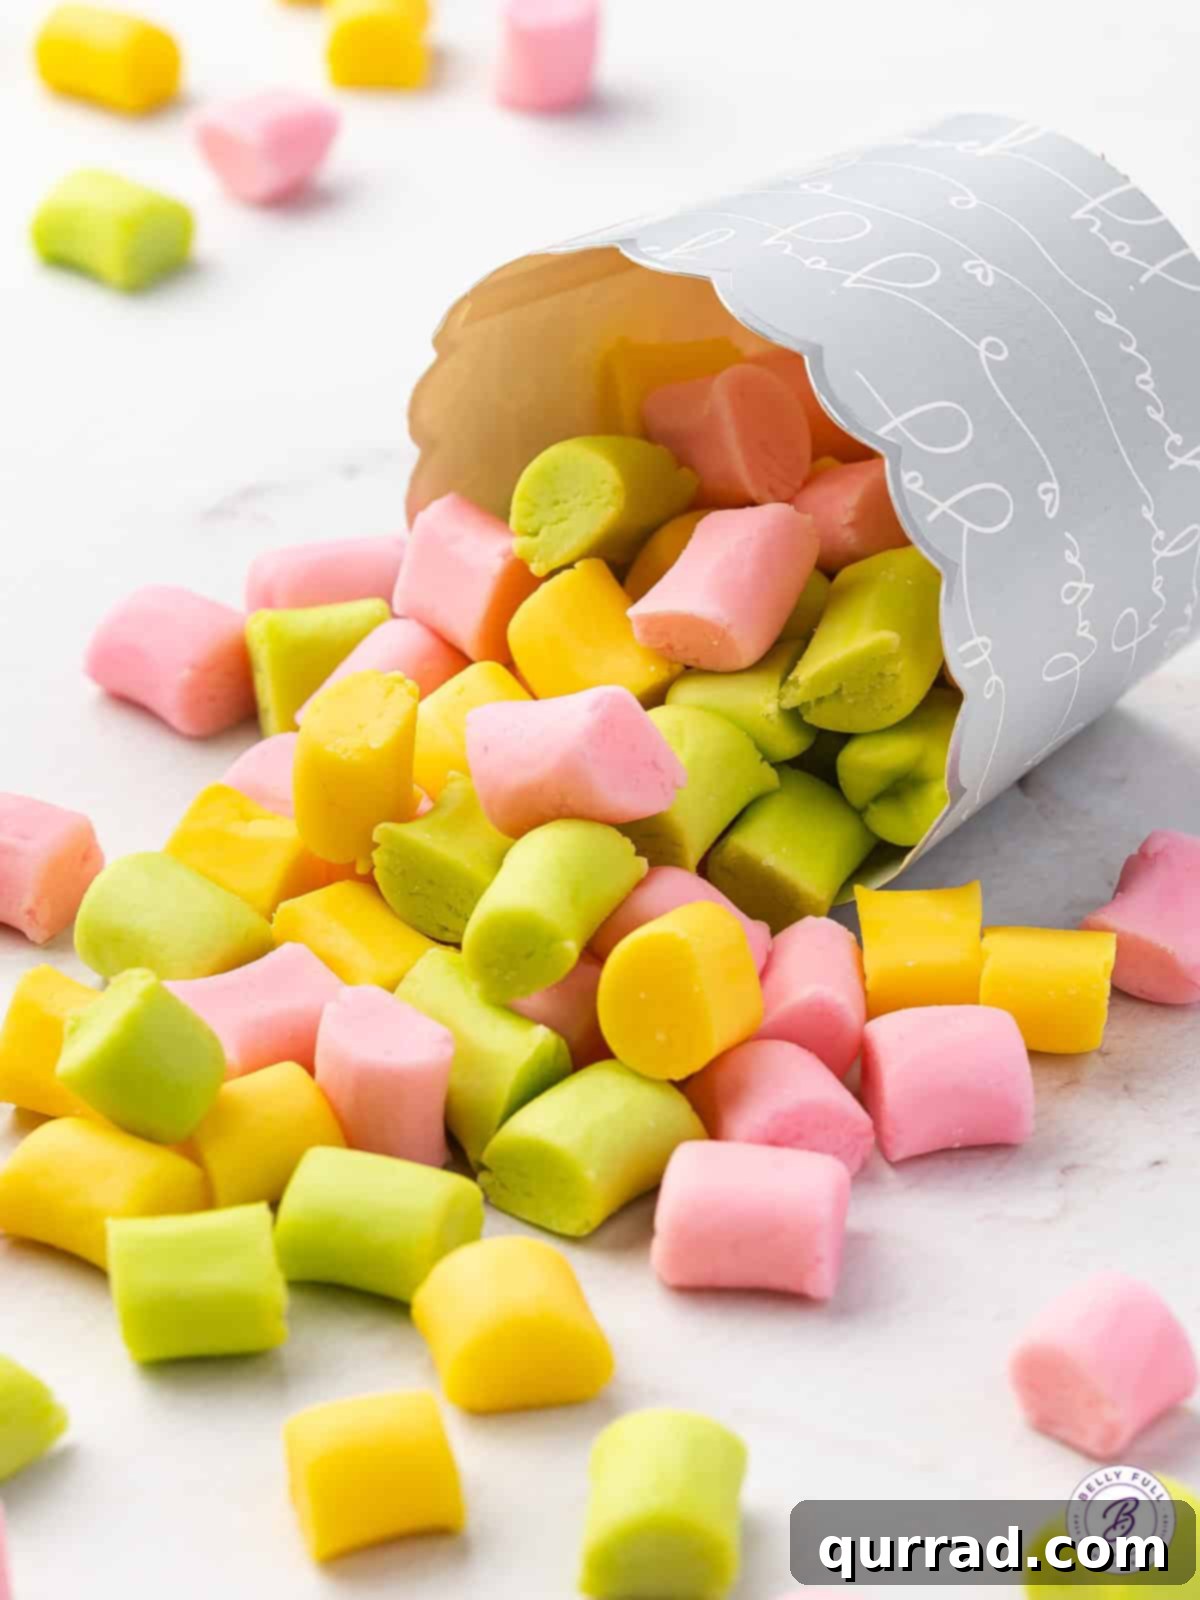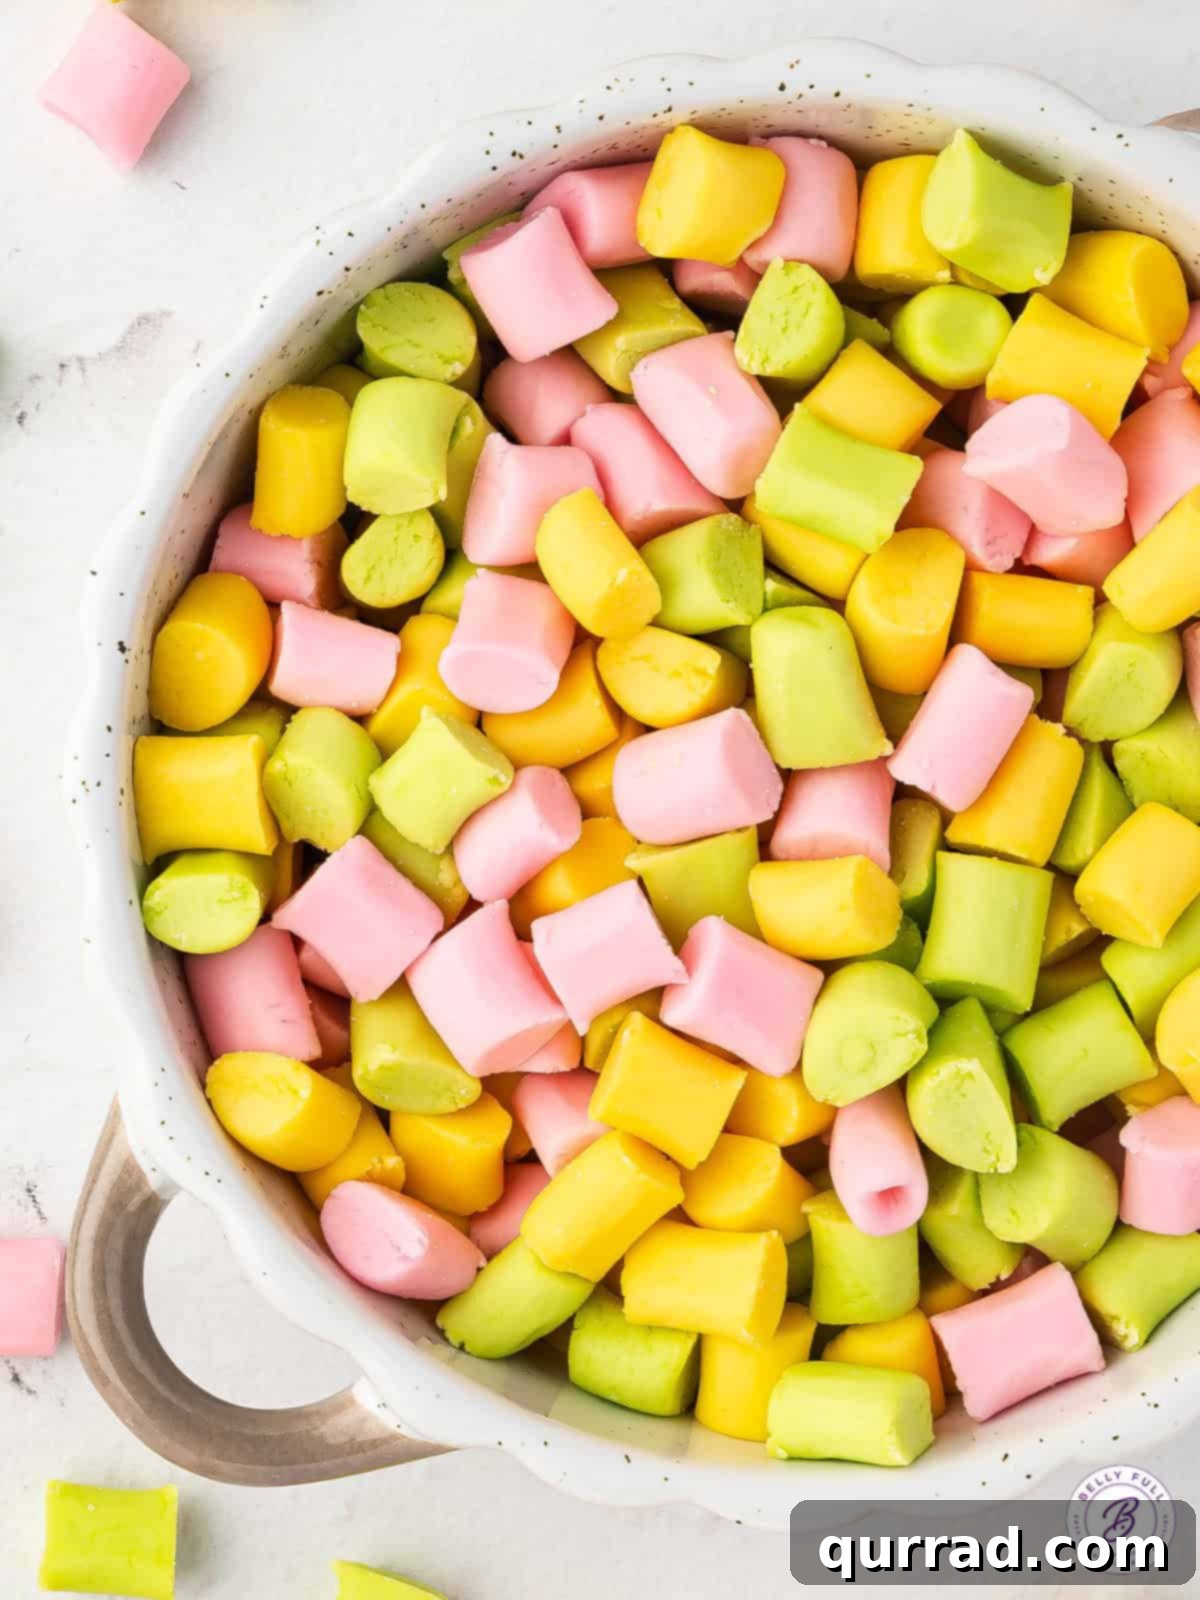
Homemade Butter Mints: The Ultimate Melt-in-Your-Mouth Candy Recipe
Step into a world of sweet nostalgia with these incredible homemade butter mints! Often cherished as wedding mints or elegant dinner mints, this old-fashioned classic recipe is surprisingly simple to make, requiring just a handful of ingredients and absolutely no oven time. Imagine a candy so tender it melts on your tongue, releasing a burst of cool peppermint. These delightful confections are not only super easy but also incredibly versatile, allowing you to customize their colors to perfectly match any celebration or season.
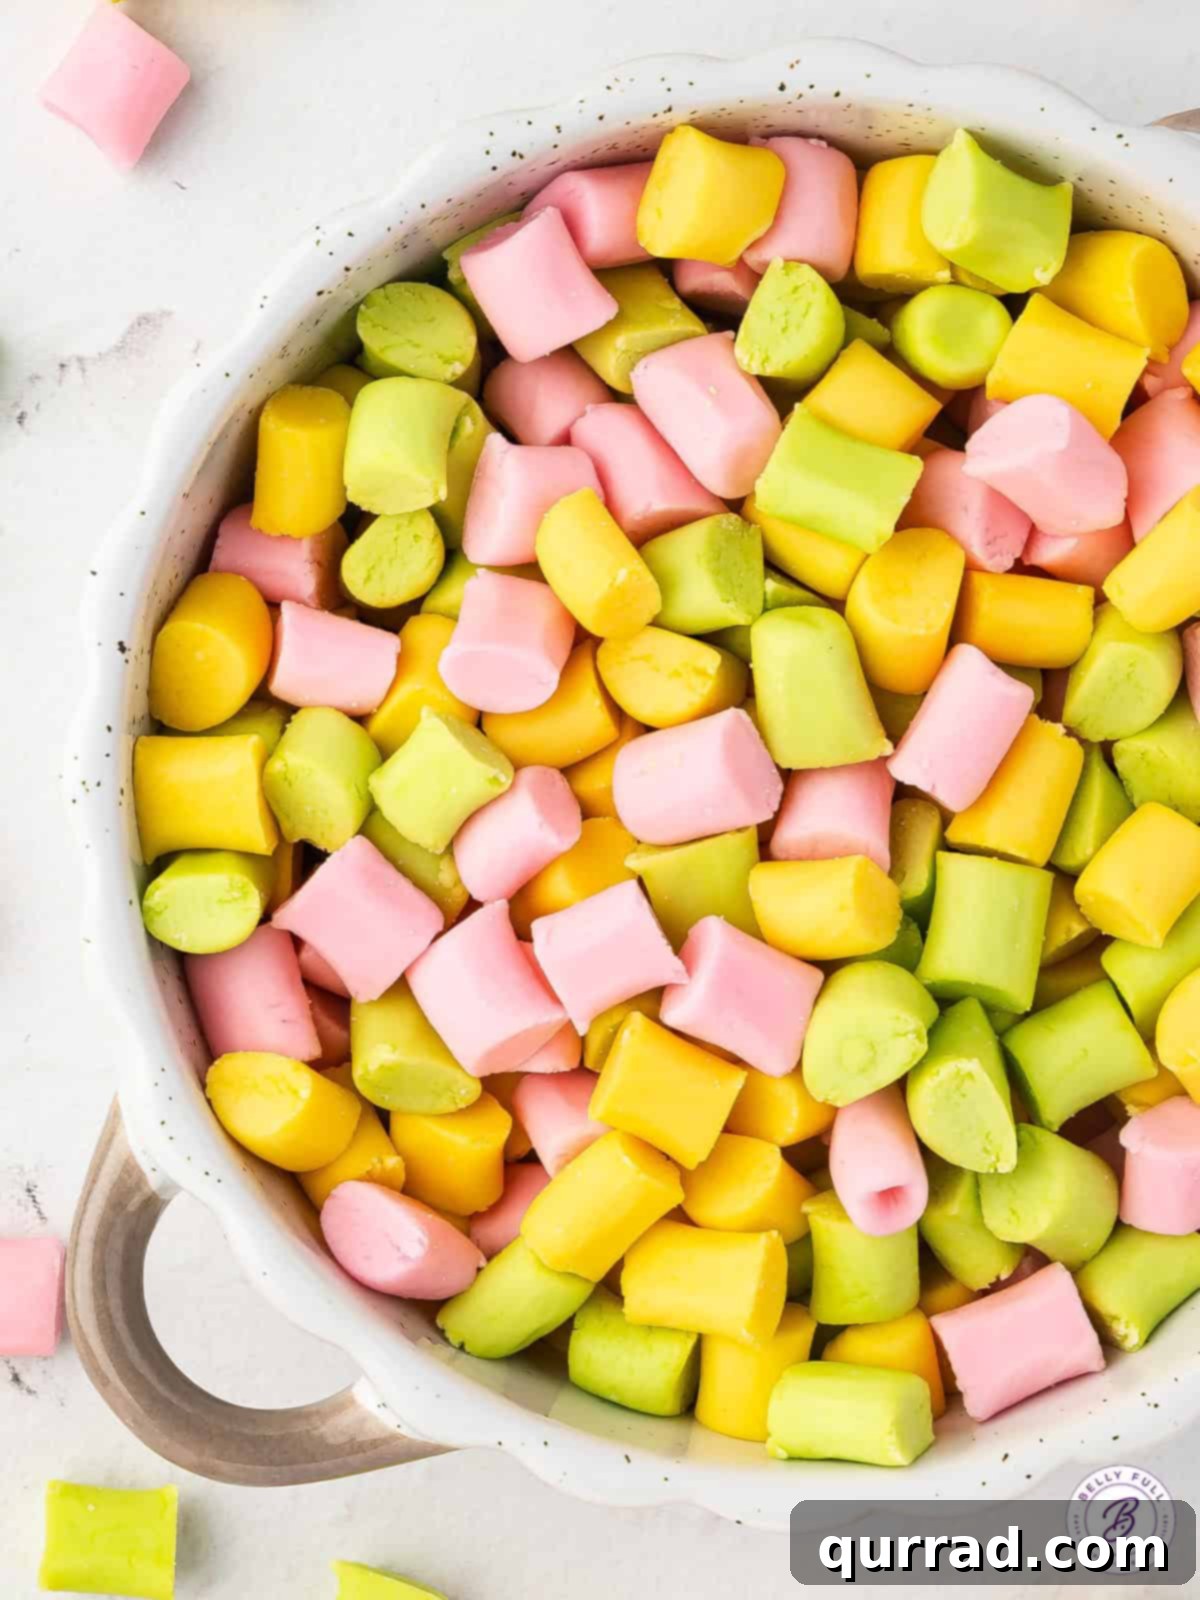
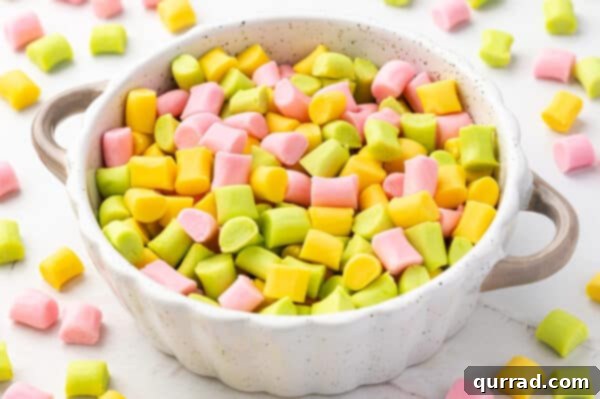
Butter mints hold a special place in my heart, always reminding me of my Nan. She seemed to always have a small tray of them readily available, whether elegantly displayed at home or even tucked away in her purse for a quick treat! While these creamy, melt-in-your-mouth candies are a traditional favorite at baby showers, bridal showers, and weddings, I truly believe they are a lovely little indulgence to have on hand anytime the craving strikes. Much like my beloved cream cheese mints, the beauty of this recipe lies in its adaptability. You can effortlessly customize the colors to complement any event theme, though I admit a personal fondness for the delicate pastel hues pictured here. Plus, they store exceptionally well, making them ideal for preparing in advance.
Why You’ll Love Making These Homemade Butter Mints
There are countless reasons to fall in love with this classic butter mint recipe. Beyond their irresistible flavor and texture, they offer a delightful crafting experience and a truly rewarding result:
- Effortlessly Easy: Forget complicated techniques or specialized equipment. This recipe is straightforward, making it perfect for beginners and seasoned candy makers alike.
- No-Bake Bliss: No oven, no stovetop, no fuss! These mints set up beautifully at room temperature, simplifying the process significantly.
- Melt-in-Your-Mouth Texture: The combination of butter and powdered sugar creates an unparalleled creamy, smooth consistency that truly dissolves on your tongue.
- Infinitely Customizable: From vibrant hues for festive holidays to subtle shades for elegant gatherings, you can color these mints to match any occasion. Experiment with different extracts for varied flavor profiles!
- Perfect for Any Occasion: Whether it’s a casual dinner party, a grand wedding, a cute baby shower, or simply a sweet treat for yourself, butter mints are always a welcome addition. They also make wonderful homemade gifts.
- Long-Lasting Freshness: These mints store incredibly well, allowing you to make them ahead of time and enjoy them for weeks.
Essential Tips for Crafting Perfect Butter Mints
While the recipe is simple, a few key tips will ensure your homemade butter mints turn out perfectly every time: melt-in-your-mouth soft, beautifully colored, and just sweet enough.
- Achieving “Play-Doh” Consistency: The most crucial aspect of the butter mint dough is its texture. It should feel firm, pliable, and smooth, very similar to fresh Play-Doh. It should *not* be sticky or crumbly. If your dough feels sticky, gradually incorporate more powdered sugar, a tablespoon at a time, until it reaches the desired non-sticky, workable consistency. This ensures your mints hold their shape and dry properly.
- Working in Batches Prevents Drying: When you’re making multiple colors of butter mints, it’s vital to work with only one portion of the dough at a time. Keep the remaining dough tightly covered with a slightly damp cloth or plastic wrap. This simple step prevents the dough from drying out and becoming difficult to work with, ensuring all your mints have the same perfect texture.
- Opt for Food Gel Coloring: For vibrant, consistent colors without altering the dough’s consistency, I strongly recommend using food gel coloring over liquid food coloring. Liquid coloring can introduce too much moisture, potentially making your dough sticky. Just a scant drop of gel typically yields beautiful pastel shades. For instance, I often use a tiny bit of green, pink, and yellow for classic pastel butter mints, but feel free to get creative! Imagine rich reds and greens for Christmas, or soft pinks, blues, and yellows for a baby shower. You can even match them to specific wedding colors.
- Plan Ahead for Drying Time: These mints are incredibly simple to make, requiring no cooking or baking. The active hands-on time is relatively short, around 30 minutes. However, the mints need ample time to dry out properly at room temperature. Allow a minimum of 3 hours, but ideally, let them dry overnight. This drying process is essential for them to firm up completely. They should feel firm to the touch, not squishy, and have no noticeable moisture on their surface. Proper drying ensures they don’t stick together and have that classic melt-in-your-mouth finish.
Butter Mints Recipe
These Homemade Butter Mints are sweet and minty with the perfect melt-in-your-mouth texture. Perfect for bridal showers, baby showers, dinner parties, and more. Customize them any color that you like!

Ingredients
- 1/2 cup (1 stick) regular salted butter, softened to room temperature
- 1 tablespoon heavy cream (or whole milk)
- 1/2 teaspoon peppermint extract
- 1/4 teaspoon vanilla extract
- 4 cups powdered sugar, plus more for rolling
- Food gel coloring of your choice (I typically use green, pink, and yellow for pastel mints)
Instructions
- Prepare Baking Sheets: Line two large baking sheets with parchment paper. Lightly dust the parchment paper with a thin layer of powdered sugar to prevent sticking. Set aside.
- Cream the Butter: In a large bowl, using a handheld mixer (or a stand mixer fitted with the paddle attachment), beat the 1/2 cup softened butter until it is smooth and creamy.
-
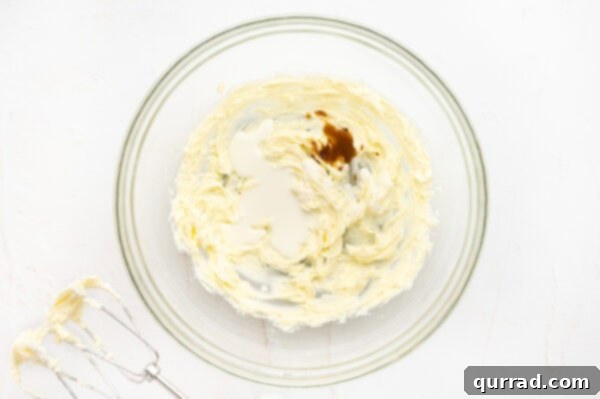
Add Liquids: Incorporate the 1 tablespoon heavy cream (or whole milk), 1/2 teaspoon peppermint extract, and 1/4 teaspoon vanilla extract into the creamed butter. Beat until just combined.

-
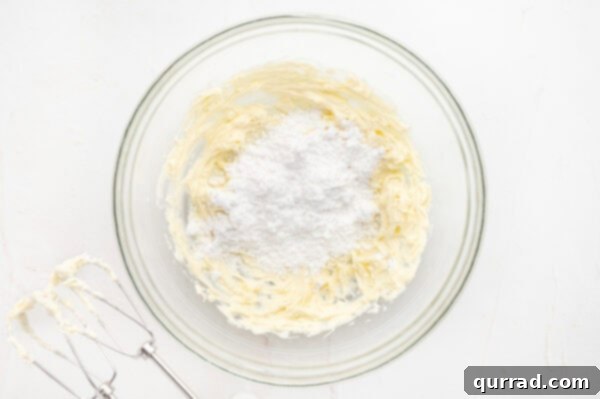
Gradually Add Sugar: Add 2 cups of the powdered sugar to the mixture and beat until smooth. Gradually add the remaining 2 cups of powdered sugar, one cup at a time, beating after each addition until the mixture is smooth and well combined. Scrape down the sides of the bowl as needed to ensure everything is incorporated. The dough should be very stiff and non-sticky, resembling the consistency of Play-Doh. If it’s still sticky, continue adding powdered sugar, a tablespoon at a time, until the desired texture is reached.
-
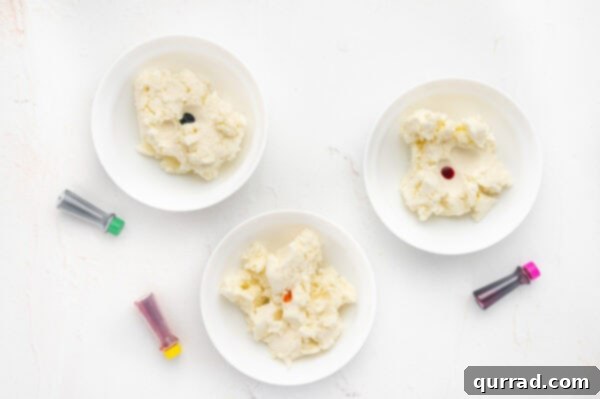
Divide the Dough: Divide the butter mint dough into as many separate bowls as you plan to use different colors (e.g., three bowls for green, pink, and yellow).
-
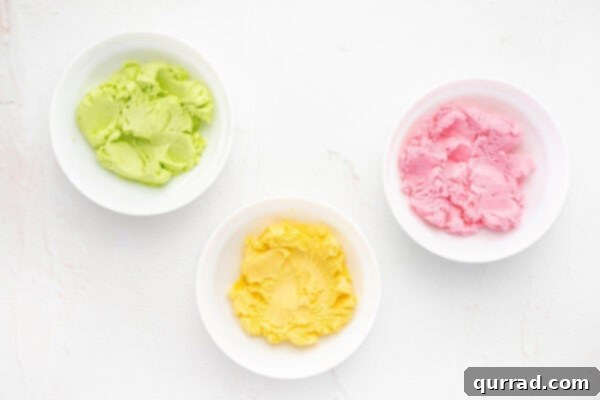
Color the Dough: For pastel colors, add just one scant drop of food gel coloring to each bowl. Mix thoroughly until the color is evenly distributed and no white streaks remain. Remember to work with one color at a time, keeping the remaining portions of dough covered with a slightly damp towel to prevent them from drying out.
-
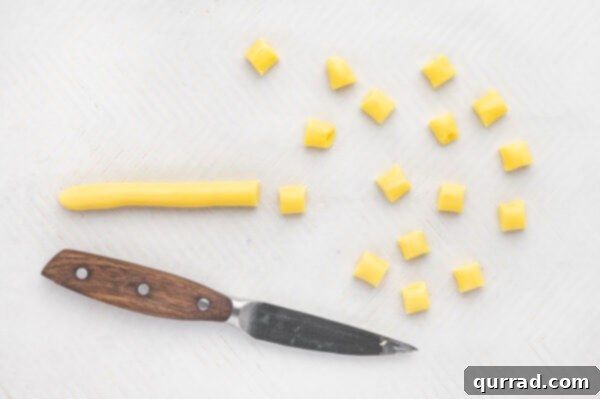
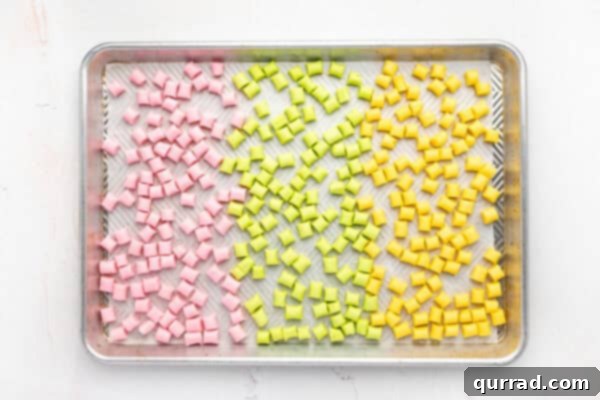
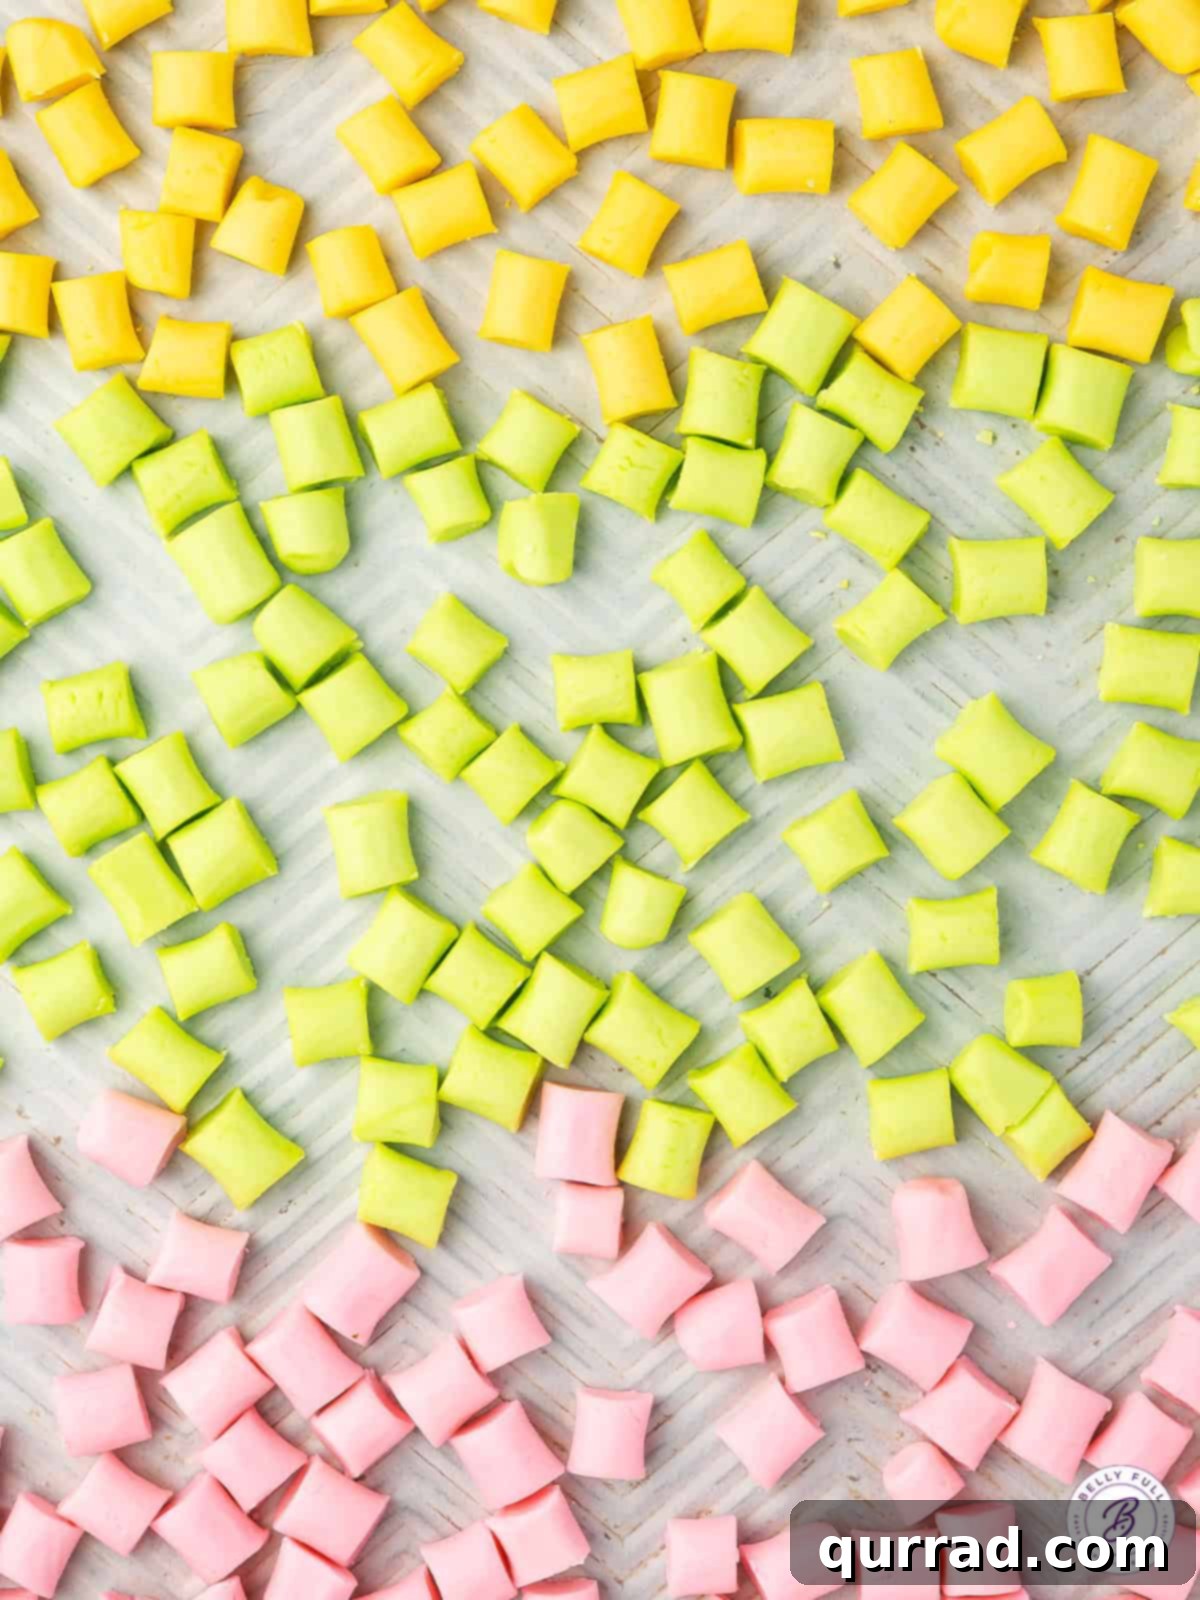
Shape the Mints: Pinch off small amounts of the colored dough, approximately 1 to 1 1/2 tablespoons each. Roll each portion between your palms to form a smooth ball, ensuring any cracks disappear. Then, roll each ball into a 1/2-inch thick log. Using a sharp knife, cut these logs into small pieces, about 1/4 to 1/2 inch in length. Carefully transfer all the cut mint pieces to the prepared baking sheets, arranging them in a single layer.
- Repeat for All Colors: Continue the rolling and shaping process for all remaining colors and batches of dough.
-
Dry the Mints: Leave the shaped mints uncovered at room temperature for at least 3 hours, or ideally overnight. This drying time allows the mints to firm up and the powdered sugar to be absorbed, creating their characteristic texture. They should be firm and not squishy. If the bottoms of the mints still feel moist after the initial drying, flip them over and allow them to dry further until both sides are completely firm.
-
Store Properly: Once completely dry, store the mints in a cool, dry place at room temperature for up to two weeks. For longer storage, place them in an airtight container in the refrigerator for up to a month, or freeze them for up to 6 months. When storing, arrange the mints in a single layer with sheets of wax paper between layers to prevent them from sticking together.
Nutrition Information (per mint, approximate)
- Calories: 14 kcal
- Carbohydrates: 2g
- Protein: 0.01g
- Fat: 0.5g
- Saturated Fat: 0.3g
- Polyunsaturated Fat: 0.02g
- Monounsaturated Fat: 0.1g
- Trans Fat: 0.02g
- Cholesterol: 1mg
- Sodium: 4mg
- Potassium: 0.3mg
- Sugar: 2g
- Vitamin A: 15 IU
- Calcium: 0.2mg
- Iron: 0.002mg
Nutritional information provided is an automatic calculation and can vary based on the exact products you use and any modifications made to the recipe. If precise numbers are critical for you, it’s recommended to calculate them yourself using your specific ingredients.
Flavor & Color Variations for Endless Creativity
The beauty of homemade butter mints lies in their incredible adaptability. Don’t limit yourself to just traditional peppermint and pastel colors!
Beyond Peppermint: Exciting Flavor Profiles
While classic peppermint is undeniably delicious, consider these alternative extracts to create unique taste experiences:
- Spearmint: For a milder, slightly sweeter mint flavor.
- Wintergreen: A bolder, more intense minty kick.
- Almond: Adds a sophisticated, nutty sweetness that pairs wonderfully with the creamy base.
- Lemon or Orange: Bright, zesty flavors for a refreshing twist. Use citrus zest along with a small amount of extract for extra punch.
- Maple: A cozy, autumnal flavor, especially good for fall gatherings.
- Coconut: For a tropical escape, pair with a light blue or green coloring.
Start with 1/4 teaspoon of any new extract and adjust to taste, remembering that extracts can be quite potent.
Color Your World: Matching Mints to Your Theme
Food gel coloring makes it incredibly easy to achieve any shade you desire. Think beyond the basic pastels:
- Holiday Hues: Deep reds and vibrant greens for Christmas, oranges and purples for Halloween, or soft blues and whites for a winter theme.
- Seasonal Splendor: Bright yellows and light greens for spring, sunny oranges and fuchsias for summer, or rich browns and maroons for autumn.
- Event Specific: Match your mints to school colors for graduation parties, team colors for game day celebrations, or the exact palette of a wedding or baby shower for a truly personalized touch.
- Gradient Effects: Try dividing your dough into several portions and using increasing amounts of a single color to create a beautiful ombré effect.
Troubleshooting Common Butter Mint Issues
Even with a simple recipe, minor hiccups can occur. Here’s how to address them and ensure your butter mints are always a success:
- My dough is too sticky! This is the most common issue. It means you need more powdered sugar. Add it gradually, one tablespoon at a time, mixing well after each addition, until the dough is no longer sticky and has that Play-Doh consistency. Humidity can also play a role, so on very humid days, you might need extra sugar.
- My dough is too dry and crumbly! If your dough is falling apart, it likely needs a tiny bit more moisture. Add a half teaspoon of heavy cream or milk at a time, kneading it in until the dough comes together and is pliable. Be very careful not to add too much!
- My mints aren’t firming up! The drying process requires patience. Ensure they are in a single layer, uncovered, at room temperature. High humidity can significantly extend drying time. If it’s very humid, consider placing them in a room with a dehumidifier or air conditioning. Flipping them once after a few hours can also help ensure even drying.
- My mints are cracking when I roll them! This usually indicates the dough is a bit too dry or cold. Allow the dough to warm up slightly to room temperature, or knead in a tiny amount of cream/milk if it’s excessively dry. When rolling, apply gentle, even pressure.
- How do I get uniform shapes? Consistency comes with practice! Pinch off roughly equal amounts of dough. You can even use a small measuring spoon (like 1.5 tbsp) for precision. Chill the dough slightly before rolling into logs, as this can make it firmer and easier to cut cleanly with a sharp knife.
How Long Do Homemade Butter Mints Last? A Comprehensive Storage Guide
One of the many fantastic qualities of these delicious homemade butter mints is their excellent shelf life. Proper storage is key to maintaining their fresh flavor and signature melt-in-your-mouth texture. The general rule of thumb is to keep them away from excess moisture and store them in a single layer with wax paper between layers to prevent sticking.
- At Room Temperature: Once fully dried and firm, butter mints can be stored in an airtight container at room temperature for up to two weeks. Ensure they are kept in a cool, dry place away from direct sunlight and humidity, as moisture is their enemy. Layer them between sheets of wax paper to prevent them from adhering to each other.
- In the Refrigerator: For extended freshness, these mints can be kept in an airtight container in the refrigerator for up to one month. Again, layering with wax paper is recommended. When ready to serve, allow them to come to room temperature for the best texture and flavor.
- In the Freezer: For long-term storage, butter mints freeze beautifully for up to 6 months. Place the fully dried mints in a single layer on a baking sheet and freeze until solid. Once frozen, transfer them to a freezer-safe airtight container or bag, layering them with wax paper to prevent sticking. Thaw them at room temperature before serving.
Always ensure your mints are completely dry and firm before storing them, regardless of the method. Any residual moisture can lead to them becoming sticky or spoiling faster.
Frequently Asked Questions About Butter Mints
- What exactly are butter mints?
- Butter mints are a classic, old-fashioned confectionery known for their creamy, melt-in-your-mouth texture. Made primarily from butter, powdered sugar, and a flavoring extract (typically peppermint), they are usually soft, sweet, and come in a variety of pastel colors. They are popular at celebrations like weddings, baby showers, and holiday gatherings.
- Can I use unsalted butter?
- Yes, you can use unsalted butter. If you do, I recommend adding a tiny pinch (about 1/8 teaspoon) of fine salt to the mixture along with the extracts. This helps to balance the sweetness and enhance the overall flavor, as salted butter naturally provides that balance.
- What if I don’t have heavy cream?
- Whole milk is a great substitute for heavy cream in this recipe. While heavy cream provides a slightly richer mouthfeel, whole milk will work perfectly well without significantly altering the final product.
- Why are my butter mints sticky?
- The primary reason for sticky butter mints is insufficient powdered sugar in the dough or high humidity during the drying process. Ensure your dough reaches a firm, non-sticky “Play-Doh” consistency by adding more powdered sugar if needed. Also, make sure the mints dry completely at room temperature, ideally overnight, in a low-humidity environment.
- Can I make these dairy-free?
- You can attempt a dairy-free version by using a high-quality vegan butter substitute and a plant-based milk (like almond or oat milk). Be aware that the texture and flavor might be slightly different from the traditional recipe, but it can still yield a delicious result.
- How can I make different shapes?
- While cutting into small pieces is traditional, you can also use small candy molds (for a more defined shape) or even a butter mint press (if you have one). For intricate shapes, ensure your dough is well-chilled and firm to prevent sticking and loss of detail.
- Do I need to refrigerate butter mints?
- No, refrigeration is not strictly necessary for short-term storage. Once fully dried, they are stable at room temperature in an airtight container for up to two weeks. Refrigeration extends their shelf life to about a month, and freezing for up to 6 months.
More Classic Candies to Delight Your Sweet Tooth
If you loved making these butter mints, you’re sure to enjoy these other timeless candy recipes:
- Cream Cheese Mints
- Rich and Decadent Chocolate Fudge
- Chewy Homemade Caramels
- Addictive Saltine Cracker Toffee
- Effortless Crockpot Candy
We hope you thoroughly enjoy making and sharing this delightful and easy butter mint recipe. It’s a truly charming treat that brings smiles to every face and a lovely burst of minty sweetness. Don’t forget to leave a review below and share your creations! Stay connected with us for more delicious recipes by following Belly Full on TikTok, Instagram, Facebook, Pinterest, and YouTube!