
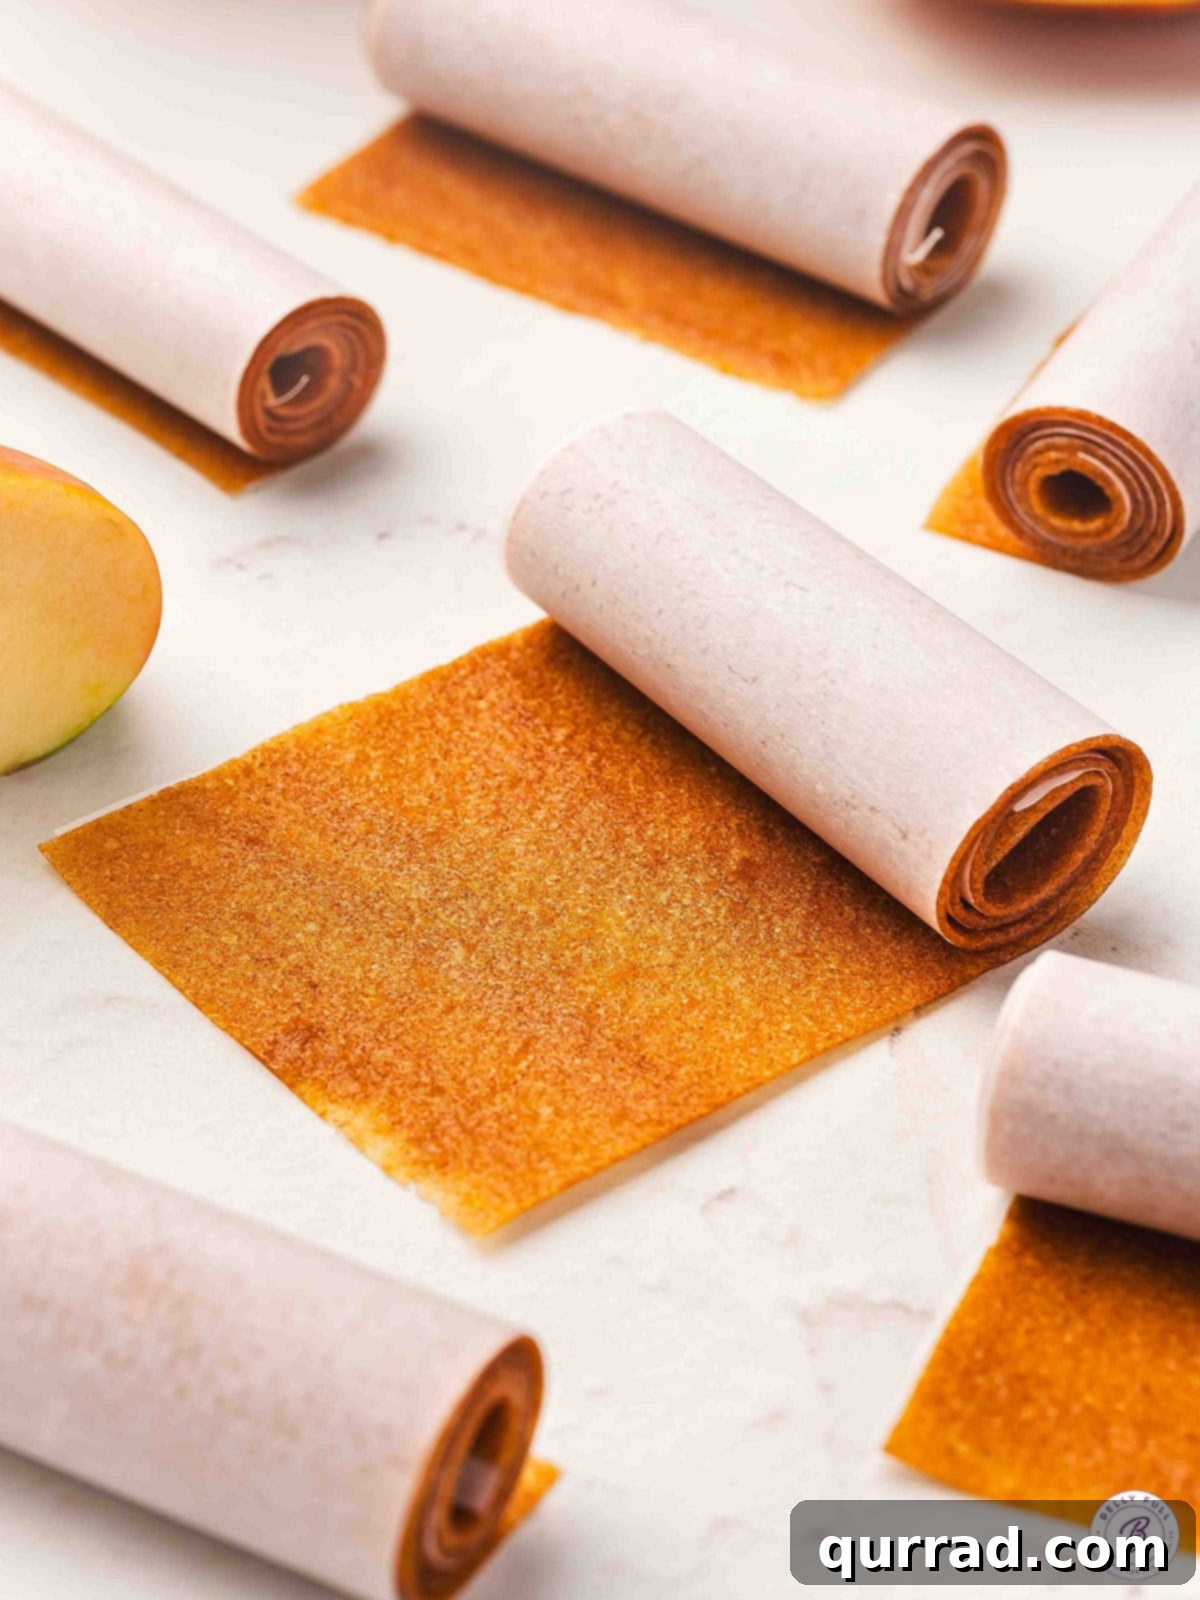
Welcome to the delightful world of homemade apple fruit leather, a treat that brings back childhood memories with a healthy, natural twist. Imagine the sweet, tangy taste of your favorite fruit roll-ups, but made right in your kitchen with wholesome ingredients and absolutely no artificial additives. This simple recipe transforms fresh apples into a chewy, satisfying snack that’s perfect for autumn harvest season, or any time you crave a naturally sweet indulgence.
Making apple fruit leather at home is a wonderfully rewarding experience. It starts with sweet apples, cooked down to a tender pulp, infused with just a hint of warm cinnamon and bright lemon zest. This flavorful puree is then patiently baked at a low temperature, slowly dehydrating until it reaches that irresistibly chewy texture we all love. The result? A vibrant, flavorful snack that’s far superior to store-bought versions, offering a burst of pure apple goodness in every bite.
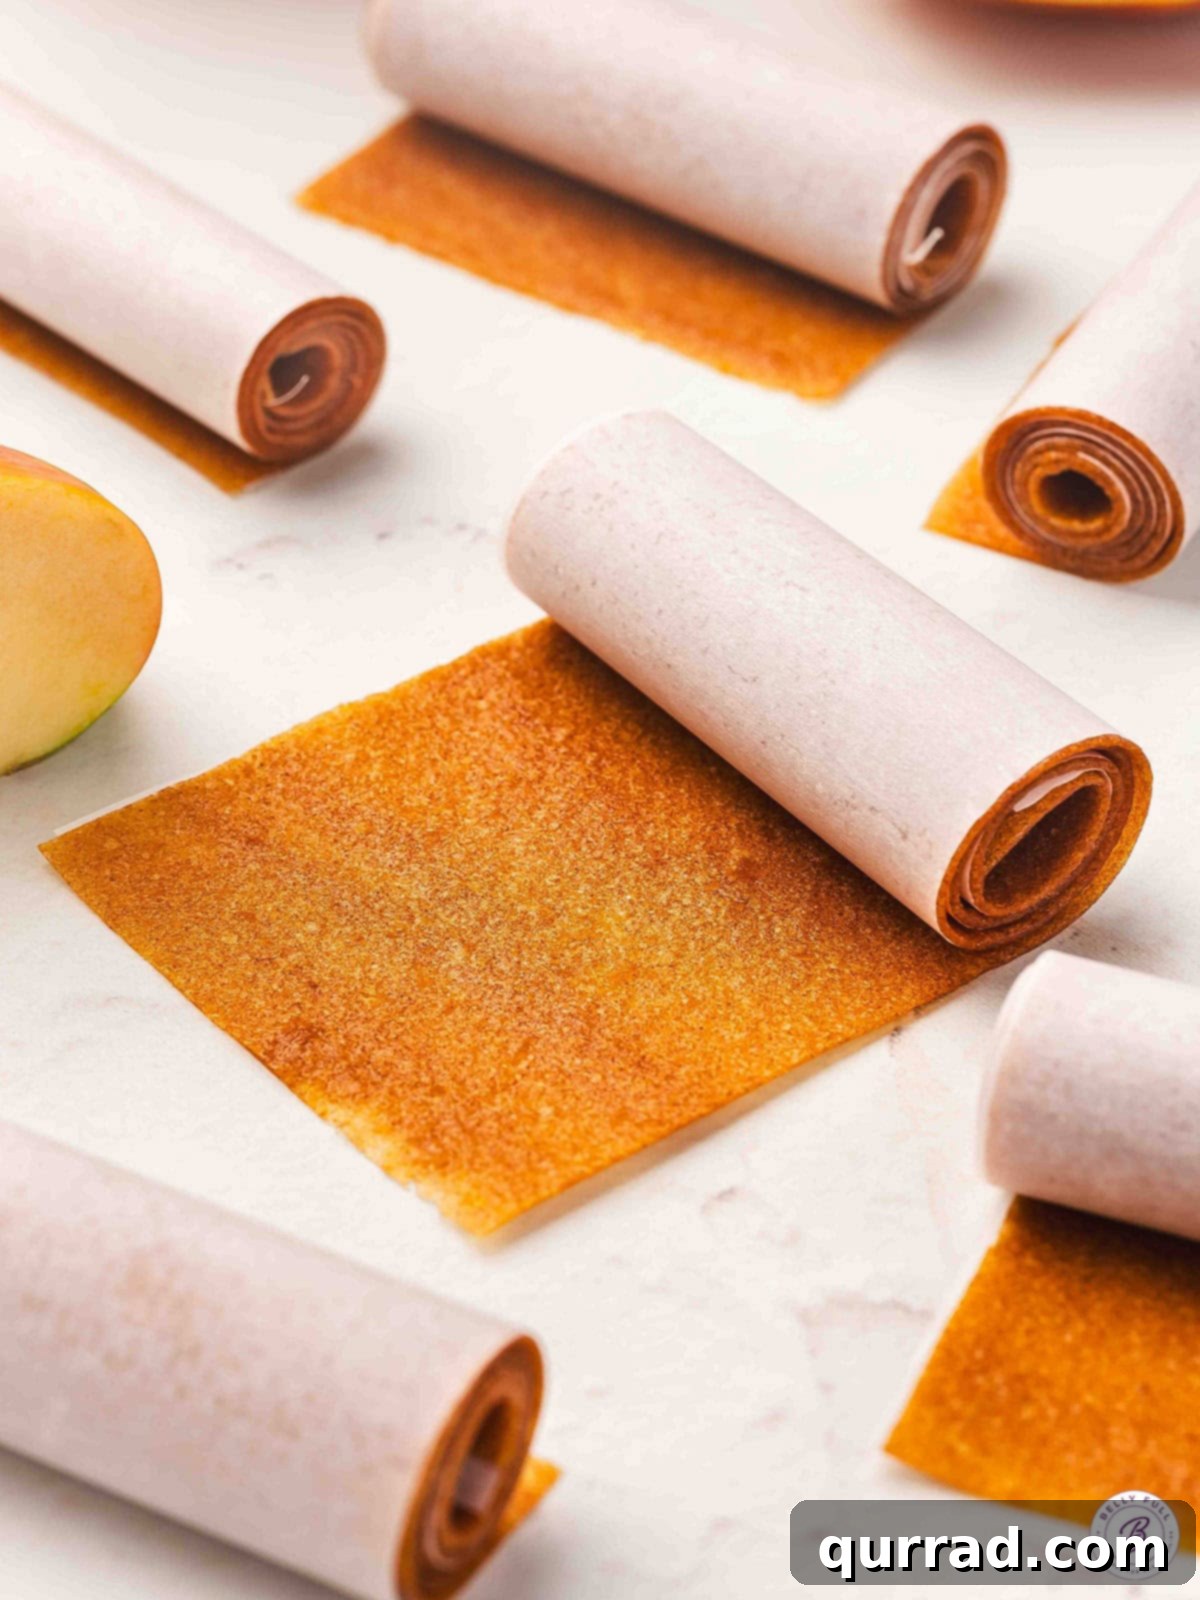
The fall season, with its abundance of crisp, juicy apples, is truly the ideal time to embark on this culinary adventure. While Honeycrisp apples are a personal favorite for their balanced sweet-tart flavor, feel free to use any apple variety you have on hand. This recipe is not just about creating a snack; it’s about transforming simple, fresh produce into something truly special and fun. Loved by children and adults alike, homemade apple fruit leather is a versatile treat. It’s perfect for packing into school lunchboxes, a healthy after-school snack, or a delightful pick-me-up during your workday. The satisfaction of knowing it’s homemade, wholesome, and perfectly chewy makes it an unbeatable alternative to processed snacks.
Why Make Your Own Apple Fruit Leather?
Beyond the sheer enjoyment of a delicious snack, there are compelling reasons to make apple fruit leather from scratch. Firstly, you have complete control over the ingredients. Store-bought fruit leathers often contain added sugars, artificial flavors, and preservatives that you might want to avoid. With homemade versions, you dictate the sweetness level and ensure every ingredient is natural and wholesome.
Secondly, it’s a fantastic way to utilize a bounty of fresh apples, especially during harvest season. If you’ve gone apple picking or found a great deal at your local farmer’s market, this recipe helps prevent food waste by preserving the fruit in a tasty, long-lasting form. It’s also incredibly cost-effective compared to buying individual fruit leather snacks, which can quickly add up.
Finally, the process itself is surprisingly simple and deeply satisfying. There’s a joy in transforming humble apples into a vibrant, chewy snack that everyone will adore. It’s a wonderful kitchen project, especially for families, allowing you to create cherished memories along with delicious treats.
Helpful Tips for Perfect Apple Fruit Leather
Achieving that ideal chewy, pliable fruit leather texture is easier than you think with these expert tips:
- Spread Evenly: The key to consistent fruit leather is an even spread. Aim for a thickness of approximately 1/8 to 1/4 inch across your baking sheet. If some areas are too thin, they’ll dry out and become brittle, potentially cracking. Thicker sections, on the other hand, might remain too sticky and take much longer to dry. Take your time to smooth out the purée with an offset spatula for a perfectly uniform sheet.
- Monitor Drying Near the End: The final hour or so of baking is crucial. Fruit leather typically dries from the edges inward, so these outer parts will be ready sooner. Start checking your fruit leather every 20-30 minutes as you approach the suggested baking time. It’s done when it feels firm and slightly tacky to the touch, but no longer wet or sticky. If it feels too wet, continue baking in short increments.
- Utilize Parchment Paper or Silicone Mats: This step is non-negotiable! Lining your baking pan with high-quality parchment paper or a silicone baking mat is essential. These non-stick surfaces prevent the fruit leather from adhering to the pan, ensuring you can lift it off easily in one cohesive piece without any tearing or sticking.
- Master the Texture:
- Too Sticky? If your fruit leather comes out overly sticky and difficult to handle, it likely needs more drying time in the oven. Return it to the oven and bake in 10-15 minute intervals, checking frequently, until it reaches that perfect tacky but not wet consistency.
- Too Dry or Cracking? Conversely, if your fruit leather is brittle, hard, or cracking, it indicates that the layer was spread too thin initially or it was baked for too long. For your next batch, try a slightly thicker spread and keep a closer eye on it during the drying process.
- Rotate for Even Drying: If your oven has hot spots or tends to bake unevenly, consider rotating your baking sheet halfway through the drying process. This ensures that all parts of the fruit leather receive equal heat exposure, promoting a consistent texture.
Rating: 5 out of 5 stars (1 review)
Apple Fruit Leather
Prep Time: 20 mins
Cook Time: 3 hrs
Total Time: 3 hrs 20 mins
Servings: 10 rolls
Pin Recipe
Print Recipe
Homemade apple fruit leather is sweet, chewy, easy to make in the oven, and contains no weird ingredients. A healthy snack kids and adults both love!
Step-by-step photos can be seen below the recipe card.
Ingredients
- 4 cups apples, washed, chopped, and peeled (see note)
- 1/2 cup water
- 1-2 tablespoons granulated sugar, to taste
- 1 teaspoon cinnamon
- 1 tablespoon lemon juice
- 1 pinch sea salt, optional
Instructions
- Wash and dry the apples, then peel, core, and chop.
- Place the chopped apples in a medium pot with a 1/2 cup of water and bring to a simmer. Cover and cook for 10-15 minutes, or until the apples are cooked and very soft.
- Taste the apples and add in 1 to 2 tablespoons of sugar, depending on your desired level of sweetness. Add the cinnamon, lemon juice, and salt.
- Use a potato masher to mash up the fruit in the pot. Continue to simmer and stir occasionally until the sugar is completely dissolved and the fruit purée has thickened, another 5 or 10 minutes.
- Remove from the heat and allow to cool, then transfer to a blender and pulse until completely smooth.
- Pour onto a large baking sheet lined with parchment paper (or a Silpat silicone baking mat) and spread with a spatula into a thin layer, about a 1/8 to 1/4 inch thickness. Bang the pan on the counter a few times to make sure the mixture is evenly distributed.
- Slowly bake at 170 degrees F for 2-3 hours, checking every 20-30 minutes, until the fruit leather is tacky, but firm and no longer sticky to the touch.
- Allow it to cool completely (you can transfer the entire baking sheet to the refrigerator until chilled to speed up the process).
- Lift the parchment paper and the fruit leather off the baking sheet and transfer to a cutting board. Using a pizza cutter, cut into long strips and roll up for individual fruit roll-ups.
- Enjoy right away or store for later (instructions in the article).
Video
A video showing the process of making apple fruit leather can be embedded here.
Notes
- Double the batch: When making a larger quantity, use two baking sheets. This ensures that the purée is spread thinly enough on each sheet to dry evenly and efficiently, preventing overly thick spots that might remain sticky.
- Chill before cutting: For the cleanest cuts, allow the fruit leather to cool completely after baking. For an even firmer texture that’s easier to handle, you can pop the entire baking sheet into the refrigerator for 15-30 minutes. Chilled fruit leather won’t stick to your knife or pizza cutter as much, resulting in perfectly neat strips.
- Choose the right apples: The type of apple significantly impacts the final flavor. Sweet-tart varieties like Honeycrisp, Fuji, Gala, or Pink Lady are excellent choices as they offer a balanced flavor and ideal texture. A blend of both tart apples (such as Granny Smith) and sweeter varieties can also create a complex, vibrant taste, often requiring less added sugar.
Nutrition
Serving: 1 roll | Calories: 31kcal | Carbohydrates: 8g | Protein: 0.1g | Fat: 0.1g | Saturated Fat: 0.02g | Polyunsaturated Fat: 0.03g | Monounsaturated Fat: 0.004g | Sodium: 5mg | Potassium: 56mg | Fiber: 1g | Sugar: 6g | Vitamin A: 28IU | Vitamin C: 3mg | Calcium: 5mg | Iron: 0.1mg
Nutritional information provided is an automatic calculation and can vary based on the exact products you use and any changes made to the recipe. If these numbers are critically important to you, it is recommended to calculate them yourself using your specific ingredients.
Did you make this? Leave a rating below!
How to Make Apple Fruit Leather Step by Step
Let’s walk through the process of creating this delightful homemade snack. Each step is designed to be straightforward, ensuring even novice cooks can achieve perfect results.
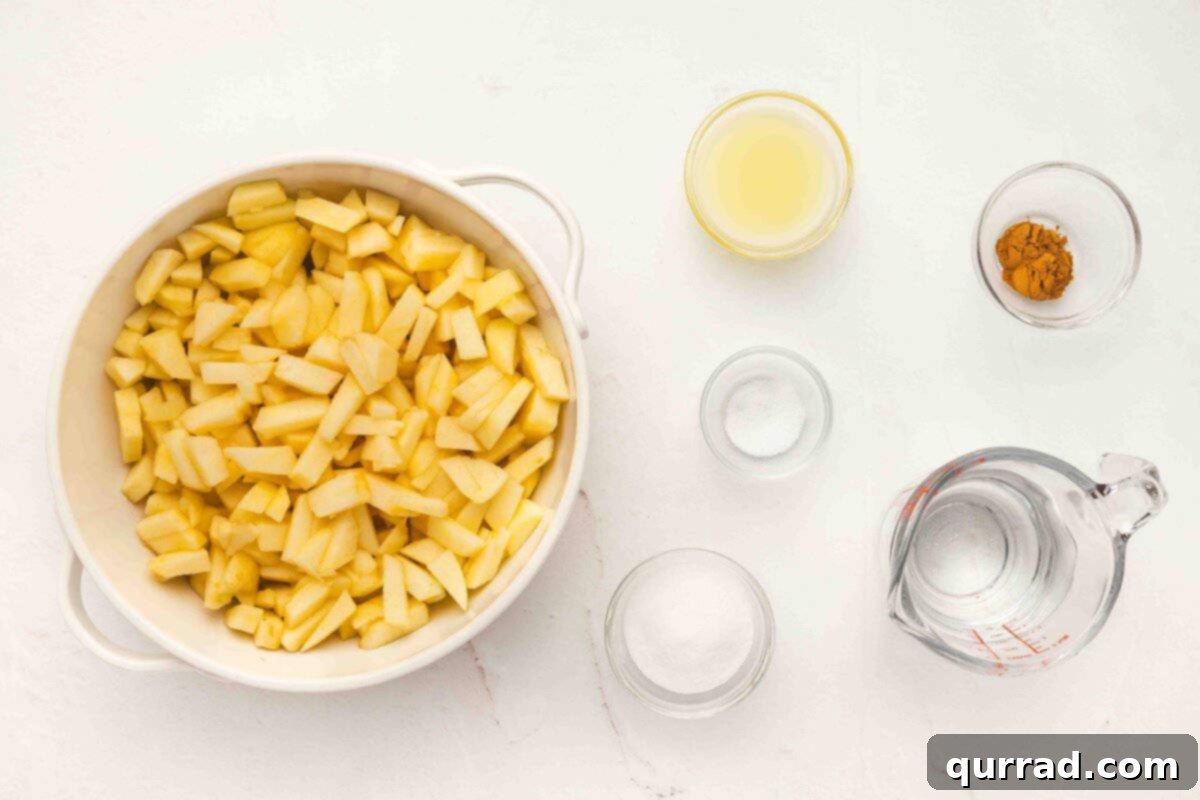
Step 1: Gather Ingredients. Begin by assembling all the necessary ingredients. You’ll need fresh apples, water, granulated sugar (adjustable to taste), cinnamon, lemon juice, and an optional pinch of sea salt. Having everything prepped makes the cooking process smooth and enjoyable.
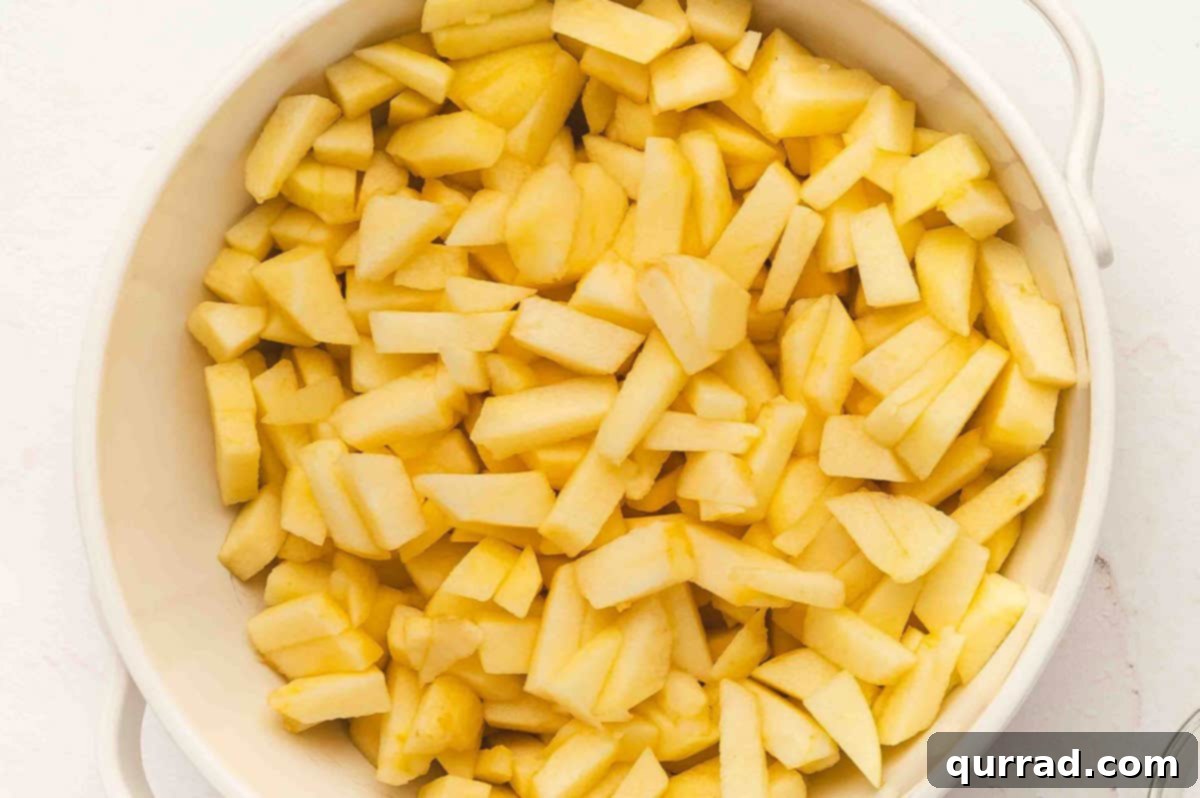
Step 2: Prepare the Apples. Wash and dry your chosen apples thoroughly. Then, carefully peel them, remove the core, and chop them into roughly 1-inch pieces. Aim for approximately 4 cups of chopped apples. Remember, any apple variety will work, but Honeycrisp or Fuji are excellent choices for their balanced flavor.
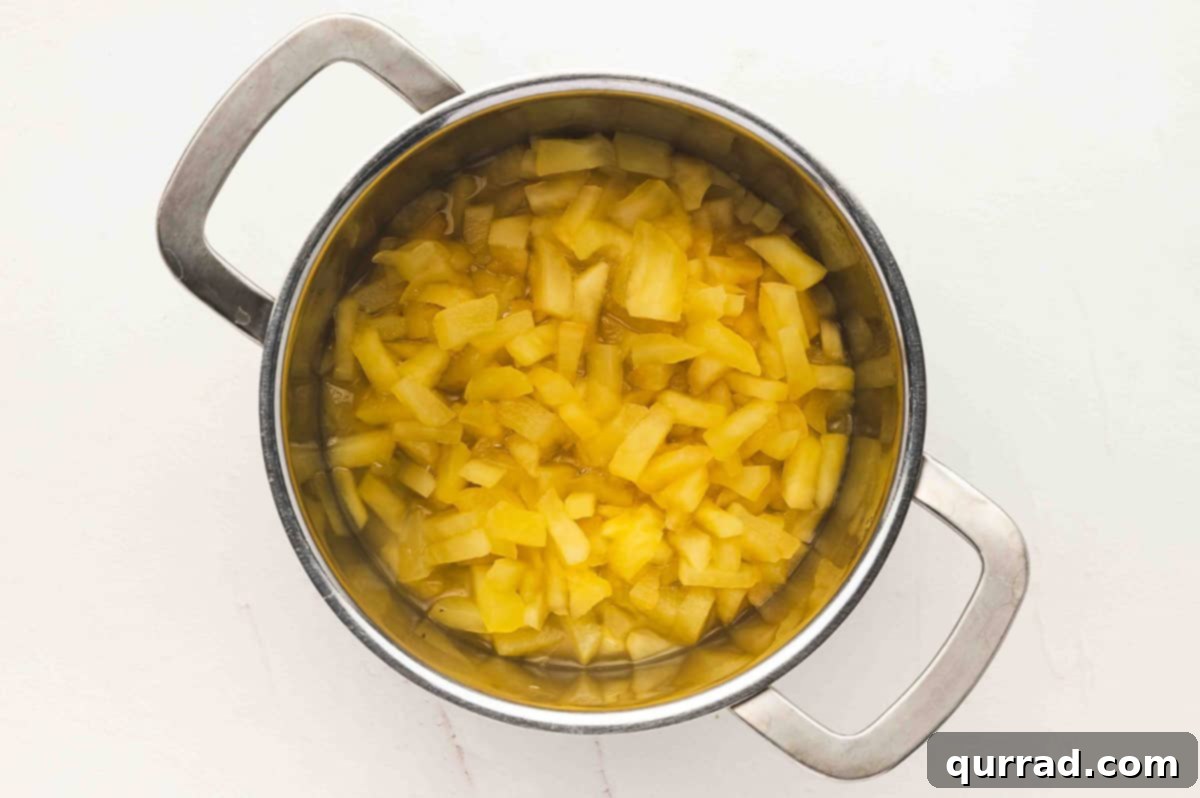
Step 3: Cook Until Soft. Place the chopped apples into a medium-sized pot. Add ½ cup of water. Bring the mixture to a gentle simmer over medium heat. Once simmering, cover the pot and allow the apples to cook for 10-15 minutes, or until they become very tender and easily mashable. This softening is key to a smooth purée.
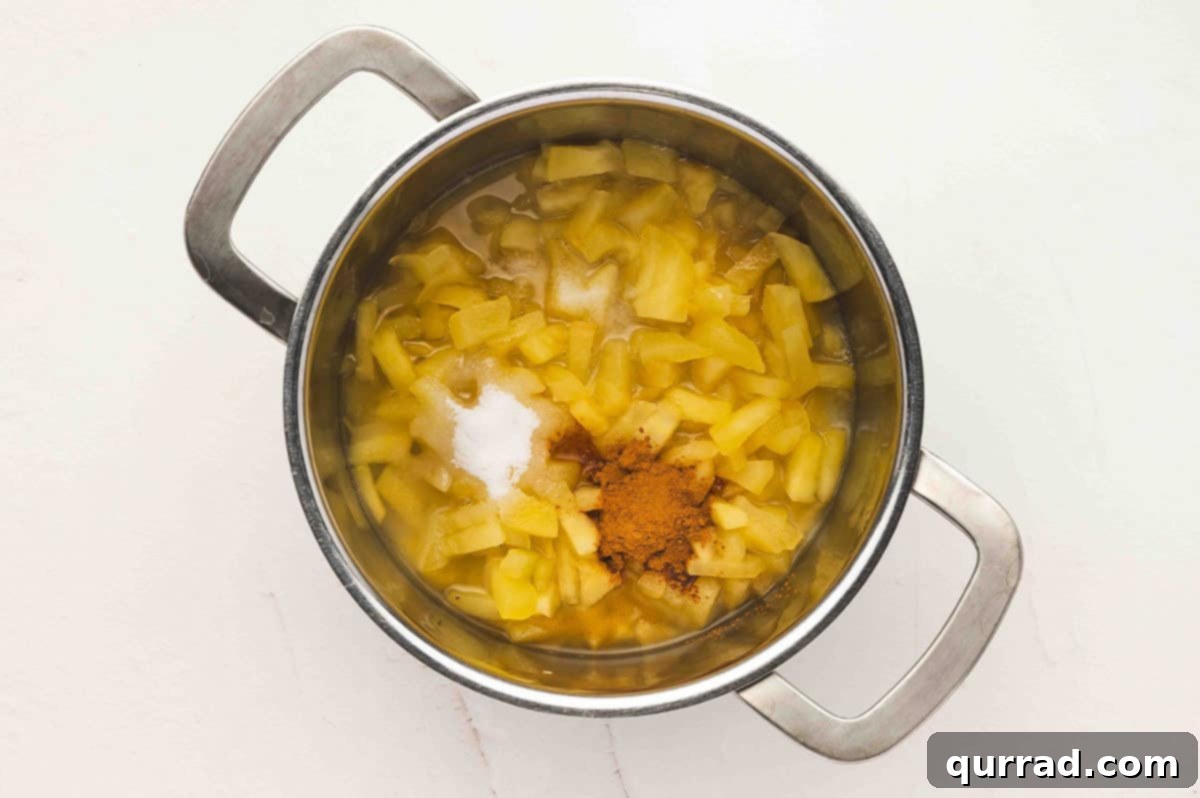
Step 4: Flavor the Apples. Remove the pot from direct heat briefly. Taste the cooked apples and decide on your preferred sweetness level. Stir in 1 to 2 tablespoons of granulated sugar. Then, add 1 teaspoon of ground cinnamon for warmth, 1 tablespoon of fresh lemon juice to brighten the flavors and prevent browning, and an optional pinch of sea salt to enhance the overall taste.
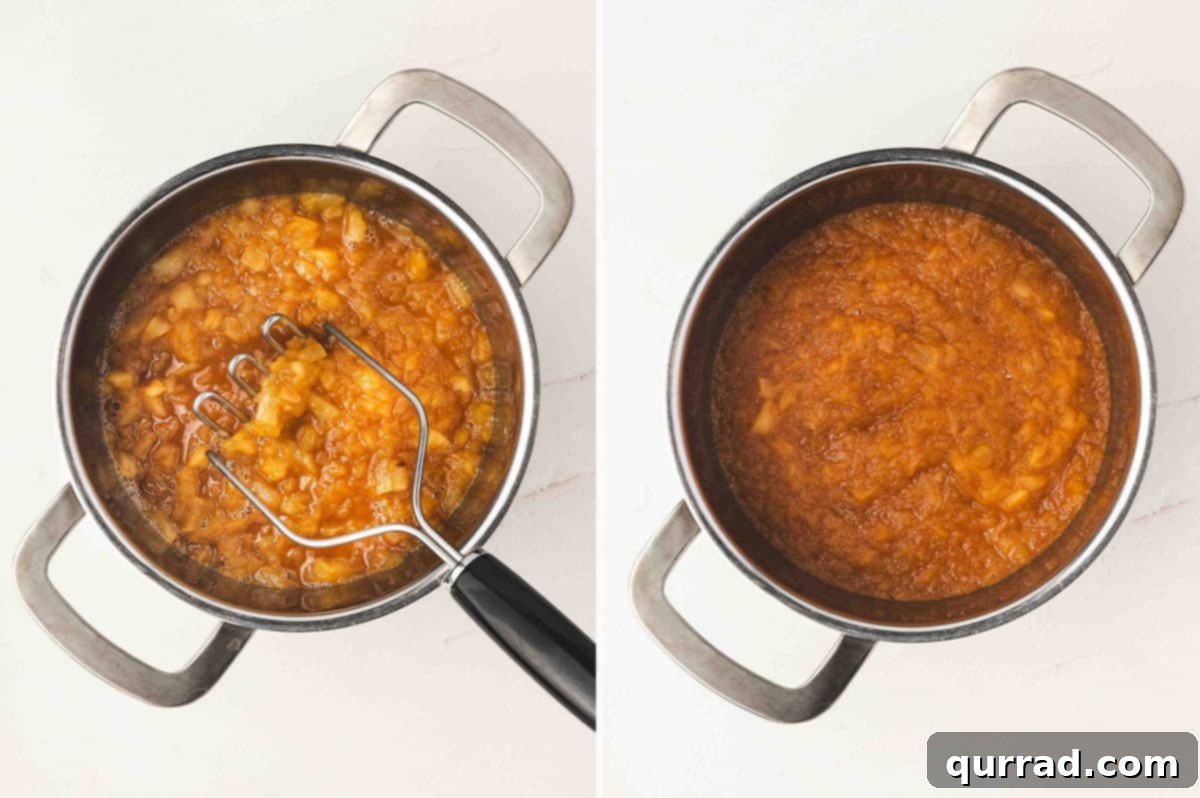
Step 5: Mash and Thicken. Using a potato masher, thoroughly mash the cooked apples directly in the pot. Return the pot to low heat and continue to simmer, stirring occasionally, for another 5 to 10 minutes. This step allows the sugar to fully dissolve and the purée to thicken slightly, concentrating the flavors.
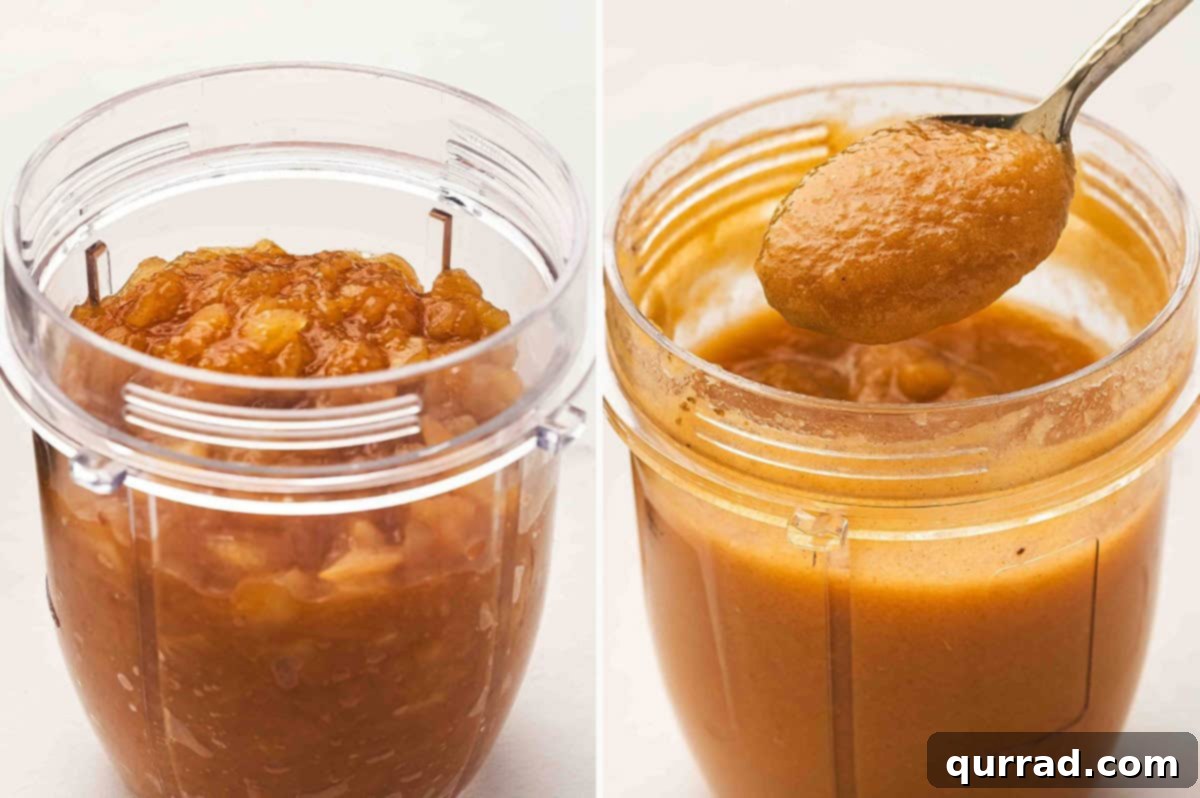
Step 6: Blend Until Smooth. Remove the pot from the heat and let the apple mixture cool down significantly. It’s important to cool hot ingredients before blending to avoid steam buildup and pressure. Once cooled, transfer the mixture to a blender or food processor and purée until it is completely smooth and free of any chunks. This creates the perfect base for your fruit leather.
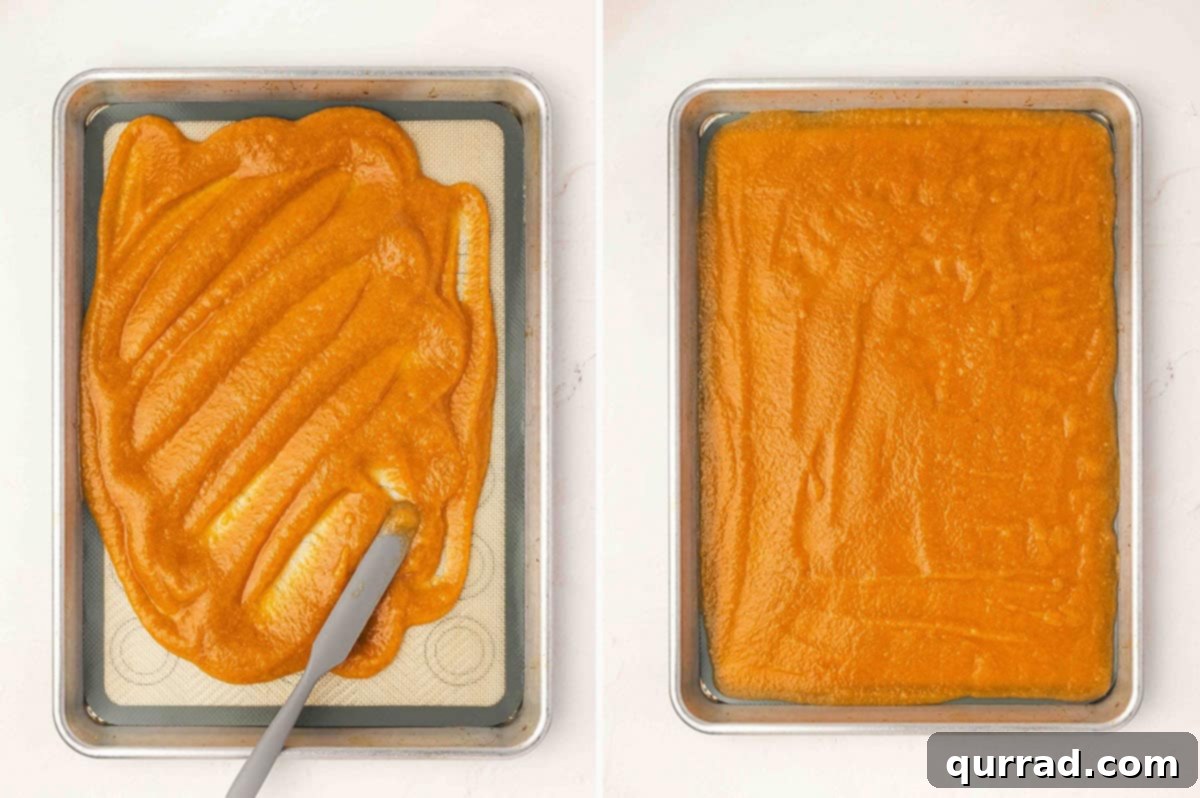
Step 7: Spread on a Baking Sheet. Line a large baking sheet (approximately 13×18 inches) with either parchment paper or a silicone baking mat. Pour the smooth apple purée onto the lined sheet. Using an offset spatula or the back of a spoon, spread the purée evenly into a thin layer, aiming for a thickness of about 1/8 to 1/4 inch. Gently tap the pan on the counter a few times to help settle the mixture and ensure it’s perfectly level.
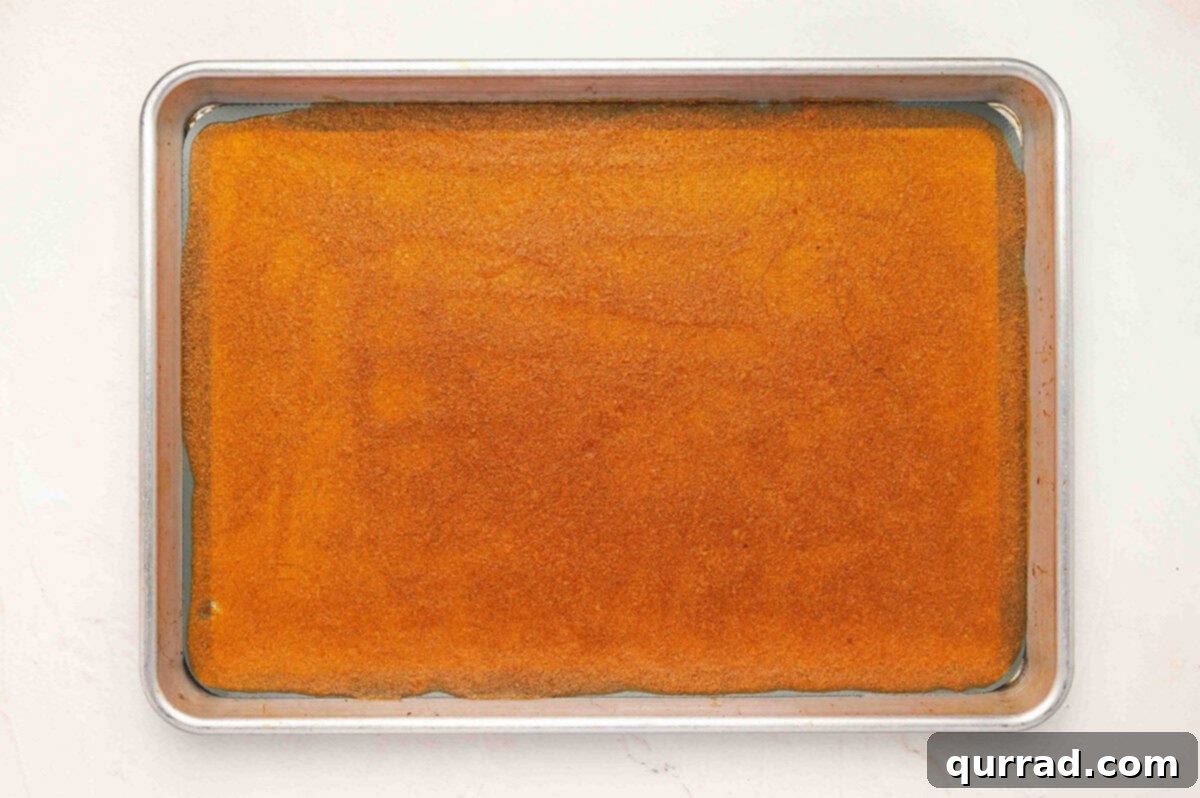
Step 8: Bake Low and Slow. Preheat your oven to its lowest setting, typically around 170°F (77°C). Place the baking sheet in the oven and bake for 2–3 hours. It’s crucial to check the fruit leather every 20-30 minutes, especially during the last hour. The fruit leather is done when it feels tacky but firm to the touch, and no longer wet or sticky. Once ready, remove it from the oven and allow it to cool completely. For quicker cooling, you can even transfer the entire baking sheet to the refrigerator.
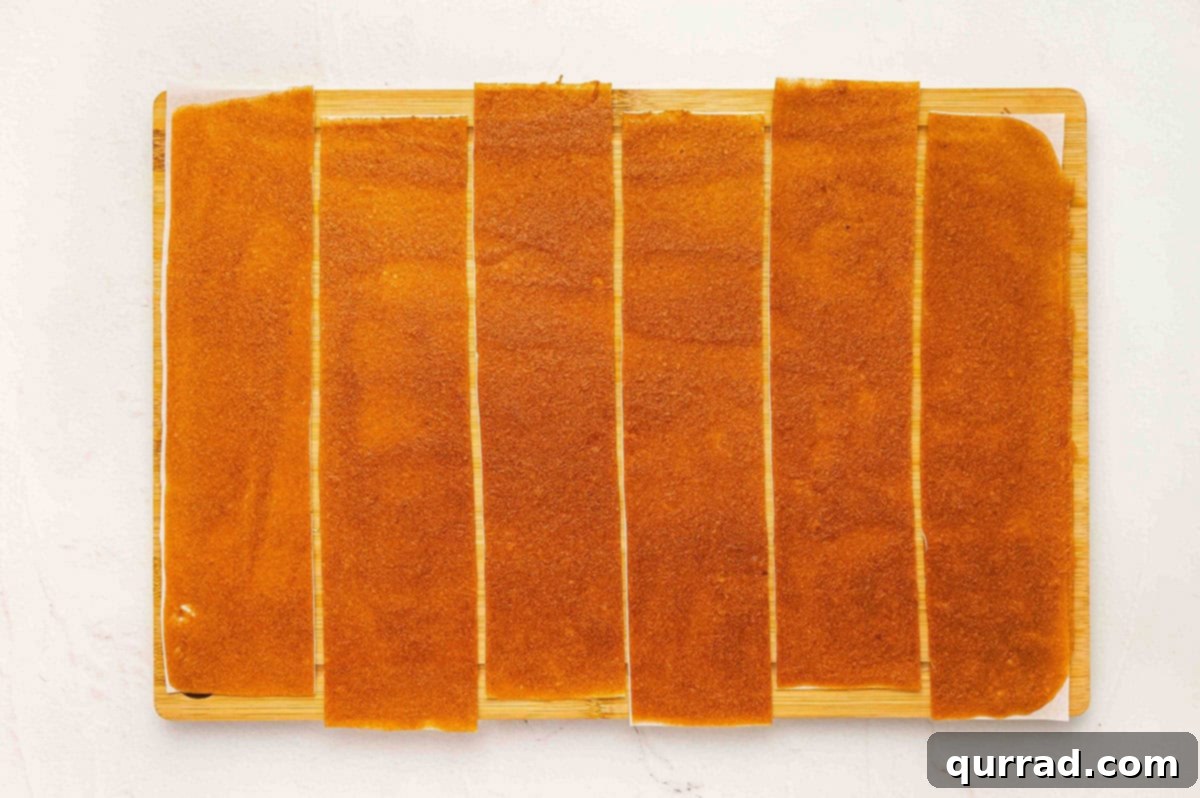
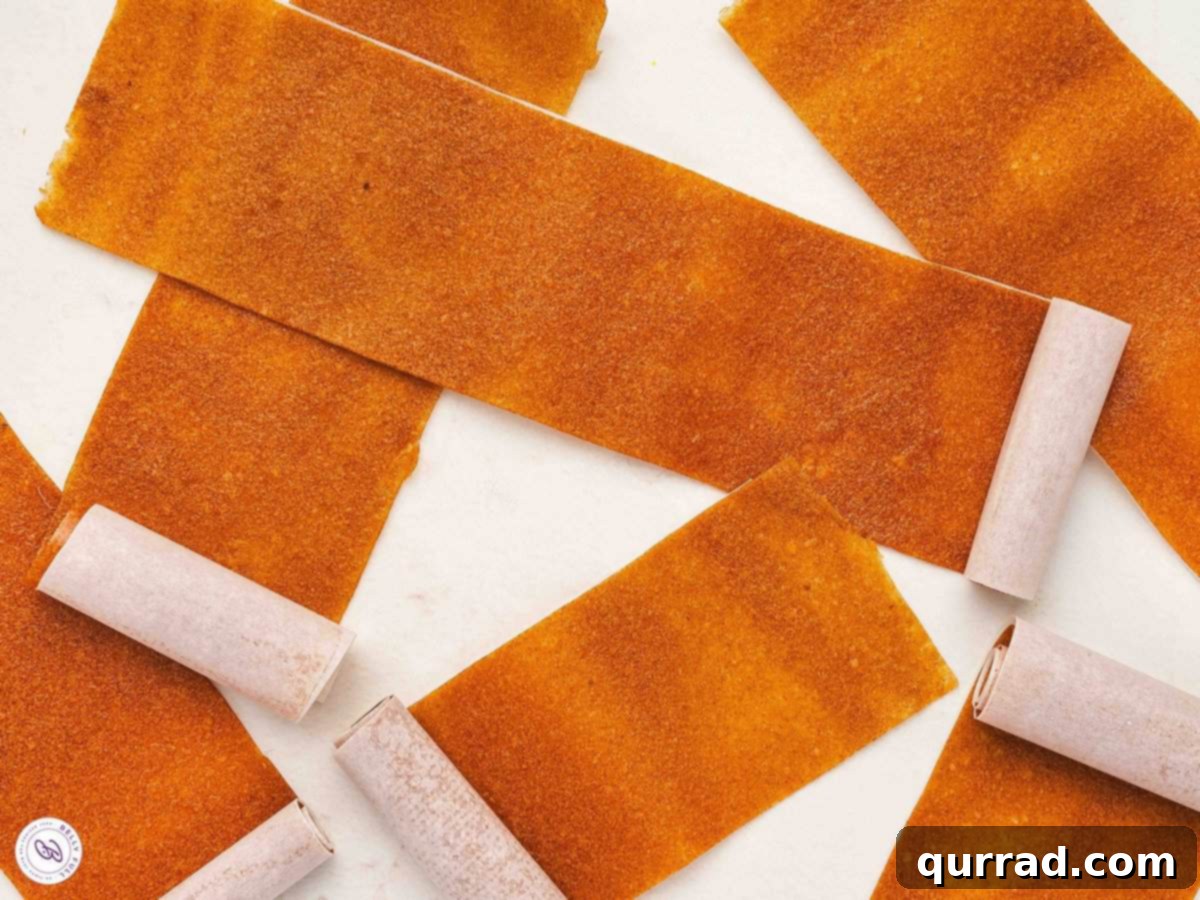
Step 9: Cool, Cut, and Roll. Once the fruit leather has cooled completely, carefully lift the parchment paper (with the fruit leather still attached) off the baking pan and transfer it to a clean cutting board. Using a sharp knife or a pizza cutter, slice the fruit leather into long, even strips. These strips are then ready to be rolled up, creating individual, portable fruit roll-ups.
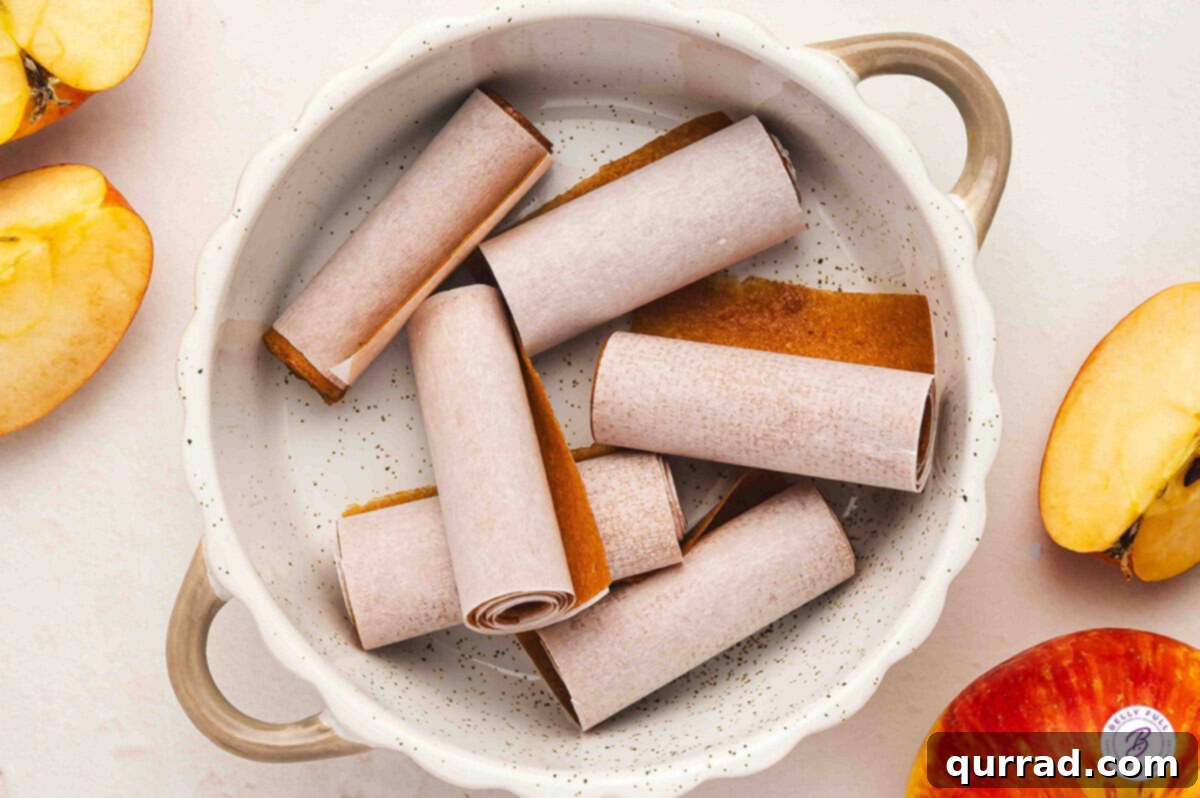
Step 10: Serve and Enjoy. Your homemade apple fruit leather is now ready! You can enjoy it immediately as a wholesome snack. For storage, wrap each rolled strip in its parchment paper and place them in an airtight container to maintain freshness. Instructions for longer-term storage are provided below.
Flavor Variations for Your Fruit Leather
While classic apple fruit leather is wonderful, don’t hesitate to experiment with different flavor profiles to suit your taste or what fruits are in season:
- Spiced Apple: Beyond cinnamon, try adding a pinch of nutmeg, ground cloves, or allspice for a deeper, more complex autumnal flavor. A tiny dash of ginger powder can also add a nice zing.
- Apple Berry Blend: Combine apples with other fruits like strawberries, raspberries, or blueberries. Cook them down together, then purée. The berries add a lovely tartness and a beautiful color. Adjust sugar as needed based on the sweetness of the berries.
- Tropical Twist: For a refreshing change, blend cooked apples with a little pineapple or mango puree. This creates a sunnier, more exotic fruit leather.
- Vanilla Hint: A small amount of vanilla extract (about ¼ teaspoon) added to the purée before blending can enhance the sweetness and add a subtle depth of flavor.
- Lemon-Lime Zest: Increase the lemon juice or add lime juice for an extra citrusy kick that balances the apple’s sweetness.
Health Benefits of Homemade Apple Fruit Leather
Opting for homemade apple fruit leather isn’t just about taste; it also comes with notable health benefits:
- Rich in Fiber: Apples are an excellent source of dietary fiber, which is crucial for digestive health, helping to regulate blood sugar levels and promote a feeling of fullness.
- Packed with Vitamins and Antioxidants: Apples contain vitamin C and various antioxidants, which support immune function and help protect your body’s cells from damage.
- Natural Sweetness: By controlling the added sugar, you can ensure your fruit leather is primarily sweetened by the natural sugars in the apples, making it a healthier alternative to candies high in refined sugars.
- No Artificial Additives: Homemade means no artificial colors, flavors, or preservatives often found in commercial fruit snacks, giving you peace of mind about what you and your family are consuming.
- Energy Boost: The natural sugars in apples provide a quick and sustained energy release, making fruit leather an ideal snack for active kids or a midday energy slump.
Serving Suggestions
Apple fruit leather is a fantastic stand-alone snack, but its versatility extends far beyond that. Here are some creative ways to enjoy it:
- Lunchbox Staple: Its portable, non-messy nature makes it an ideal addition to school lunchboxes, alongside other school lunch ideas, providing a natural sweet treat.
- Travel Companion: Pack rolls of fruit leather for road trips, plane journeys, or hikes. It’s a lightweight, energy-boosting snack that holds up well.
- Cheese Board Addition: Slice fruit leather into smaller, elegant pieces and arrange them on a cheese board. Its sweet and chewy texture pairs beautifully with various cheeses, adding a unique element to your spread.
- Yogurt Topping: Snip the fruit leather into tiny pieces and sprinkle it over yogurt or oatmeal for added texture and natural sweetness.
- Dessert Garnish: Use small cut-outs of fruit leather to decorate cakes, cupcakes, or fruit tarts for a homemade touch.
How to Store Leftovers
Proper storage ensures your homemade apple fruit leather stays fresh and delicious for as long as possible:
- Room Temperature: For short-term storage, keep the apple fruit leather rolled up in its parchment paper and placed in an airtight container. It will stay fresh at room temperature for up to 10 days. Ensure it’s away from direct sunlight and heat.
- Refrigerator: To extend its shelf life, store the fruit leather in the refrigerator for up to 2 weeks. Again, keep it rolled in parchment and in an airtight container to prevent it from drying out or absorbing other odors.
- Freezer: For even longer preservation, apple fruit leather freezes wonderfully. You can store it in the freezer for up to 2 months. To prevent the rolls from sticking together, layer them between sheets of parchment or wax paper within a freezer-safe bag or container. When you’re ready to enjoy, simply thaw the fruit leather at room temperature for a short while, and it will be as good as new.
More Easy Snack Recipes
If you’re looking for other simple, delicious, and homemade snack ideas, explore these favorites:
- Homemade Granola Bars
- Perfect Stovetop Popcorn
- Ranch Oyster Crackers
- Cinnamon Sugar Chex Mix
- Date Balls
I hope you love this delicious and easy recipe for homemade apple fruit leather – be sure to give it a review below! Also don’t forget to follow Belly Full on TikTok, Facebook, Instagram, Pinterest, and YouTube for more culinary inspiration and delightful recipes!