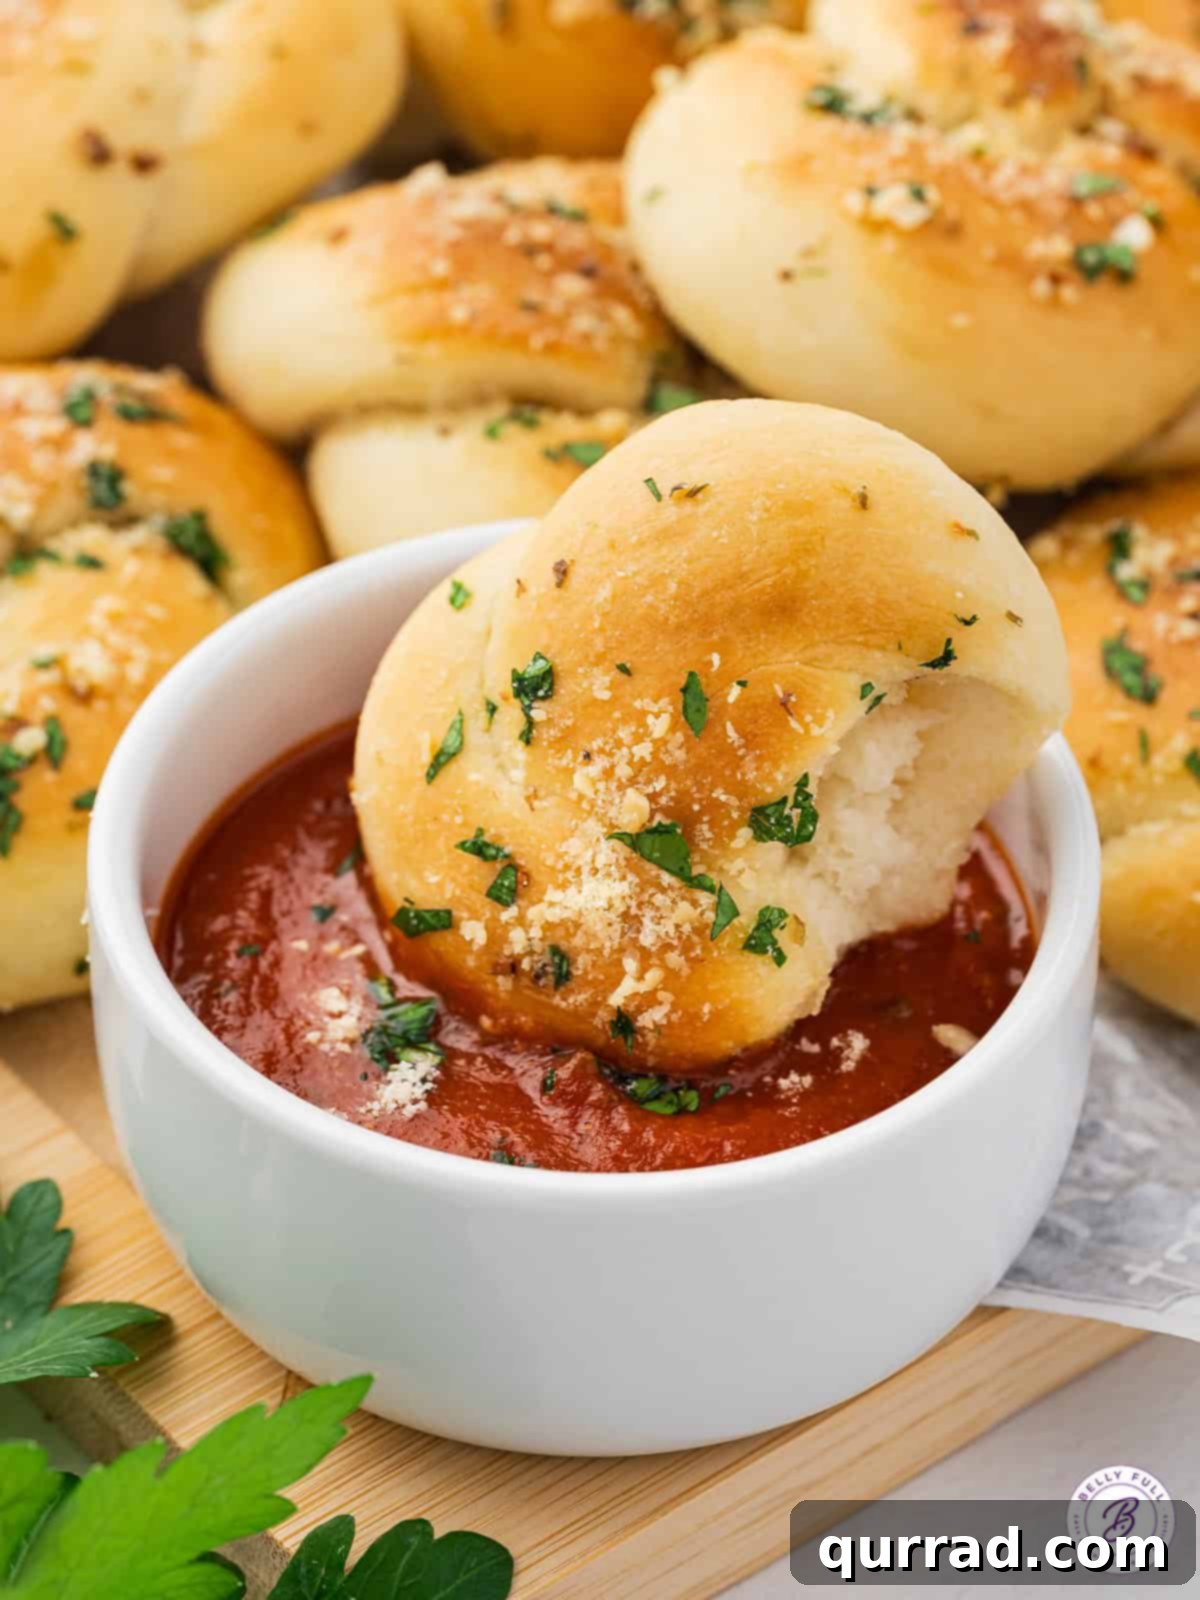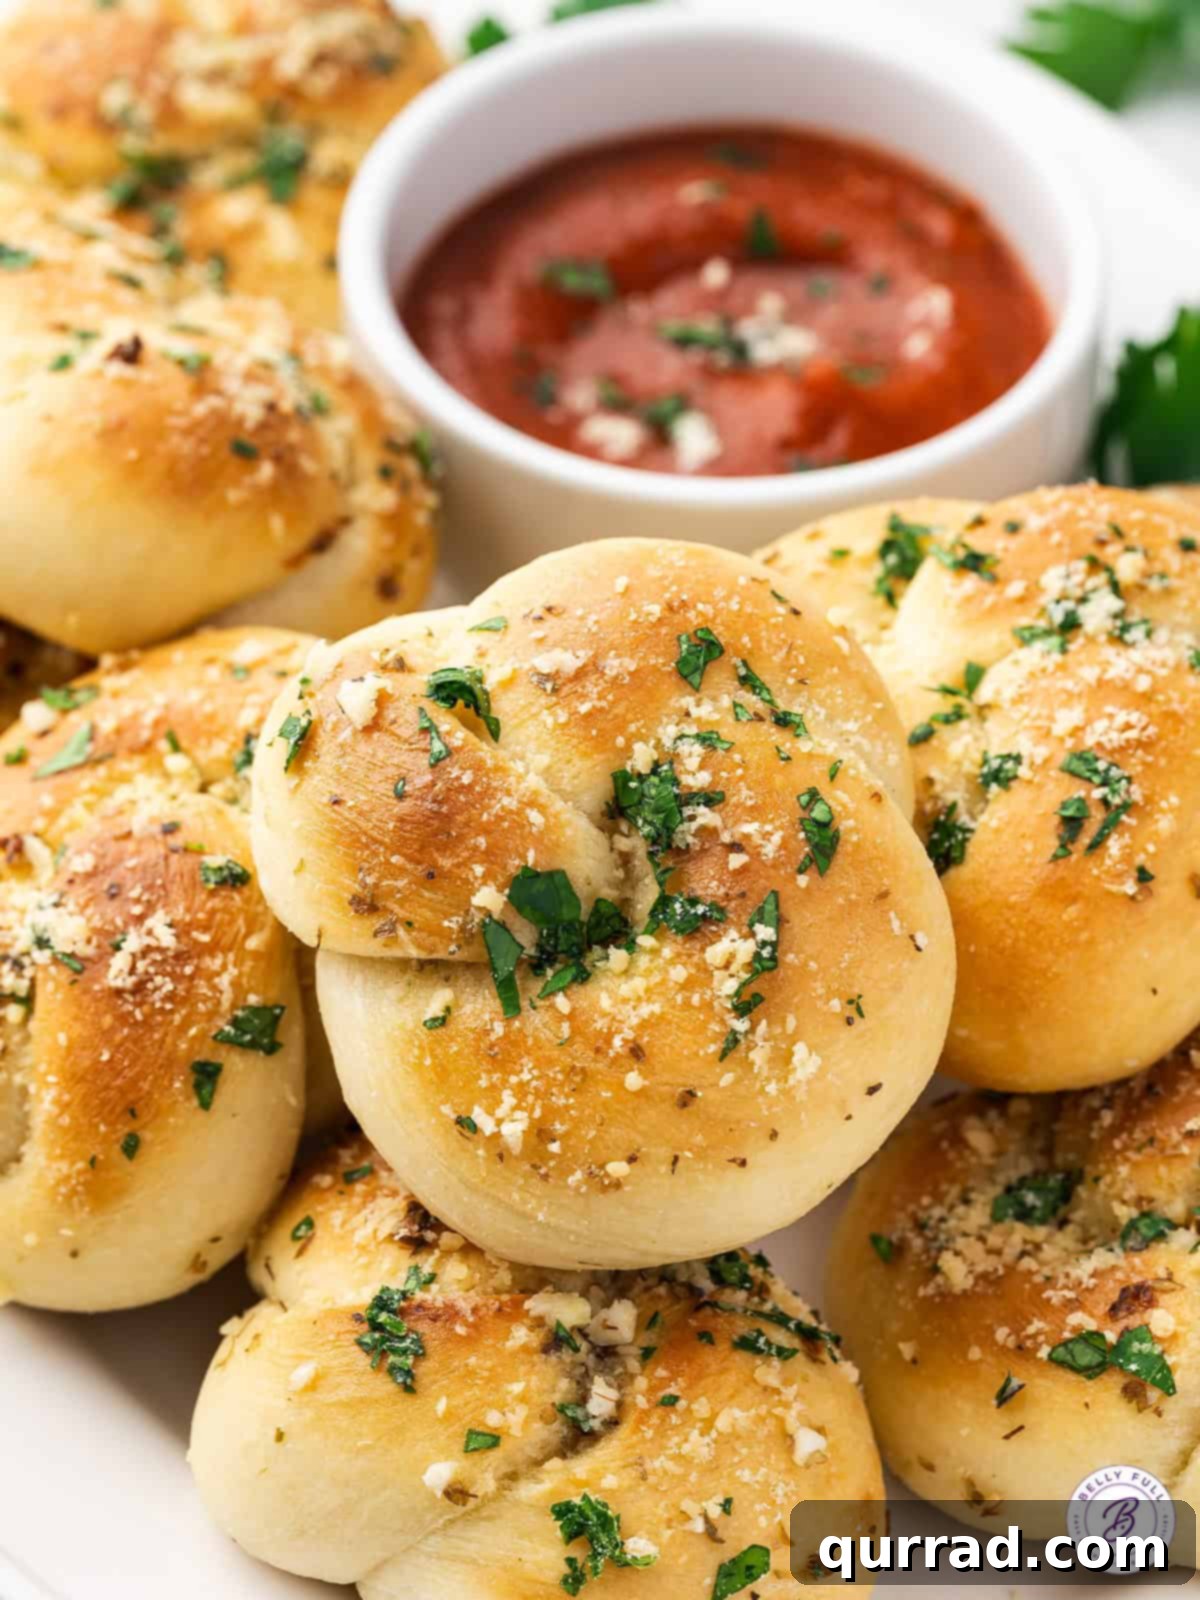
Bring the irresistible aroma and flavor of your favorite Italian restaurant right to your home’s dinner table with these incredible Homemade Garlic Knots. Imagine biting into a piece of tender, soft dough, perfectly golden brown, and generously coated in a rich, fragrant garlic herb butter. This garlic knots recipe goes beyond the basic, incorporating fresh and dried herbs alongside a generous amount of garlic, elevating their flavor profile to an unforgettable experience. Enjoy them on their own, or for the ultimate indulgence, dip them into a warm, savory marinara sauce.
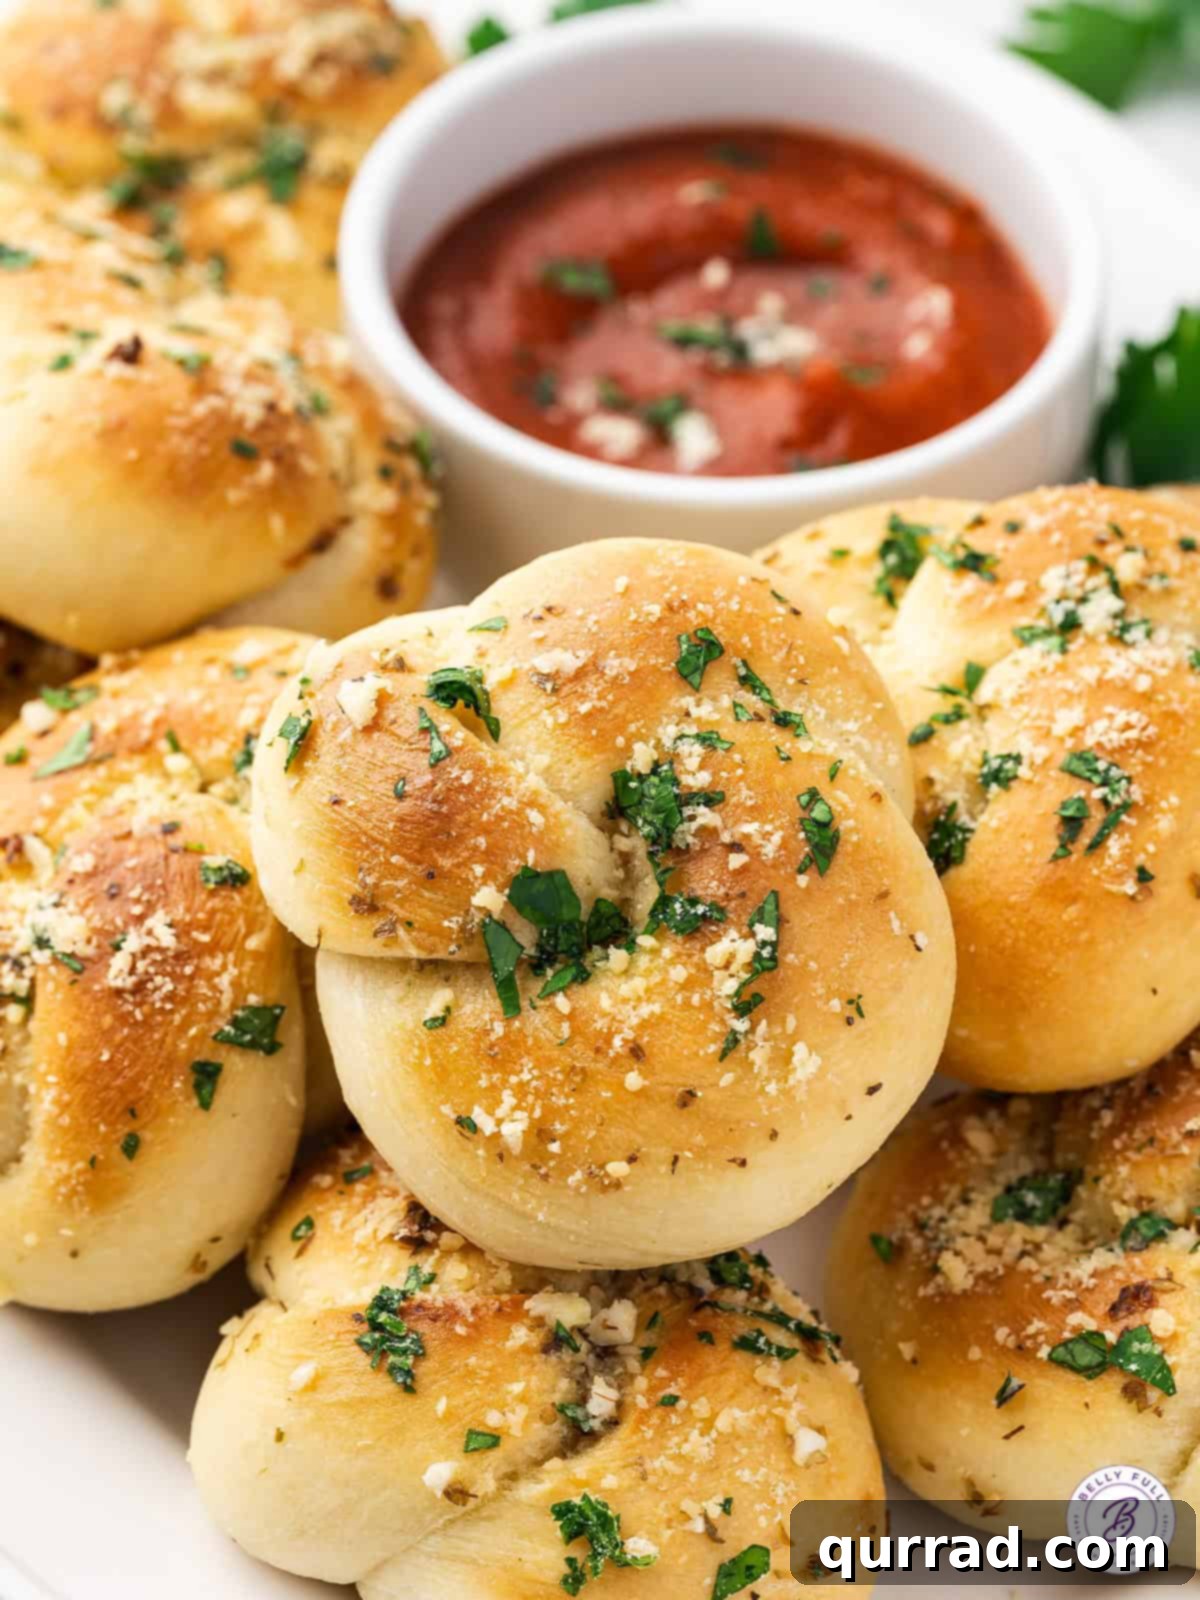
Who hasn’t been to an Italian restaurant and found themselves in a delightful struggle, trying not to fill up entirely on the complimentary garlic knots before the main course even arrives? It’s a common dilemma! Sometimes, these glorious little bread creations are so good, they could easily be the star of the meal themselves. If you’ve ever yearned to recreate that authentic Italian garlic bread experience in your own kitchen, today is your day. This recipe simplifies the process, making it surprisingly easy to achieve bakery-level results. In fact, I’m confident this homemade garlic knots recipe will rival, if not surpass, anything you’ve tasted at a restaurant.
These versatile treats serve beautifully as a standalone appetizer, setting the perfect tone for any meal. They also shine as a stellar side dish, pairing exceptionally well with classic Italian pasta dishes like spaghetti or creamy chicken alfredo. Their soft, absorbent texture makes them ideal for soaking up every last drop of delicious sauce, ensuring no flavor goes to waste.
Why Homemade Garlic Knots Are a Must-Try
There’s something incredibly satisfying about baking bread from scratch, and garlic knots are no exception. Beyond the amazing aroma that will fill your kitchen, making them yourself offers several distinct advantages:
- Unbeatable Freshness: Store-bought options simply can’t compare to the tender, airy texture and vibrant flavor of freshly baked bread.
- Customization: You’re in control! Adjust the amount of garlic, experiment with different herbs, or add a pinch of chili flakes for a subtle kick.
- Cost-Effective: Making a batch of garlic knots at home is far more economical than buying them from a bakery or restaurant.
- Therapeutic Process: The act of kneading dough and watching it rise can be a wonderfully relaxing and rewarding experience.
- Impress Your Guests: These beautiful, flavorful knots are sure to be a showstopper at any gathering, earning you rave reviews.
Essential Tips for Perfect Garlic Knots Every Time
Achieving light, fluffy, and flavorful garlic knots is straightforward when you pay attention to a few key details:
- The Importance of Water Temperature for Yeast: Yeast is a living organism, and its activation is crucial for a well-risen dough. Ensure your water is warm, ideally between 105°F and 115°F (40°C-46°C). Water that’s too hot will kill the yeast, preventing your dough from rising, while water that’s too cold won’t activate it effectively, leading to a dense texture. Use a kitchen thermometer for accuracy if unsure.
- Optimal Dough Rising Conditions: A warm environment is vital for your dough to proof properly. If your kitchen is cool, especially during winter months, consider these clever tricks:
- Place the covered bowl of dough on a heating pad set to its lowest setting. This provides a consistent, gentle warmth.
- Preheat your oven to its lowest temperature (around 200°F or 95°C) for just a few minutes, then turn it off. Place the covered dough bowl inside the slightly warm oven with the door cracked open. The residual heat creates an ideal proofing chamber.
- Alternatively, you can place the covered bowl in a microwave (turned off, of course) with a cup of very hot water. The steam and warmth will create a cozy environment for rising.
Allow the dough to rise until it has visibly doubled in size, which typically takes about an hour but can vary based on ambient temperature.
- Consistent Knot Shaping: For uniformly baked and visually appealing garlic knots, strive for consistency when forming each piece of dough. Roll each portion into ropes of similar length and thickness before tying them into knots. This ensures they bake evenly, preventing some from becoming overdone while others are still undercooked. Precision in shaping also contributes to that professional, bakery-fresh look.
Homemade Garlic Knots Recipe
Garlic Knots
Print Recipe
Ingredients
For the Dough
For the Garlic Butter
For Serving
Instructions
-
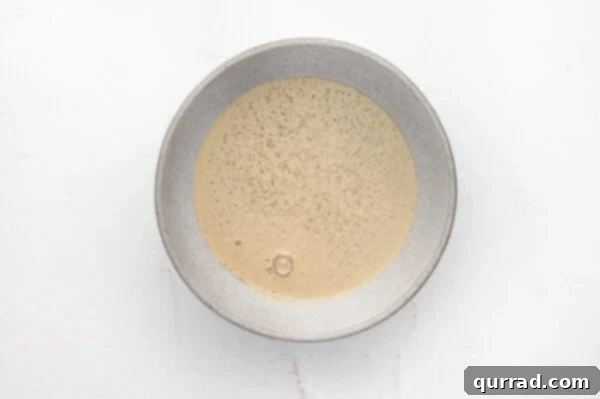
In a small bowl, combine 1 cup lukewarm water, 1 teaspoon sugar, and 1 packet active dry yeast. Stir gently to dissolve the sugar and yeast. Let this mixture sit undisturbed for 5-10 minutes. You’ll know the yeast is active and healthy when it becomes frothy and bubbly on the surface, resembling a foamy head. This blooming process is crucial for light and airy knots.

-
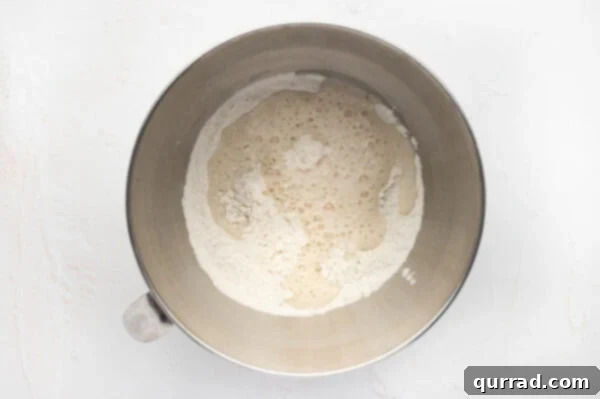
In the large bowl of a stand mixer fitted with the dough hook attachment, combine the 2 & 1/2 cups of all-purpose flour and 1 teaspoon of salt. Pour in the bloomed yeast mixture. Start mixing on low speed, allowing the ingredients to come together gradually into a shaggy dough.
-
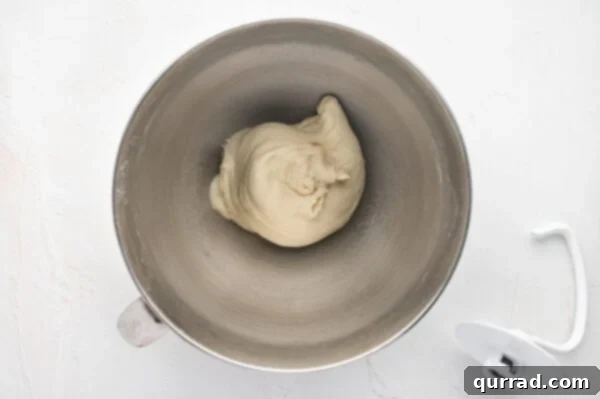
Once combined, increase the mixer speed to medium and continue to knead the dough for 6-8 minutes. The goal is to develop the gluten, which will make the dough smooth, elastic, and springy. A well-kneaded dough will pull away from the sides of the bowl and be tacky but not overly sticky to the touch. If the dough feels too sticky, add a tiny bit more flour, one tablespoon at a time, until it reaches the desired consistency.
-
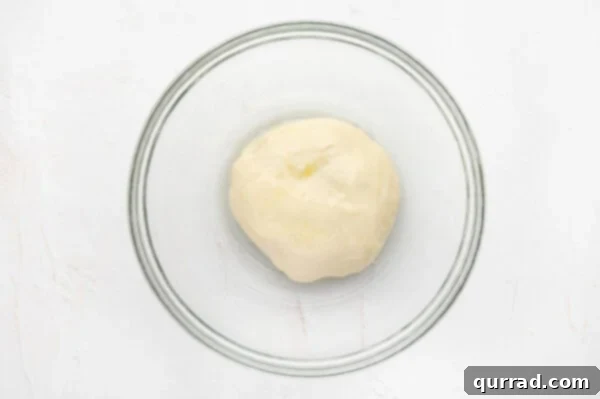
Remove the dough from the mixer and lightly coat the mixer bowl (or a clean, large bowl) with 2 tablespoons of olive oil. Place the dough ball back into the oiled bowl, turning it once to ensure it’s lightly coated with oil on all sides. This prevents it from sticking and drying out. Cover the bowl securely with a damp cloth or plastic wrap.
-
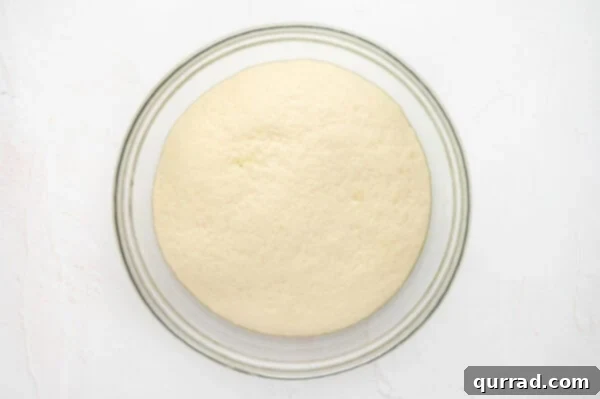
Let the dough rise in a warm place (refer to the “Helpful Tips” section above for ideal conditions) for approximately 1 hour, or until it has visibly doubled in size. This primary proofing gives the yeast time to produce carbon dioxide, creating air pockets and a light texture.
-
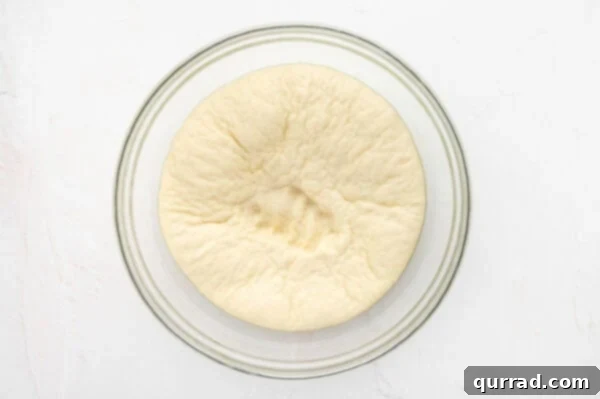
Gently “punch down” the risen dough. This means gently pressing on it to release the accumulated gases. This redistributes the yeast, evens out the temperature, and prevents large air bubbles, resulting in a finer crumb.
-
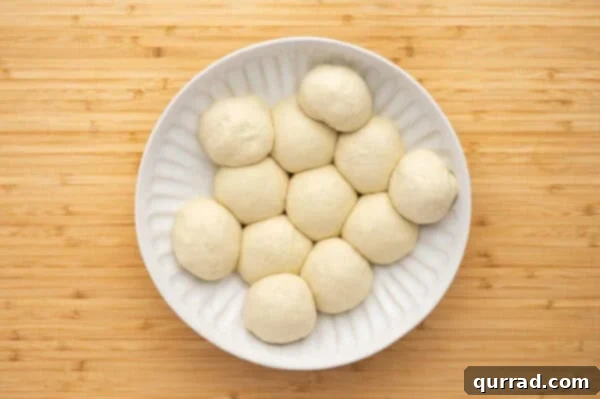
Transfer the dough to a lightly floured surface. Divide it into 12 equal pieces. Using a kitchen scale can help ensure precise and even portions, which will lead to consistently sized knots.
-
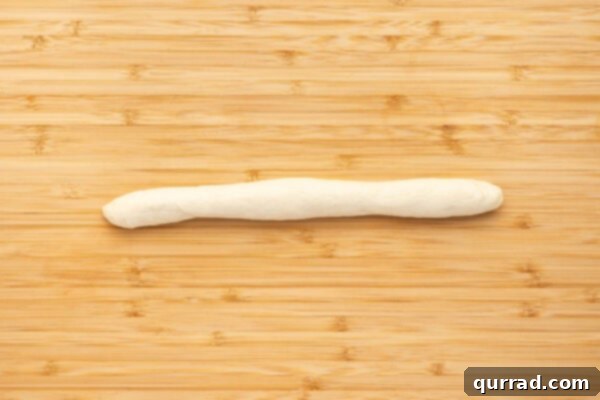
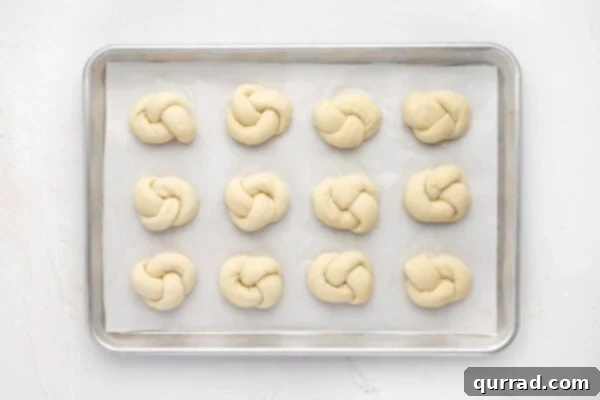
Take each piece of dough and roll it into a rope approximately 6-8 inches long. Aim for an even thickness throughout the rope. Then, tie each rope into a simple knot, just like you would tie a shoelace, but with only one pass.
-
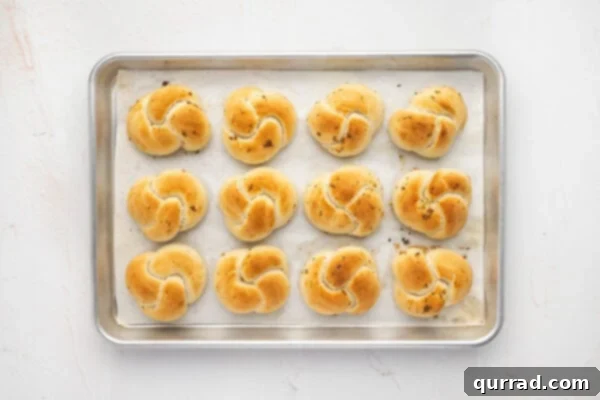
Once tied, gently tuck the open ends of each knot underneath to create a neat, rounded appearance. Arrange the shaped knots on a baking sheet lined with parchment paper, leaving some space between them for expansion.
-
Cover the shaped knots again with a damp cloth and let them rise for a second time, this time for 20-30 minutes, or until they look slightly puffed up and feel soft to the touch. This secondary proofing adds extra lightness to the finished knots.
-
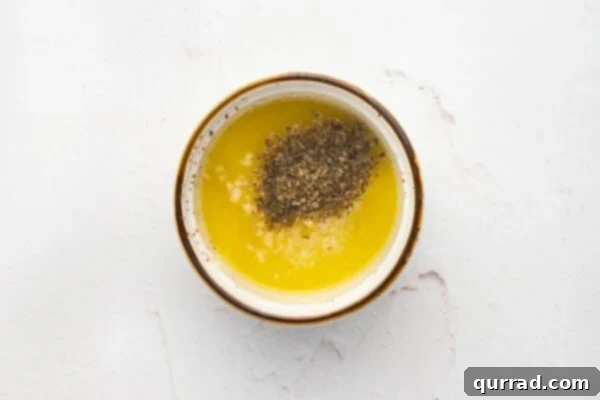
While the knots are doing their second rise, prepare the flavorful garlic butter topping. In a small bowl, combine 4 tablespoons of unsalted melted butter, 2 cloves of finely minced garlic, 1/2 teaspoon of dried oregano, and a pinch of salt. Stir well to combine all the aromatic ingredients.
-
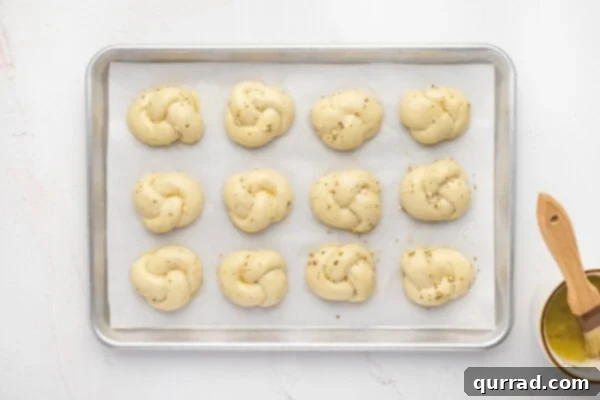
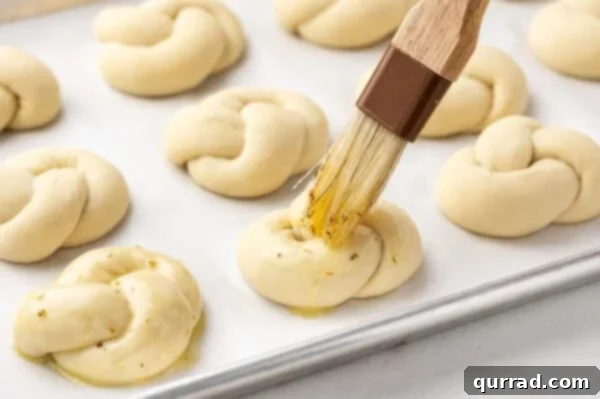
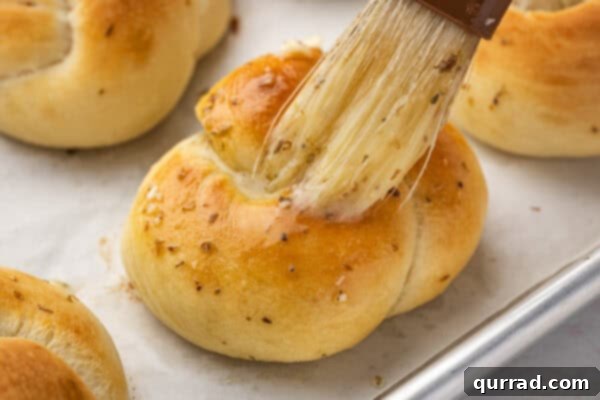
Before baking, gently brush about half of the garlic butter mixture evenly over the surface of each puffed-up dough knot. This initial brushing infuses them with flavor from the start and helps achieve a beautiful golden crust.
-
Preheat your oven to 375°F (190°C). Bake the garlic knots for 12-15 minutes, or until they turn a beautiful golden brown and are cooked through. Baking time may vary slightly depending on your oven.
-
As soon as the garlic knots emerge from the oven, while they are still warm, generously brush them with the remaining garlic butter mixture. The warmth of the bread will help the butter melt and absorb, maximizing that incredible garlicky flavor and giving them a glossy finish.
-
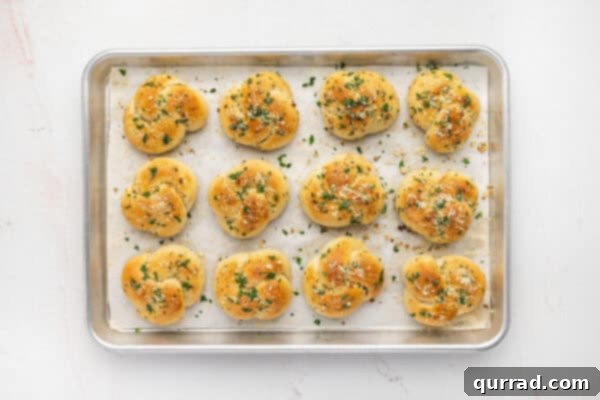
For the finishing touch, sprinkle the warm knots with grated Parmesan cheese and a generous scattering of fresh chopped parsley. The Parmesan adds a salty, umami depth, and the parsley brings a burst of fresh color and herbaceousness. Serve immediately and watch them disappear!
Recipe Notes & Expert Tips
Try Olive Oil in the Topping: For a slightly lighter or dairy-free alternative to butter, consider using high-quality extra virgin olive oil in your garlic herb topping. It imparts a distinct Mediterranean flavor that complements the garlic beautifully.
Garlic Powder Substitution: While fresh minced garlic offers the most intense and authentic flavor, you can substitute garlic powder if fresh isn’t available. A good rule of thumb is to use 1/2 teaspoon of garlic powder for every clove of fresh garlic. Mix it thoroughly into the melted butter or olive oil for the topping.
Store-Bought Dough Shortcut: Short on time but still craving those delicious knots? Store-bought pizza dough is an excellent shortcut. It performs perfectly for this recipe. Alternatively, you can prepare our quick and easy pizza dough recipe in advance. Whichever option you choose, ensure the dough comes to room temperature before you begin shaping your knots. This makes it more pliable and easier to work with.
Don’t Overcrowd the Pan: When placing the shaped knots on the baking sheet, ensure there’s enough space between them. Overcrowding can lead to uneven baking and prevents the knots from getting that lovely golden crust on all sides.
Internal Temperature: For perfectly baked bread, an internal temperature of around 200-210°F (93-99°C) indicates that the dough is fully cooked. You can use an instant-read thermometer to check if you’re unsure.
Nutrition Information
Nutritional information provided is an automatic calculation and can vary based on the exact products you use and any changes you make to the recipe. If these numbers are very important to you, I would recommend calculating them yourself using a reliable nutrition calculator.
Troubleshooting: Why Did My Garlic Knots Turn Out Dense?
A dense garlic knot can be disappointing, but it’s usually easy to remedy for your next batch. Here are the most common culprits and how to avoid them:
- Insufficient Rising Time: The most frequent reason for dense bread is not allowing the dough enough time to proof. Yeast needs warmth and time to produce the carbon dioxide bubbles that give bread its airy structure. If your dough doesn’t double in size during the first rise, or puff up noticeably during the second, it will likely be dense. Ensure your proofing environment is consistently warm.
- Over-Kneading the Dough: While kneading is essential for gluten development, over-kneading can make the dough tough and dense. This happens when the gluten strands become too tight and lose their elasticity, preventing the dough from rising properly. Knead until the dough is smooth and elastic, but stop once it reaches that point.
- Expired or Inactive Yeast: If your yeast is old or has been improperly stored, it may not be active enough to leaven the dough. Always check the expiration date and test your yeast by proofing it in warm water with sugar before adding it to your flour. If it doesn’t get foamy, get a new packet.
- Incorrect Water Temperature: As mentioned in our tips, water that is too hot will kill the yeast, and water that is too cold won’t activate it. Stick to the 105-115°F (40-46°C) range for optimal results.
- Too Much Flour: Adding too much flour can make the dough stiff and difficult to rise, resulting in a dense texture. Always measure flour by spooning it into a measuring cup and leveling it, rather than scooping directly, which can compact it. If the dough feels too stiff during kneading, resist the urge to add more flour unless absolutely necessary.
By diligently following the helpful tips and instructions provided in this recipe, you can minimize these common issues and consistently achieve perfectly light and fluffy garlic knots.
Delicious Serving Suggestions for Your Garlic Knots
These homemade garlic knots are incredibly versatile and can elevate any meal. Here are some fantastic ways to serve them:
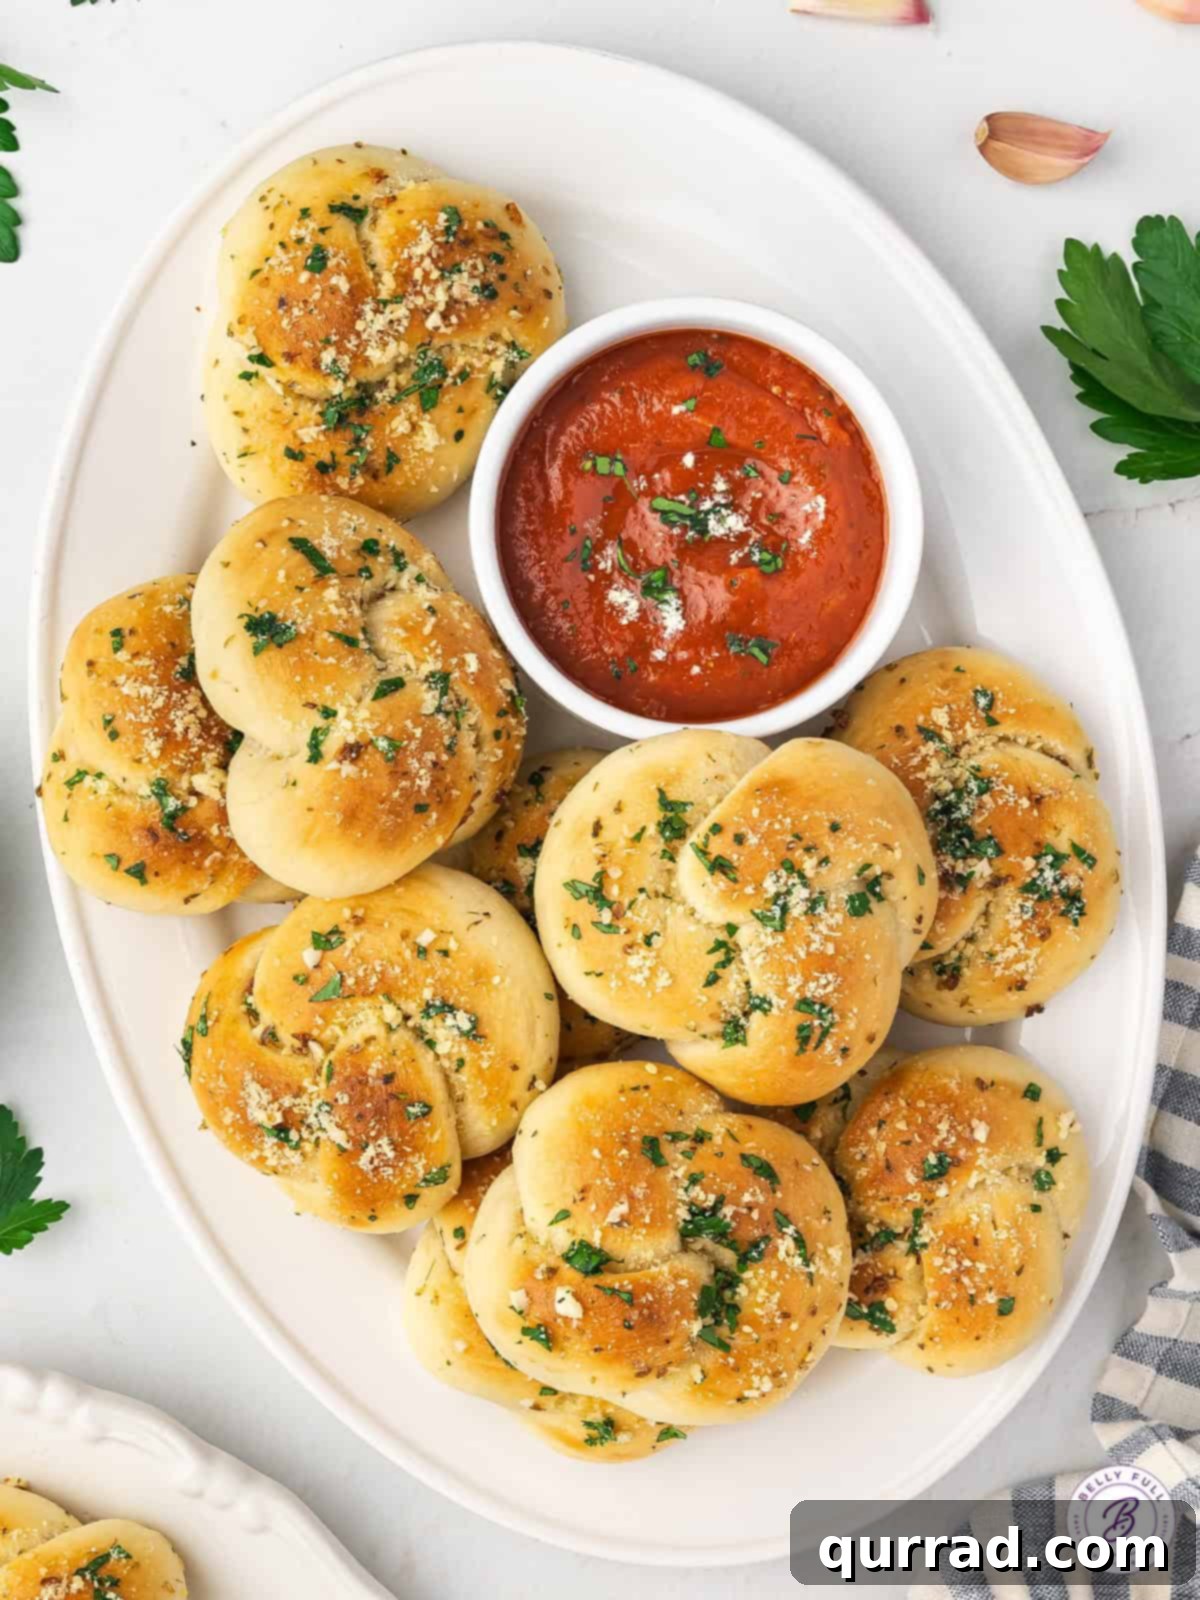
- Classic Dipping: My absolute favorite way to enjoy them is with a bowl of warm, rich marinara sauce for dipping. The sweet tang of the tomato complements the savory garlic butter perfectly.
- Italian Appetizer Extravaganza: They make an impressive appetizer for any Italian-themed dinner party. Serve them alongside a charcuterie board, bruschetta, or a caprese salad.
- Pasta’s Best Friend: These knots are the ultimate companion for saucier pasta dishes. Their tender crumb is perfect for soaking up every last bit of creamy sauces like chicken alfredo, or hearty meat sauces from a classic spaghetti dish. They’re also wonderful with penne alla vodka or spaghetti carbonara.
- Soup and Salad Side: Pair them with a comforting bowl of minestrone, tomato soup, or a crisp Caesar salad for a satisfying lunch or light dinner.
- Beyond Italian: Don’t limit them to Italian fare! Garlic knots are fantastic with grilled chicken, roasted vegetables, or as a side to a hearty chili.
Can I Make These Garlic Knots in Advance?
Yes, absolutely! Garlic knots are a fantastic recipe for meal prep, allowing you to enjoy fresh-baked goodness with minimal effort on a busy day:
- Shape and Refrigerate (Up to 24 Hours): You can shape the knots, place them on a parchment-lined baking sheet, cover them tightly with plastic wrap, and refrigerate for up to 24 hours. When ready to bake, remove them from the fridge and let them come to room temperature and rise slightly for about 30-60 minutes before proceeding with the brushing and baking steps.
- Freeze Dough for Later: If you want to get a head start even further, you can freeze the dough. After the initial kneading (before the first rise), portion the dough into individual balls or the full batch and freeze it in airtight plastic bags. When you’re ready to bake, thaw the dough overnight in the refrigerator. Once thawed, let it rise at room temperature until doubled in size, then proceed with shaping, a second rise, and baking as per the recipe.
How to Store & Reheat Leftover Garlic Knots
Proper storage ensures your homemade garlic knots remain delicious, and reheating them correctly brings back their fresh-baked glory:
- Room Temperature Storage: Freshly baked garlic knots are best enjoyed the day they are made, but they can be stored in an airtight container on the kitchen counter for up to 2 days. This helps maintain their soft texture.
- Refrigerator Storage: For longer freshness, transfer cooled garlic knots to an airtight container and refrigerate for up to 5 days. Chilling them will prevent spoilage and keep them fresh.
- Freezer Storage: To freeze leftover baked garlic knots, allow them to cool completely first. Place them in a single layer on a baking sheet and flash-freeze for about an hour until firm. Then, transfer them to a freezer-safe container or heavy-duty freezer bag, separating layers with parchment paper to prevent sticking. They can be frozen for up to 3 months. Thaw them on the counter at room temperature before reheating.
- Reheating Instructions: Garlic knots are always best served warm. To reheat, preheat your oven to 350°F (175°C). Place the knots directly on a baking sheet (no need to cover) and bake for 5-7 minutes, or until they are warm through the center and slightly crisp on the outside. You can also quickly warm them in a toaster oven. Avoid microwaving, as it can make them chewy.
I genuinely hope you love this delicious and easy recipe for homemade garlic knots as much as I do. Each bite brings that comforting, authentic Italian flavor right to your table!