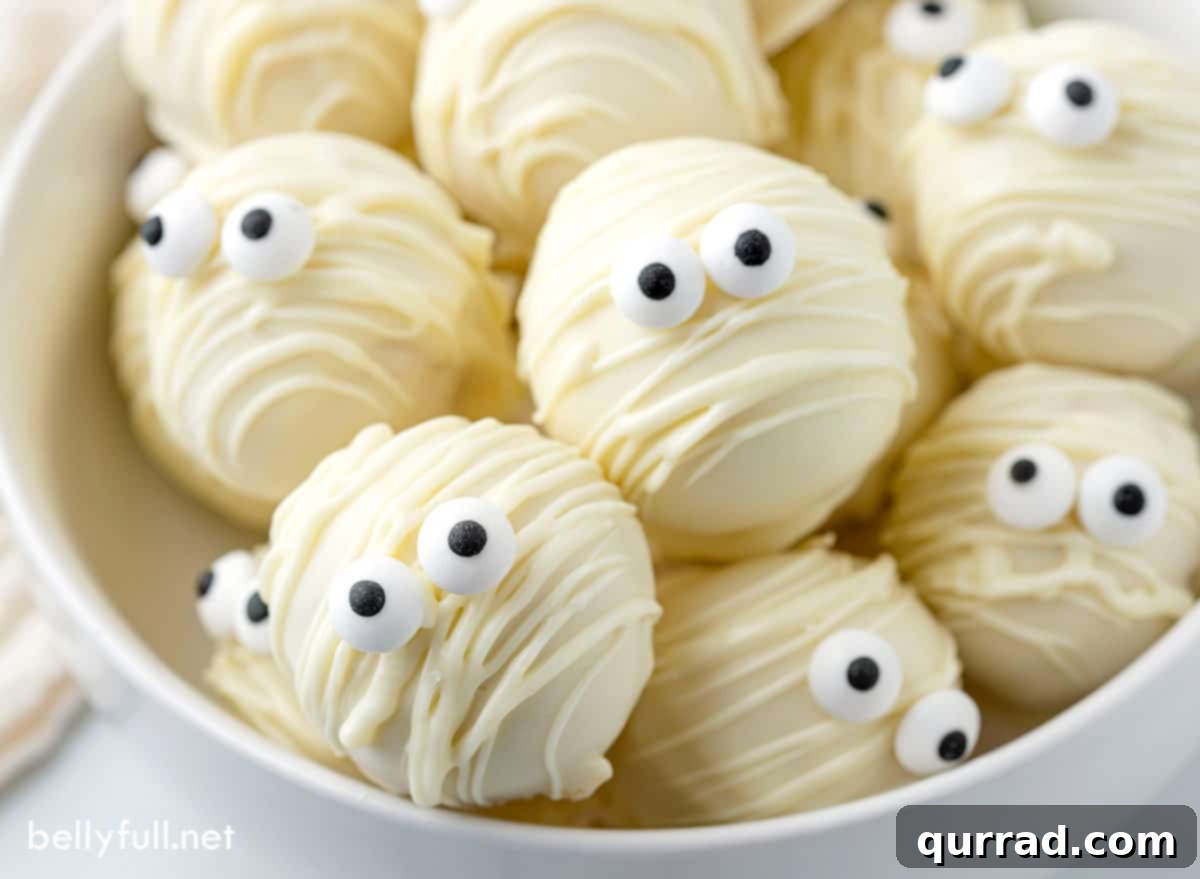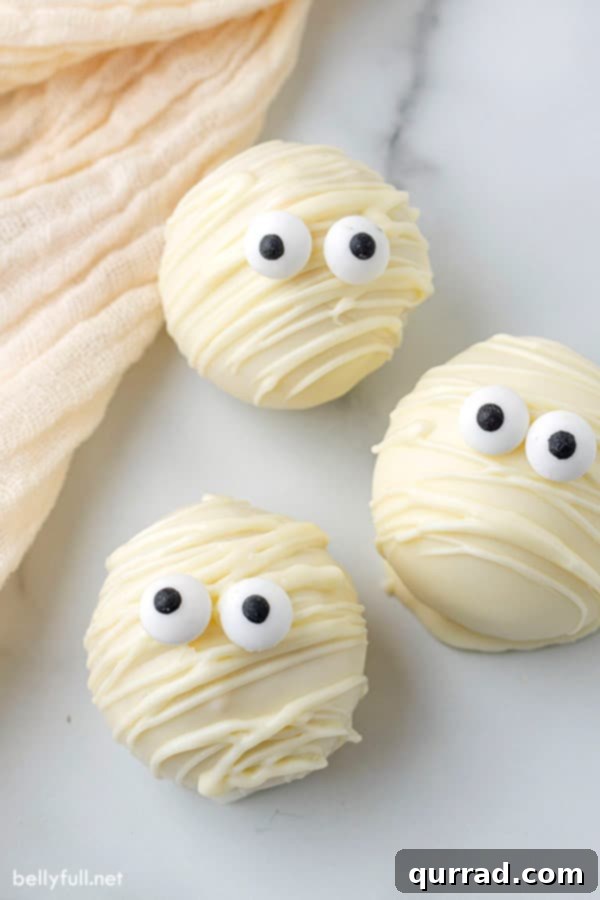
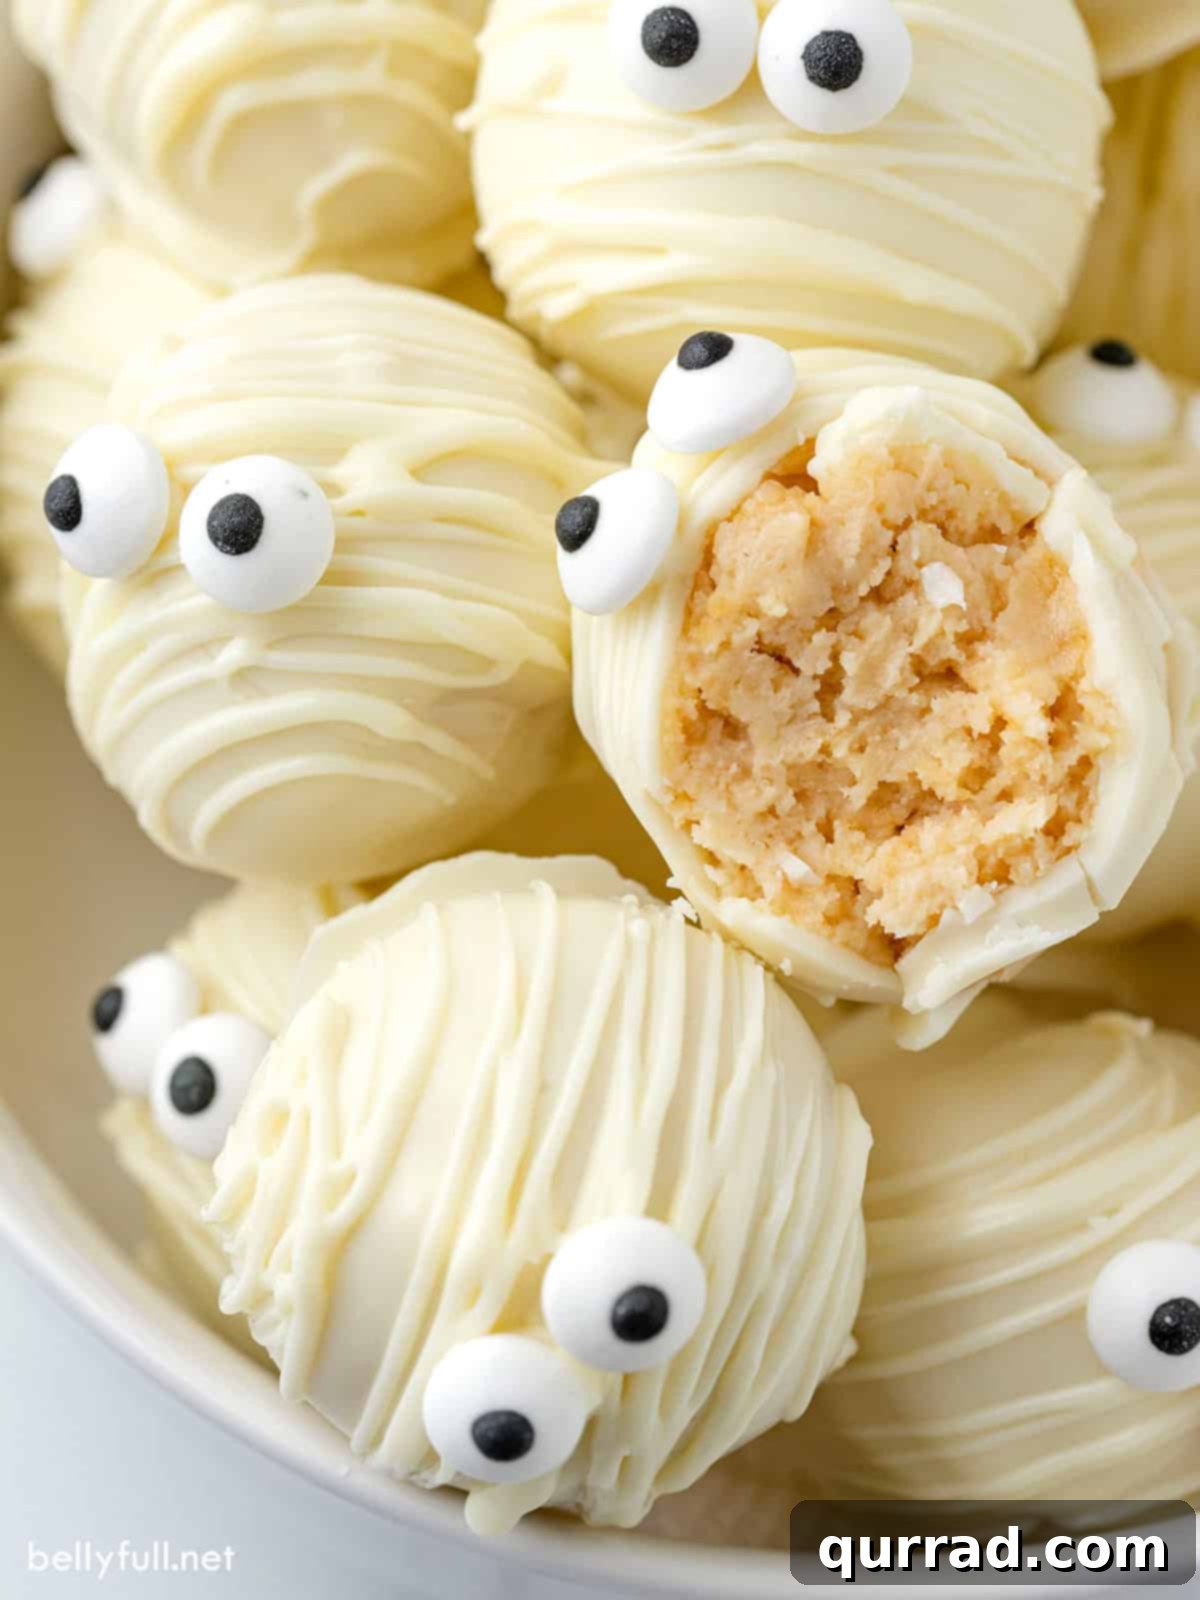
Get ready to whip up a batch of the most adorable and delicious Halloween treats – these **Mummy Oreo Balls**! With just four simple ingredients, these no-bake wonders boast a delightful contrast: a firm, sweet outer shell gives way to a creamy, rich center. They are not only incredibly tasty but also remarkably easy to make, making them the perfect project for little hands eager to join in the Halloween fun. Forget complicated baking; these Oreo cream cheese balls offer maximum flavor and festive charm with minimal effort.
And if you’re looking to expand your Halloween treat repertoire, be sure to grab some extra candy melts. You can use them to create an equally addictive and simple Candy Corn Pretzel Bark – another fantastic no-bake option that requires only three ingredients!
Easy No-Bake Oreo Cream Cheese Balls: Your Go-To Halloween Treat
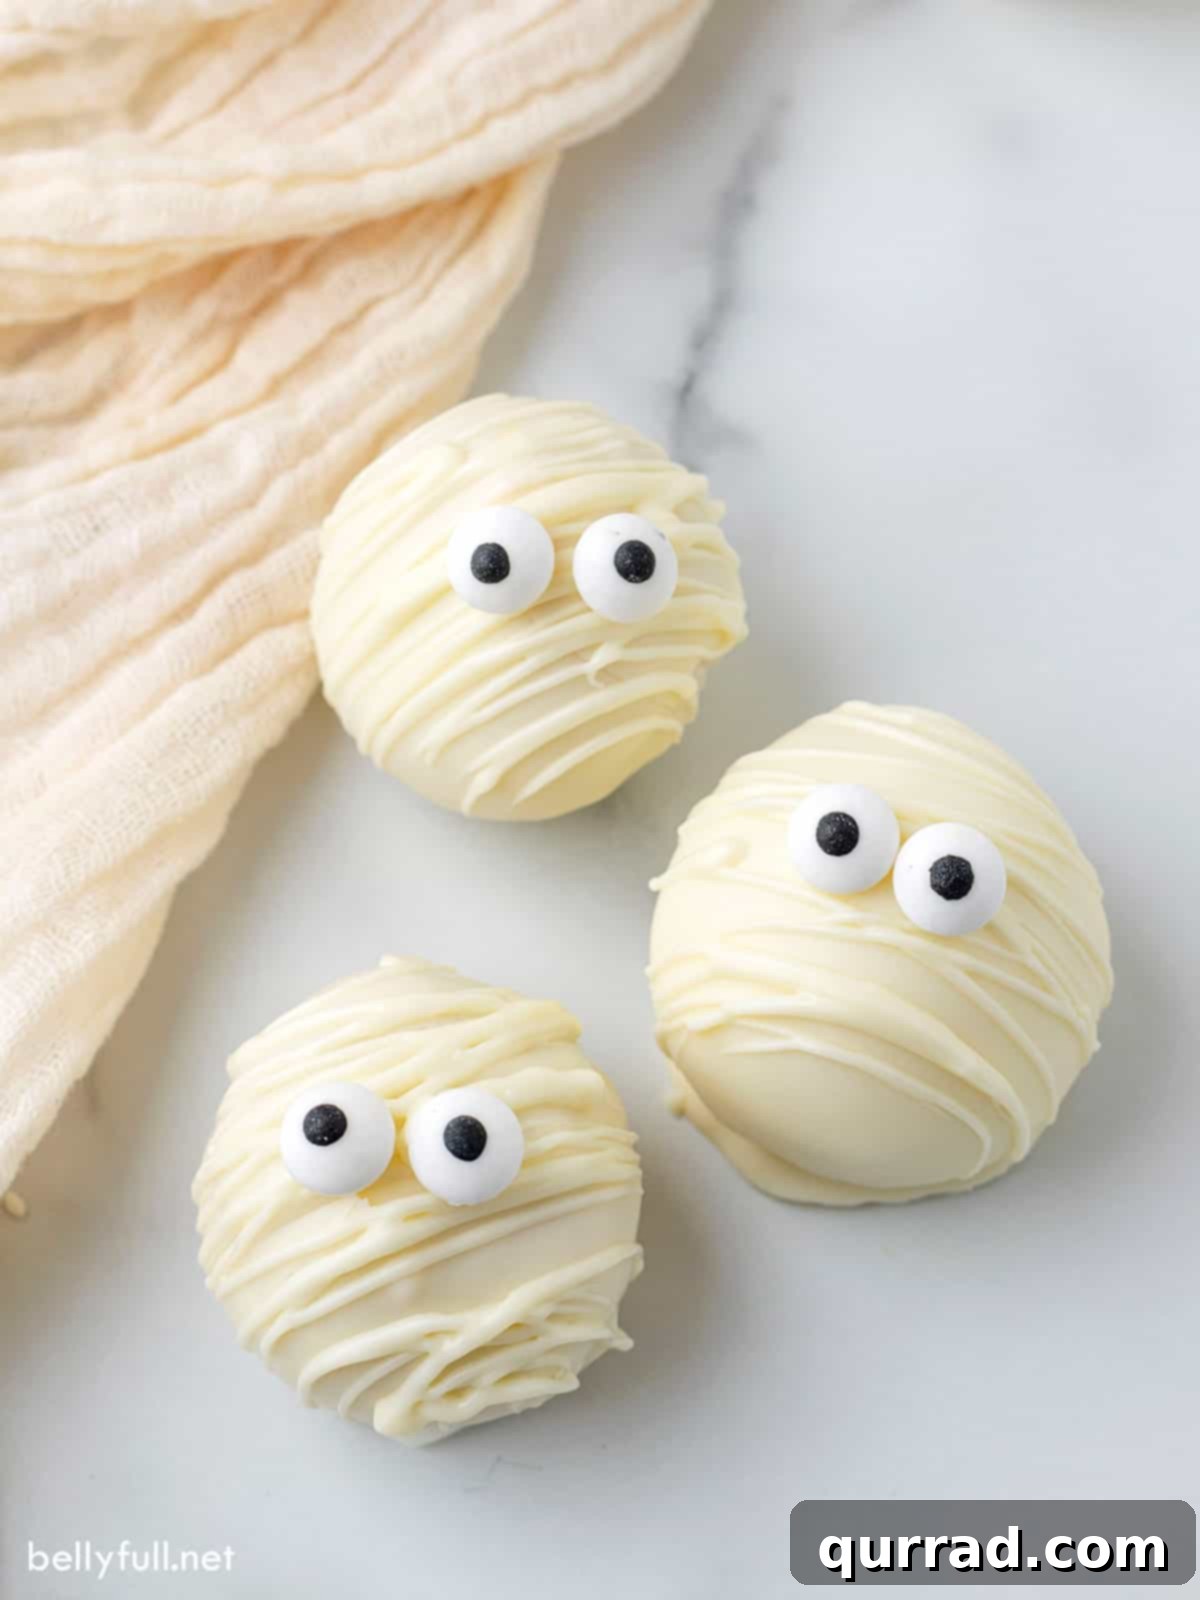
If your quest this Halloween season is for a dessert that combines fun, simplicity, and irresistible taste, these Mummy Oreo Balls are precisely what you need. They take a beloved basic no-bake Oreo ball recipe and transform it into charming, spooky-sweet mummy truffles that are guaranteed to be a hit at any Halloween party or gathering. Their visual appeal, combined with their ease of preparation, makes them a standout choice for busy parents and aspiring bakers alike.
Crafting these delightful Oreo cookie balls requires a minimal shopping list: merely four ingredients, including the whimsical candy eyes for decoration. You’ll need a package of golden Oreos, softened cream cheese, and some reliable dipping wafers (white chocolate). While the process involves two chilling periods, these treats can be ready to delight your taste buds and impress your guests in under an hour of active prep time. It’s a truly accessible recipe that yields professional-looking results without any fuss.
This was great for my 3, 5, and 6 year olds! Their play-dough-ball-rolling skills made this a breeze! We had as much fun making them as eating them!
– Kayla
Why You’ll Adore These Mummy Oreo Balls
Beyond their charming appearance, Mummy Oreo Balls offer a multitude of reasons to become your favorite Halloween tradition:
- Effortlessly Simple: With only 4 ingredients and a no-bake method, this recipe is perfect for beginners or anyone short on time.
- Kid-Friendly Fun: Rolling the balls and adding the candy eyes are fantastic tasks for children, turning baking into a delightful activity.
- Perfect Party Treat: These festive truffles are individually portioned, making them ideal for Halloween parties, school events, or trick-or-treat gatherings.
- Irresistible Flavor & Texture: The crunchy Oreo exterior blended with creamy cream cheese creates a decadent center, perfectly complemented by a crisp white chocolate shell.
- Customizable: While golden Oreos are suggested for a classic mummy look, you can experiment with different Oreo flavors or colored candy melts for unique variations.
- Make-Ahead Friendly: Prepare them in advance, store them in the fridge, and you’ll have a stress-free dessert ready to go when the spooky festivities begin.
What You’ll Need: The Simple Ingredients
This wonderfully fun Halloween dessert relies on just four key ingredients. Choosing the right ones can make a significant difference in both the appearance and taste of your Mummy Oreo Balls. Here’s a breakdown of what you’ll need and why:
- Oreos: For an authentic “mummy” aesthetic and a subtle vanilla flavor that complements the white chocolate, blonde or golden Oreos are absolutely ideal. Their light color prevents any dark cookie crumbs from showing through the white chocolate coating, ensuring a clean, vibrant white finish.
- Cream Cheese: A crucial binding agent that lends a luxurious, tangy creaminess to the truffle center. It’s vital to soften your cream cheese to room temperature before mixing. This ensures it blends smoothly and evenly with the crushed Oreos, preventing any lumps and resulting in a perfectly uniform, melt-in-your-mouth texture for your cream cheese balls.
- White Chocolate Candy Melts: For the hard outer shell, vanilla candy melts or dipping wafers are highly recommended. Products like Wilton candy melts or Ghirardelli White Melting Wafers are specifically designed for candy making; they melt smoothly, coat beautifully, and harden quickly without becoming soft at room temperature. Avoid regular white chocolate chips, as they can be temperamental to melt and may not provide the same consistent, firm finish unless combined with an additive like coconut oil.
- Candy Eyes: These are the magical touch that transforms simple white chocolate Oreo balls into delightful Mummy Oreo Balls! Available in most grocery stores in the baking aisle or specialty craft stores, these edible eyes instantly bring your spooky treats to life, adding a playful and whimsical element that children (and adults!) adore.
How to Make Mummy Oreo Balls: Step-by-Step Guide
Creating this no-bake Halloween dessert is incredibly straightforward, making it an excellent choice for a quick yet impressive treat. The most challenging part, perhaps, is exercising patience while the Oreo balls set in the freezer and fridge. Here’s a detailed summary of the process, ensuring perfect results every time:
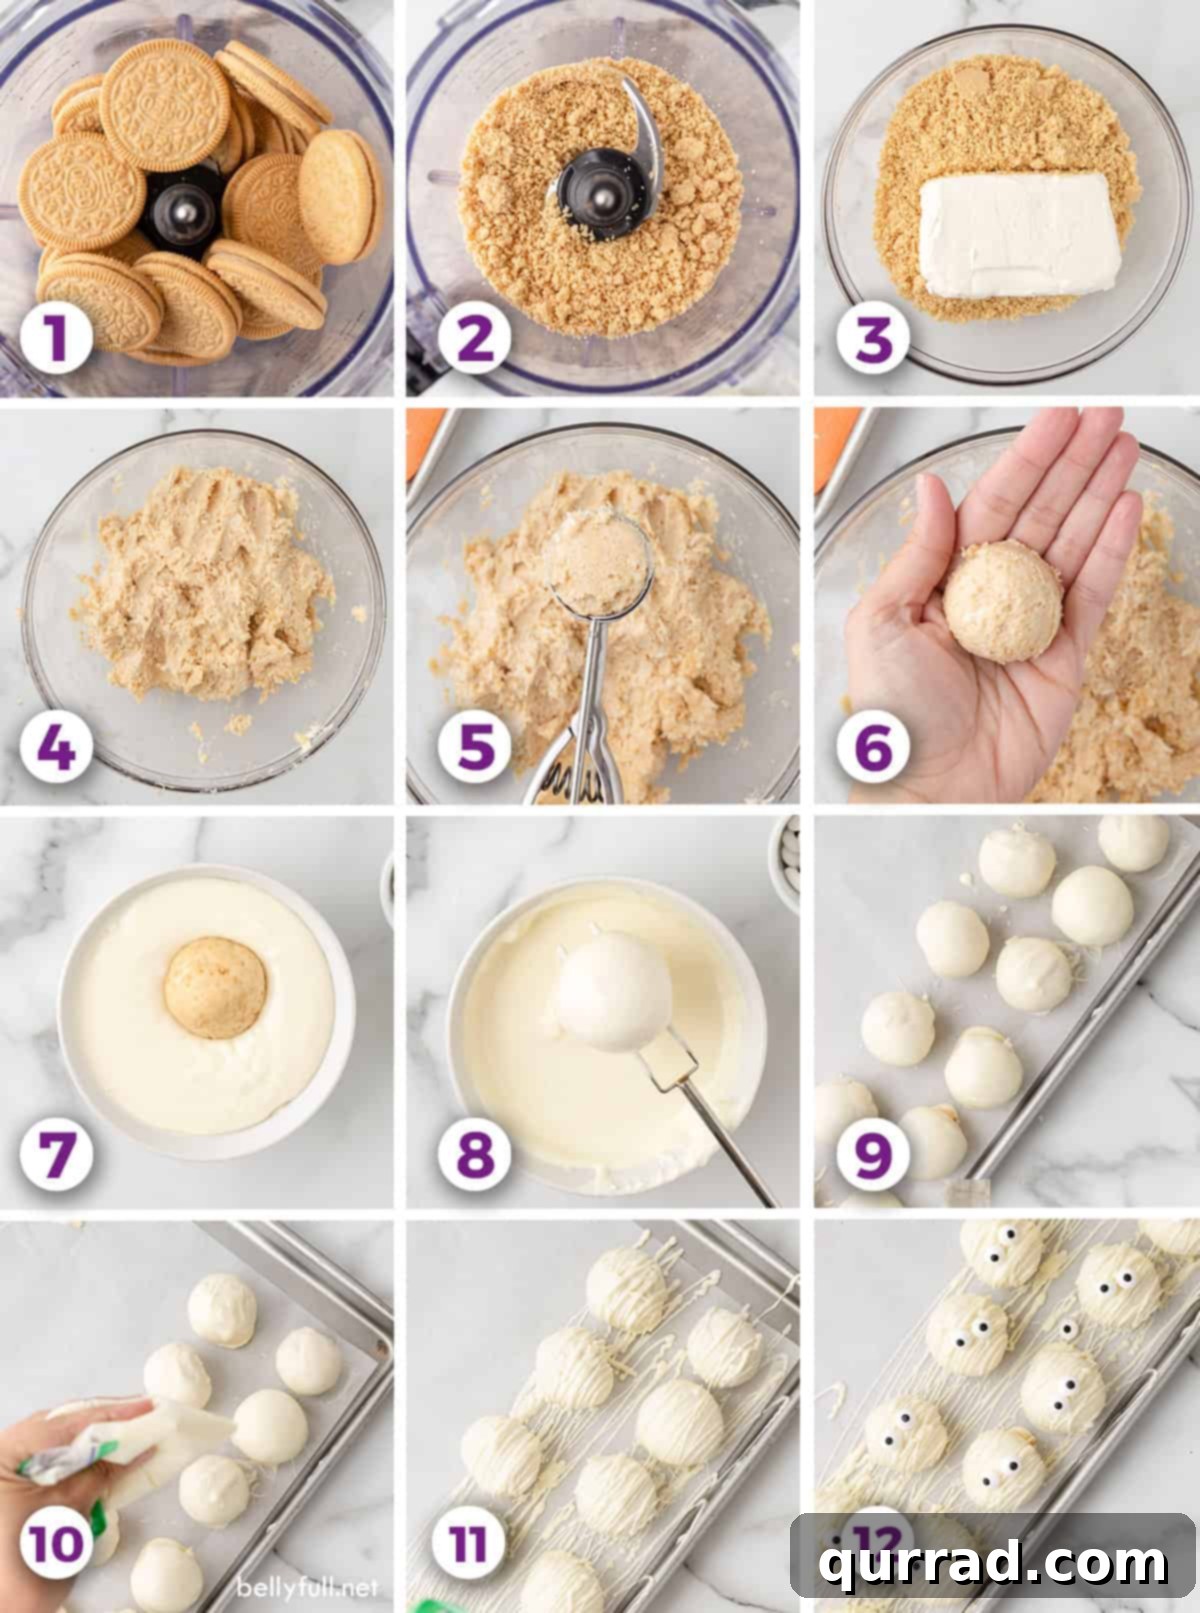
- Prepare the Oreo Crumb Mixture: Begin by lining a large baking sheet with parchment paper; this will be essential for setting the truffles later. In a food processor, pulse your golden Oreos until they form a very fine, consistent crumb. The finer the crumb, the smoother your truffle centers will be. Transfer these crumbs to a large mixing bowl. Add the softened cream cheese to the bowl. Using a sturdy spoon or a rubber spatula, stir the mixture thoroughly until the cookie crumbs and cream cheese are completely combined, forming a thick, smooth, and uniform dough.
- Form and Chill the Balls: Take a cookie scoop (approximately 1-inch in diameter) to portion out the mixture. Roll each portion between the palms of your hands to form smooth, round balls. Evenly space these Oreo balls onto your prepared parchment-lined baking sheet. Once all balls are formed, place the entire baking sheet into the freezer for a minimum of 30 minutes. This crucial step allows the balls to firm up significantly, making them much easier to dip into the melted chocolate without falling apart.
- Melt the White Chocolate Coating: While the Oreo balls are chilling, prepare your white chocolate. Melt the vanilla candy melts or dipping wafers according to the package instructions. This typically involves using a microwave at short intervals (e.g., 30 seconds at a time), stirring thoroughly after each interval until the chocolate is smooth and lump-free. Alternatively, you can use a double boiler for a more controlled melting process. Once melted, pour the smooth chocolate into a small, deep bowl or a glass, which makes dipping easier.
- Dip and Decorate: Remove the chilled Oreo balls from the freezer. Working one at a time, gently place an Oreo truffle on top of a fork (do not poke the fork into the ball). Submerge the truffle into the melted white chocolate, turning it gently to ensure it’s fully coated. Lift the truffle out and gently tap the fork against the side of the bowl to allow any excess chocolate to drip off. This creates a clean, even coating. Immediately transfer the coated ball back to the parchment-lined baking sheet. Before the chocolate sets, use a small spoon or a piping bag made from a Ziploc bag with a tiny snip off the corner to drizzle thin lines of the remaining melted chocolate over the coated balls, creating the “mummy bandage” effect. While the drizzled chocolate is still wet, carefully stick two candy eyes onto each Oreo truffle. If the chocolate hardens too quickly, you can dab a tiny bit of melted chocolate on the back of the candy eyes to help them adhere.
- Final Chill and Serve: Once all the Mummy Oreo Balls are dipped and decorated, place the baking sheet back into the refrigerator for another 15-20 minutes. This final chilling period allows the chocolate coating to fully set and harden, giving your mummies their firm shell. Once set, they are ready to be served and enjoyed!
Tips for Success: Achieving Perfect Mummy Oreo Balls
Whether you’re a seasoned baker or this is your first time venturing into the world of no-bake truffles, these tips will help ensure your Mummy Oreo Balls turn out perfectly spooky and delicious:
- Achieving the Right Cream Cheese Consistency: Ensure your cream cheese is genuinely at room temperature. If it’s too cold, it will be lumpy and won’t blend smoothly with the cookie crumbs. If it’s too warm, the mixture might become too soft and sticky, making it difficult to roll into firm balls. Aim for a consistency where it’s easily spreadable.
- The Power of the Food Processor: Don’t skip using a food processor for the Oreos. It creates a much finer, more uniform crumb than crushing them by hand, which is crucial for a smooth truffle interior. Without it, you might end up with larger cookie pieces that make rolling and dipping more challenging.
- Optimal Chilling is Key: The 30-minute freeze for the initial Oreo balls is non-negotiable. Cold, firm balls are less likely to fall apart or create crumbs in your melted chocolate. They also help the chocolate set more quickly.
- Mastering the Dipping Technique: When dunking the Oreo balls in chocolate, a common mistake is to poke the fork into the truffle. Instead, rest the ball *on top* of the fork tines. This prevents holes and allows for a smooth, even coating. Gently tap the fork on the edge of the bowl to remove excess chocolate for a cleaner finish.
- Choosing the Best White Chocolate: As mentioned, melting wafers or candy melts (like Wilton or Ghirardelli) are superior for their smooth consistency and ability to harden properly at room temperature. If you must use regular white chocolate chips, incorporate about 1 tablespoon of coconut oil per 1 cup of chocolate. This helps thin the chocolate for easier dipping and allows it to harden more effectively.
- Troubleshooting Thick Chocolate: If your melted chocolate becomes too thick for dipping, stir in a teaspoon of coconut oil (or shortening) at a time until it reaches the desired, pourable consistency. Be careful not to add too much, or your coating might become too soft.
- Avoiding Overheated Chocolate: White chocolate is particularly sensitive to heat. Overheating it, especially in the microwave, can cause it to “seize” or look grainy and crumbly, rendering it unusable. Always heat in short bursts (30 seconds) and stir diligently between each interval. Patience here prevents waste!
- Securing Candy Eyes: The drizzled “mummy bandages” usually provide enough stickiness for the candy eyes. However, if your chocolate sets too quickly, a tiny dot of fresh melted chocolate on the back of each eye will ensure they stay firmly in place.
Variations and Customizations for Your Oreo Truffles
While the Mummy Oreo Balls are fantastic as is, don’t hesitate to get creative and customize them to your liking or for other occasions:
- Oreo Flavor Swaps: Experiment with different Oreo flavors! Classic chocolate Oreos will yield a darker truffle, which can be fun for a “spooky dirt” effect if you skip the mummy drizzle. Peanut Butter, Mint, or Red Velvet Oreos could also offer exciting flavor combinations.
- Chocolate Coatings: Instead of white chocolate, try milk or dark chocolate for a different flavor profile. You could even use colored candy melts (orange, purple, green) for other Halloween themes, like monster eyes or witch’s potions.
- Toppings Galore: Before the chocolate sets, sprinkle your truffles with Halloween-themed sprinkles, edible glitter, or even finely crushed Oreos for added texture.
- Gourmet Additions: Mix a teaspoon of peppermint extract, almond extract, or a dash of cinnamon into the Oreo and cream cheese mixture for an extra layer of flavor.
- Cake Pop Sticks: For a true cake pop experience, insert a lollipop stick into each chilled Oreo ball before dipping it in chocolate. This makes them even easier to eat and display!
FAQs: Your Mummy Oreo Ball Questions Answered
Here are answers to some common questions that arise when making these delightful mummy Oreo balls:
- My chocolate is very thick. What can I do to help? If your melted chocolate is too thick for smooth dipping, stir in one teaspoon of coconut oil (or vegetable shortening) at a time until it reaches a thinner, more fluid consistency. This often happens more frequently when using regular white chocolate chips compared to dedicated melting wafers or candy melts.
- My chocolate looks like it has cookie crumbles after I tried to melt it. What happened? This is a classic sign of overheated white chocolate. When white chocolate gets too hot, the cocoa butter separates, causing it to seize and develop a grainy, crumbly texture. Unfortunately, there’s no way to rescue seized chocolate; you’ll need to discard it and start over. To prevent this, always melt white chocolate slowly in the microwave in 30-second intervals, stirring thoroughly after each interval until it’s smooth, or use a gentle double boiler method.
- Where do you get candy eyes? Candy eyes are widely available, especially during the Halloween season. You can usually find them in the baking aisle of your local grocery store, alongside sprinkles and other cake decorating supplies. Craft stores that have a baking section, or online retailers like Amazon, are also great sources.
- Can I make these with classic Oreos? Yes, you absolutely can use classic chocolate Oreos. However, because the filling is dark, it might subtly show through the white chocolate coating, especially if your coating is thin. If you notice this, simply double-dip the balls: allow the first layer of chocolate to set slightly, then dip them again for a more opaque, bright white finish.
- How many Mummy Oreo Balls does this recipe yield? This recipe typically makes about 14 delicious mummy Oreo balls, depending on the size you roll them. You can easily adjust the recipe quantities if you need more or fewer treats.
Mummy Oreo Balls
Rating: 5 from 3 reviews
Prep Time: 20 mins
Chill Time: 30 mins
Total Time: 50 mins
Servings: 14 oreo balls
A fun Halloween dessert, these Mummy Oreo Balls are made with just 4 ingredients. With a hard chocolate outer shell and creamy center, these Oreo balls are so delicious, plus they’re no bake and easy. Have your little ones help you make them!
Ingredients
- 20 Golden Oreos
- 4 ounces cream cheese, (softened to room temperature)
- 10 ounces vanilla candy melts or dipping wafers
- 1 package candy eyes
Instructions
- Line a large baking sheet with parchment paper; set aside.
- Pulse the Oreos in a food processor until the cookies are a very fine crumb.
- Pour the cookie crumbs and cream cheese into a large mixing bowl. Stir the mixture until it’s well combined and smooth.
- Using a cookie scoop, form the mixture into about 1-inch balls, roll the balls between the palms of your hand until they are smooth. Place the Oreo balls onto the parchment paper, then transfer into the freezer for 30 minutes to allow them to set.
- Melt your chocolate according to package directions.
- Pour the chocolate into a small bowl or glass.
- Working one at a time, using a fork, dip each Oreo truffle into white chocolate, turning to coat. Tap off any excess chocolate on the side of the bowl. (Note: when dunking in the chocolate, the truffle sits on top of the fork, the fork tines do not poke into the truffle ball.)
- Transfer balls back to the prepared baking sheet.
- Pour the remaining chocolate into a ziploc bag and cut a small hole on the bottom corner. Drizzle the chocolate over the top of the balls, stick two eyes onto the Oreo balls. (If the chocolate hardens too quickly, you can add a dot of melted chocolate to the back of the eyes before sticking them to the Oreo balls.)
- Place them in the fridge for 15-20 minutes to allow the chocolate to set up.
- Serve and enjoy!
Nutrition
Calories: 111kcal | Carbohydrates: 13g | Protein: 1g | Fat: 6g | Saturated Fat: 2g | Polyunsaturated Fat: 1g | Monounsaturated Fat: 2g | Cholesterol: 9mg | Sodium: 86mg | Potassium: 27mg | Fiber: 1g | Sugar: 7g | Vitamin A: 109IU | Calcium: 13mg | Iron: 1mg
Nutritional information given is an automatic calculation and can vary based on the exact products you use and any changes you make to the recipe. If these numbers are very important to you, I would recommend calculating them yourself.
Did you make this? Leave a rating below!
How to Store Mummy Oreo Balls for Lasting Freshness
While the chocolate coating on your Mummy Oreo Balls will remain firm at room temperature, the cream cheese in the center requires refrigeration to maintain its freshness and optimal texture. These delightful treats will keep beautifully in an airtight container in the refrigerator for up to 5 days. For best results and to prevent them from sticking together, especially if you need to stack multiple layers, place a sheet of parchment paper between each layer of Oreo balls. This simple step ensures they retain their perfect mummy shape and don’t lose any of their spooky charm.
If you’ve made a large batch and want to enjoy them beyond the five-day window, these Oreo balls can also be frozen! Place the fully set truffles in a single layer on a baking sheet and freeze until solid. Once frozen, transfer them to a freezer-safe airtight container or bag. They will keep in the freezer for up to 1-2 months. When you’re ready to enjoy them, simply thaw them in the refrigerator for a few hours before serving.