
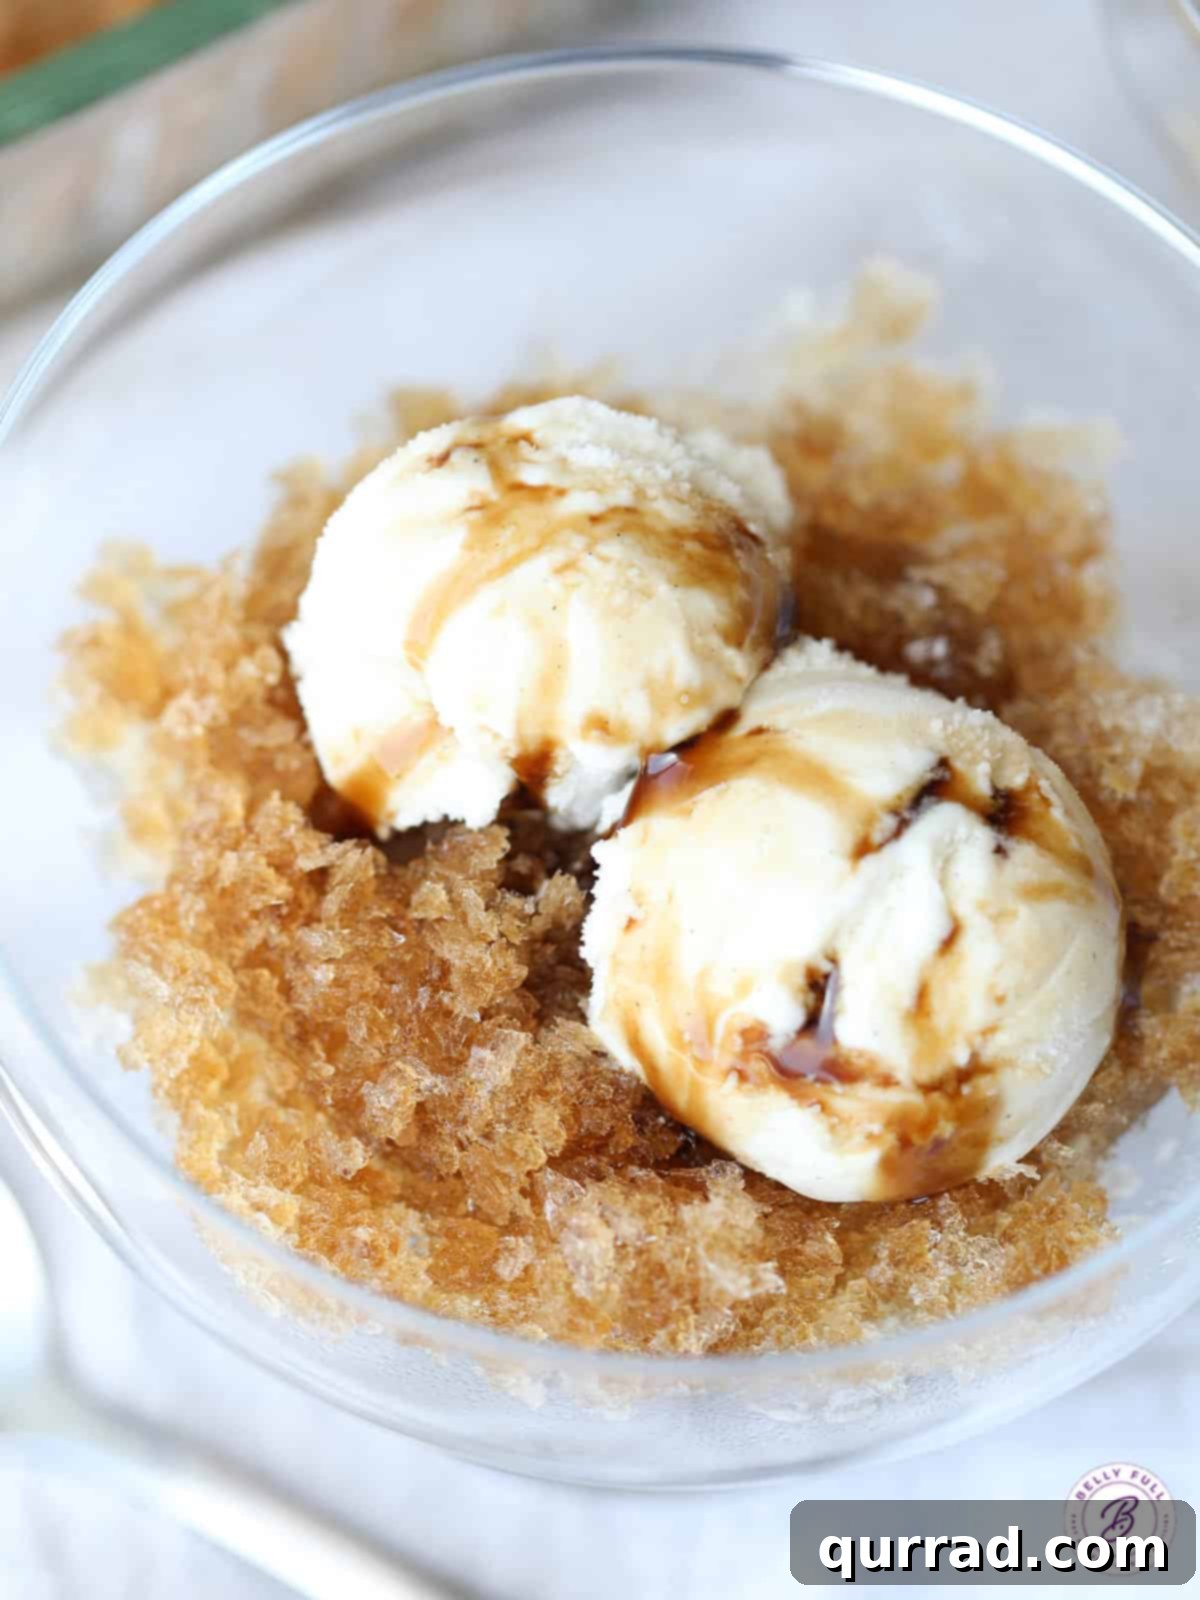
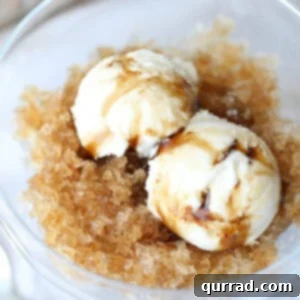
Transforming the beloved classic, the root beer float, into an exquisite frozen delicacy, we present the Root Beer Float Granita. This refreshing twist features a finely crystallized root beer granita base, elegantly crowned with a generous scoop of creamy vanilla ice cream, and finished with a delicate drizzle of homemade root beer syrup. It remains a wonderfully easy yet incredibly satisfying treat, perfect for cooling down on any warm day.
If you’re a fan of root beer float-inspired delights, don’t miss our Root Beer Float Popsicles and delightful Root Beer Float Cupcakes for more nostalgic indulgence!
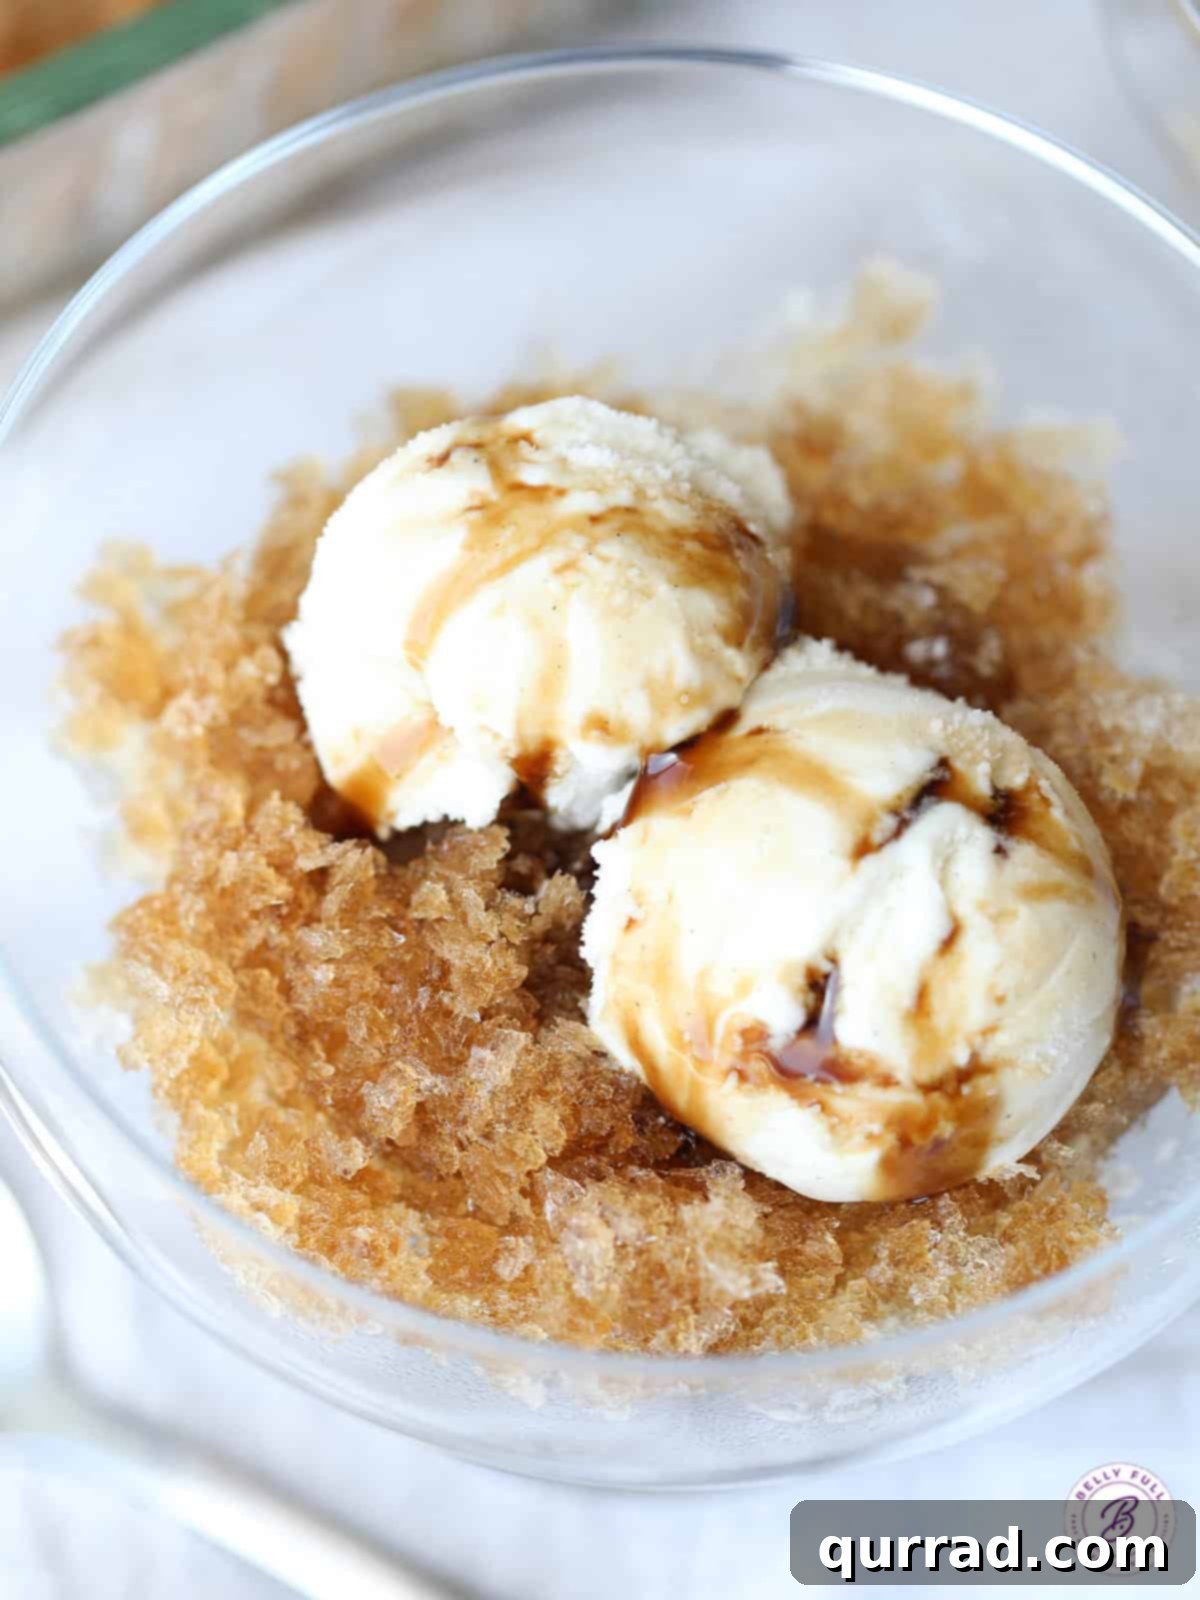
Indulge in the Ultimate Summertime Treat: Root Beer Float Granita
Summer calls for light, refreshing, and utterly delicious desserts, and this Root Beer Float Granita perfectly answers that call. We all love to beat the heat with frozen treats, from juicy watermelon slices to icy popsicles. There’s something inherently delightful about a chilled, sweet escape. This granita takes the familiar comfort of a root beer float and reimagines it as a sophisticated yet incredibly simple frozen dessert that’s both kid-friendly and elegant enough for a casual dinner party or barbecue. It’s truly a wonderful way to conclude any meal on a hot, sweltering summer afternoon, offering a unique texture and an explosion of nostalgic flavor.
What is Granita? A Journey into Italian Frozen Desserts
Granita is a semi-frozen dessert made from sugar, water, and various flavorings, hailing from Sicily, Italy. Unlike ice cream or sorbet, which are churned to incorporate air and create a smooth texture, granita is left to freeze more slowly, requiring occasional scraping with a fork to produce distinct, coarse crystals. This unique process results in a texture that is more crystallized than Italian ice and sorbet, yet finer than a snow cone, offering a delightful crunch with every spoonful.
The History and Art of Granita
The origins of granita can be traced back to the Arab domination of Sicily. Arabs introduced sherbet (sharbat) to the island, a drink made with ice and fruit juices. Sicilian granita, traditionally made with snow collected from Mount Etna, was initially simpler, often flavored with lemon, coffee, or almonds. Over centuries, it evolved into the vibrant, diverse dessert we know today, with regional variations and countless flavor combinations. The beauty of granita lies in its simplicity and versatility, allowing for a wide range of ingredients to be transformed into a refreshing treat.
Granita vs. Sorbet vs. Italian Ice
While often grouped, granita, sorbet, and Italian ice each boast distinct characteristics. Sorbet is typically smoother and denser, churned constantly to achieve a fine, uniform icy texture without dairy. Italian ice, common in North America, is also smooth but often includes emulsifiers or stabilizers for a slightly creamier mouthfeel. Granita, on the other hand, stands out with its signature icy, crystalline texture. This difference is purely in the preparation method: granita relies on minimal agitation, encouraging larger ice crystals to form, providing a delightful and unique textural experience that sets it apart from its smoother counterparts.
Why Choose Root Beer for Your Granita?
While granitas are most commonly flavored with fruits like lemon, strawberry, or almond, and even coffee or wine, soda proves to be an exceptionally fantastic base. Root beer, in particular, is a stellar choice for granita for several compelling reasons. First, its distinctive, sweet, and slightly spicy flavor profile translates beautifully into a frozen dessert, evoking immediate nostalgia for the classic root beer float. Second, and perhaps most ingeniously, root beer comes with its simple syrup built right in! This means you don’t need to prepare a separate sugar syrup, simplifying the granita-making process significantly. The unique combination of flavors, coupled with its inherent sweetness, makes root beer an ideal candidate for this crystalline treat, requiring minimal effort for maximum enjoyment.
Essential Ingredients for Your Root Beer Float Granita
The beauty of this Root Beer Float Granita recipe lies in its incredible simplicity, requiring just two core ingredients for the granita itself, plus one for the essential “float” experience. You’ll be amazed at the deliciousness that comes from such a minimal list.
- Root Beer Soda: Choose your favorite brand! The quality of your root beer will directly impact the flavor of your granita, so opt for one you genuinely enjoy drinking.
- Vanilla Ice Cream: A good quality, rich vanilla ice cream is crucial to recreate the classic root beer float experience. Its creamy texture and sweet vanilla notes perfectly complement the icy granita.
(For precise measurements and detailed ingredient information, please refer to the printable recipe card below.)
How to Craft Your Perfect Root Beer Float Granita: A Step-by-Step Guide
Making this root beer granita is an exceptionally straightforward process, broken down into just a few easy steps. The key is patience and a little bit of scraping, but the results are truly worth it for this delightful frozen dessert.
- Prepare Your Freezing Pan: Pour 4 cups of your chosen root beer into a flat-bottomed, shallow 9×13-inch baking pan. The shallow depth is important as it allows the liquid to freeze more quickly and evenly. While a metal pan tends to accelerate the freezing process, a glass pan works perfectly fine too. Use whatever you have available. Place the pan in your freezer for approximately 45 minutes, or until you notice the edges and top surface of the root beer beginning to harden. This initial freeze is crucial for starting the crystal formation.
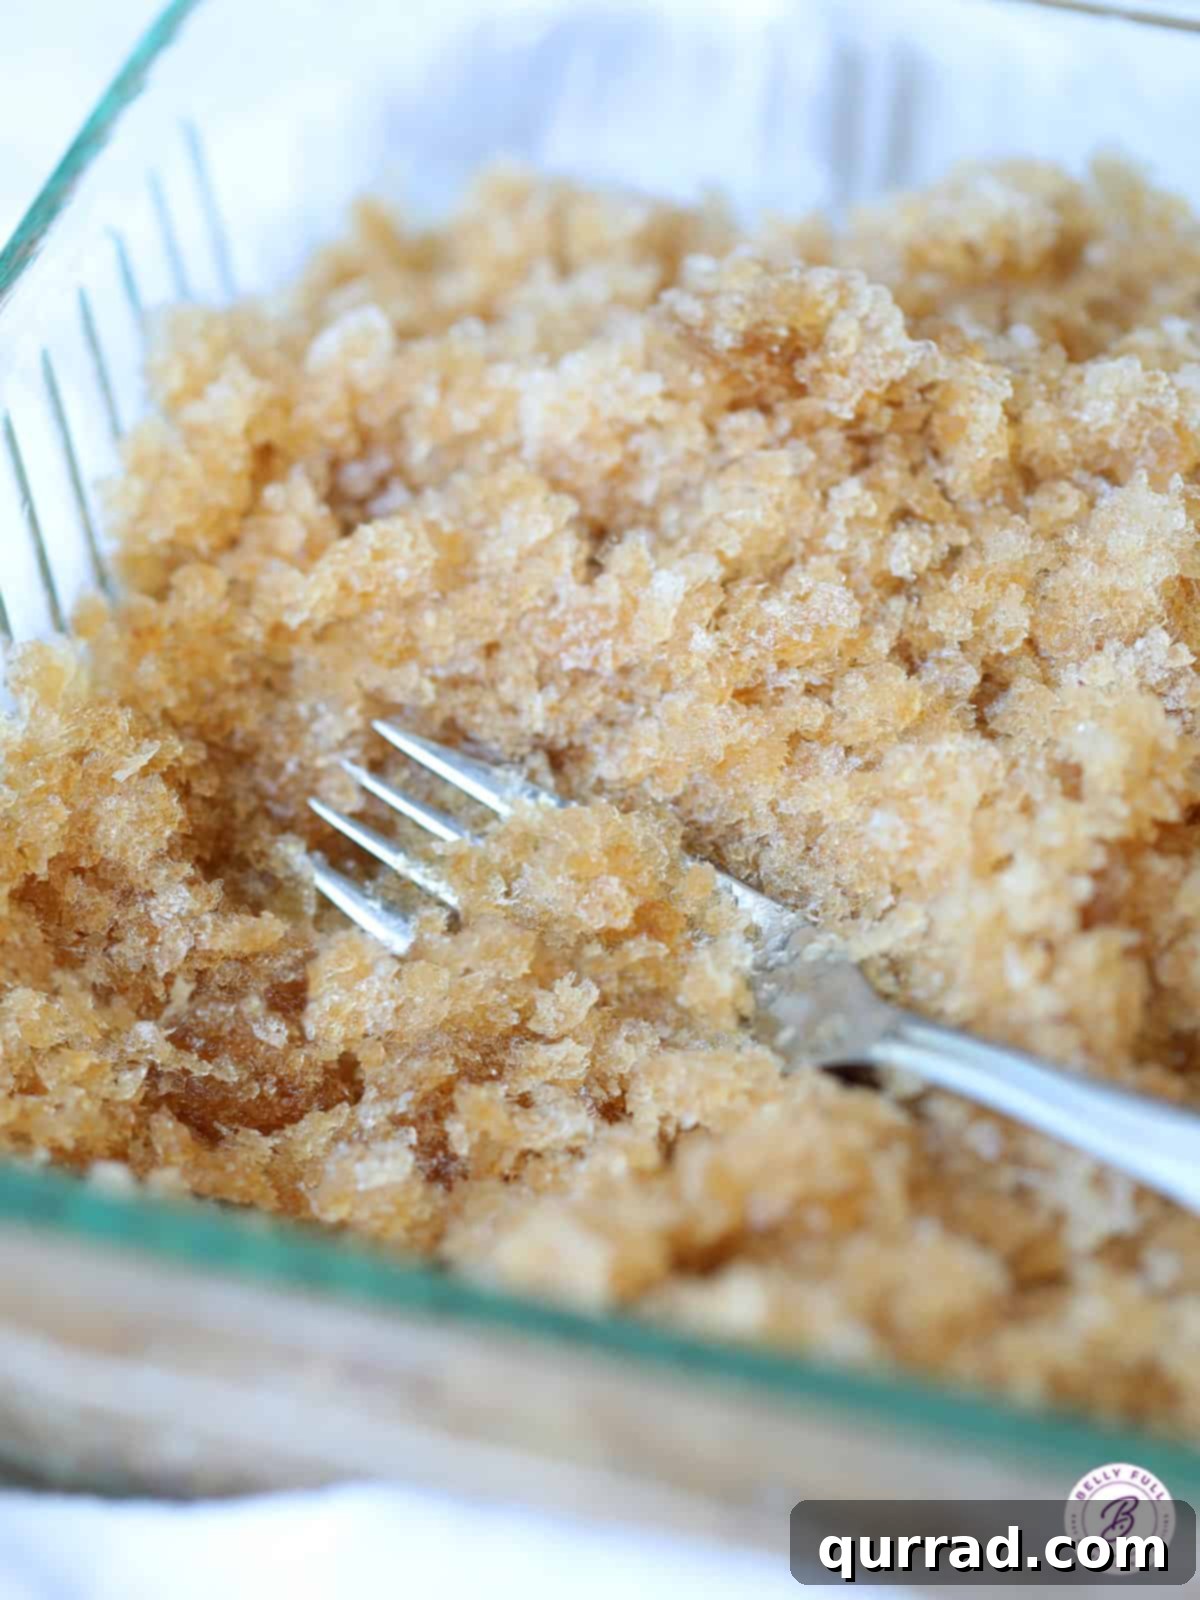
- Initiate the Granita Scrape: Once the root beer has partially frozen (after about 45 minutes), take the pan out of the freezer. Using a sturdy fork, begin scraping the partially frozen soda, making sure to include the sides of the pan where ice crystals tend to form first. Break up any large, solid pieces, working your way across the entire surface. This scraping action is what creates the characteristic icy, flaky texture of granita.
- Repeat for Desired Texture: Return the pan to the freezer. You will need to repeat the scraping process every 30-45 minutes over the course of approximately 3 hours. The more you scrape, the finer and more consistent your granita will become. If you prefer a coarser, chunkier granita, you might scrape less frequently or for a shorter overall duration. Conversely, for a finer, almost snow-like texture, continue raking until you achieve your desired consistency. Consistency is key here to avoid a solid block of ice.
- Final Freeze Before Serving: After your granita has reached its ideal texture from repeated scraping, return the pan to the freezer for one final hour. This allows the crystals to firm up completely. Just before serving, give the granita a brief run-through with the fork one last time to loosen any consolidated crystals, ensuring it’s light and fluffy.
- Crafting the Root Beer Syrup: This step is where the “float” element truly shines. In a separate saucepan, bring the remaining 4 cups of root beer to a boil over high heat. Once boiling, immediately reduce the heat to a very low, gentle simmer. Allow the root beer to reduce by half, which should take approximately 30 minutes, until it achieves a noticeably syrupy consistency. The key here is “low and slow”; if you boil it too vigorously or too quickly, the sugar in the root beer can caramelize excessively, resulting in a hard, rock-candy-like texture when cooled. Once reduced, carefully transfer the warm syrup to a spouted measuring cup or a heat-proof pitcher for easy pouring. It is absolutely crucial to let this syrup cool completely before drizzling it over your granita; if it’s still warm, it will instantly melt your beautifully frozen treat.
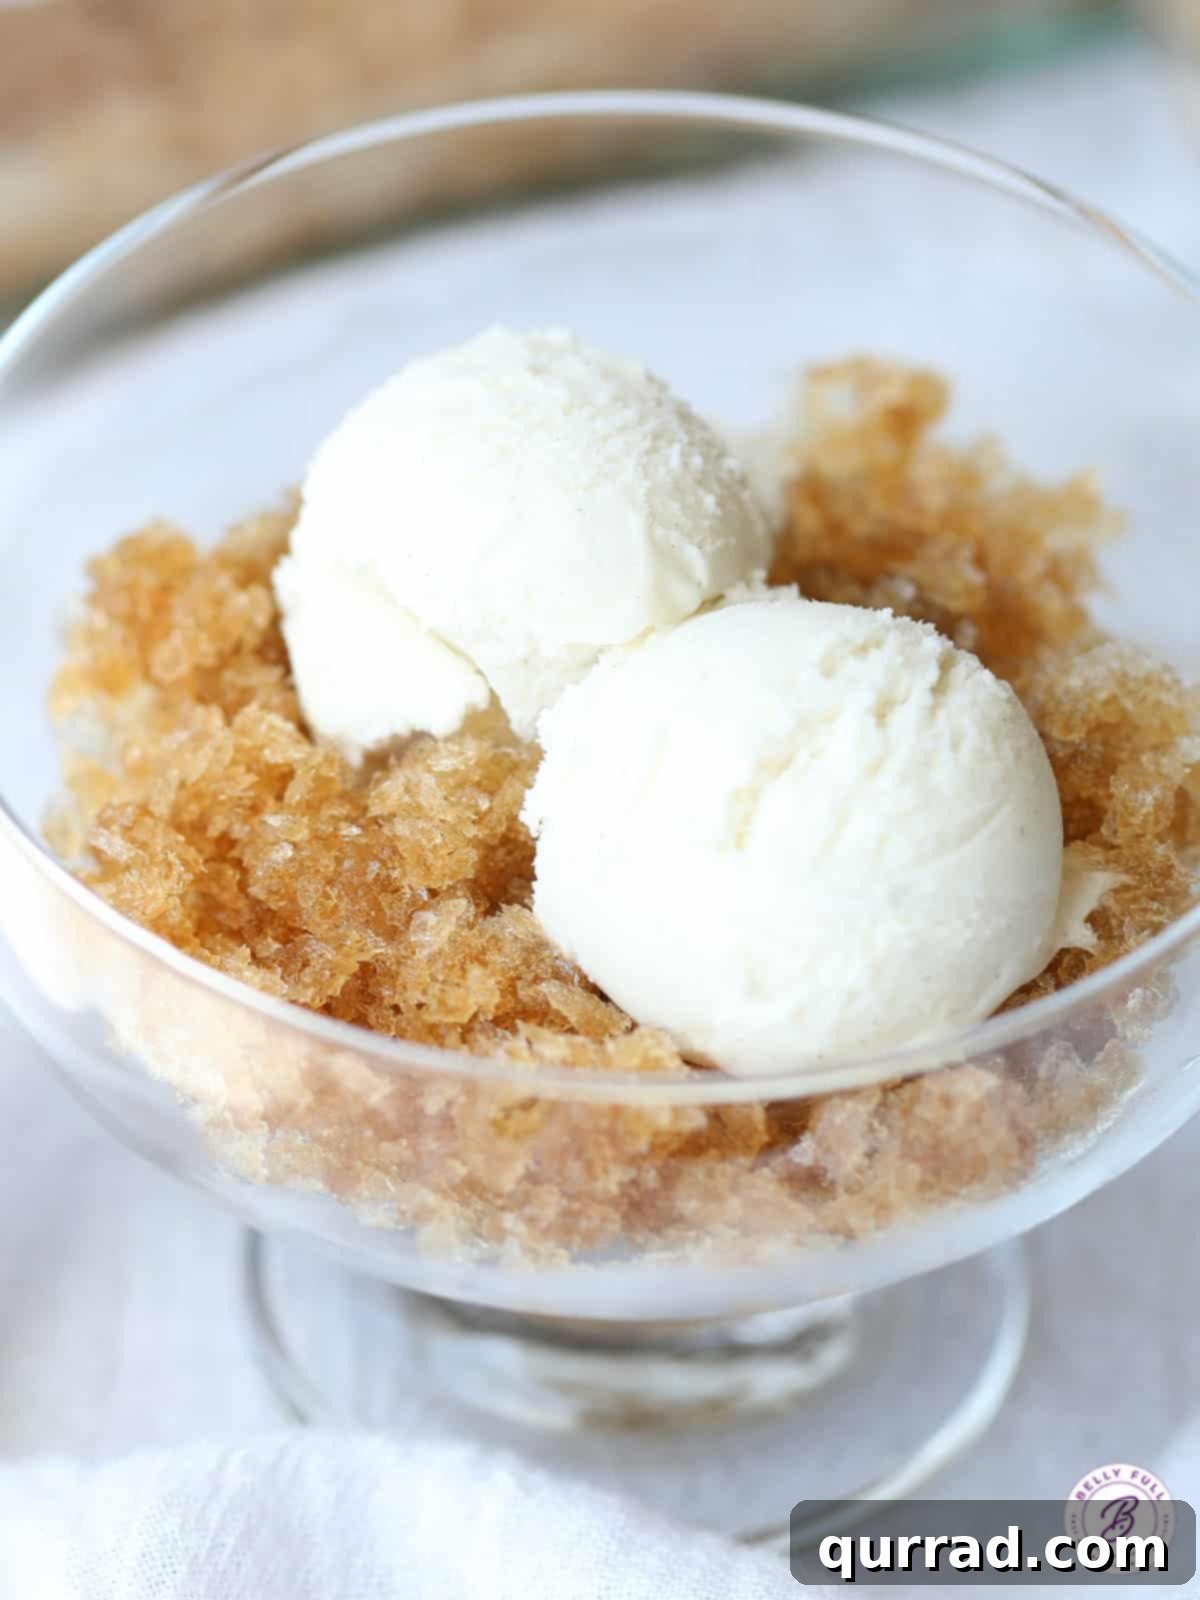
- Assemble and Serve: Spoon about 3/4 cup of the root beer granita into each of six clear tumbler glasses or elegant dessert cups. Top each serving with a generous scoop of creamy vanilla ice cream. Finally, drizzle each dessert with approximately 4 teaspoons of your cooled, homemade root beer syrup.
- Enjoy Immediately: Serve your Root Beer Float Granita right away and savor this refreshing and delightfully nostalgic dessert!
Tips for Granita Perfection
Achieving the perfect Root Beer Float Granita is simple with a few helpful pointers:
- Pan Choice Matters: A shallow pan (like a 9×13 baking dish) is ideal because it exposes more surface area to the cold, allowing for faster and more even freezing. While metal pans conduct cold best, glass or ceramic will also work, just plan for a slightly longer initial freeze time.
- Consistency is Key for Scraping: Don’t skip the scraping! This is what gives granita its signature flaky, crystalline texture. If you let it freeze solid without scraping, you’ll end up with a block of ice rather than delicate crystals. The more consistently you scrape, the finer the texture will be.
- Mastering the Syrup: The root beer syrup requires careful attention. Bringing it to a boil quickly, then reducing the heat to a gentle simmer is crucial. Too high heat or boiling for too long can evaporate too much water and crystallize the sugar into hard candy. Watch it closely and remove from heat once it has visibly reduced by half and thickened.
- Cool the Syrup Completely: This cannot be stressed enough. Warm syrup will immediately melt your granita and ice cream. Ensure it is completely chilled before drizzling. You can even make the syrup a day ahead and store it in the refrigerator.
- Syrup Portion Control: A little of the root beer syrup goes a long way. The suggested 4 teaspoons per serving is often perfect to enhance the flavor without overpowering the granita or making it overly sweet. Feel free to adjust to your personal preference, but start small!
- Storage: Leftover granita can be stored in an airtight container in the freezer for up to a week. If it becomes too solid, simply scrape it again with a fork before serving to restore its fluffy texture.
Creative Variations & Serving Inspirations
While the classic Root Beer Float Granita is undeniably delicious, feel free to experiment and customize this recipe to your heart’s content!
- Other Soda Flavors: Don’t limit yourself to root beer! Try this concept with other beloved sodas like classic cola, vibrant orange soda, zesty lemon-lime soda, or even a refreshing cream soda for a different twist on the float experience.
- Extract Enhancements: For an extra layer of flavor, consider adding a few drops of vanilla extract, a hint of almond extract, or even a tiny splash of peppermint extract (for a holiday version!) to your root beer before freezing.
- Adult Indulgence: For grown-up gatherings, a splash of dark rum or whiskey (added to the liquid root beer *before* freezing or to the syrup after it cools) can elevate this treat into a sophisticated cocktail dessert.
- Topping Galore: Beyond vanilla ice cream and root beer syrup, consider other toppings. A dollop of whipped cream and a maraschino cherry will truly complete the float aesthetic. You could also add a sprinkle of chocolate shavings, a drizzle of caramel sauce, or a dusting of cinnamon for extra flair.
- Fruit Pairings: While not traditional for a root beer float, a few fresh berries or sliced peaches could offer a delightful contrast to the rich root beer flavor, especially if you opt for a lighter granita base.
- Mini Servings: For a party, serve mini granitas in small shot glasses or espresso cups for a bite-sized, elegant dessert option.
More Refreshing No-Bake Desserts You’ll Love:
If you’re a fan of easy, no-bake treats that require minimal fuss and maximum flavor, be sure to explore these other fantastic recipes:
- Frozen Chocolate Banana Pops
- Banana Split Lush
- Cheesecake Stuffed Strawberries
- Ice Cream Sandwich Cake
- Dole Whip
We truly hope you enjoy this delightful and easy Root Beer Float Granita recipe. It’s designed to bring joy and refreshment to your summer days. Be sure to give it a review below to let us know what you think! And for more delicious recipes and culinary inspiration, don’t forget to follow Belly Full on your favorite social media platforms: TikTok, Facebook, Instagram, Pinterest, and YouTube!
Root Beer Float Granita
5 mins
3 hrs
3 hrs 5 mins
6
Pin
Ingredients
- 8 cups root beer soda, divided
- 1 pint vanilla ice cream
Instructions
-
Pour 4 cups root beer into a 13x9x2-inch baking pan; freeze the soda for about 45 minutes, until it just starts to harden on the top and sides of the pan.
-
Scrape the partially frozen soda with the tines of a fork (including the sides), breaking up any large pieces. Repeat this process every 30-45 minutes over the course of 3 hours.
-
Return the granita pan to the freezer for 1 more hour, then briefly run the fork through it again before serving.
-
In the meantime, bring the remaining 4 cups of root beer to a boil over high, then take it down to a very low gentle simmer until it’s reduced by half and syrupy, about 30 minutes. Transfer it to a spouted measuring cup (for easy pouring) and let it cool completely.
-
Spoon 3/4 cup root beer granita into each of 6 clear tumbler glasses or dessert cups. Top granita with a scoop of vanilla ice cream. Drizzle each with 4 teaspoons root beer syrup.
-
Serve and enjoy!
Notes
Root Beer Syrup. When making the root beer syrup, make sure you don’t boil it too fast or too long, or you will end up with rock candy! Also, make sure it cools completely before drizzling or it will melt your granita. I recommend following the serving suggestions for the syrup, as well. A little goes a long way; if you use more than 4 teaspoons per serving, it can overpower the granita.
Nutrition
Calories:
292kcal
|
Carbohydrates:
52g
|
Protein:
3g
|
Fat:
9g
|
Saturated Fat:
5g
|
Cholesterol:
35mg
|
Sodium:
104mg
|
Potassium:
157mg
|
Fiber:
1g
|
Sugar:
50g
|
Vitamin A:
330IU
|
Vitamin C:
0.5mg
|
Calcium:
117mg
|
Iron:
0.2mg
Nutritional information given is an automatic calculation and can vary based on the exact products you use and any changes you make to the recipe. If these numbers are very important to you, I would recommend calculating them yourself.