
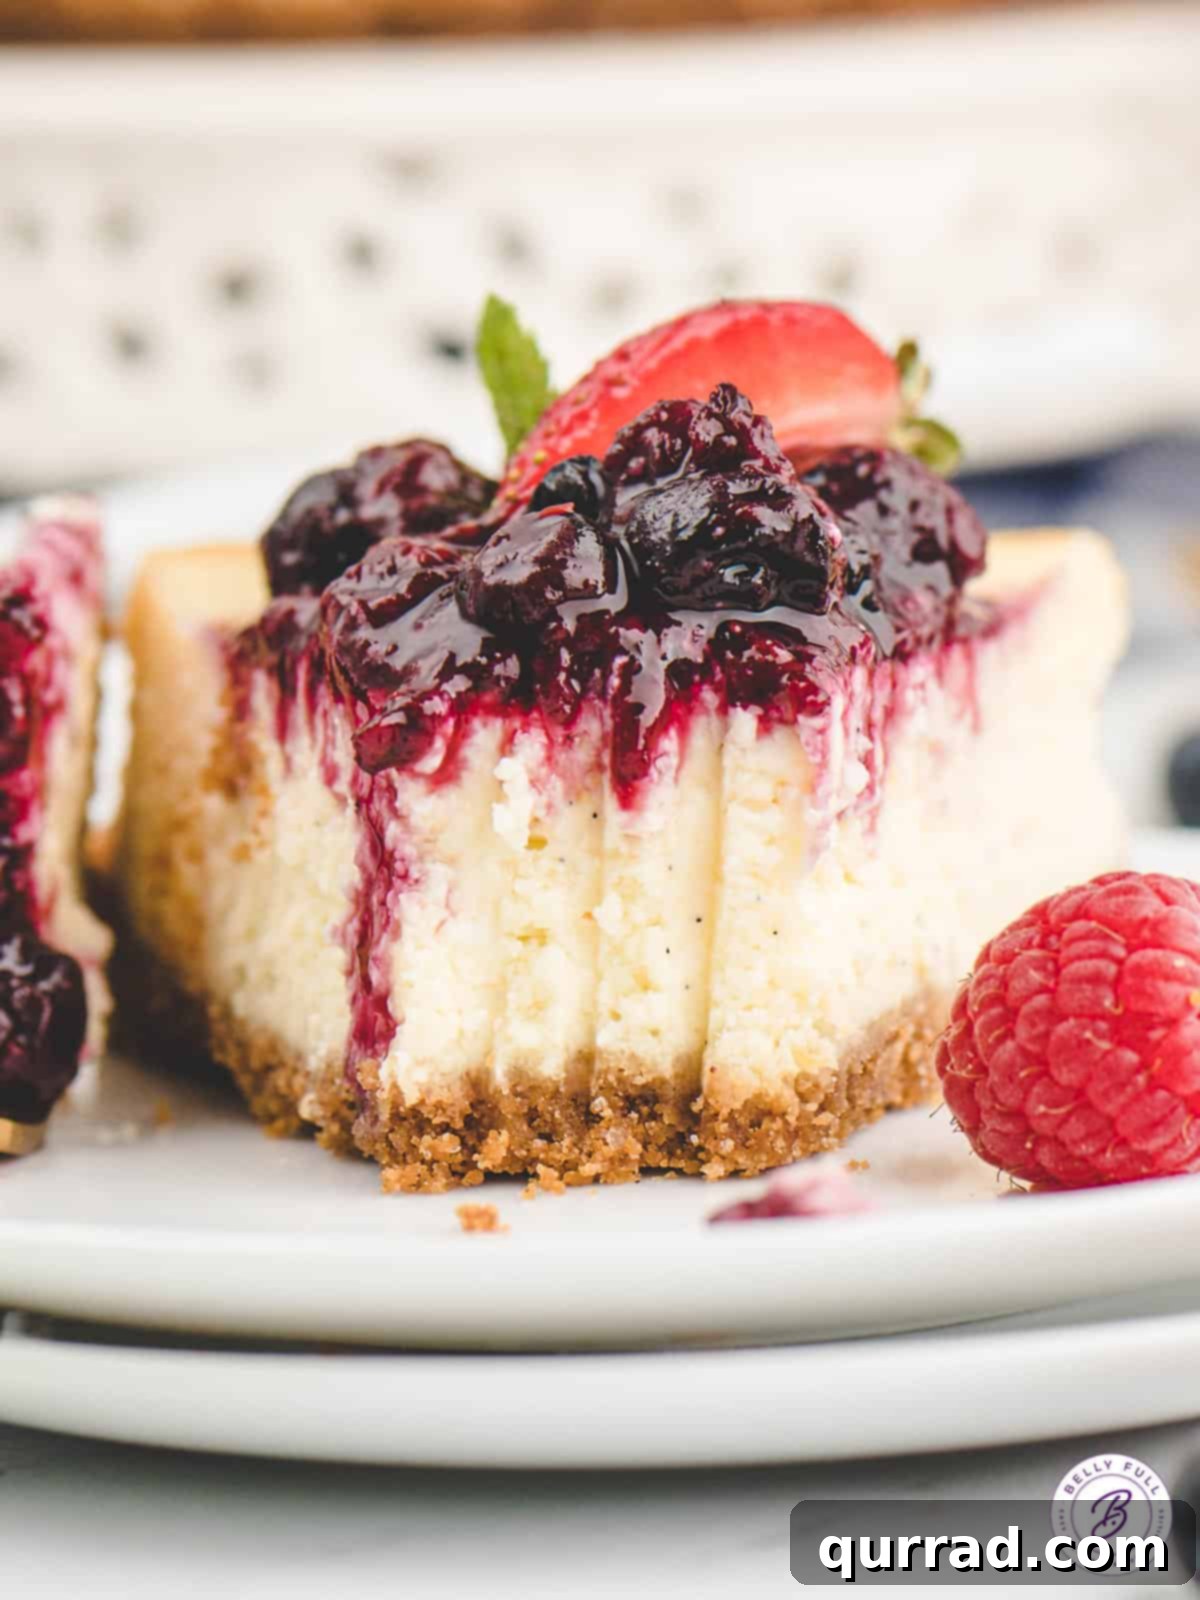
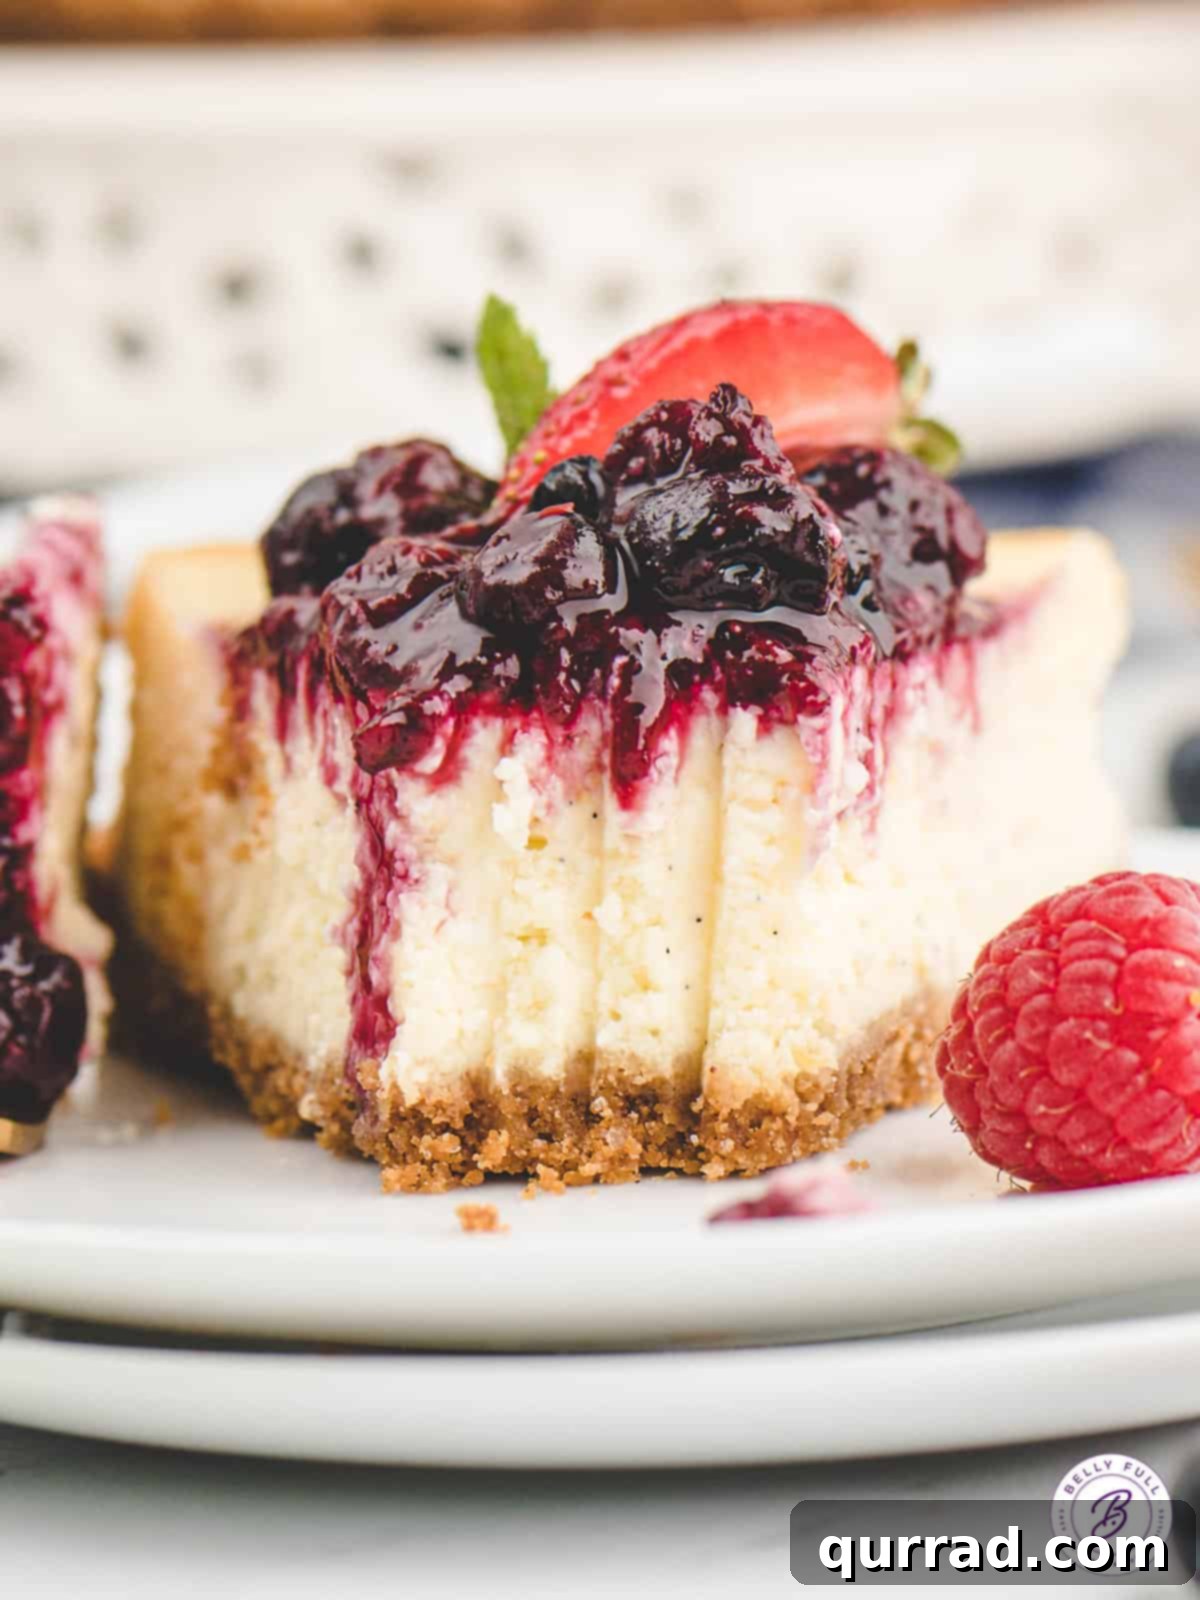
Discover the secret to making a truly flawless cheesecake with our **Instant Pot Cheesecake** recipe. This incredible method ensures your cheesecake cooks up perfectly smooth and creamy every single time, without a single crack in sight! Forget the stress and fuss of traditional baking – this decadent vanilla bean cheesecake is hands down the easiest you’ll ever create. Enjoy it plain to savor its rich, velvety texture, or elevate it with a vibrant, tangy, and sweet mixed berry compote for an utterly impressive dessert that will delight your family and friends.
Expand your Instant Pot repertoire with more fantastic recipes like our mouth-watering Instant Pot Baby Back Ribs and flavorful Instant Pot Mexican Rice!
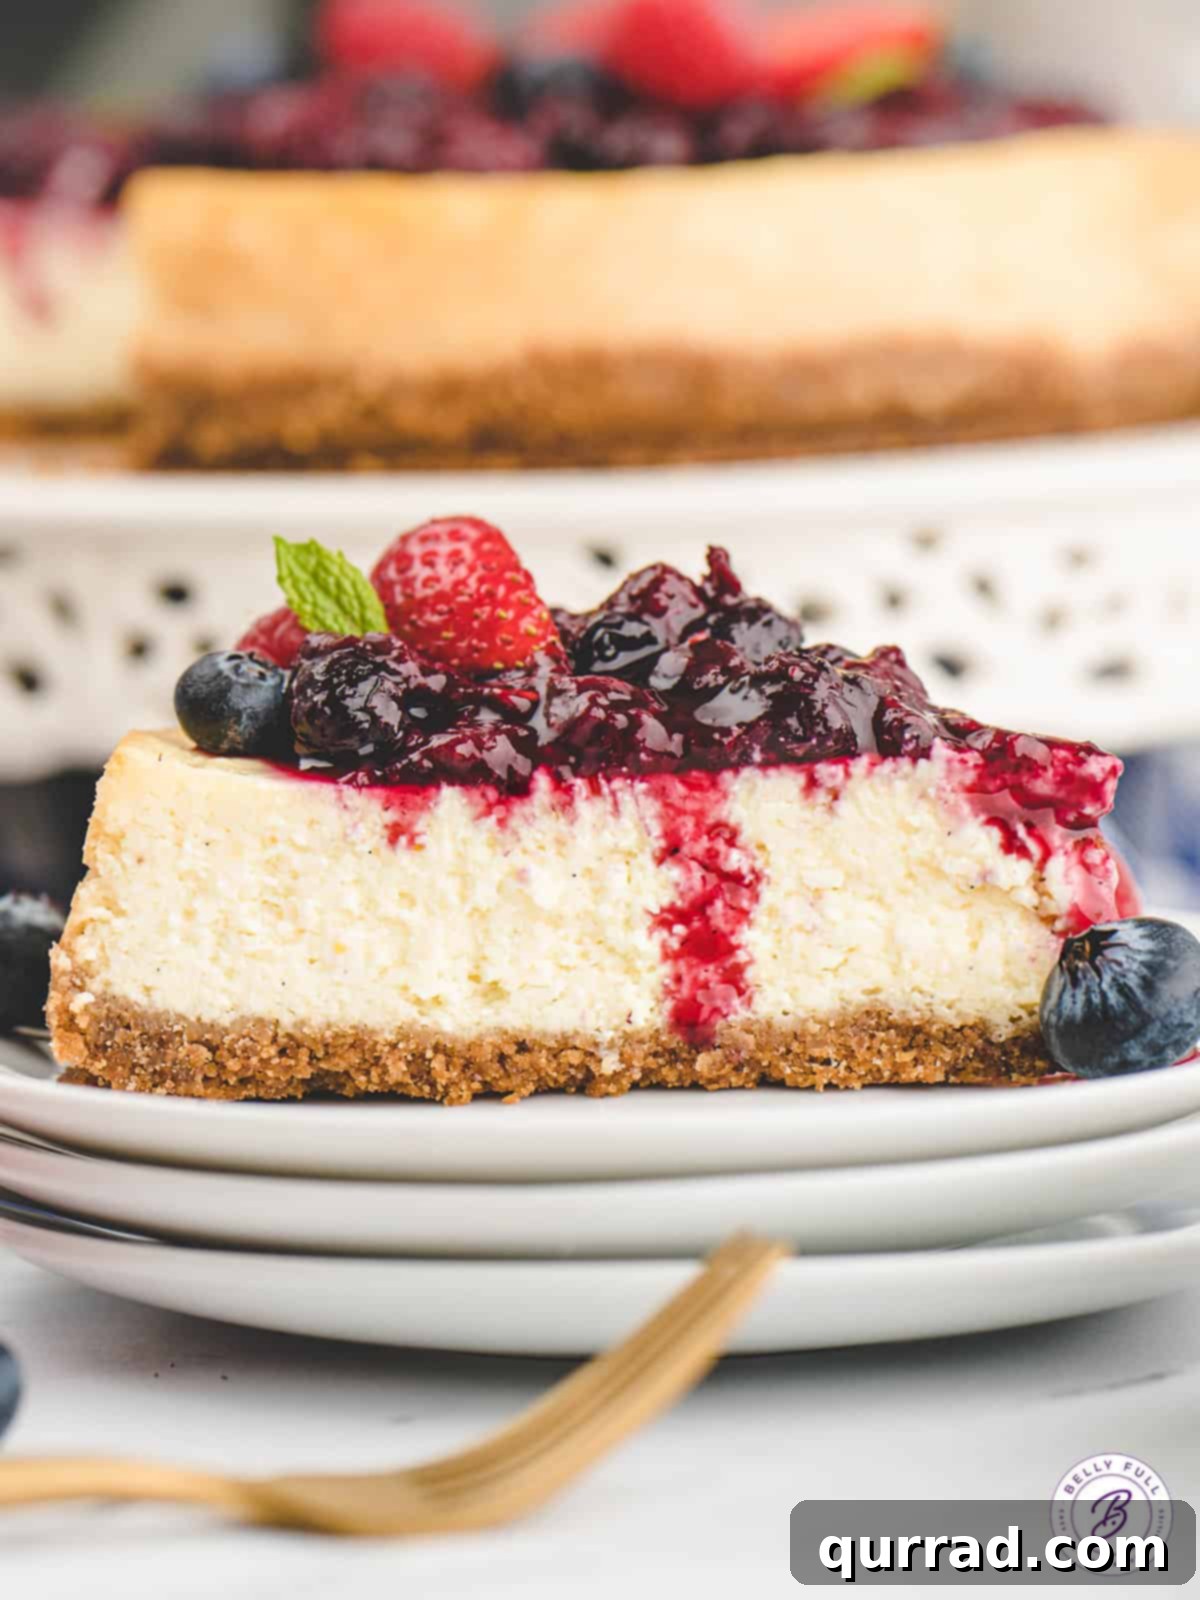
Effortlessly Delicious: The Ultimate Easy Cheesecake Recipe
If you’ve been on the hunt for a cheesecake recipe that combines ease with exceptional flavor, your search ends here. This **Instant Pot vanilla bean cheesecake** stands out as a true game-changer. Unlike many other “easy” cheesecake recipes that often refer to no-bake versions, this one delivers the classic, rich, and creamy texture of a traditional oven-baked cheesecake, complete with eggs in the filling for that authentic structure and taste. However, it completely bypasses the common complexities – there’s no need for a fiddly water bath or the extra step of pre-baking the crust. It’s a beautifully streamlined process that yields consistently perfect results.
The delightful vanilla bean flavor infuses every bite, making it a sophisticated yet simple dessert. While it’s utterly delicious on its own, I particularly love serving this cheesecake adorned with a homemade berry compote. I’ve included instructions for this vibrant topping, but don’t hesitate to get creative! This cheesecake is incredibly versatile and pairs wonderfully with a wide array of flavors, allowing you to customize it to your personal preferences or seasonal ingredients.
Why The Instant Pot Is Your Secret Weapon for Perfect Cheesecake
When you think of using your Instant Pot, cheesecake might not be the first dish that comes to mind. However, prepare to be amazed, because making cheesecake in a pressure cooker is quickly becoming one of my all-time favorite methods. The results are consistently superior: a super creamy texture, perfectly cooked from edge to center, and most notably, absolutely no cracks. This foolproof technique ensures a show-stopping dessert every single time.
The magic of the Instant Pot lies in its ability to create a uniquely ideal cooking environment. Pressure cooking naturally maintains an extremely moist atmosphere inside the pot, which is crucial for cheesecake success. Lack of moisture during cooking is a primary culprit for cracks in traditional oven-baked cheesecakes. Furthermore, the Instant Pot provides remarkably even and consistent heat distribution, allowing the cheesecake to cook gently and uniformly. This controlled environment also prevents rapid temperature changes – another common cause of cracking when opening an oven door or cooling too quickly. By eliminating the need for a water bath, which can be messy and intimidating, and removing the requirement to pre-bake the crust, the Instant Pot simplifies the entire cheesecake-making process, making it far easier and more reliable than conventional methods.
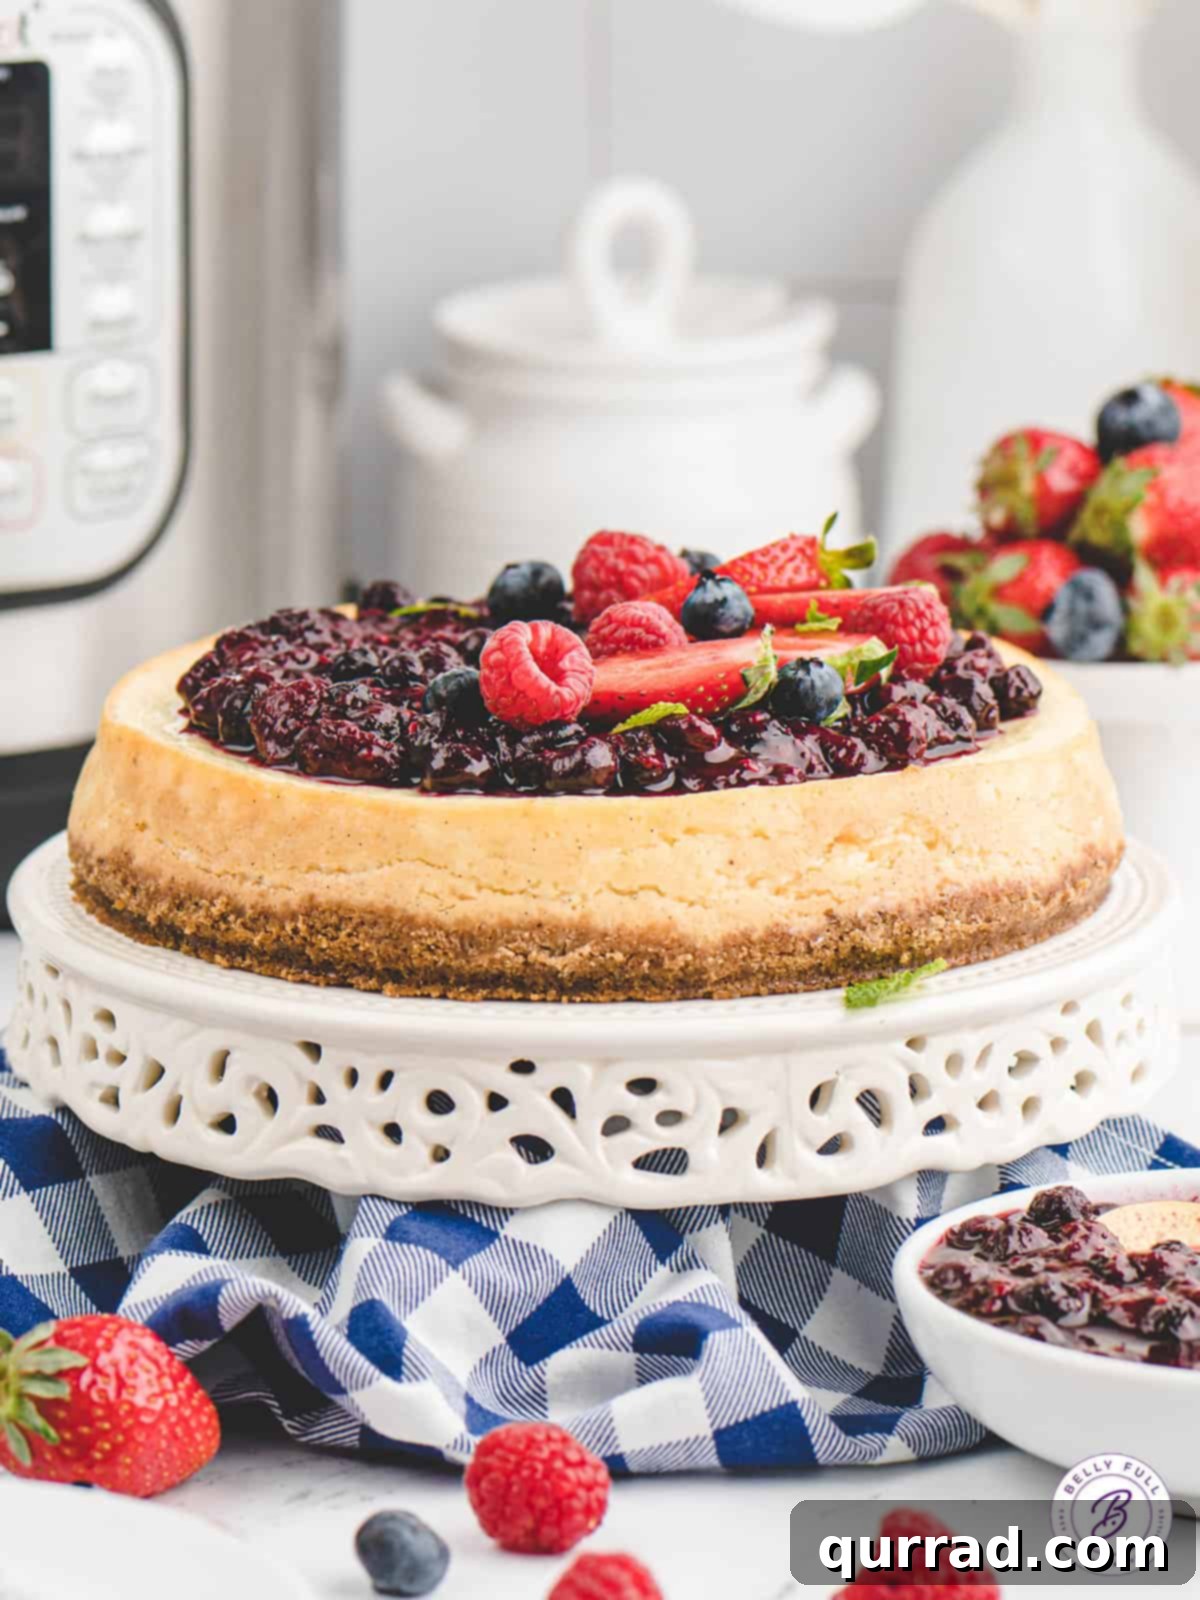
Essential Ingredients for Your Decadent Cheesecake
Crafting this flawless Instant Pot cheesecake requires a selection of fresh, high-quality ingredients, largely mirroring what you’d typically use for any classic cheesecake. The specific quantities and detailed instructions are provided in the printable recipe card below, but here’s a breakdown of what you’ll need and why each component is vital:
For the Perfectly Structured Crust
- Graham cracker crumbs – These form the essential base of your cheesecake. You have the option to purchase pre-crushed crumbs for convenience or, for a fresher taste, manually crush whole graham crackers yourself using a food processor or by placing them in a bag and crushing them with a rolling pin.
- Sugar & cinnamon – A touch of granulated sugar adds a subtle sweetness to the crust, complementing the rich filling. Cinnamon introduces a delightful warmth and aromatic spice, enhancing the overall flavor profile of your dessert.
- Salted butter – Melted salted butter is key. It acts as the binding agent, holding the graham cracker crumbs, sugar, and cinnamon together to form a firm, cohesive crust that won’t crumble when sliced. The salt also subtly balances the sweetness.
For the Velvety Smooth Filling
- Cream cheese – The cornerstone of any great cheesecake. It’s crucial to use full-fat cream cheese sold in brick form, not the spreadable kind that comes in a tub, as the latter has a different consistency and higher water content. Ensure your cream cheese is completely softened to room temperature before mixing; this is vital for achieving a smooth, lump-free batter.
- Sugar – Granulated sugar sweetens the rich cream cheese base, balancing the tanginess and creating that signature cheesecake flavor.
- Vanilla bean – For an unparalleled depth of flavor, a vanilla bean is highly recommended. The tiny seeds scraped from inside the bean impart an exquisite, complex vanilla aroma and taste that far surpasses extract. While vanilla beans can be an investment, their impact is undeniable. If budget or availability is a concern, high-quality vanilla extract can be used as a substitute (see notes below for conversion).
- Eggs – Large eggs are essential for the structure and stability of the cheesecake filling. They help the batter set properly during cooking, contributing to its creamy texture and ensuring it holds its shape beautifully once cooled.
- Lemon – Both lemon zest and optional fresh lemon juice add a bright, fresh counterpoint to the richness of the cheesecake. The zest provides aromatic oils, while the juice offers a subtle tang that enhances the overall flavor without making it taste overtly lemony. If you don’t have fresh lemons on hand, don’t worry – your cheesecake will still be wonderfully delicious without them.
- Water – One cup of water is added to the Instant Pot insert, not the cheesecake batter itself. This water is critical for creating the steam necessary for the pressure cooking process, which in turn generates the moist environment that prevents cracking and ensures even cooking.
Expert Recipe Notes for Cheesecake Perfection
Achieving the perfect Instant Pot Cheesecake is easier with a few key insights. Here are some essential tips and detailed explanations to help you every step of the way:
- Crafting the Ideal Berry Compote. Our suggested berry compote recipe is specifically designed to be tangy, sweet, and bursting with fresh flavor. It’s developed using a blend of frozen strawberries, raspberries, and blueberries, combined with sugar and lemon zest. The beauty is in its flexibility: any type of frozen berries, or a mix of your favorites, will work wonderfully. Fresh berries can also be used, though cooking times might slightly vary. If you desire a thicker compote, a simple trick is to whisk 1 tablespoon of cornstarch with 2 tablespoons of cold water to create a slurry. Add this mixture to your boiling berry compote and continue to boil for just one minute, stirring constantly, until it reaches your desired consistency.
- Mastering the Vanilla Bean. Using a real vanilla bean truly elevates this cheesecake. What you’re after are the tiny, intensely fragrant seeds nestled inside the pod. To extract them, carefully slice the vanilla bean lengthwise with a sharp paring knife. You can either make a slit down the middle or cut the bean completely in half. Then, use the tip of your knife to gently scrape all the sticky, aromatic seeds out. Don’t discard the emptied vanilla pod! It’s too valuable. You can repurpose it to make exquisite vanilla sugar by burying it in a cup of granulated sugar for a few days – the sugar will absorb its rich aroma. Alternatively, save your pods in a jar of alcohol to make your very own homemade vanilla extract, a process that takes several months but yields superior results. If opting for vanilla extract as a substitute, use 3 tablespoons of good quality pure vanilla extract for a comparable flavor profile.
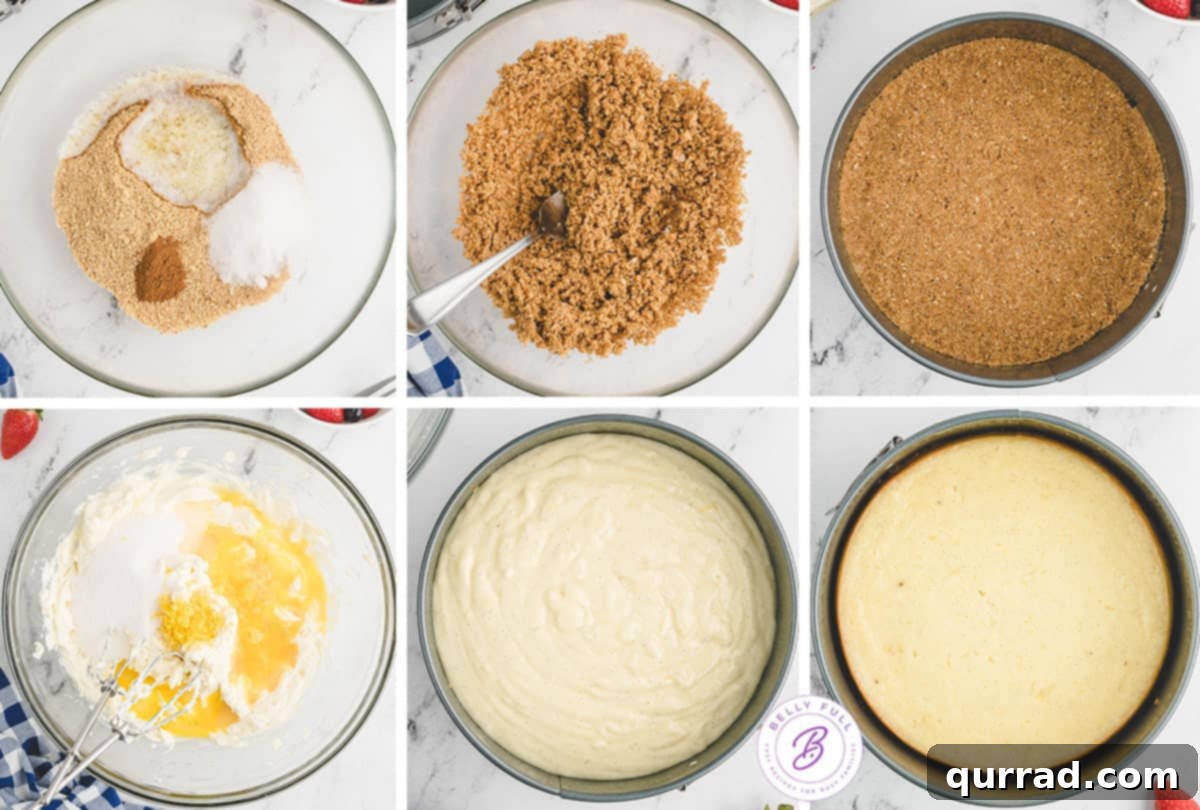
Step-by-Step Guide: How to Make Instant Pot Cheesecake
Making a show-stopping cheesecake in your Instant Pot is surprisingly straightforward, requiring just a few simple steps that are significantly easier than most other cheesecake preparation methods. Follow these detailed instructions for a perfect, crack-free dessert every time:
- Prepare the Crust. Begin by lightly spraying the sides and bottom of a 7.5-inch springform pan with a non-stick cooking spray to ensure easy release. In a small bowl, combine your graham cracker crumbs, sugar, and cinnamon. Stir these crust ingredients thoroughly with a fork until they are evenly moistened and well combined with the melted butter. Press this mixture very firmly and evenly into the bottom of the prepared springform pan. The tighter you press, the more stable your crust will be. Place the pan in the freezer to chill while you prepare the filling; this helps to set the butter and prevent the crust from becoming soggy during cooking. Pour 1 cup of water into the inner pot of your Instant Pot – this is essential for generating the steam needed for pressure cooking.
- Craft the Creamy Filling. In a large mixing bowl, using an electric mixer set to medium speed, beat the softened cream cheese until it is perfectly smooth and completely free of any lumps. This step is crucial for a velvety cheesecake texture. Next, add the granulated sugar, the scraped vanilla bean seeds (or vanilla extract if using), lemon zest, and eggs. Mix on medium speed until all ingredients are just combined. Avoid over-mixing the batter, as incorporating too much air can lead to cracks in the finished cheesecake. If using, briefly mix in the fresh lemon juice at this stage.
- Pressure Cook to Perfection. Gently pour the prepared cheesecake batter on top of the chilled graham cracker crust in the springform pan. Cover the springform pan tightly with a piece of aluminum foil, creating a secure seal to prevent any moisture from entering the cheesecake during cooking. Carefully place the covered springform pan onto the Instant Pot trivet, then gently lower the trivet with the cheesecake into the Instant Pot insert. Ensure your Instant Pot’s lid is securely closed and that the sealing valve (if applicable) is in the ‘sealing’ position. Pressure cook on high for 65 minutes. Once cooking is complete, perform a manual pressure release. Carefully remove the cheesecake from the Instant Pot and immediately remove the aluminum foil cover to allow any steam to escape. At this stage, the cheesecake will look quite jiggly and might appear slightly wet in the center, but don’t worry – it will firm up beautifully as it cools. You may observe a light golden-brown hue around the outer edge, which is normal.
- Cool and Chill for Optimal Texture. After removing the foil, loosely cover the cheesecake with a fresh piece of aluminum foil or plastic wrap. Allow it to cool completely at room temperature for at least 1 hour. This gradual cooling prevents thermal shock, which can cause cracking. After the initial room temperature cooling, transfer the cheesecake, still in its springform pan, to the refrigerator. Chill for a minimum of 6 hours, though chilling overnight is truly ideal for the best texture and flavor development. Once fully chilled and ready to serve, carefully run a thin, sharp knife around the edge of the cheesecake before releasing it from the springform pan. Serve plain or with your chosen topping.
- Prepare the Optional Berry Compote. While your cheesecake is cooling, you can prepare the luscious berry compote. In a saucepan, bring all the compote ingredients (frozen mixed berries, sugar, lemon zest) to a boil over medium heat, stirring frequently. As the berries soften, use a spoon or potato masher to gently mash them, creating a rustic texture. Reduce the heat to medium-low and allow the compote to simmer and reduce for 15 to 20 minutes, stirring occasionally, until it thickens sufficiently to coat the back of a wooden spoon. Keep in mind it will continue to thicken as it cools. Taste the compote and adjust sweetness by adding more sugar, a teaspoon at a time, if desired. Allow the compote to cool completely before drizzling generously over your chilled Instant Pot cheesecake.
No Pre-Baking Necessary: The Crust Simplified
One of the fantastic advantages of making cheesecake in the Instant Pot is eliminating the need to pre-bake the crust! In traditional oven-baked cheesecake recipes, a common step involves blind baking the graham cracker crust to prevent it from becoming soggy. However, with the moist and evenly heated environment of the pressure cooker, this step is completely unnecessary. The crust cooks perfectly alongside the filling, retaining its delightful crunch and structural integrity without the added effort or oven time. This streamlines the preparation process significantly, making our Instant Pot Cheesecake an even quicker and more beginner-friendly recipe. It’s truly one of the many reasons this method has become a favorite for achieving flawless results with minimal fuss.
Tips for Success & Delightful Variations
To ensure your Instant Pot Vanilla Bean Cheesecake turns out absolutely perfect and to offer some creative twists, consider these expert suggestions:
- Why Avoid Overmixing the Batter? This is a critical tip for any cheesecake! Overmixing incorporates too much air into the batter, which can cause the cheesecake to puff up excessively during cooking and then collapse and crack as it cools. To prevent this, always beat the cream cheese until smooth first, then add the remaining ingredients and mix only until they are just combined, keeping your electric mixer speed lower.
- Troubleshooting Lumpy Batter. If your batter isn’t smooth and has lumps, the most common culprit is cream cheese that wasn’t softened enough to room temperature. Don’t fret, it’s fixable! Briefly microwave the lumpy batter for about 20 seconds, then mix again. If lumps persist, microwave for another 15 seconds. The gentle warmth should help the cream cheese soften further, allowing the batter to smooth out. Even if a few tiny lumps remain, rest assured your cheesecake will still be wonderfully delicious and creamy.
- Don’t Panic if It’s Still Jiggly! When you first remove the cheesecake from the Instant Pot, it will appear quite jiggly in the center. This is perfectly normal and expected! Resist the urge to cook it longer. The residual heat will continue to cook the cheesecake as it cools, and it will firm up significantly during the room temperature cooling phase and especially once refrigerated. Trust the process.
- Explore Endless Topping Possibilities. While our tangy berry compote is a fantastic choice, this versatile vanilla bean cheesecake serves as a perfect canvas for virtually any topping you desire. Get creative! Consider drizzling with luscious homemade chocolate sauce or rich caramel sauce. For more fruity options, try vibrant raspberry sauce, classic strawberry sauce, or zesty lemon curd. For a simple yet elegant finish, a dollop of light and airy homemade whipped cream is always a hit.
- Ensure a Tight Foil Seal. When covering your springform pan with aluminum foil before placing it in the Instant Pot, make sure the seal is as tight as possible. This is crucial to prevent any condensation from dripping onto the surface of your cheesecake, which could affect its texture and appearance.
- Room Temperature Ingredients are Key. Beyond just the cream cheese, ensuring your eggs are also at room temperature will help them incorporate more smoothly into the batter, leading to a more homogenous and lump-free filling.
Proper Storage for Lasting Freshness
To keep your delicious Instant Pot Cheesecake fresh and enjoyable for as long as possible, proper storage is essential:
- How to Store in the Fridge. Once completely cooled, your vanilla bean cheesecake can be stored in the refrigerator for 3 to 5 days. It’s imperative to keep it tightly covered, either with plastic wrap or in an airtight container, to prevent it from drying out and absorbing any odors from other foods in the fridge.
- To Freeze for Later Enjoyment. If you wish to savor your cheesecake over a longer period, it freezes beautifully. Ensure the cheesecake is fully cooled before freezing. Wrap the entire cheesecake (or individual slices for convenience) tightly in at least 3 layers of plastic wrap, followed by a layer of aluminum foil. This double-layer protection guards against freezer burn. It can be kept in the freezer for up to 1 month without significant loss of quality. When you’re ready to enjoy it, thaw the frozen cheesecake in the refrigerator for a full 24 hours before serving to allow it to gradually return to its creamy texture.
Explore More Irresistible Cheesecake Recipes:
- Sopapilla Cheesecake
- Oreo Cheesecake
- Chocolate Cheesecake
- Cinnamon Roll Cheesecake
- Mini Cheesecakes
- Mint Chocolate Chip No Bake Cheesecake
We genuinely hope you adore this delicious and incredibly easy Instant Pot Cheesecake recipe! If you make it, please be sure to leave a review and rating below to let us know what you think. And don’t forget to follow Belly Full on TikTok, Facebook, Instagram, Pinterest, and YouTube for more mouth-watering recipes and culinary inspiration!
Instant Pot Cheesecake
25 minutes
1 hour 5 minutes
6 hours
7 hours 30 minutes
8 slices
Pin
Equipment
-
Instant pot
-
Instant Pot trivet
-
7.5″ springform pan
-
aluminum foil
Ingredients
For the Crust
- 3/4 cup boxed graham cracker crumbs
- 1 tablespoon sugar
- 1/4 teaspoon cinnamon
- 3 tablespoons salted butter, , melted
For the Filling
- 16 ounces cream cheese, , softened (2 bricks)
- 2/3 cup sugar
- 1 vanilla bean, (or 3 tablespoon vanilla extract)
- 2 large eggs
- zest of 1/2 lemon
- 2 tablespoon fresh lemon juice, (optional)
- 1 cup water, (for pressure cooker)
Berry Compote (optional)
- 16 ounces frozen mixed berries
- 1/4 cup sugar
- zest of 1/4 lemon
Instructions
-
Spray sides and bottom of a 7.5” springform pan with non stick cooking spray. Pour 1 cup water into the Instant Pot insert.
-
Slice the vanilla bean open lengthwise with a sharp paring knife. You can cut a slit in it, or slice the bean completely in half, either way will work. Use the tip of the knife to scrape all of the seeds out.
-
In a small bowl, mix crust ingredients with a fork until moist and well combined. Press firmly into the bottom of the prepared springform pan, place in the freezer while you mix the filling.
-
In a large bowl, beat the cream cheese with a hand mixer on medium until smooth and lump-free. Add the sugar, vanilla bean seeds (or extract), zest, and eggs; mix on medium until just combined. Add the lemon juice if using and mix briefly. Do not over mix the batter.
-
Pour batter on top of the graham crust. Cover tightly with a piece of aluminum foil. Place on Instant Pot trivet and gently lower into the insert. If your Instant Pot has a floating valve, put it in the ‘sealing’ position. Pressure cook on high for 65 minutes. Manually release the pressure. Remove the cheesecake and carefully remove the foil to let out the steam. (The cheesecake will look jiggly and wet, but should have a bit of light golden brown around the outer edge, it will firm up as it cools.)
-
Place the foil loosely over the pan and allow to cool at room temp for 1 hour. Place in refrigerator to cool for at least 6 hours in the pan, ideally overnight. Once ready to serve, run a thin knife around the edge, and release from the pan. Serve with berry compote, if using.
-
While the cheesecake cools, make the berry compote: Bring all compote ingredients to a boil over medium heat, stirring frequently, mash berries with spoon or potato masher. Reduce heat to medium low and allow to reduce for 15-20 minutes, stirring occasionally. It should be thick enough to coat the back of a wooden spoon, and will continue to thicken as it stands. Taste and add more sugar a teaspoon at a time if it is not sweet enough for your taste. Cool completely before topping the cheesecake.
Nutrition
Nutritional information given is an automatic calculation and can vary based on the exact products you use and any changes you make to the recipe. If these numbers are very important to you, I would recommend calculating them yourself.