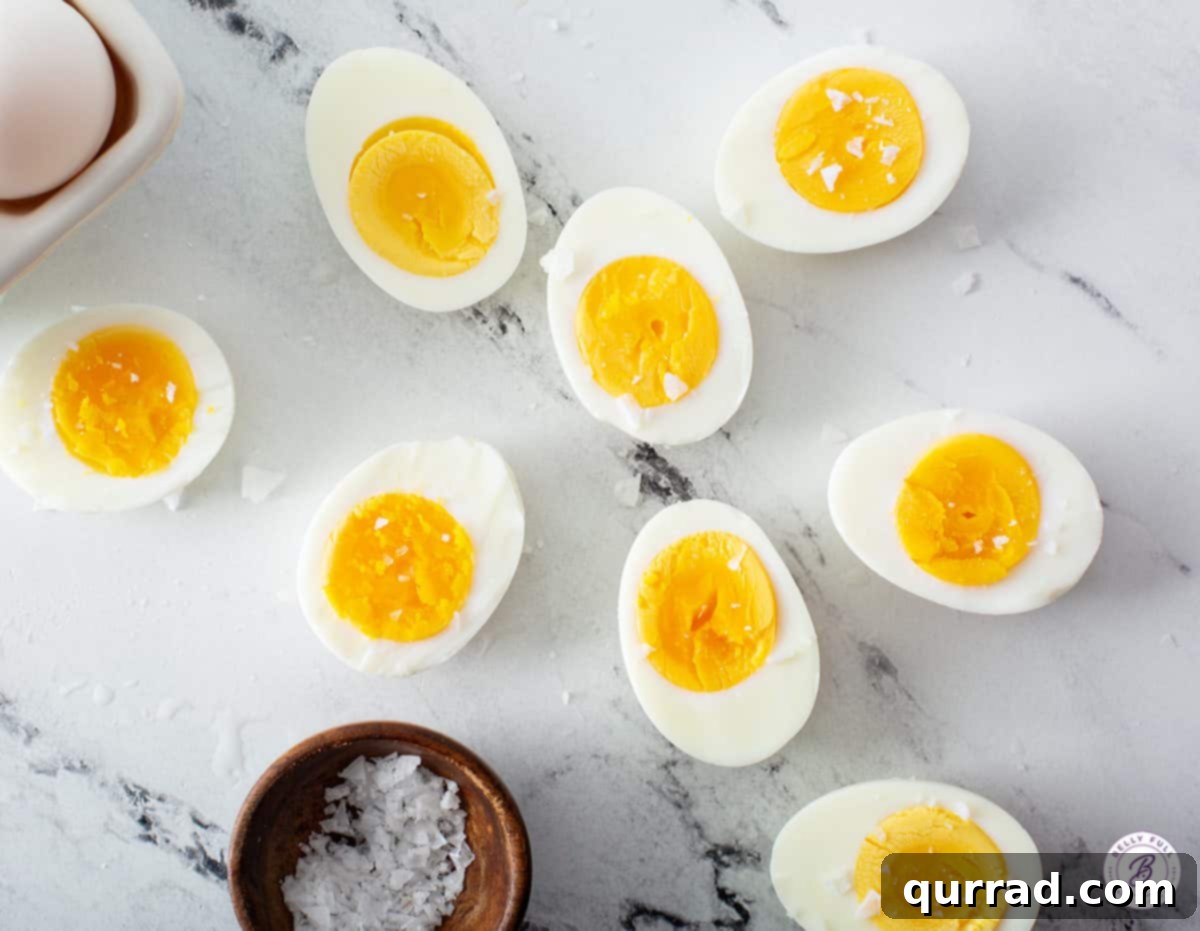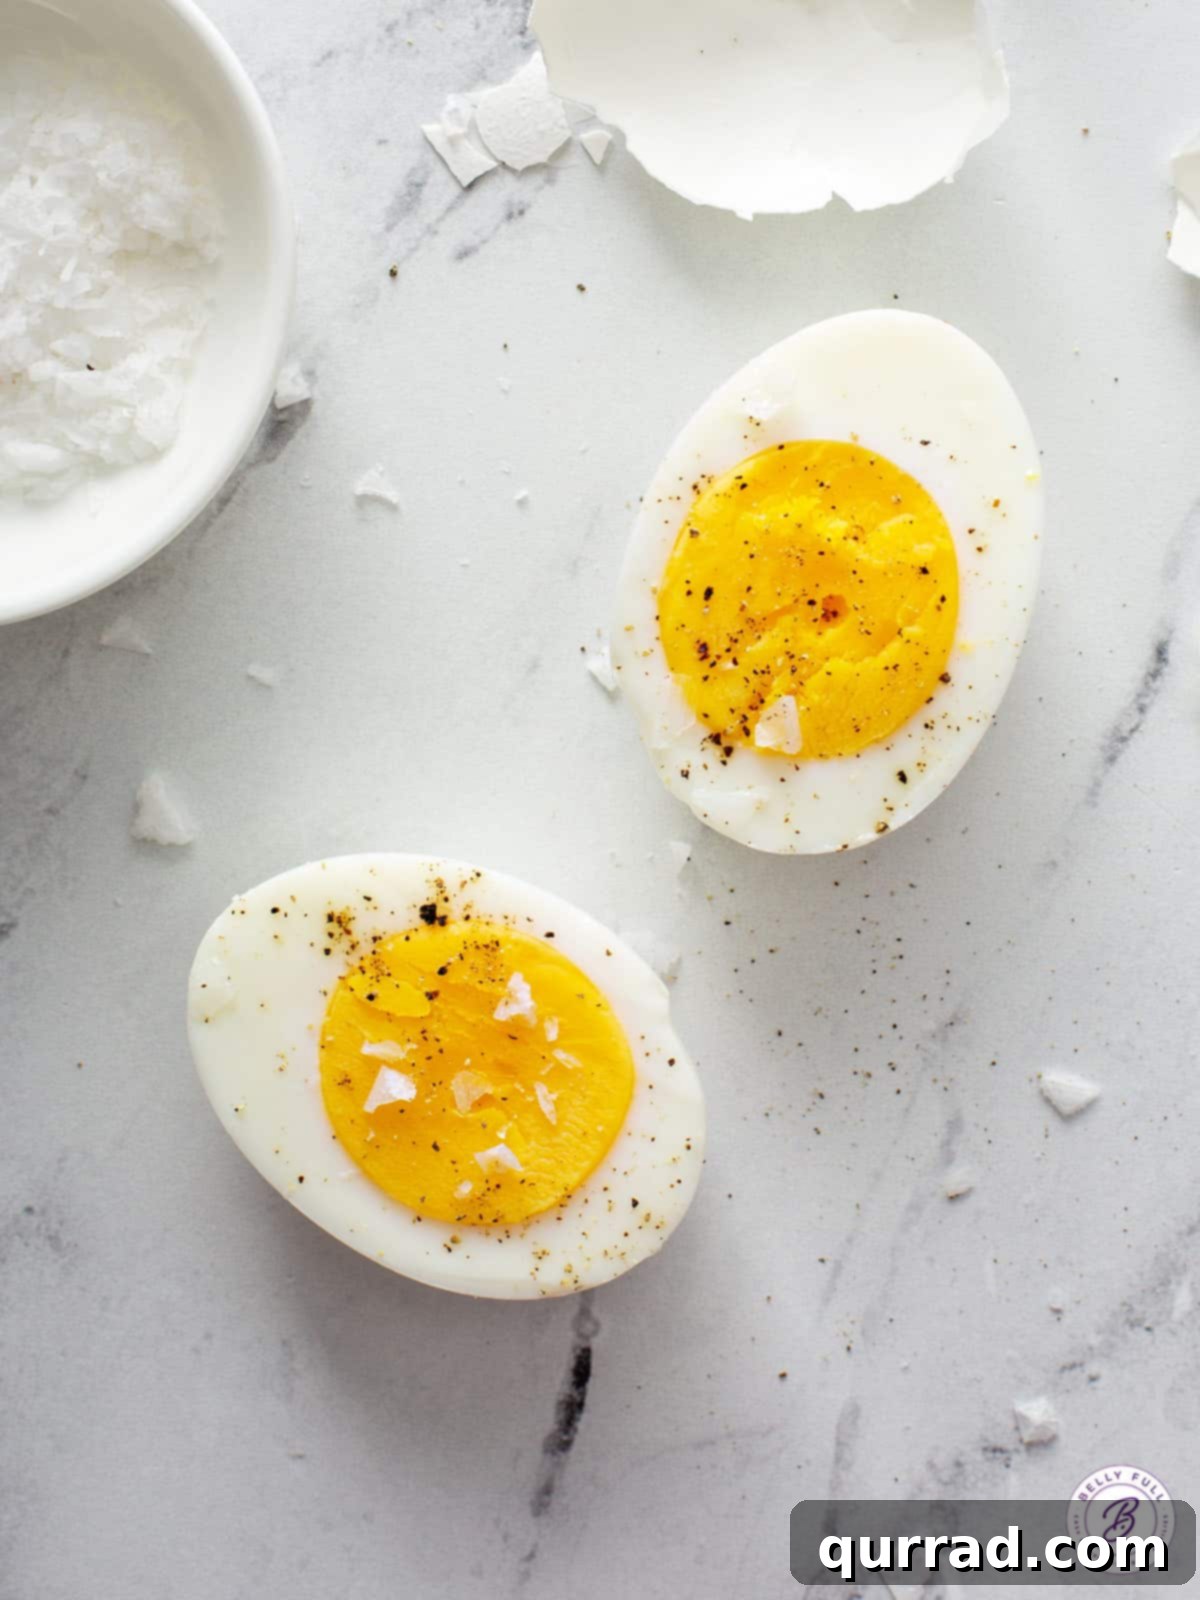
Discover the definitive guide to making perfectly cooked hard-boiled eggs every single time. Say goodbye to rubbery whites and chalky yolks, and permanently banish that unappetizing green ring! With these simple, foolproof tips, you’ll achieve tender, creamy eggs that are a joy to eat, whether on their own or as a versatile ingredient in countless dishes.
5 STAR REVIEW
Barb, a satisfied reader, shares, “Thank you for these instructions. The eggs came out perfectly – no green ring and a wonderfully creamy middle. I’ve been doing it wrong for years, but now I’m a pro!” These glowing testimonials underscore the reliability of this method.
Eggs are a staple in many households, yet achieving that ideal hard-boiled consistency can often feel like a culinary challenge. I recently chatted with a mother who expressed her dismay that her children disliked eggs in any form – scrambled, poached, omelets, fried, or hard-boiled. My jaw nearly dropped! It’s hard to imagine life without these incredible, versatile powerhouses of nutrition.
In my home, eggs are celebrated. They appear at breakfast, lunch, and dinner, to everyone’s delight. Hard-boiled eggs are a constant in our weekly meal prep. They are foundational for classic deviled eggs, unique beet pickled eggs, savory Scotch eggs, creamy egg salad sandwiches, and are simply divine on their own as a protein-packed snack with a sprinkle of salt and pepper. Beyond their culinary flexibility, eggs are an excellent source of high-quality protein, essential vitamins (like B12 and D), and minerals, making them a cornerstone of a balanced diet.
How to Master Hard-Boiled Eggs: The Classic Stove-Top Method
While innovative kitchen appliances offer alternative cooking methods, the traditional stove-top approach remains my absolute favorite for preparing consistently perfect hard-boiled eggs. This time-honored technique relies on a simple pot of water and an ice bath – a tried and true combination that has stood the test of time for a very good reason. It’s reliable, accessible, and delivers superb results with minimal fuss. For those curious about modern twists, don’t worry, we’ll cover methods for your air fryer and Instant Pot further down the page.
Why the Stove-Top Method Excels
The stove-top method, when executed correctly, provides unparalleled control over the cooking process. Starting eggs in cold water and slowly bringing them to a boil allows for even heat distribution, preventing the whites from becoming rubbery and the yolks from overcooking too quickly. The subsequent removal from heat ensures a gentle cooking environment, preserving the delicate texture of both the yolk and the white. This careful approach is key to avoiding that dreaded green ring and achieving a uniformly creamy texture throughout.
The Perfect Hard-Boiled Egg Time: Finding Your Ideal Yolk Consistency
Determining the ideal cooking duration for hard-boiled eggs is the “magic question” that plagues many home cooks. Ultimately, perfection is subjective and depends entirely on your preference for yolk consistency. Using my favored stove-top method – where eggs are brought to a rolling boil, then removed from the heat and covered – I find that 12 to 14 minutes is the sweet spot. This duration ensures the yolk is cooked through, yet remains beautifully tender, rich, and creamy, without venturing into dry or crumbly territory. Understanding how different timings affect the egg allows you to customize your experience and achieve precisely the results you desire.
Hard Boiled Egg Doneness Chart: Your Guide to Perfect Yolks
Finding your preferred level of doneness is a personal journey. This guide details different cooking times for **large eggs**, helping you achieve your desired yolk texture using the stove-top method outlined above (bringing to a boil, then resting off heat with a lid).
- 6 minutes: Results in a very soft, jammy yolk that is still quite liquid in the center, with whites that are set but extremely tender. Perfect for spreading on toast.
- 8 minutes: Yields a beautifully soft yolk that is firm enough not to run, but still wonderfully moist and vibrant. The whites will be delicate and creamy.
- 10 minutes: This timing gives you a yolk with just a subtle hint of softness in the very center, offering a rich, velvety texture that’s not quite fully firm.
- 12 minutes: In my humble opinion (IMHO), this is the quintessential **perfect hard-boiled egg**. The yolk is cooked through, yet remains incredibly tender, creamy, and a bright yellow-orange. The whites are perfectly firm without being rubbery.
- 14 minutes: For a more traditional, fully solid hard-boiled egg, 14 minutes provides a firm white and a light, chalk-free yolk that is completely set. It’s fully cooked but still avoids the pitfalls of overcooking.
Experiment with these timings to discover your personal favorite. Remember, a minute can make a big difference in the world of hard-boiled eggs!
Essential Cooking Tips for Flawless Hard-Boiled Eggs!
- Gently Detach the Membrane (Optional but Recommended): This simple step can significantly aid in easier peeling. Before cooking, take a spoon and gently tap the wider, rounded end of each egg until you hear a small “snap.” This creates a tiny air pocket and helps separate the inner membrane from the shell, making for a smoother peeling experience. For a visual demonstration, check out my video tutorial on Instagram.
- Avoid Overcrowding the Pot: For uniform cooking, ensure your eggs are placed in a single layer at the bottom of the pot. Overcrowding can lead to uneven cooking as the eggs won’t be exposed to the heat evenly, and they might crack due to jostling. Use a pot large enough to accommodate all eggs without them touching.
- Older Eggs Peel Easier Than Fresh Eggs: If you’ve ever struggled to peel a super fresh egg, you’re not alone! This phenomenon is due to the albumen (egg white) composition. Older egg whites have a higher pH level, which makes them less sticky and allows them to separate more readily from the inner membrane. For best peeling results, use eggs that are at least 7-10 days old, if possible.
- Prepare an Immediate Ice Bath: This step is crucial for two main reasons. Firstly, plunging the hot eggs into ice water immediately halts the cooking process, preventing them from overcooking and developing that unsightly green ring around the yolk. Secondly, the rapid temperature change causes the egg to contract, further aiding in the easy separation of the shell from the egg white, making peeling much simpler.
- Account for Variables: Remember that cooking is an art influenced by various factors. Your altitude, the specific stove you use (gas, electric, induction), the size and material of your pot, the exact size of your eggs (small, medium, large, jumbo), and even the amount of water used can all subtly impact the final outcome. Be prepared to make slight adjustments to cooking times based on your specific kitchen environment.
- Start with Cold Water: Always begin the cooking process by placing eggs in a pot filled with cold tap water. This ensures the eggs heat up gradually with the water, promoting even cooking and reducing the likelihood of cracking compared to dropping cold eggs into boiling water.
- Handle with Care: Eggs are delicate! Gentle handling throughout the process – from placing them in the pot to transferring them to the ice bath – will minimize cracks and ensure aesthetically pleasing results.
How To Make Perfect Hard Boiled Eggs
3 mins
12 mins
15 mins
8 eggs
Pin
Ingredients
- 8 large cold eggs
- Cold water
- Ice
Instructions
- This first step is optional, but highly recommended for easier peeling. Gently tap the wider/rounded end of each egg with a spoon until you hear a distinct “snap.” This helps detach the inner membrane. (Refer to my Instagram video demo for visual guidance.)
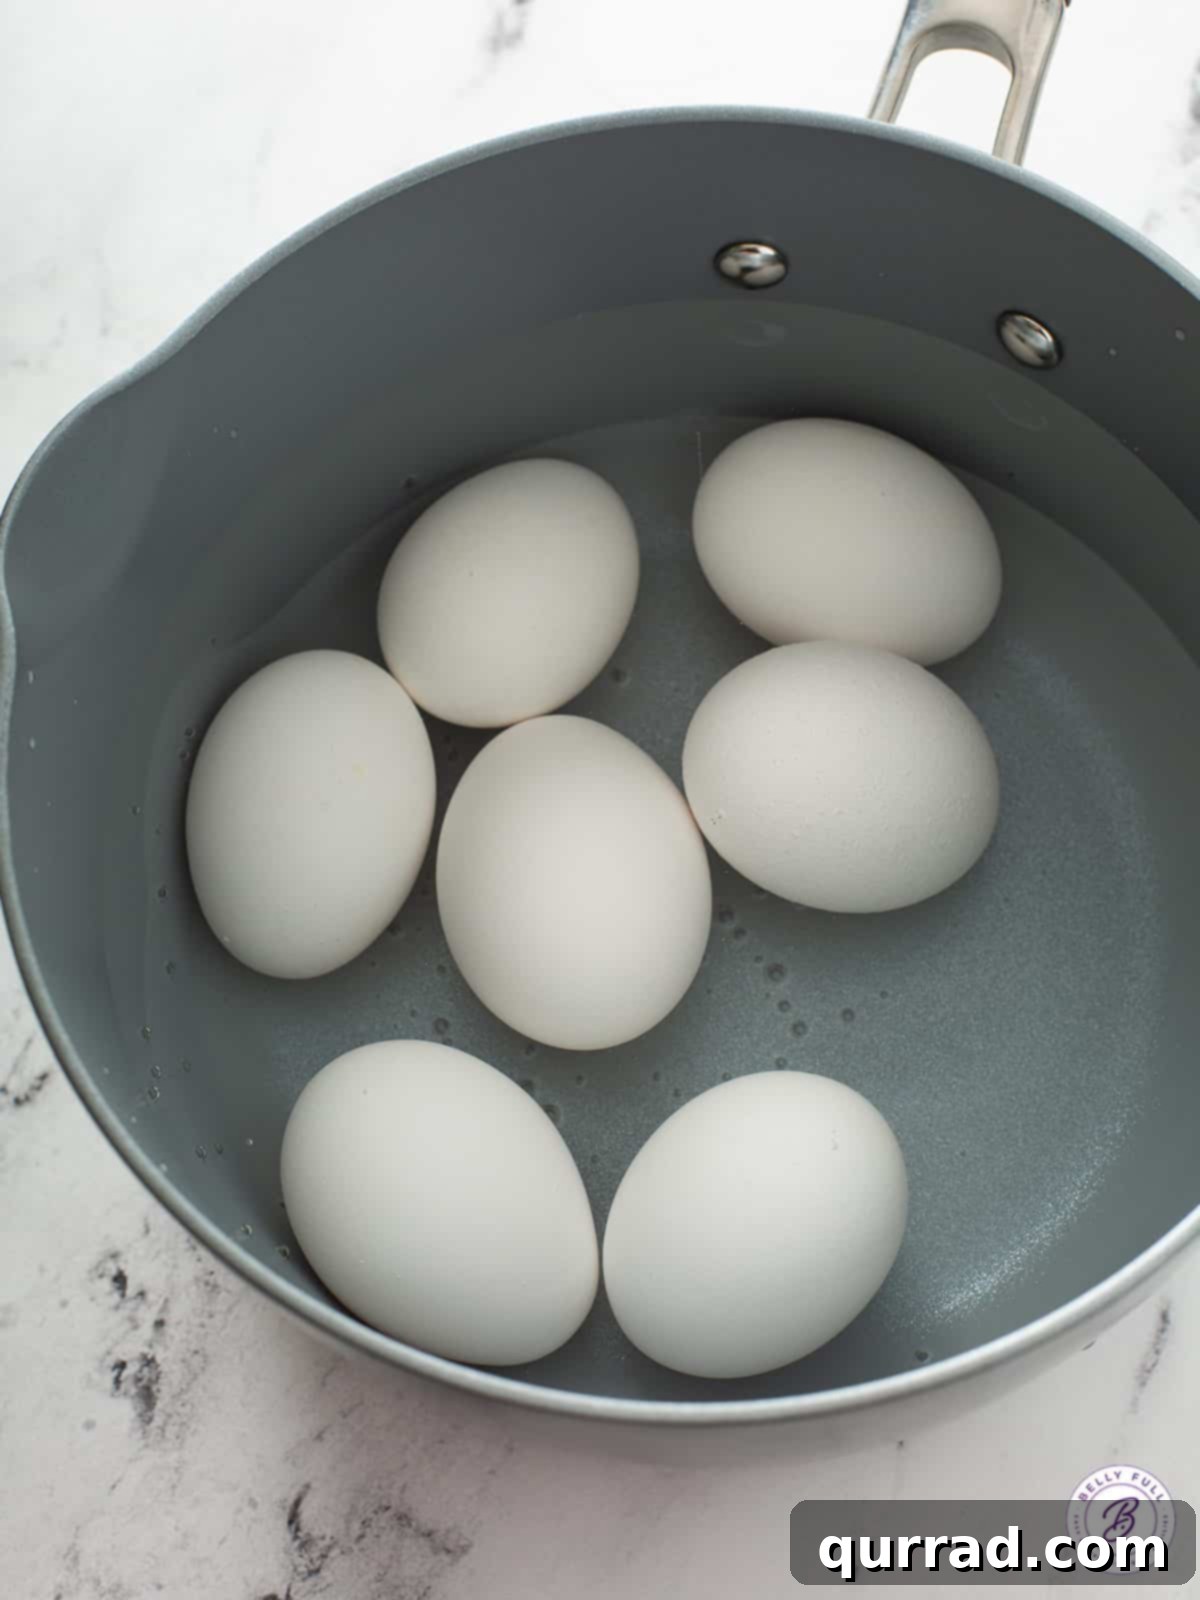
- Carefully place the eggs in a single layer at the bottom of a medium-sized pot. Fill the pot with cold water, ensuring the eggs are covered by at least 1-2 inches of water. Place the pot on high heat and bring the water to a vigorous rolling boil. As soon as a full boil is achieved, immediately turn off the heat, remove the pot from the burner, cover it tightly with a lid, and let it sit undisturbed for 12 minutes (*see note below for variations).
- Using a slotted spoon, swiftly transfer the cooked eggs from the hot water into a large bowl filled with ice water. Allow them to cool in the ice bath for 3-5 minutes, or until they are cool enough to handle comfortably. This rapid cooling process is vital for stopping the cooking and making the eggs much easier to peel.
- Once the eggs are cool, gently tap the larger end of each egg on a countertop to crack it, then gently roll the egg to create a network of small cracks all over the shell. Holding the egg under a stream of cold running water, begin peeling from the large end where the air pocket is located. The water helps to wash away small shell fragments and lubricate the peeling process.
- Slice, dice, or enjoy your perfectly cooked hard-boiled eggs whole!
Video Tutorial
Notes
For comprehensive FAQs, additional expert tips, detailed storing information, and alternative cooking methods (including air fryer and Instant Pot instructions), please continue reading the full article below.
Nutrition Information (Per Serving)
Serving: 1 egg
- Calories: 72 kcal
- Carbohydrates: 0.4g
- Protein: 6g
- Fat: 5g (Saturated Fat: 2g, Polyunsaturated Fat: 1g, Monounsaturated Fat: 2g, Trans Fat: 0.02g)
- Cholesterol: 186mg
- Sodium: 71mg
- Potassium: 69mg
- Sugar: 0.2g
- Vitamin A: 270 IU
- Calcium: 28mg
- Iron: 1mg
Please note: Nutritional information provided is an automatic calculation and may vary based on the exact products and brands you use, as well as any modifications you make to the recipe. If precise nutritional values are crucial for your dietary needs, we recommend calculating them independently using your specific ingredients.
Did you make this recipe? Share your experience and leave a rating below!
Decoding the Green Ring: Why it Happens and How to Avoid it!
Few things are as disappointing as cracking open a seemingly perfect hard-boiled egg only to discover a greenish-gray ring encircling the yolk. This is a common culinary pet peeve, but understanding its cause is the first step to banishing it forever. That tell-tale discoloration is a clear sign of overcooking, although it can sometimes also be attributed to an excessive iron content in the cooking water itself.
The green ring is a result of a harmless, yet unappealing, chemical reaction. When eggs are cooked for too long or at too high a temperature, the sulfur from the egg white reacts with the iron present in the egg yolk. This reaction creates iron sulfide, which manifests as that greenish-gray hue. While eggs with a green ring are perfectly safe to eat and their nutritional value remains largely unaffected, the reaction can impart a slight sulfuric flavor and certainly detracts from their visual appeal. To consistently achieve beautiful, bright yellow yolks without any discoloration, precise timing and immediate cooling are paramount, as detailed in our stove-top method.
Gas vs. Electric Stove: Does It Affect Hard-Boiled Eggs?
It’s a common question: does the type of stove you have – gas or electric – impact the outcome of your hard-boiled eggs? The simple answer is no, it doesn’t matter! My method of cooking hard-boiled eggs is designed to be universally effective, regardless of your heat source. The critical step involves bringing the water to a rolling boil and then *immediately* removing the pot from the heat. This ensures that the eggs cook gently through residual heat, rather than direct, continuous boiling. I’ve personally used this exact method on gas, electric, and induction cooktops, always achieving the same consistently excellent results. So, rest assured, you can confidently use this technique no matter what kind of stove powers your kitchen.
Hard-Boiled Egg Shelf Life: Storage Tips
Hard-boiled eggs are a fantastic make-ahead food, perfect for meal prepping or quick snacks throughout the week. If you plan to prepare them in advance, follow the cooking and peeling instructions as directed. Once cooled, store your peeled hard-boiled eggs in a tightly sealed, airtight container in the refrigerator. Properly stored, they will remain fresh and delicious for up to 5-7 days. For unpeeled hard-boiled eggs, they can also be stored in the refrigerator for up to one week, although peeling them fresh just before eating can sometimes make the process easier.
Nutritional Powerhouse: Hard-Boiled Egg Calories & Benefits
Hard-boiled eggs are not just convenient; they are a nutritional powerhouse! A single large hard-boiled egg typically contains approximately 72 calories, packing a robust 6 grams of high-quality protein and about 5 grams of healthy fats. Beyond these macronutrients, eggs are incredibly rich in essential vitamins and minerals. They are a good source of potassium, which is vital for maintaining fluid balance and nerve function, and calcium, crucial for bone health. Additionally, eggs provide Vitamin D, essential for calcium absorption, and Vitamin B12, important for nerve function and red blood cell formation. Incorporating hard-cooked eggs into your diet is a smart choice for a balanced lifestyle. They make a fantastic, satisfying addition to salads, provide a quick and energizing on-the-go snack, or can be transformed into delicious appetizers. Their versatility and nutritional profile make them a staple for healthy eating.
Alternative Methods for Hard-Boiled Eggs: Air Fryer & Instant Pot
For those who love to experiment with modern kitchen gadgets, your air fryer and Instant Pot can also deliver perfectly cooked hard-boiled eggs. These methods offer a hands-off approach that can be incredibly convenient once mastered.
Air Fryer Hard-Boiled Eggs: The Crispy, Convenient Way
Using your air fryer for hard-boiled eggs offers a unique approach that yields excellent results without the need for water. This method provides perfectly cooked yolks and often results in shells that are remarkably easy to peel.
- You can cook anywhere from 1 to 6 large eggs using this method. Always start with cold eggs directly from the refrigerator.
- Preheat your 3.5-quart (or similar size) air fryer to 270 degrees F (132 degrees C). Ensuring the air fryer is fully preheated is key for consistent results.
- Carefully place the cold eggs directly into the air fryer basket in a single layer, making sure they are not touching.
- Cook the eggs for 15 minutes. This timing is typically ideal for a well-cooked, tender yolk.
- Immediately after cooking, remove the hot eggs from the air fryer and plunge them into a large bowl of ice water. Allow them to cool completely for at least 5-10 minutes. This stops the cooking process and aids in easy peeling.
- Peel the eggs when they are cool enough to handle, and enjoy!
- NOTE: Air fryer models can vary significantly in their heating capabilities. This timing is a general guideline. It’s also important to remember that personal preference dictates how well cooked you like your eggs. If this is your first time trying this method, I highly recommend cooking just 1 or 2 eggs initially to test the waters and adjust the cooking time (by 1-2 minutes up or down) from there to suit your specific appliance and desired doneness.
Instant Pot Hard-Boiled Eggs: The “5-5-5” Method
The Instant Pot, or any electric pressure cooker, is another fantastic tool for cooking hard-boiled eggs. The “5-5-5” method is incredibly popular for its consistent results and minimal effort.
- You can cook a larger batch, from 1 to 12 eggs, using this method. Again, start with cold eggs straight from the refrigerator. Ensure they are arranged in a single layer within the pot; avoid wedging them together or overlapping, as this can lead to uneven cooking or cracking.
- We highly recommend the “5-5-5” method for optimal results:
- 5 minutes at pressure: Add 1 cup of water to the Instant Pot (or the minimum liquid required by your specific model’s manual). Place the eggs on a steamer rack or trivet inside the pot. Seal the lid and set the Instant Pot to HIGH pressure for 5 minutes.
- 5 minutes natural release: Once the cooking cycle is complete, allow the pressure to naturally release for 5 minutes. Do not manually release the pressure immediately. If it doesn’t naturally release fully within 5 minutes, you can then perform a quick release of any remaining pressure.
- 5 minutes in an ice bath: Immediately transfer the eggs to a large bowl of ice water and let them cool for at least 5 minutes before peeling. This stops the cooking and makes peeling a breeze.
- Liquid Requirement: Always refer to the manual that came with your specific pressure cooker for the minimum required amount of liquid needed to build pressure. Add at least that amount. If no specific instructions are given, adding 1 inch of water (usually about 1 cup for most models) is a good starting point.
- Steamer Basket/Trivet: Using a standard metal or silicone steamer basket or the trivet that came with your pressure cooker is highly recommended. This elevates the eggs out of the water, allowing them to steam rather than boil directly. While you can technically cook them without a basket, you might experience more cracked eggs.
I sincerely hope you enjoy this comprehensive guide and find these delicious and easy recipes incredibly useful in your kitchen! Be sure to leave a review below and share your experiences. Also, don’t forget to follow Belly Full on TikTok, Facebook, Instagram, Pinterest, and YouTube for more culinary inspiration and helpful cooking tips!