
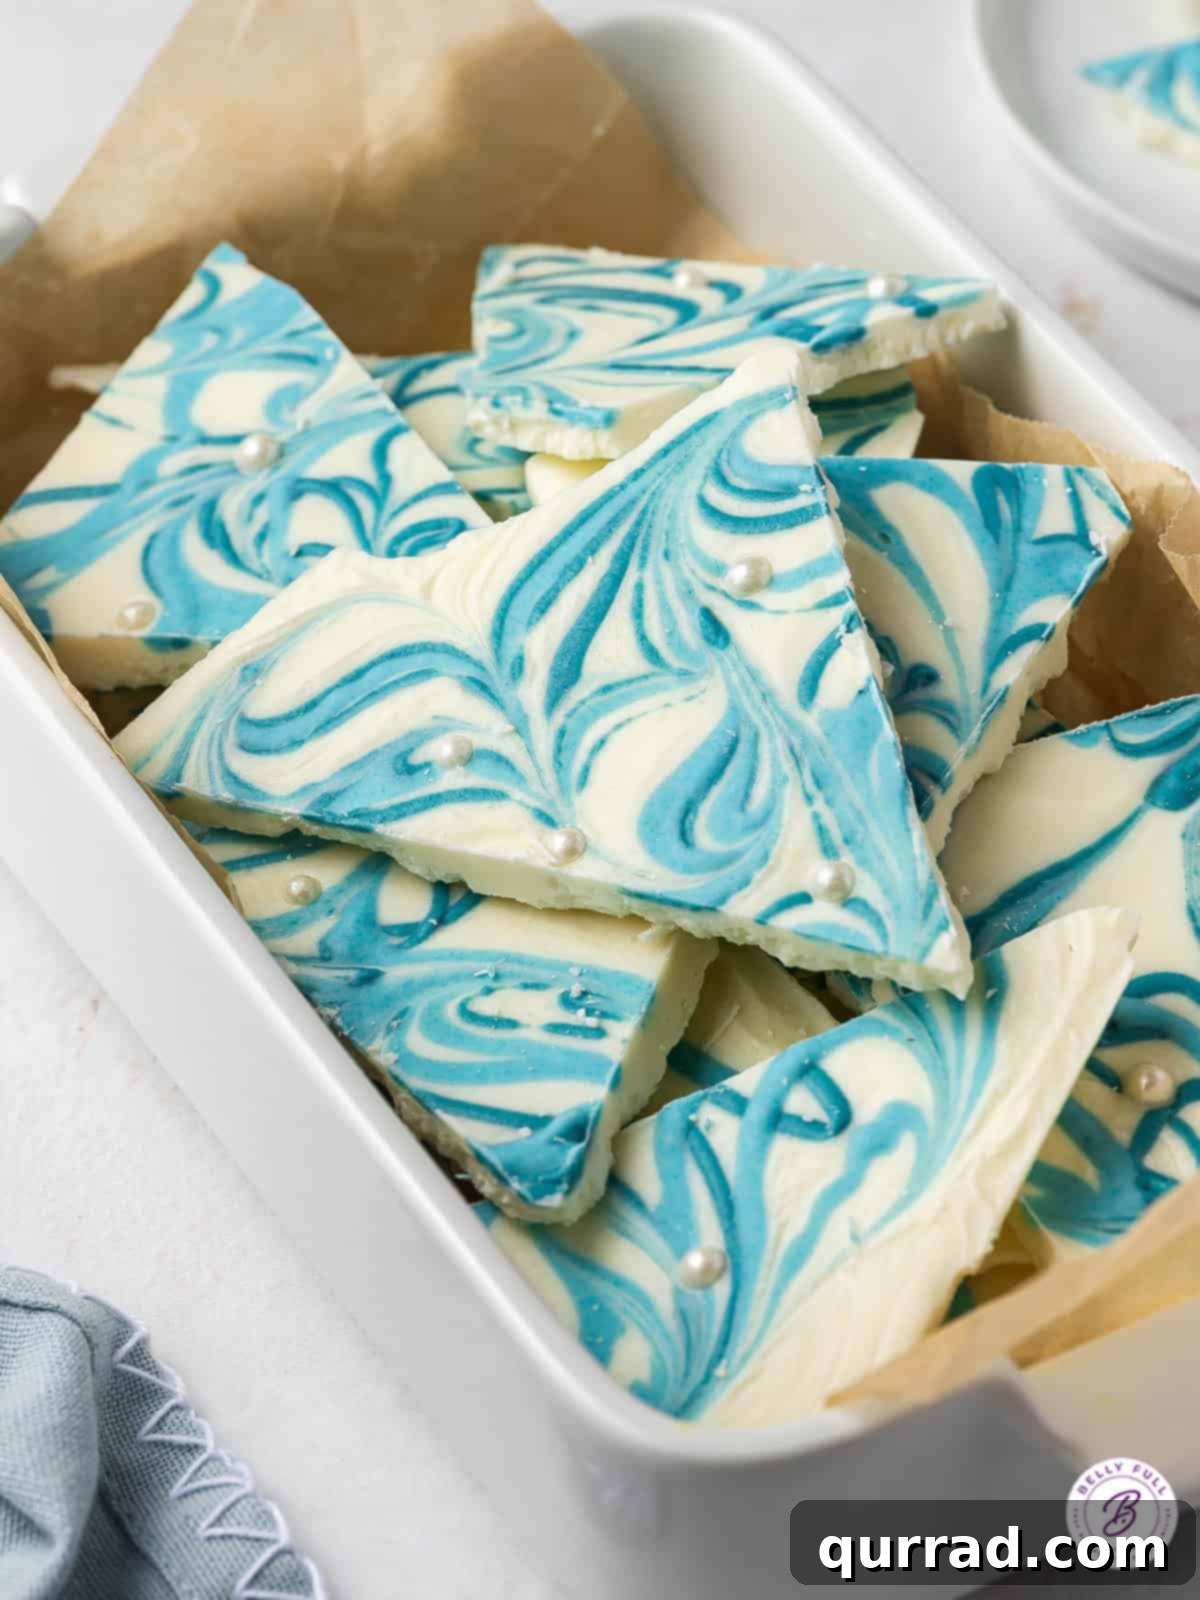
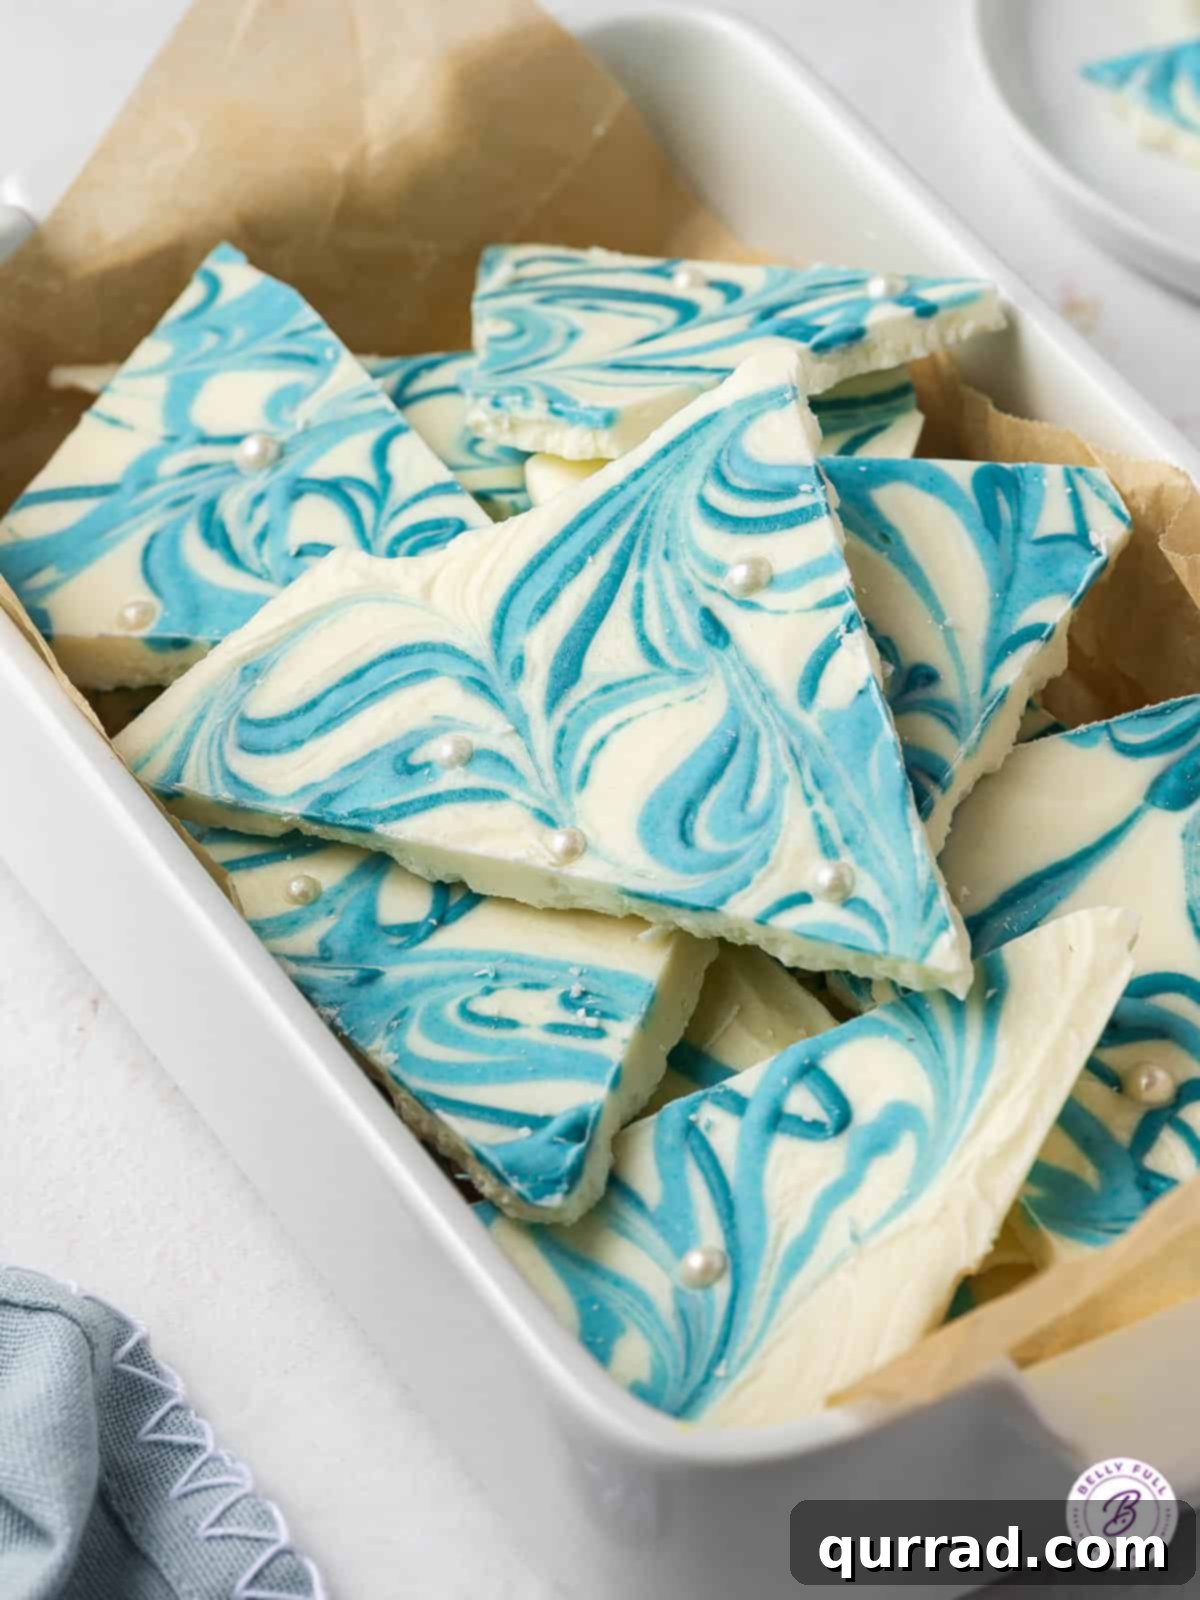
Hanukkah Chocolate Bark is an utterly delightful and incredibly easy no-bake dessert, perfect for celebrating the Festival of Lights. Crafted with just three simple ingredients, this festive treat radiates the joyous spirit of Hanukkah with its beautiful blue and white colors and sparkling pearl sprinkles. It’s not only a fantastic last-minute dessert for holiday parties but also makes for charming and thoughtful edible gifts.
During the busy holiday season, when oven space becomes a precious commodity, simple no-bake recipes are true saviors. Chocolate bark stands out as a consistently winning choice, celebrated for its effortless preparation, exquisite taste, and remarkable versatility. This Hanukkah-themed chocolate bark recipe truly shines, embodying the traditional blue and white hues of the holiday, accented with delicate pearl sprinkles that mimic falling snow or glistening stars. Whether you’re looking to contribute to a festive cookie tray or seeking a heartwarming homemade gift, this chocolate bark delivers on all fronts.
Why Hanukkah Chocolate Bark is the Perfect Holiday Treat
Hanukkah, a holiday rich in tradition and delicious food, often features fried delicacies like latkes and sufganiyot. While these classics are irreplaceable, sometimes a lighter, equally festive dessert is desired. This Hanukkah Chocolate Bark offers a wonderful alternative, providing a sweet, satisfying crunch without the need for frying or extensive baking. Its vibrant blue and white design instantly evokes the spirit of the holiday, making it a visually stunning addition to any celebration table.
Beyond its aesthetic appeal, the simplicity of this recipe makes it accessible to cooks of all skill levels, including those new to holiday baking. It’s an ideal project for families to create together, offering a fun and delicious way to bond over the festive season. The ability to customize the bark with various toppings also means you can tailor it to individual preferences, ensuring there’s something for everyone to enjoy.
Wedges of this beautiful chocolate bark are not just a treat for the eyes and palate; they are also exceptionally versatile. Arrange them artfully on any holiday cookie platter for a touch of elegance, or transform them into wonderful edible gifts. Imagine stacking pieces between layers of parchment paper, tying them with a festive blue or silver ribbon, and presenting them to friends and family. It’s a thoughtful, handmade gesture that truly captures the warmth of the holiday season.
Essential Ingredients for Hanukkah Chocolate Bark
Creating this festive chocolate bark is astonishingly simple, requiring minimal effort and just a handful of ingredients. The beauty of chocolate bark lies in its adaptability; once hardened, you can break it into pieces of any size to suit your serving needs. For this particular Hanukkah chocolate bark recipe, you only need three core ingredients to achieve a spectacular result. The focus is on quality and the visual impact of the blue and white colors, making each component important.
- Vanilla Candy Melts: These form the base of your bark, providing a smooth, creamy texture and a delicious vanilla flavor that pairs perfectly with the festive colors.
- Blue Food Gel Coloring: Essential for achieving those vibrant, deep blue swirls without altering the chocolate’s consistency.
- White Pearl Sprinkles: These add a delicate shimmer and a touch of elegance, resembling tiny snowflakes or twinkling stars against the blue and white backdrop.
Candy Melts vs. White Chocolate Chips: The Key to Perfect Bark
When making chocolate bark, the choice between candy melts and regular white chocolate chips can significantly impact the final texture and stability of your treat. For recipes like this Hanukkah Chocolate Bark, I strongly recommend using Wilton candy melts or Ghirardelli White Melting Wafers. These products are specifically designed for melting and coating, ensuring a smooth, fluid consistency when melted and a firm, stable set at room temperature.
Regular white chocolate chips, while delicious, are formulated with additives that help them retain their shape during baking. This means they often don’t melt as smoothly or thinly as candy melts, and once hardened into bark, they tend to soften more easily at room temperature. If you prefer to use regular white chocolate, you can improve its melting and setting properties by combining it with a small amount of coconut oil. Approximately 1 tablespoon of coconut oil per 1 cup of white chocolate chips will help thin the chocolate for easier spreading and promote faster, firmer hardening. This simple trick ensures your bark holds up beautifully, whether served immediately or stored for later.
Creative Variations and Toppings
While the classic blue and white Hanukkah bark with pearl sprinkles is stunning on its own, this recipe is also incredibly flexible, allowing for endless customization. Feel free to experiment with additional toppings to add extra flavor and texture:
- Crunchy Additions: Stir in some crushed pretzels for a salty-sweet contrast, or chopped almonds for a nutty crunch. Other great options include finely chopped walnuts, pecans, or even pistachios for a hint of green.
- Sweet Enhancements: Add mini marshmallows, a drizzle of caramel, or a sprinkle of shredded coconut before the chocolate sets.
- Other Festive Sprinkles: While pearl sprinkles are elegant, feel free to use other Hanukkah-themed sprinkles, such as blue and white nonpareils or tiny dreidel shapes, for a more playful touch.
- Dried Fruits: Finely chopped dried cranberries, apricots, or even candied orange peel can add a chewy texture and a burst of fruity flavor.
- Cookie Crumbs: Crushed Biscoff cookies or vanilla wafers can add a delicious base flavor and texture.
Remember to add any desired mix-ins or toppings immediately after spreading the chocolate, before it begins to set, to ensure they adhere properly.
How to Make Hanukkah Chocolate Bark: A Step-by-Step Guide
Crafting this festive Hanukkah chocolate bark is a straightforward process that yields impressive results. Follow these simple steps to create a beautiful and delicious holiday treat:
- Prepare Your Baking Sheet: Begin by lining a standard baking sheet with parchment paper. This crucial step prevents the chocolate from sticking and makes for easy removal and cleanup. Ensure the parchment paper extends slightly beyond the edges of the sheet for easier handling.
- Melt the White Chocolate: Place your vanilla candy melts in a medium, microwave-safe glass bowl. Melt the chocolate according to the package directions, typically in 30-second intervals, stirring thoroughly after each interval. Continue until the chocolate is completely smooth and free of any lumps. Alternatively, you can use a double boiler method for a more controlled melt, ensuring gentle heat and continuous stirring.
- Color the Blue Chocolate: Spoon a few small scoops of the melted white chocolate into two separate small bowls. Add a drop or two of light blue food gel coloring to one bowl and a similar amount of dark blue food gel coloring to the other. Mix each thoroughly until you achieve your desired shades of blue. Transfer these colored chocolates into two separate small Ziploc bags, then snip off a tiny corner from each bag to create a makeshift piping bag. This allows for precise drizzling.
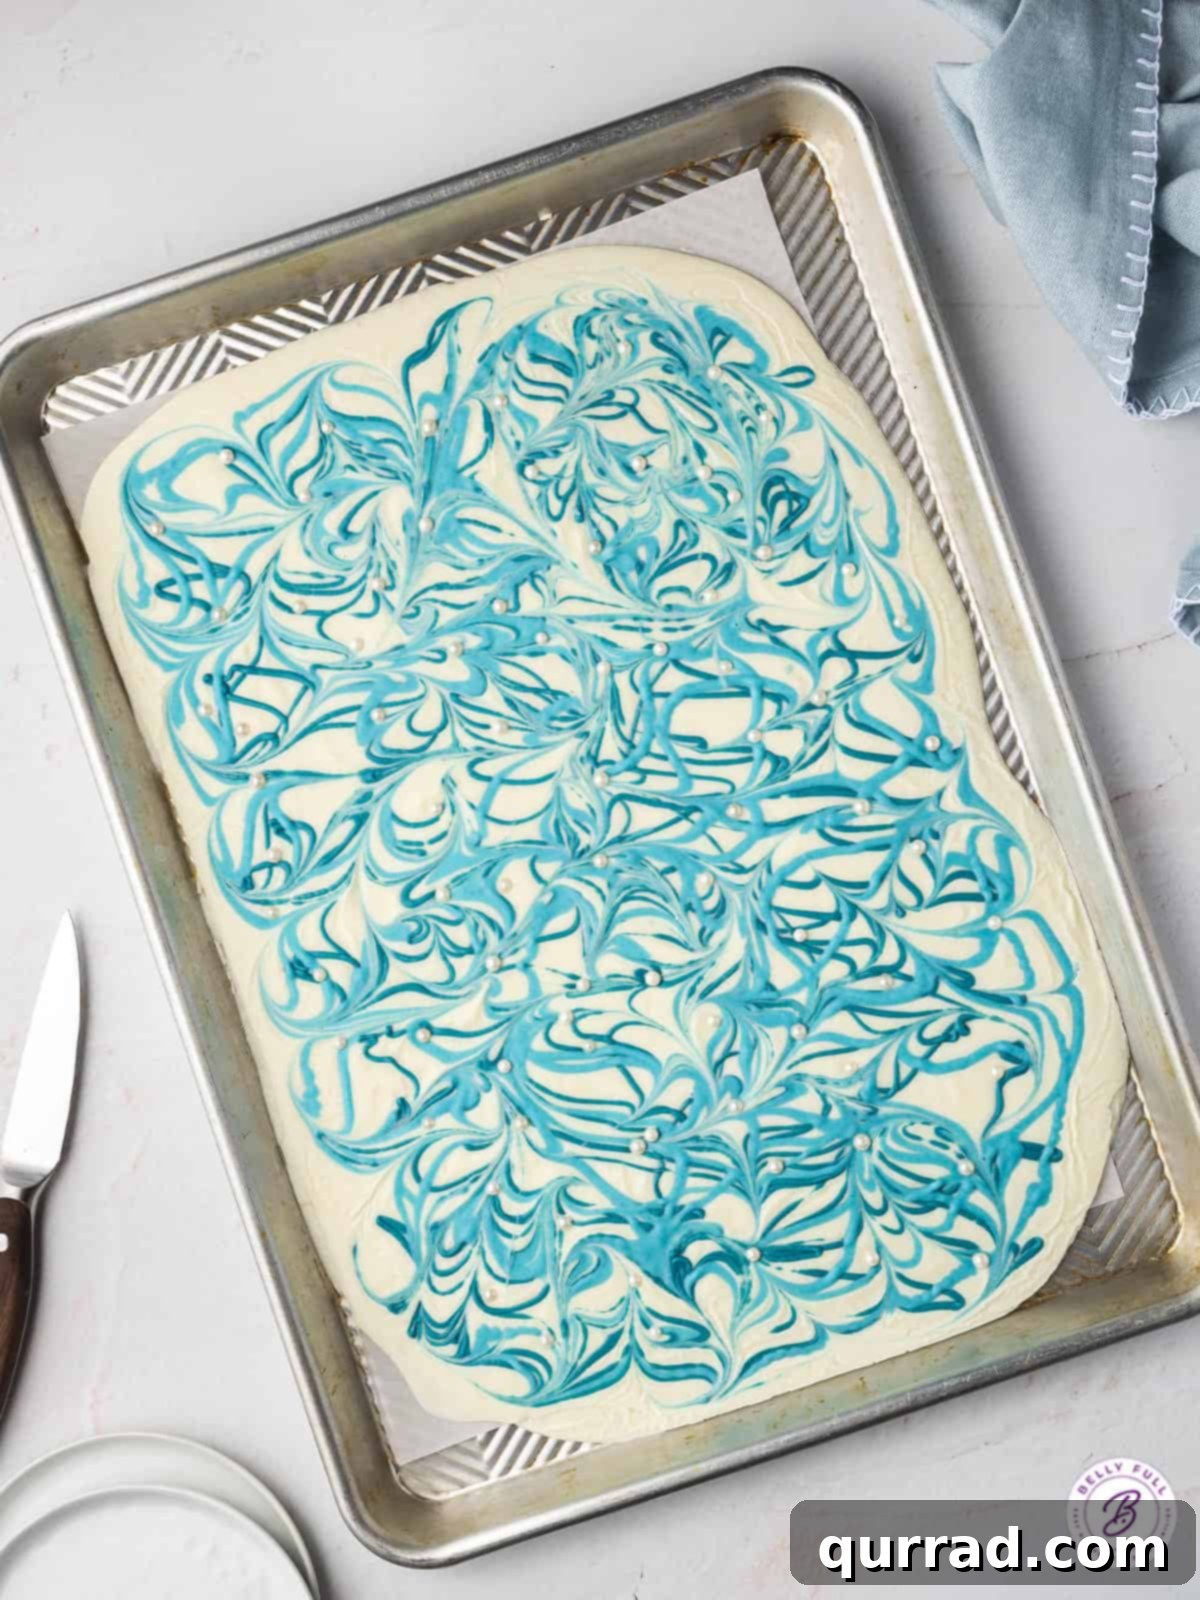
- Create the Marble Effect: Spread the remaining melted white chocolate evenly onto the lined baking sheet in a rectangular shape, aiming for a thickness of about 1/4-inch. Work relatively quickly, as the chocolate will start to set. Immediately after spreading the white chocolate, pipe both the light blue and dark blue colored chocolates in lines or dots over the white chocolate base. Use a dull knife, a skewer, or even a toothpick to gently swirl through the colored chocolates, creating an elegant marble or abstract pattern. Be careful not to overmix, as this can cause the colors to blend too much.
- Add Sprinkles: While the chocolate is still wet, generously sprinkle the white pearl sprinkles over the entire surface of the bark. These delicate pearls will adhere beautifully and add a magical, snow-like effect.
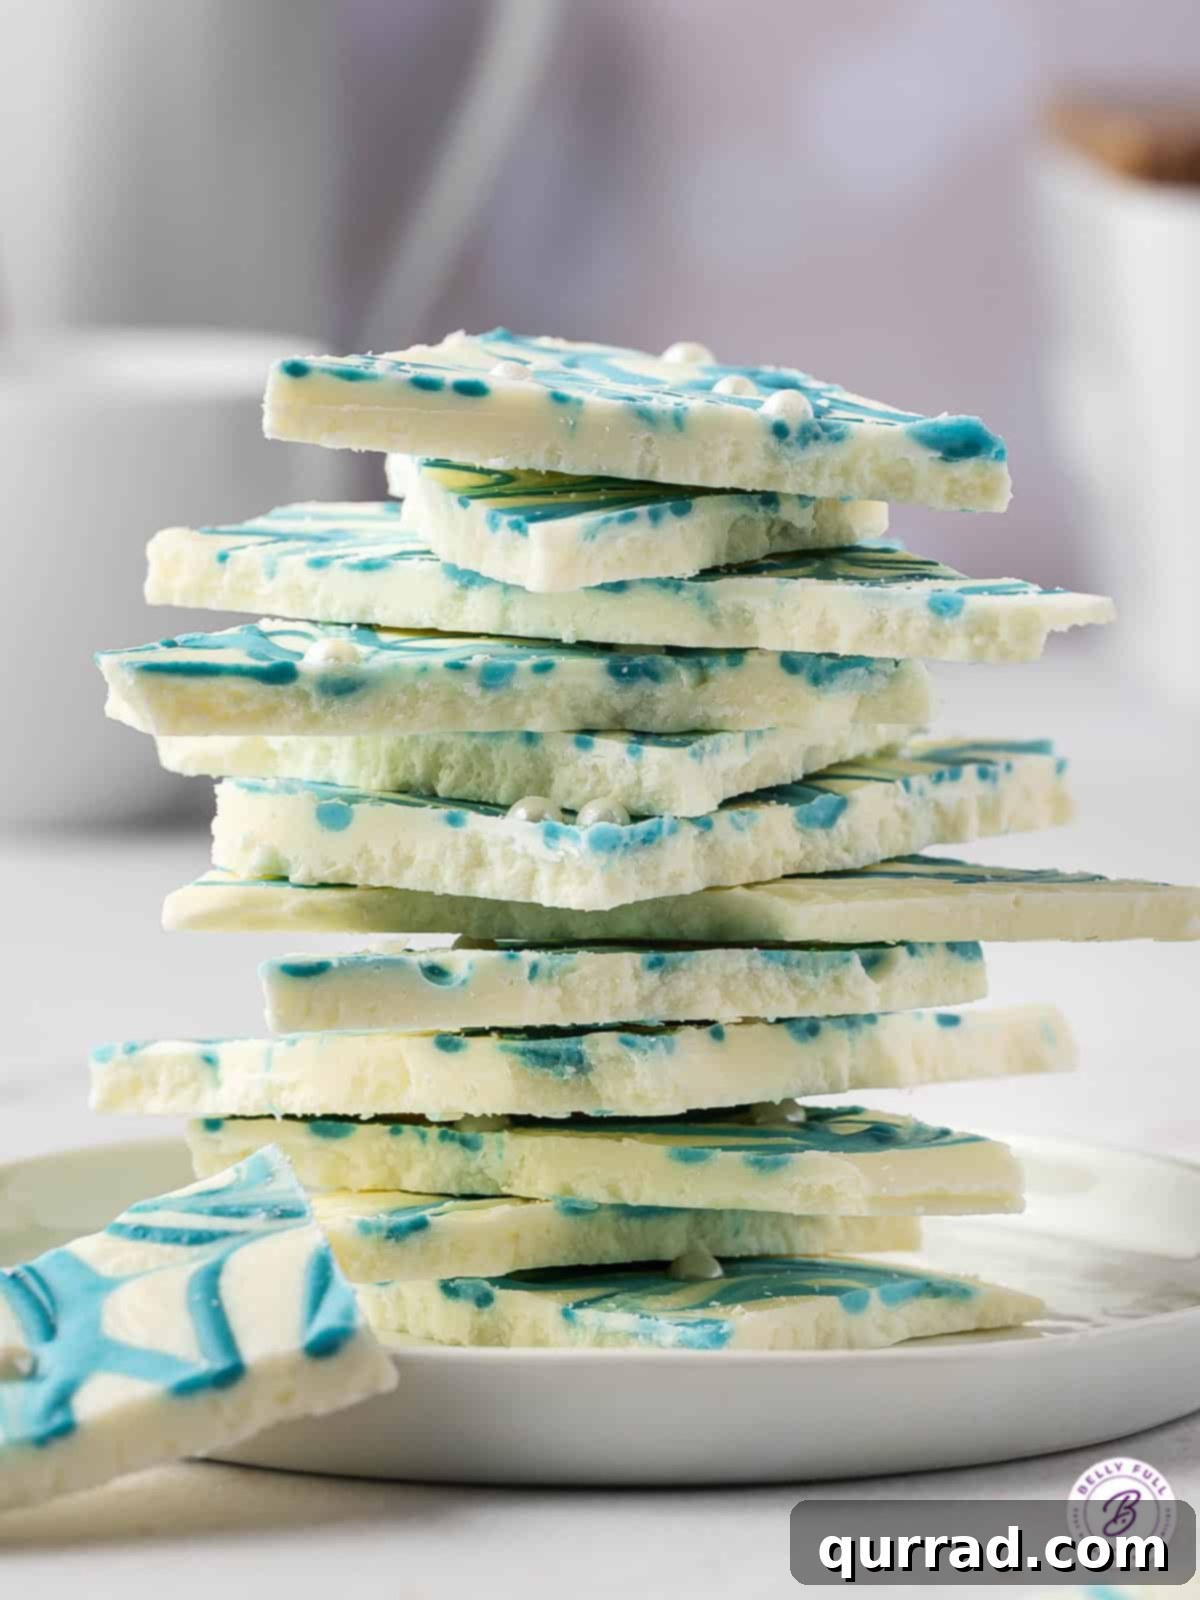
- Chill to Set: Carefully transfer the baking sheet to the refrigerator and chill for at least one hour, or until the chocolate bark is completely firm and hardened. This chilling period is essential for achieving a clean snap when broken.
- Break and Enjoy: Once fully set, remove the bark from the refrigerator. Lift the parchment paper off the baking sheet and gently break the bark into irregular pieces with your hands. Alternatively, if you prefer neat, straight-edged pieces, refer to the “Breaking It Up Into Pieces” tip below. Serve and enjoy this festive Hanukkah treat!
Tips for Achieving the Perfect Swirl
The marble effect is what truly makes this Hanukkah Chocolate Bark visually stunning. Here are some tips to perfect your swirl:
- Work Quickly: Melted chocolate starts to set relatively fast. Have all your colored chocolates ready in piping bags before you spread the white base.
- Don’t Overdo It: Pipe lines or dots of blue chocolate over the white base. Use a knife or skewer to gently drag through the colors, creating an S-shape or zigzag pattern. Resist the urge to swirl too much, as this can make the colors muddy. A few gentle passes are often enough.
- Temperature Matters: Ensure your colored chocolates are still warm and fluid enough to pipe easily. If they start to firm up in the bags, you can gently warm them in your hands or in a bowl of warm water for a few seconds.
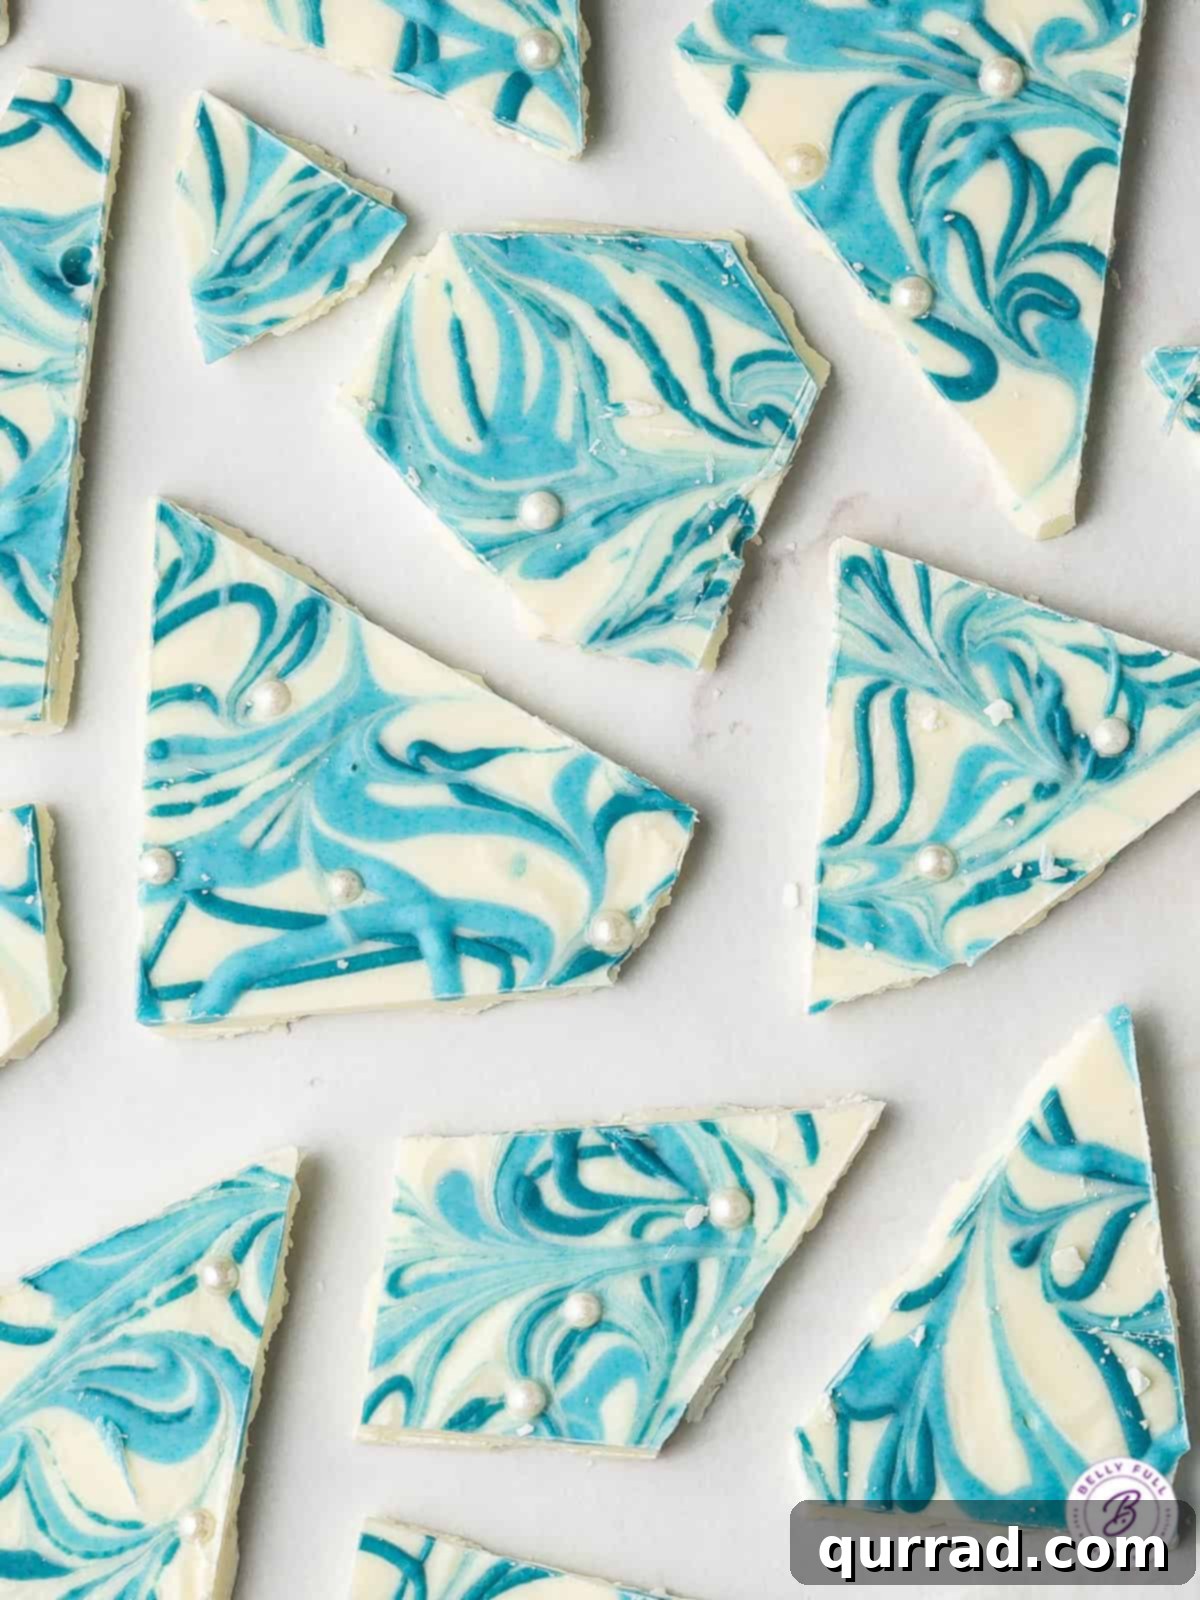
Breaking It Up Into Pieces: Rustic vs. Precise
One of the charms of chocolate bark is its rustic, organic look when broken into uneven pieces. I personally love this charmingly imperfect aesthetic, and simply breaking the hardened bark with my hands is my preferred method. It’s quick, easy, and gives each piece a unique character.
However, if you prefer a more polished presentation with perfect squares and straight edges, you can certainly cut the bark. To achieve clean cuts without cracking the chocolate, here’s a professional tip: Heat the blade of a sharp knife by placing it in hot water for about 30 seconds. Dry the blade completely, then carefully press it against the bark to score the sections. Allow the residual heat from the blade to slightly melt a clean line into the chocolate. Then, apply gentle pressure to cut through. Repeat this process for each cut, reheating and drying the knife as needed. This technique ensures smooth, precise cuts, ideal for a more formal presentation or uniform gift packaging.
Proper Storage for Chocolate Bark
To keep your Hanukkah Chocolate Bark fresh and delicious, proper storage is key. Store the bark in an airtight container to protect it from moisture and odors. Keep it in a cool, dry place at room temperature for up to 1 week. If you need to extend its freshness, you can store it in the refrigerator for up to 2 weeks. For longer storage, chocolate bark freezes beautifully for about 1 month. When freezing, place pieces between layers of parchment paper within the airtight container to prevent them from sticking together. Thaw in the refrigerator before serving. Always ensure the container is tightly sealed to maintain its crisp texture and prevent any absorption of refrigerator odors.
More Delicious Hanukkah Dessert Recipes
Hanukkah is a time for celebration and indulging in sweet treats. If you’re looking to expand your holiday dessert spread beyond this delightful chocolate bark, consider these other traditional and beloved Hanukkah recipes:
- Mandel Bread: A twice-baked Jewish cookie, similar to biscotti, perfect for dipping in coffee or tea.
- Sufganiyot (Jelly Donuts): These traditional fried donuts symbolize the miracle of the oil and are a Hanukkah staple.
- Matzo Toffee: A delicious and addictive treat made with matzo crackers, caramel, and chocolate, often enjoyed during Passover but equally delightful year-round.
- Rugelach: Classic crescent-shaped pastries filled with nuts, jam, or chocolate.
- Coconut Macaroons: Chewy, sweet, and naturally gluten-free cookies that are always a crowd-pleaser.
- Meringue Cookies: Light, airy, and delicately crisp, these cookies can be tinted blue and white for an extra festive touch.
Recipe: Hanukkah Chocolate Bark
Hanukkah Chocolate Bark
Chill & Set Time: 1 hr
Total Time: 1 hr 15 mins
Servings: 24 (3-inch pieces)
Hanukkah Chocolate Bark is a quick and easy dessert made with only 3 simple ingredients! It’s so festive with pretty blue and white colors, no bake, and a fantastic last minute treat for holiday parties and edible gifts.
Ingredients
- 30 ounces vanilla candy melts
- Light blue food gel coloring
- Dark blue food gel coloring
- White pearl sprinkles
Instructions
- Line a baking sheet with parchment paper.
- Place white chocolate candy melts in a medium glass microwavable bowl and melt according to package directions until completely smooth.
- Spoon a few small scoops into two separate small bowls; mix light blue food gel into one, dark blue food gel into the other. Transfer to two separate small Ziploc bags; snip off a small corner.
- Spread remaining melted white chocolate onto the lined baking sheet in a rectangular shape, 1/4-inch thick. Pipe both blue colored chocolates onto the white chocolate; then cut through with a dull knife in a swirling pattern to create a marble looking effect.
- Sprinkle bark with some white pearl sprinkles as snowflakes.
- Place in the refrigerator for at least an hour to harden completely, then break into pieces and enjoy!
Nutrition
Calories: 78kcal | Carbohydrates: 10g | Fat: 4g | Saturated Fat: 4g | Sodium: 16mg | Sugar: 10g
Nutritional information given is an automatic calculation and can vary based on the exact products you use and any changes you make to the recipe. If these numbers are very important to you, I would recommend calculating them yourself.
I hope you thoroughly enjoy preparing and sharing this delicious and easy Hanukkah Chocolate Bark recipe. It’s a wonderful way to bring festive cheer to your holiday table and share a sweet moment with loved ones. Happy Hanukkah!