
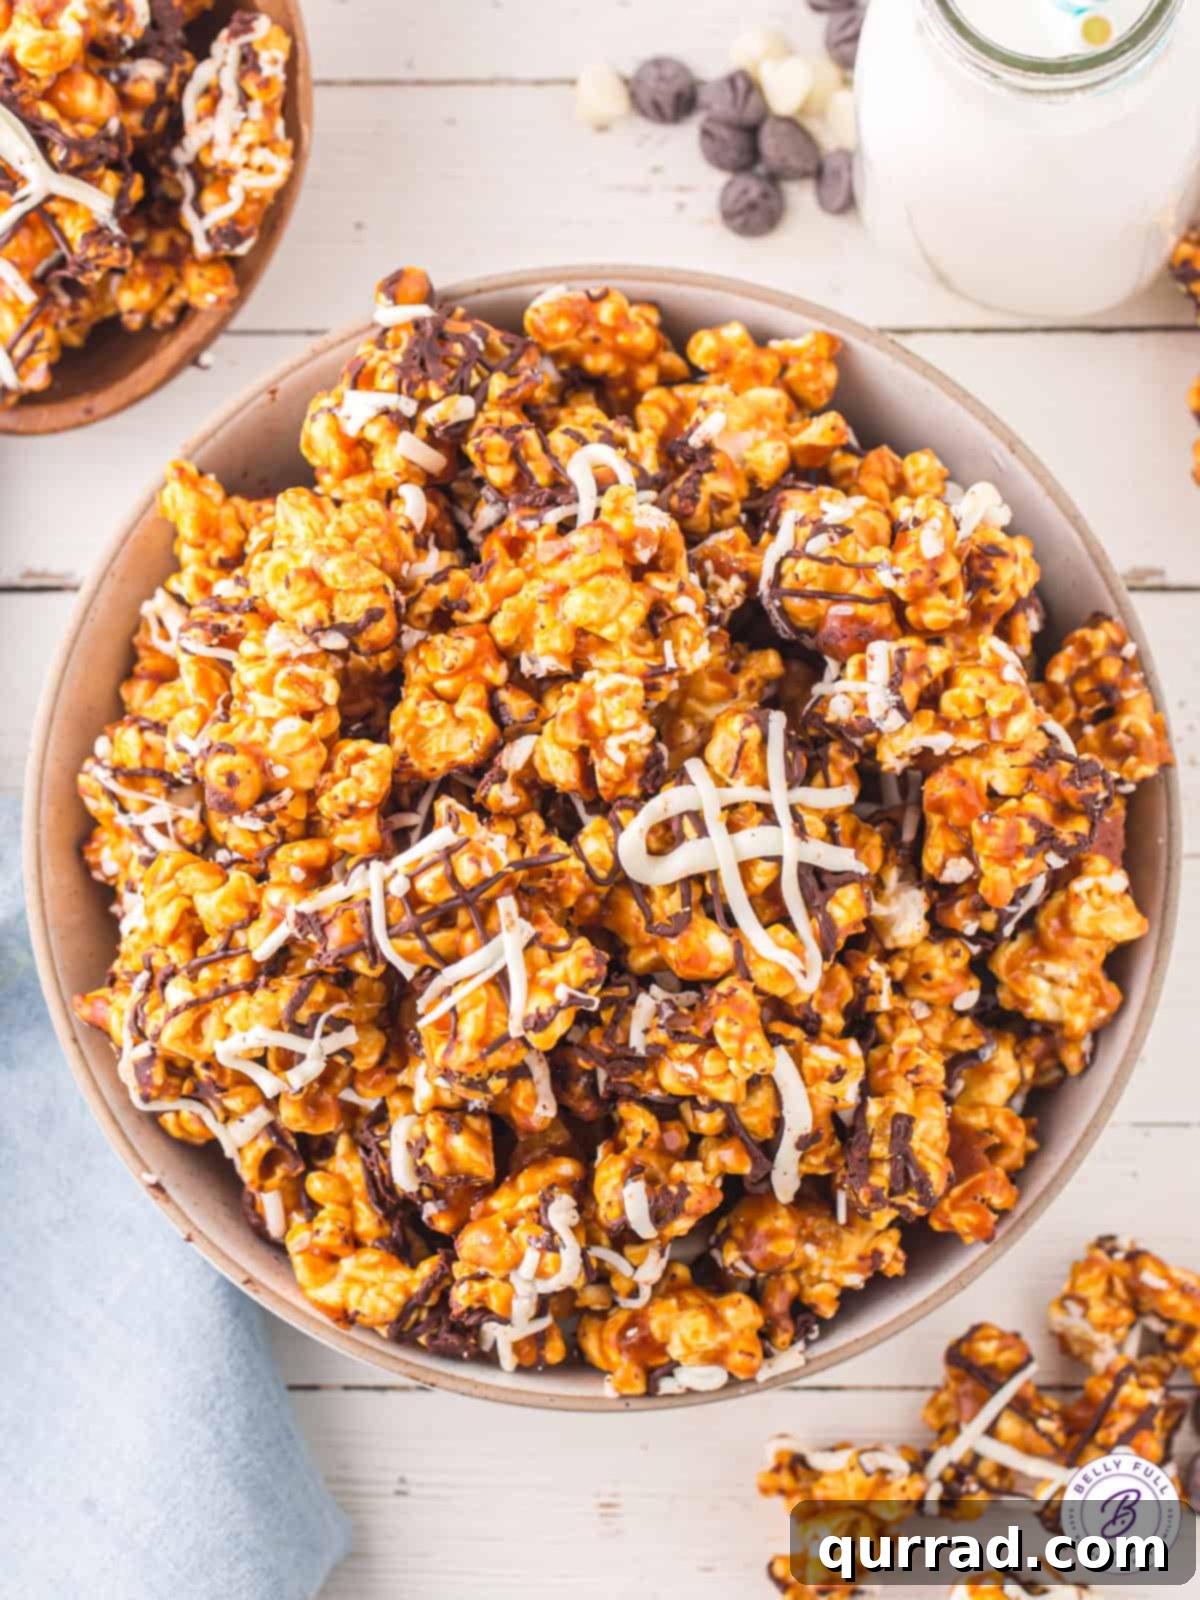
Elevate your snacking experience with this delightful Homemade Zebra Popcorn! This irresistibly sweet, salty, and wonderfully crunchy treat features perfectly popped popcorn coated in a rich, buttery caramel, then artfully drizzled with contrasting ribbons of dark and white chocolate. It’s a spectacular snack that’s ideal for cozy movie nights, long road trips, lively game day gatherings, or thoughtful, homemade holiday gifts. Forget the store-bought versions; once you try this fresh, customizable, and incredibly delicious homemade recipe, you’ll never look back!
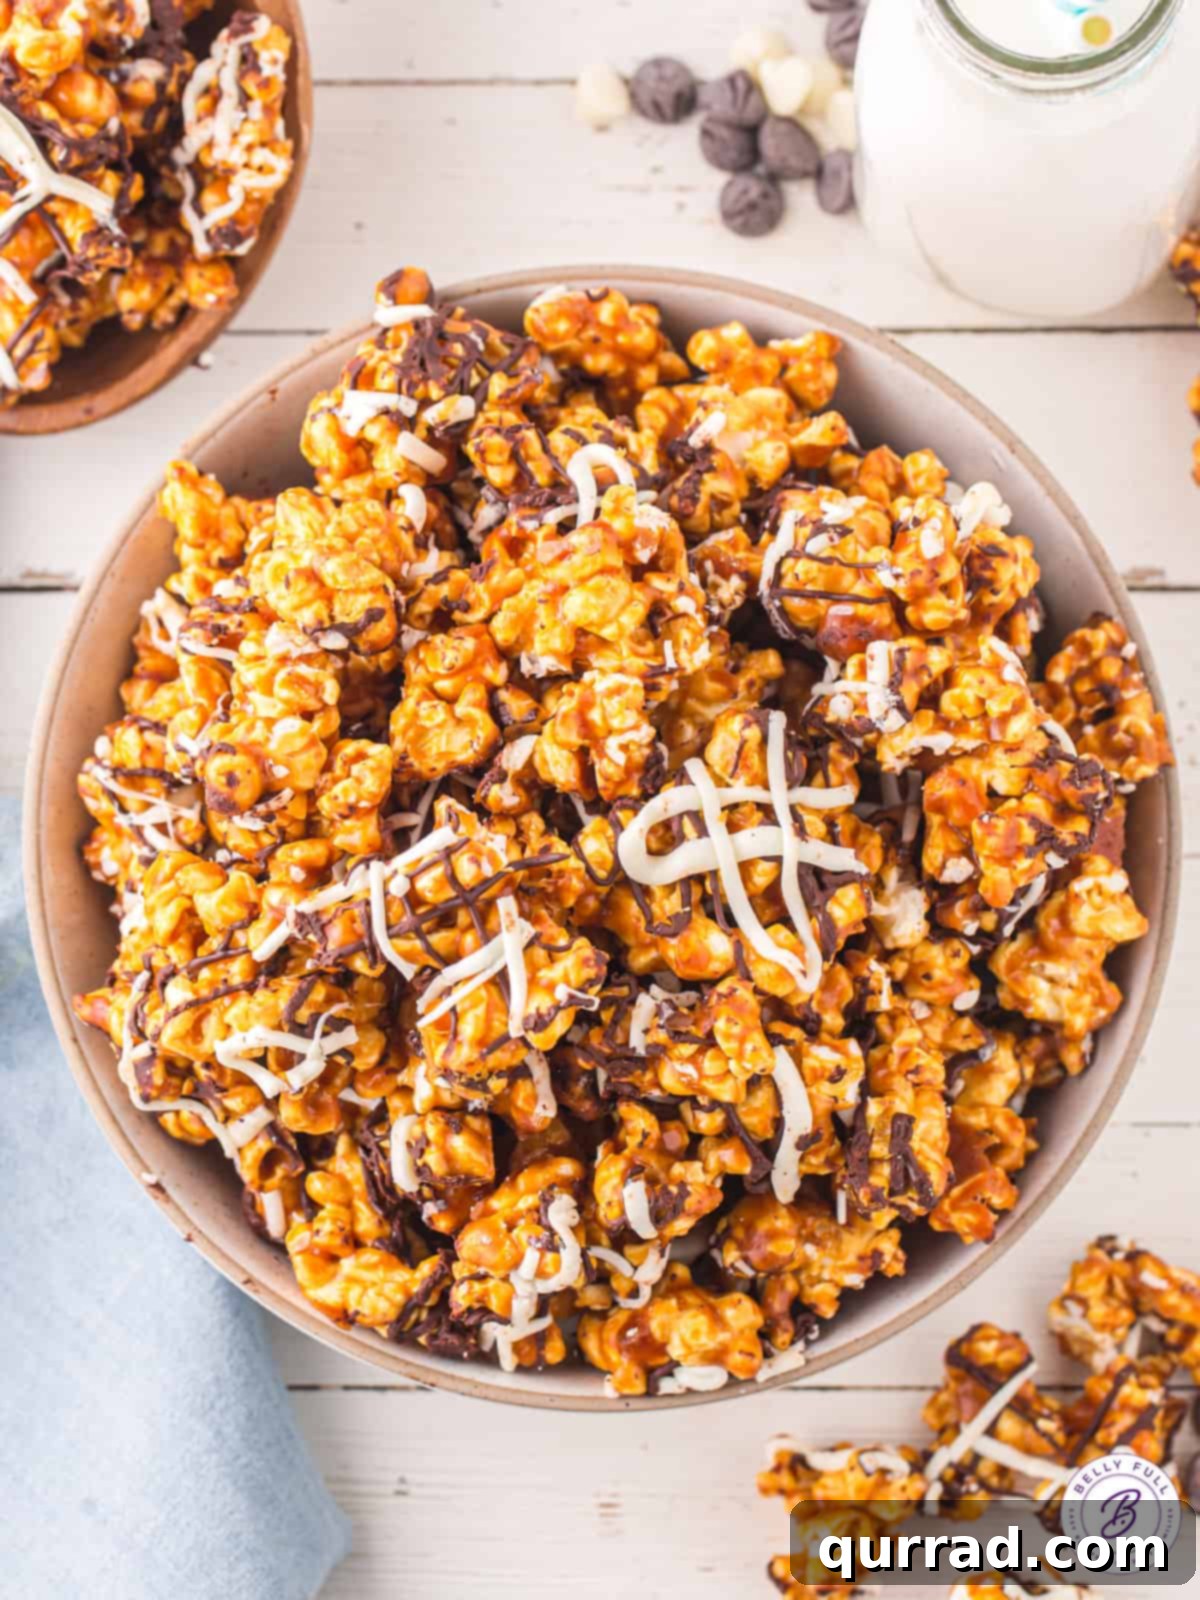
Unveiling the Magic of Zebra Popcorn
For those who appreciate the finer things in life, especially when it comes to snacks, our Zebra Popcorn recipe is a true game-changer. While many commercial brands offer their take on this beloved sweet gourmet popcorn (the Popcornopolis Zebra Popcorn at Costco comes to mind for its widespread popularity), there’s an undeniable charm and superior quality that only homemade treats can offer. Crafting your own Zebra Popcorn ensures unparalleled freshness, allows for complete control over ingredients, and is remarkably more cost-effective than its store-bought counterparts.
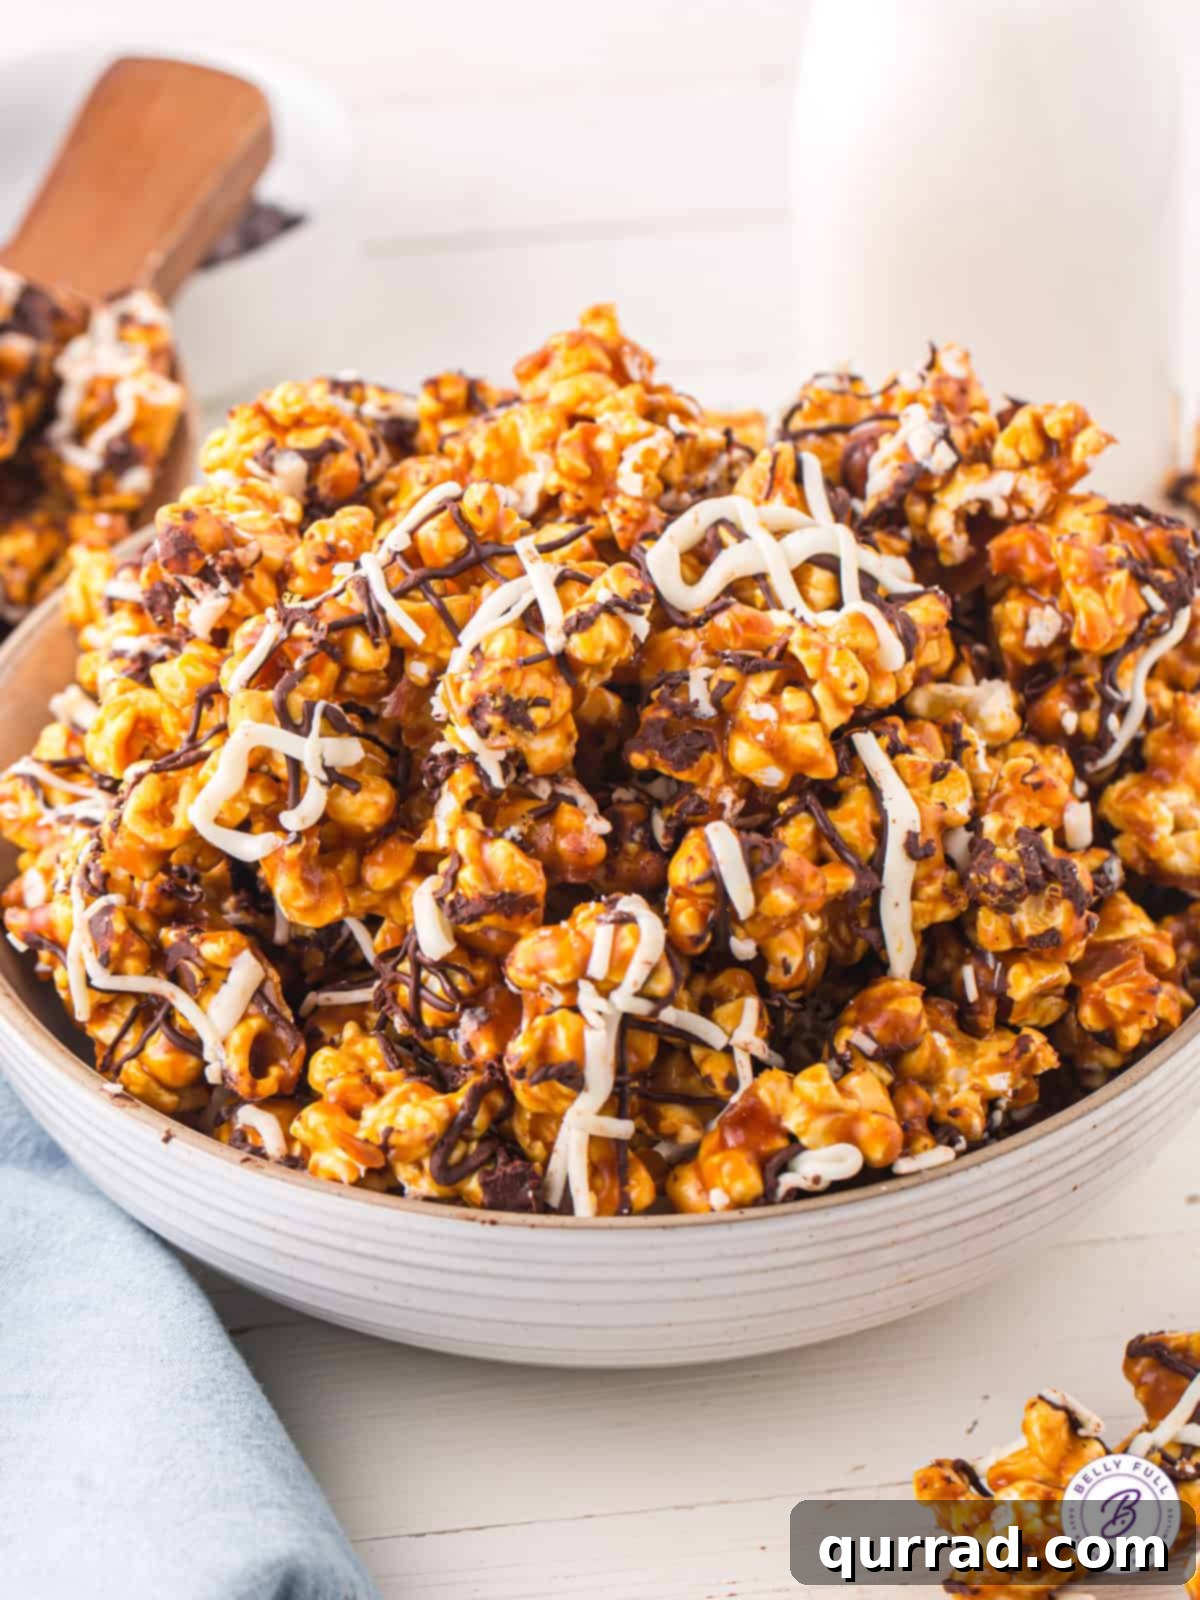
At its heart, Zebra Popcorn is a luxurious oven-baked caramel corn, distinguished by a generous top layer of elegantly drizzled dark chocolate and white chocolate. The striking contrast of these two melted chocolates creates visually appealing stripes, reminiscent of a zebra, thus giving this delectable confection its memorable name. This buttery, crunchy candied popcorn isn’t just a snack; it’s an experience. It’s an essential addition to any family movie night, a crowd-pleaser for game day events, perfect for potlucks, and an absolutely fantastic edible gift when packaged in charming cellophane bags for parties and holidays. Prepare to impress everyone with this simple yet sophisticated popcorn creation!
Why This Homemade Popcorn Will Become Your Favorite
There are countless reasons to fall in love with making your own homemade Zebra Popcorn. This recipe stands out, promising not just a snack, but a culinary delight that ticks all the boxes for flavor, texture, and convenience. Here’s why you’ll adore whipping up a batch of this sweet and salty masterpiece:
- An Irresistible Fusion of Taste and Texture: Each bite delivers a harmonious blend of sweet, buttery caramel, the rich depth of dark chocolate, and the creamy sweetness of white chocolate, all perfectly balanced with that satisfying, signature crunch of freshly popped corn. It’s a symphony for your taste buds!
- Crafted with Simple, Accessible Ingredients: You won’t need to search for exotic items to create this gourmet treat. Our recipe relies on straightforward, easy-to-find pantry staples, ensuring you can whip up a batch anytime the craving strikes without a special trip to the grocery store.
- The Ultimate Snack for On-the-Go Enjoyment: This sturdy and delicious popcorn travels exceptionally well. Packed securely in a snack bag or airtight container, it’s the perfect companion for school lunches, long road trips, picnics, or any adventure where you need a reliable and tasty pick-me-up.
- Effortlessly Perfect for Sharing and Gifting: Whether you’re hosting a family movie night, gathering with friends for a casual get-together, or looking for a heartfelt present, Zebra Popcorn is an ideal choice. It makes a truly lovely and unique edible holiday gift, sure to be appreciated by anyone lucky enough to receive it.
- Cost-Effective Gourmet Treat: Skip the expensive specialty stores! Making Zebra Popcorn at home is significantly more budget-friendly, allowing you to enjoy a high-quality, gourmet snack without breaking the bank.
- Customizable to Your Liking: Homemade means you’re in control. Adjust the sweetness, add extra sea salt flakes, or experiment with different types of chocolate to tailor the flavor profile precisely to your preference.
- A Fun and Rewarding Culinary Project: The process of making caramel corn and drizzling the chocolate is surprisingly therapeutic and enjoyable, yielding a delicious reward that feels incredibly satisfying to create from scratch.
Essential Ingredients for Your Zebra Popcorn
Creating this irresistible Zebra Caramel Popcorn recipe is simpler than you might imagine, especially when you gather all your high-quality ingredients beforehand. Each component plays a vital role in achieving that perfect balance of sweet, salty, and crunchy. Here’s a detailed look at what you’ll need:
- Popped Popcorn: The foundation of our snack! For the best flavor and texture, we highly recommend making your own foolproof stovetop popcorn. Its fresh, airy quality is unmatched. However, for convenience, you can certainly use microwave popcorn (ensure it’s plain and unsalted) or purchase pre-popped bagged popcorn, like SkinnyPop. The key is to start with plain popcorn, free from any artificial butter or seasonings, to let the caramel and chocolate shine. You’ll need about 14 cups of popped corn.
- Light Brown Sugar: This is the primary sweetener for our rich caramel. Light brown sugar contributes a nuanced, molasses-like flavor and helps create that signature golden-brown hue. You can also opt for dark brown sugar if you prefer a more intense, deeper caramel flavor.
- Butter: A non-negotiable ingredient that adds luxurious richness, incredible flavor, and essential moisture to the caramel sauce. We recommend using unsalted butter to control the overall saltiness of the snack.
- Light Corn Syrup: Often underestimated, light corn syrup is crucial for achieving the perfect caramel consistency. As an invert sugar, it acts as a binder, preventing the sugar from crystallizing and ensuring the caramel remains smooth, glossy, and chewy, rather than grainy or brittle. Do not skip this ingredient for optimal results.
- Baking Soda: This might seem like an unusual addition to caramel, but it’s a scientific marvel! When baking soda reacts with the hot sugar and corn syrup mixture, it creates tiny air bubbles. This aeration process is what ensures the caramel coating isn’t rock hard, but instead develops a delicate, perfectly crunchy, and melt-in-your-mouth texture. It truly makes all the difference!
- Vanilla Extract: Just a touch of pure vanilla extract goes a long way in enhancing the overall flavor profile of the caramel. Its aromatic notes complement the sweetness beautifully, adding depth and warmth.
- Chocolate Chips (Dark or Semi-Sweet): These are for creating the distinctive dark stripes. You have flexibility here; choose semisweet, dark, or even milk chocolate chips based on your preference for bitterness or sweetness. A good quality chocolate will melt smoothly and provide a superior flavor.
- White Chocolate Chips: Essential for the contrasting white zebra stripes. For the best melting consistency and flavor, we strongly recommend using a high-quality brand like Ghirardelli or Guittard. Avoid “white candy melts” for true chocolate flavor, unless you’re specifically looking for a candy coating.
- Coconut Oil: Mixed with both the dark and white chocolates, a small amount of coconut oil is key. It helps the chocolates melt into a smoother, more fluid consistency, making them easier to drizzle. Additionally, it aids in helping the chocolate harden and set properly at room temperature, ensuring beautiful, defined stripes.
Exciting Recipe Variations to Explore
One of the best aspects of making homemade Zebra Popcorn is the endless possibilities for customization. While the classic sweet and salty caramel and chocolate combination is divine, don’t hesitate to experiment and make this recipe truly your own! Here are some creative variations to inspire your next batch:
- Introduce Delightful Mix-Ins: Before drizzling the melted chocolate, consider adding an extra layer of flavor and texture with various mix-ins. Think about toasted chopped nuts like pecans, almonds, or walnuts for added crunch and richness. Dried fruits such as cranberries, raisins, or chopped apricots can introduce a lovely chewiness and tartness. For an extra sweet and fun twist, mini pretzels, M&M’s, or colorful sprinkles can be folded in.
- Experiment with Different Chocolate Varieties: The traditional semisweet and white chocolate create that iconic Zebra look, but your chocolate choices aren’t limited! Try milk chocolate for a sweeter profile, or use a higher percentage dark chocolate for a more intense, sophisticated flavor. For a completely different twist, consider using butterscotch chips for a rich, buttery flavor, or peanut butter chips to satisfy a nutty craving. Mint chocolate chips could also create a festive holiday version.
- Utilize Candy Melts for Vibrant Colors: If you’re looking to create popcorn with specific colors for a themed party or holiday, candy melts (also known as melting wafers) are a fantastic alternative to chocolate chips and coconut oil. They come in a wide array of vibrant colors, melt smoothly, and harden quickly, allowing you to create bright blue, pink, or green stripes instead of the classic black and white.
- Spice Things Up: For those who love a hint of spice, a pinch of cinnamon or a tiny dash of cayenne pepper can be added to the caramel sauce to create a warm, complex flavor profile.
- Elevate with Gourmet Salt: A sprinkle of flaky sea salt (like Maldon) over the finished product, just after the chocolate drizzle, can beautifully enhance the sweet and salty dynamic, adding a delightful textural crunch.
- Coffee Lover’s Dream: Mix a small amount of instant espresso powder into your dark chocolate before melting for a sophisticated mocha-flavored twist.
Crafting Your Perfect Zebra Popcorn: A Step-by-Step Guide
Making delicious homemade Zebra Popcorn might seem intimidating, but it’s surprisingly straightforward and doesn’t even require a candy thermometer for the caramel! Follow these detailed steps to create a gourmet treat that will impress everyone:
- Prepare Your Popcorn: Begin by popping your kernels. While you can use an air popper or store-bought bagged popcorn for convenience, our preferred method for the best texture and flavor is making stovetop popcorn. Ensure your popcorn is plain and unsalted. Once popped, carefully pick out any unpopped kernels to prevent unpleasant surprises. Transfer the fluffy popcorn to a very large mixing bowl – you’ll need about 14 cups. Preheat your oven to 225 degrees F (107 degrees C) and line two large baking sheets with parchment paper; this prevents sticking and makes cleanup a breeze.
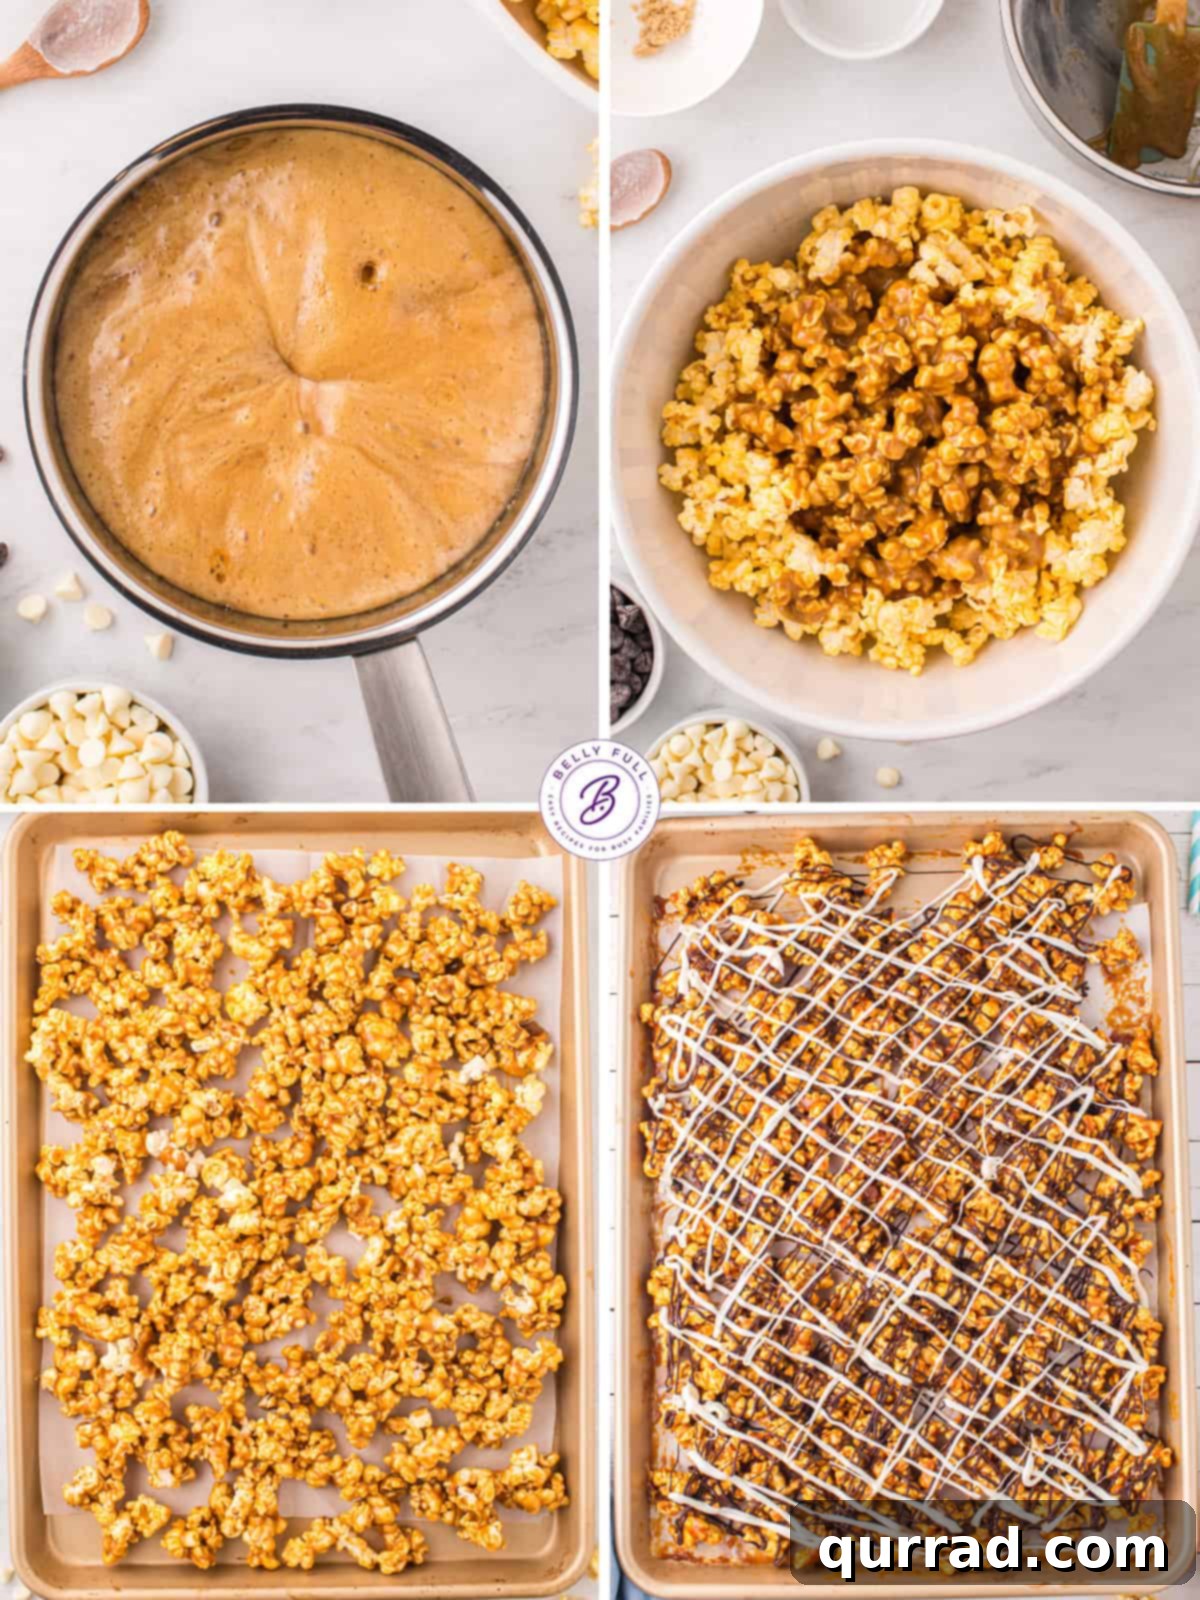
- Whip Up the Golden Caramel Sauce: In a medium-sized, heavy-bottomed pot, combine the butter, light brown sugar, and light corn syrup. Place the pot over medium heat and allow the ingredients to melt together, stirring continuously with a heat-resistant silicone spatula to ensure even melting and prevent scorching. Once the mixture is fully melted, bring it to a gentle, low boil. Continue to gently bubble and stir for exactly 5 minutes. This precise timing is crucial for the caramel’s texture. Immediately remove the pot from the heat and quickly stir in the baking soda and vanilla extract. The mixture will magnificently foam and lighten in color – this is the baking soda working its magic!
- Generously Coat the Popcorn: This step requires speed! The caramel sauce begins to harden fairly quickly once off the heat. Immediately pour the hot, foamy caramel over the bowl of popped popcorn. Using two silicone spatulas (or sturdy wooden spoons), work swiftly and gently to toss the popcorn, ensuring every single piece is evenly coated with the glorious caramel. Once coated, divide the mixture equally onto your two prepared baking sheets, spreading it into a single layer.
- Bake to Perfection: Transfer the baking sheets to your preheated oven. Bake the caramel corn for 35 to 45 minutes. During this baking time, it’s essential to rotate the pans and stir the popcorn on each sheet with a spatula (you can lightly coat the spatula with cooking spray to prevent sticking) every 15 minutes. This ensures even baking, allows the caramel to fully set and crisp up, and prevents any spots from becoming overly dark or burnt. You’re looking for a deep, rich caramel color and a perfectly crunchy texture.
- Cool Completely: Remove the baking sheets from the oven and allow the caramel popcorn to cool completely at room temperature. This step is critical; patience here ensures the caramel hardens properly and maintains its crunch. It might take at least an hour or more.
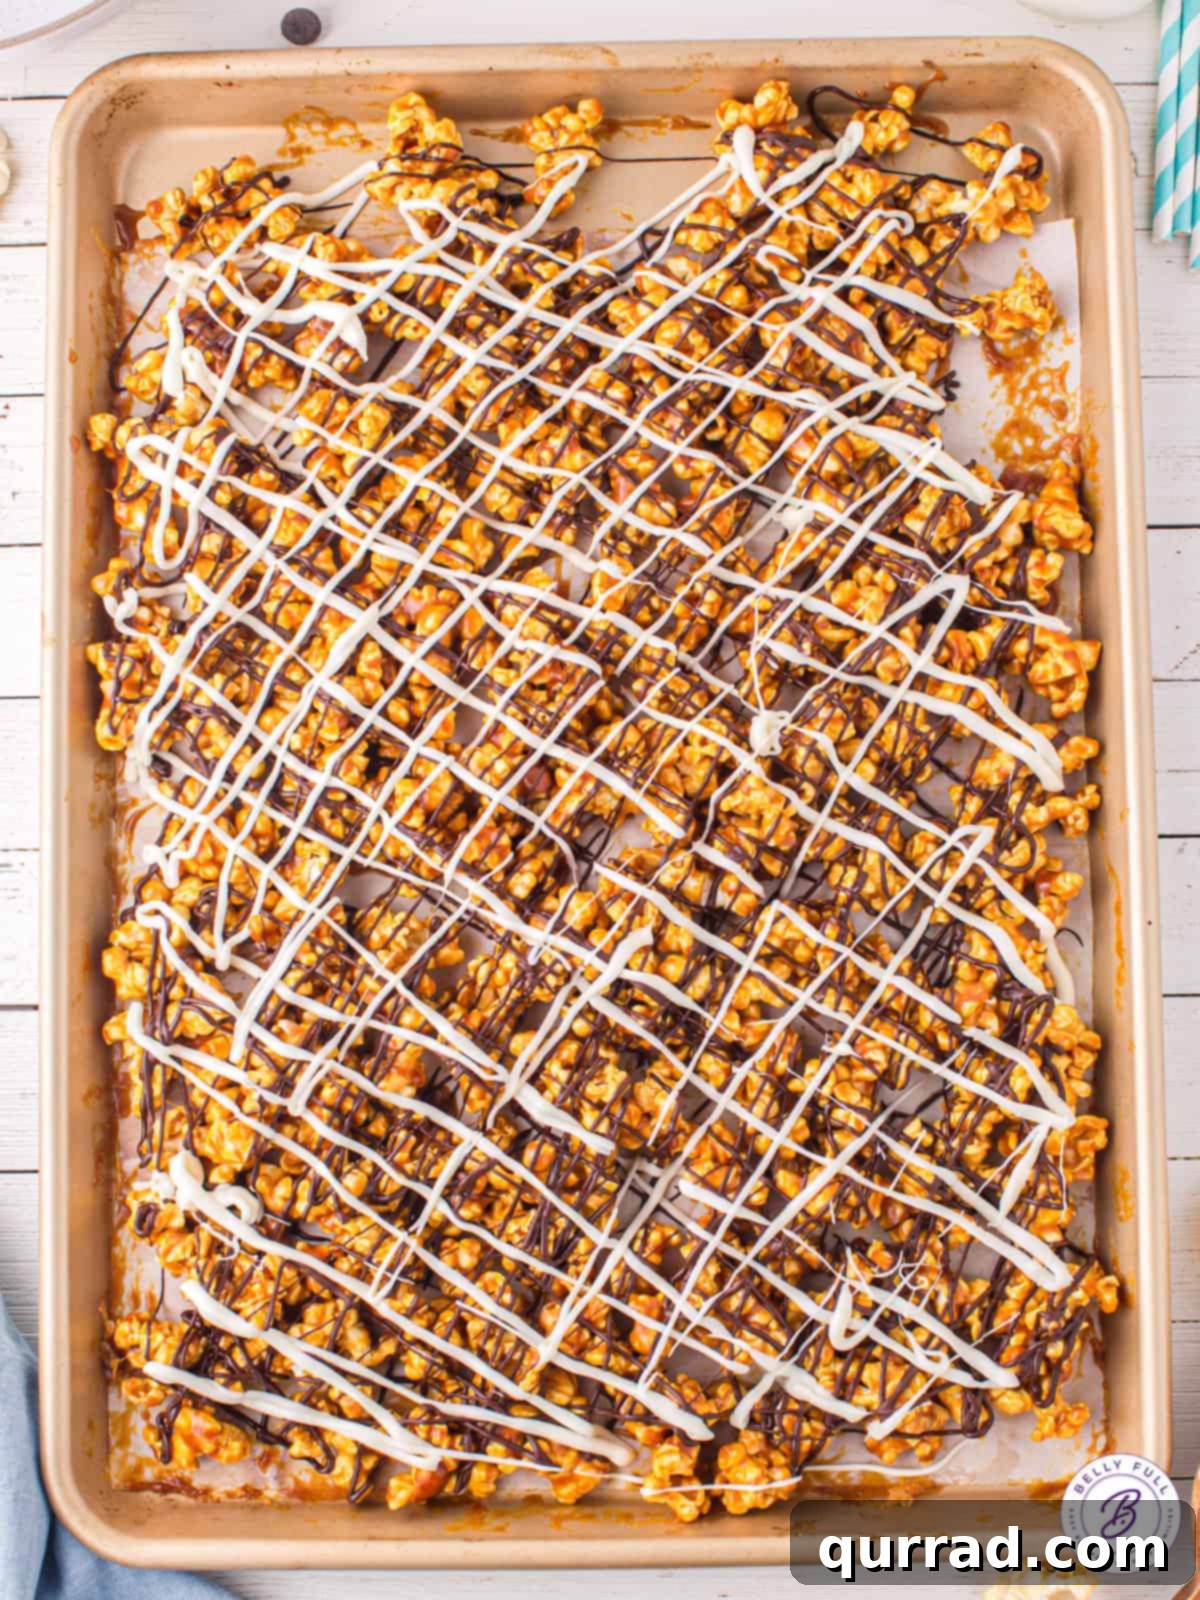
- Drizzle with Elegant Chocolate Stripes: Once the caramel corn is completely cool and firm, it’s time for the signature zebra stripes. For the dark chocolate, place the dark chocolate chips and 1 teaspoon of coconut oil into a microwave-safe bowl. Heat for 45 seconds, then stir very well. If needed, continue heating in 10-second intervals, stirring vigorously after each, until the chocolate is fully melted and smooth. Using a spoon or a fork, gently drizzle the melted dark chocolate all over the caramel popcorn in a zigzag pattern. Repeat this process with the white chocolate chips and the remaining 1 teaspoon of coconut oil, creating contrasting white stripes over the dark chocolate.
- Allow Chocolate to Set: Let the chocolate-drizzled popcorn sit in a cool room for about 60 minutes, or until both chocolates have completely set and hardened. Avoid placing it in the refrigerator, as this can negatively impact the popcorn’s texture.
- Break Apart and Enjoy: Once the chocolate is firm, break the popcorn into individual, bite-sized pieces. Serve it in a large communal bowl, individual serving bowls, or get creative for gifting! Package it in clear cellophane bags tied with a pretty ribbon for charming party favors or thoughtful homemade gifts.
Expert Tips for Zebra Popcorn Success
Achieving perfectly crunchy, beautifully striped Zebra Popcorn is easy with a few insider tips. Pay attention to these details, and your homemade treat will be nothing short of spectacular:
- Thoroughly Remove Unpopped Kernels: Before you even think about coating your popcorn, take a few minutes to meticulously remove any unpopped kernels or husks from your bowl of popped corn. This simple step prevents unwelcome hard bits and protects your teeth, ensuring a purely enjoyable snacking experience.
- Preparation is Key – Have Everything Ready: Once the caramel sauce comes off the heat, it thickens and hardens remarkably fast. To avoid a sticky mess and ensure even coating, have your large bowl of popped popcorn, baking sheets, parchment paper, and sturdy mixing spatulas ready and waiting before you start making the caramel. Speed and efficiency are your friends here!
- Opt for a Silicone Spatula for Caramel: When stirring the caramel mixture, a silicone spatula is invaluable. Its flexible yet sturdy nature allows you to scrape the bottom and sides of the pot effectively, preventing sticking and burning. Plus, caramel tends to cling less to silicone than to metal or wooden spoons.
- Stir the Caramel Gently and Consistently: While preparing the caramel, stir the mixture gently but consistently. This prevents sugar crystals from forming on the sides of the pan and ensures the butter, sugar, and corn syrup melt and combine smoothly without scorching the bottom. Maintaining a steady medium heat and allowing it to reach a low boil for the full 5 minutes is crucial for the caramel’s texture and color.
- Patience is a Virtue – Allow Ample Cooling Time: This is a critical step that cannot be rushed. The caramel popcorn must cool completely at room temperature before you even think about drizzling it with chocolate. If the popcorn is still warm, the chocolate will simply melt and run, instead of setting into distinct, beautiful stripes. Give it at least an hour, or until it’s cool to the touch and the caramel is firm.
- Monitor Baking Time and Color Closely: While your caramel-coated popcorn bakes, keep a vigilant eye on it. The frequent stirring (every 15 minutes) is essential for even baking and crisping. Aim for a rich, deep golden caramel color, which indicates optimal flavor development and a delightful crunch. Prevent any areas from becoming overly dark or burnt, as this will lead to a bitter taste.
- Master the Even Chocolate Drizzle: To achieve that iconic zebra pattern, use a spoon or a fork to drizzle the melted chocolates. For a neat effect, try moving your hand in a zigzag motion across the popcorn spread on the baking sheet. This ensures an even distribution of both dark and white chocolate, enhancing both the visual appeal and the flavor of every piece.
- Choose Quality Ingredients: Especially for the chocolates, investing in good quality brands makes a noticeable difference in the final taste and how smoothly they melt and set.
Proper Storage and Delightful Gift Giving
Once you’ve mastered the art of making Zebra Popcorn, you’ll want to ensure it stays fresh and delicious for as long as possible, especially if you plan to share or gift it. Proper storage is key to maintaining its signature crunch and delightful flavor profile.
To keep your caramel corn at its best, store it in an airtight container or a heavy-duty plastic bag. Keep it at room temperature, away from direct sunlight, excessive heat, or any moisture. Stored correctly, your homemade Zebra Popcorn will maintain its quality for about 5 days. It’s worth noting that over time, the moisture from the chocolate can subtly soften the popcorn, causing it to lose some of its initial crispness. For the absolute best taste and texture, we highly recommend enjoying it within the first couple of days of making it. A crucial tip: avoid storing this popcorn in the refrigerator or freezer. The cold temperatures and potential condensation can negatively affect its texture, making it chewy or soggy, which diminishes the overall experience.
If you possess the incredible willpower to resist eating it all yourself (which is a challenge, we know!), this Zebra Popcorn also makes an absolutely fantastic edible gift. Its gourmet appearance and delightful taste make it a thoughtful and appreciated present for nearly any occasion. Simply scoop a couple of cups into a clear cellophane bag, tie it with a beautiful ribbon, and you have an instant gift perfect for neighbors, teachers, delivery drivers, hosts/hostesses, friends, and family. For a truly memorable presentation, consider layering it in decorative tins or glass jars with custom labels.
This sweet and salty treat would also be a fun and thematic addition to an animal-themed party, perhaps served alongside slices of our delightful Zebra Cake for a complete stripes-inspired dessert spread! The possibilities for sharing and enjoying this irresistible snack are truly endless.
Frequently Asked Questions About Zebra Popcorn
Got questions about making the perfect batch of Homemade Zebra Popcorn? We’ve got answers to some of the most common queries:
- Can I use already popped popcorn? Yes, absolutely! While we recommend fresh stovetop popcorn for the best texture, pre-popped bagged popcorn or air-popped popcorn works perfectly fine. Just ensure it is plain, unsalted, and unbuttered to allow the caramel and chocolate flavors to shine.
- Why do I need corn syrup in the caramel? Light corn syrup acts as an “invert sugar,” which is crucial for preventing the brown sugar from crystallizing. It ensures your caramel remains smooth, glossy, and beautifully chewy, rather than grainy or brittle. Don’t skip it for the best results!
- Can I make the caramel ahead of time? The caramel sauce itself hardens quickly, so it’s best to prepare it just before you’re ready to coat the popcorn. However, you can pop the popcorn ahead of time and store it in an airtight container.
- How can I prevent my caramel from burning? The key is to use a heavy-bottomed pot and stir consistently over medium heat. Avoid high heat, which can burn the sugar quickly. Once it reaches a low boil, strictly adhere to the 5-minute cooking time.
- My chocolate seized up when melting. What happened? Chocolate seizes when even a tiny drop of water or steam gets into it. Ensure your bowls and utensils are completely dry. Also, avoid overheating; melt in short bursts and stir frequently. The coconut oil in this recipe helps prevent seizing and promotes smooth melting.
- How do I get crispier popcorn? Baking the caramel-coated popcorn in the oven is essential for achieving that desirable crisp texture. Make sure to stir it every 15 minutes to allow for even drying and browning. Also, ensure it cools completely before adding chocolate.
- Can I use a different type of oil instead of coconut oil for the chocolate? Yes, you can. Vegetable oil or shortening can be used as a substitute to thin the chocolate for drizzling. However, coconut oil is often preferred for its subtle flavor and ability to help the chocolate set nicely.
- How can I package this for gifts? Cellophane bags tied with ribbons are classic. You can also use small mason jars, clear plastic containers, or decorative tins. Add a personalized tag for an extra special touch.
- Is this recipe gluten-free? Popcorn kernels are naturally gluten-free. As long as your other ingredients (brown sugar, butter, corn syrup, vanilla, baking soda, chocolate chips) are certified gluten-free, then your Zebra Popcorn will also be gluten-free. Always check labels to be sure.
More Favorite Popcorn Recipes:
- Popcorn Balls
- Dill Pickle Popcorn
- Garlic Bread Popcorn
- Christmas Caramel Popcorn
Zebra Popcorn

Pin
Ingredients
- 14 cups popped popcorn
- 3/4 cup butter
- 1 & 1/2 cups light brown sugar
- 1/3 cup light corn syrup
- 1/2 teaspoon baking soda
- 1 teaspoon vanilla extract
- 1/2 cup dark chocolate chips
- 1/2 cup white chocolate chips
- 2 teaspoons coconut oil, divided
Instructions
-
For this recipe, we recommend making stovetop popcorn for the best results, but you can also use microwave or pre-popped bagged popcorn, if preferred. Just ensure it’s plain. Carefully remove any unpopped kernels and place the popped corn in a large mixing bowl.
-
Preheat your oven to 225 degrees F (107 degrees C). Line 2 large baking sheets with parchment paper to prevent sticking.
-
In a medium, heavy-bottomed pot, melt together the butter, brown sugar, and corn syrup. Bring the mixture to a low boil, stirring continuously with a silicone spatula. Continue to gently bubble and stir for exactly 5 minutes. Remove the pot from the heat and stir in the baking soda and vanilla extract (the mixture will foam up significantly).
-
Working quickly before the caramel hardens, pour the hot caramel over the bowl of popcorn. Toss vigorously with sturdy spatulas or spoons to evenly coat all the popcorn pieces.
-
Spread the caramel corn onto the prepared baking sheets in a single layer. Place them in the preheated oven and bake for 35 to 45 minutes, rotating the pans and stirring the popcorn on each pan with a spatula (lightly coated with cooking spray to prevent sticking) every 15 minutes.
-
Remove the caramel popcorn from the oven and allow it to cool completely at room temperature. This step is crucial for the caramel to set and become crunchy.
-
To make the dark chocolate drizzle, pour the dark chocolate chips into a microwave-safe bowl with 1 teaspoon of coconut oil. Heat for 45 seconds, then stir well until smooth. If necessary, continue heating in 10-second intervals, stirring after each, until completely melted. Gently drizzle the dark chocolate all over the cooled caramel popcorn in a zigzag pattern. Repeat this entire process with the white chocolate chips and the remaining teaspoon of coconut oil, drizzling it over the popcorn to create the contrasting white stripes.
-
Allow the chocolate-drizzled popcorn to set in a cool room for about 60 minutes, or until the chocolate is firm to the touch.
-
Once the chocolate has set, break up the popcorn into individual pieces. Serve it in a large bowl, individual bowls, or package it in cellophane bags with a ribbon for party favors or gifts!
Notes
Careful Caramel Stirring: When making the caramel, stir the mixture gently and consistently over medium heat to avoid burning or sticking to the bottom of the saucepan. Maintaining a low boil for 5 minutes is crucial for the perfect texture.
Ample Cooling Time: Ensure the caramel popcorn is completely cool before drizzling with chocolate. If the popcorn is warm, the chocolate will simply melt instead of setting into distinct stripes, and the caramel won’t be as crisp.
Monitor Baking: While baking the caramel-coated popcorn, keep a close eye on it and stir thoroughly every 15 minutes. This ensures even baking, prevents burning, and helps achieve a deep caramel color and crunchy texture.
Nutrition
Nutritional information given is an automatic calculation and can vary based on the exact products you use and any changes you make to the recipe. If these numbers are very important to you, I would recommend calculating them yourself.
We hope you love this delicious and easy Zebra Popcorn recipe as much as we do! Don’t forget to follow Belly Full on TikTok, Facebook,Instagram,Pinterest, and YouTube for more delightful recipes!