
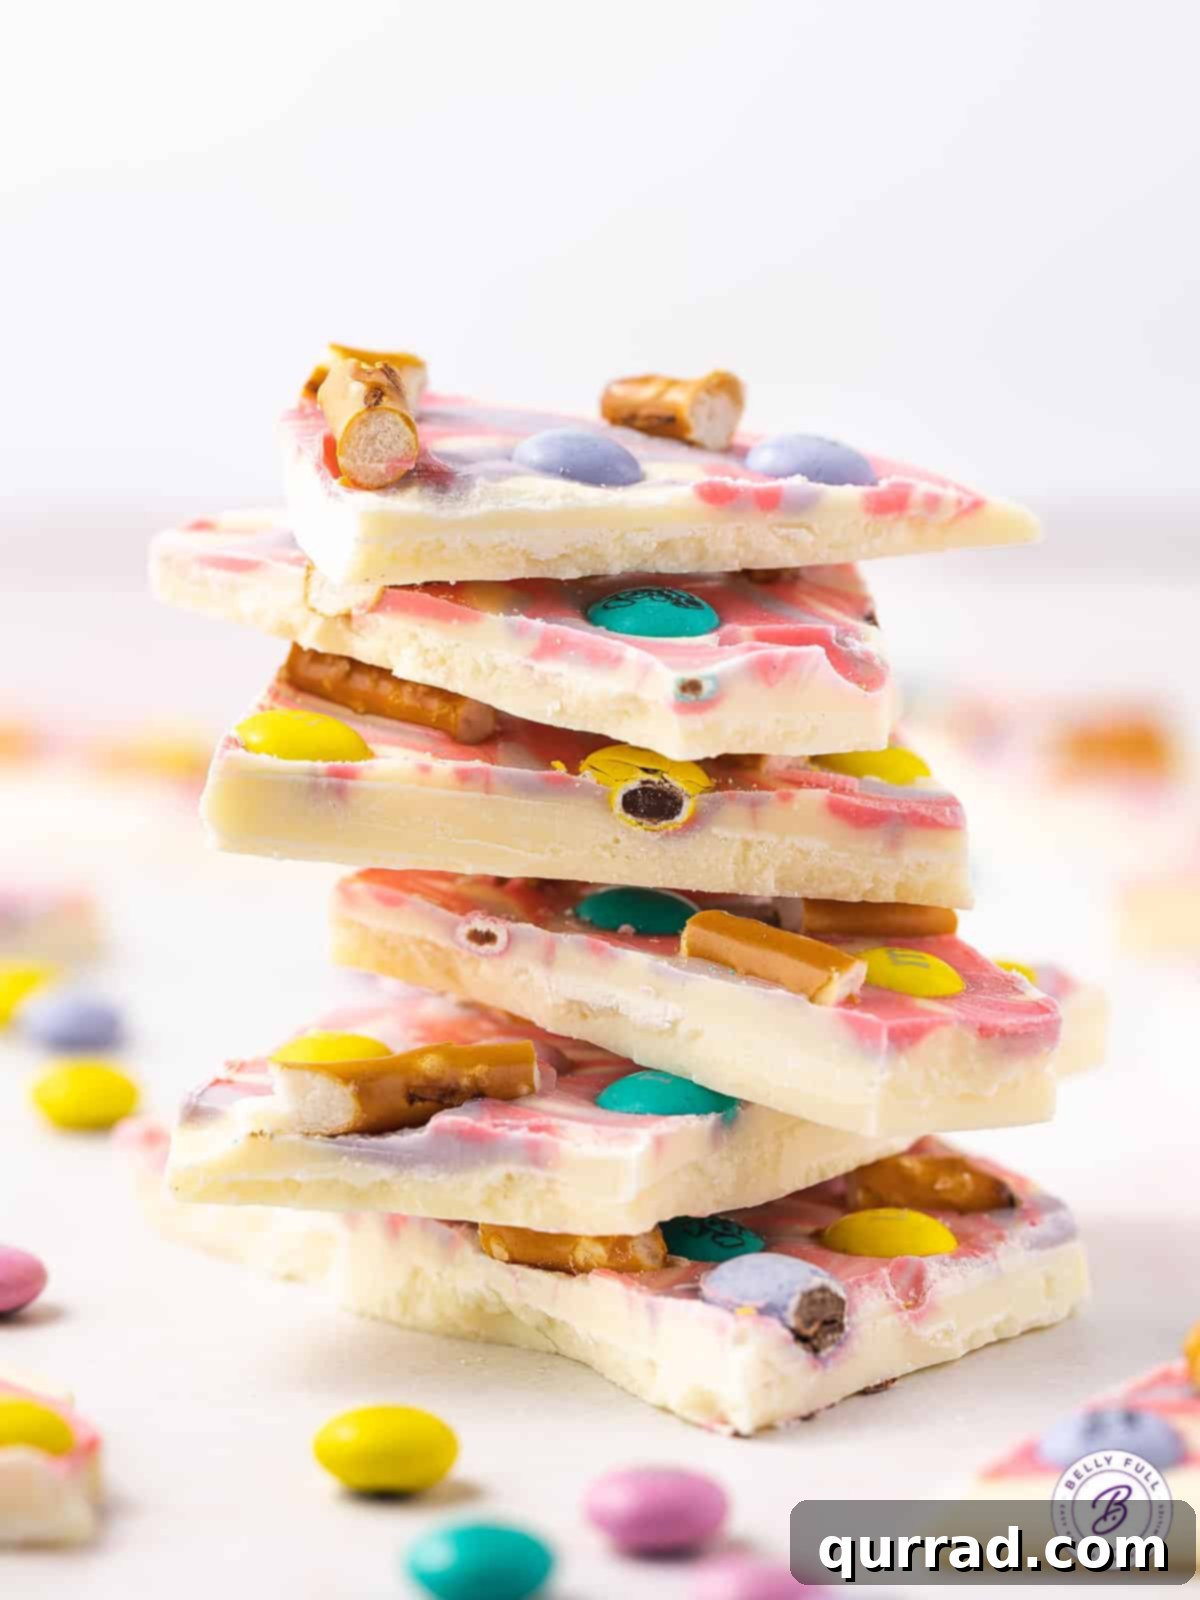
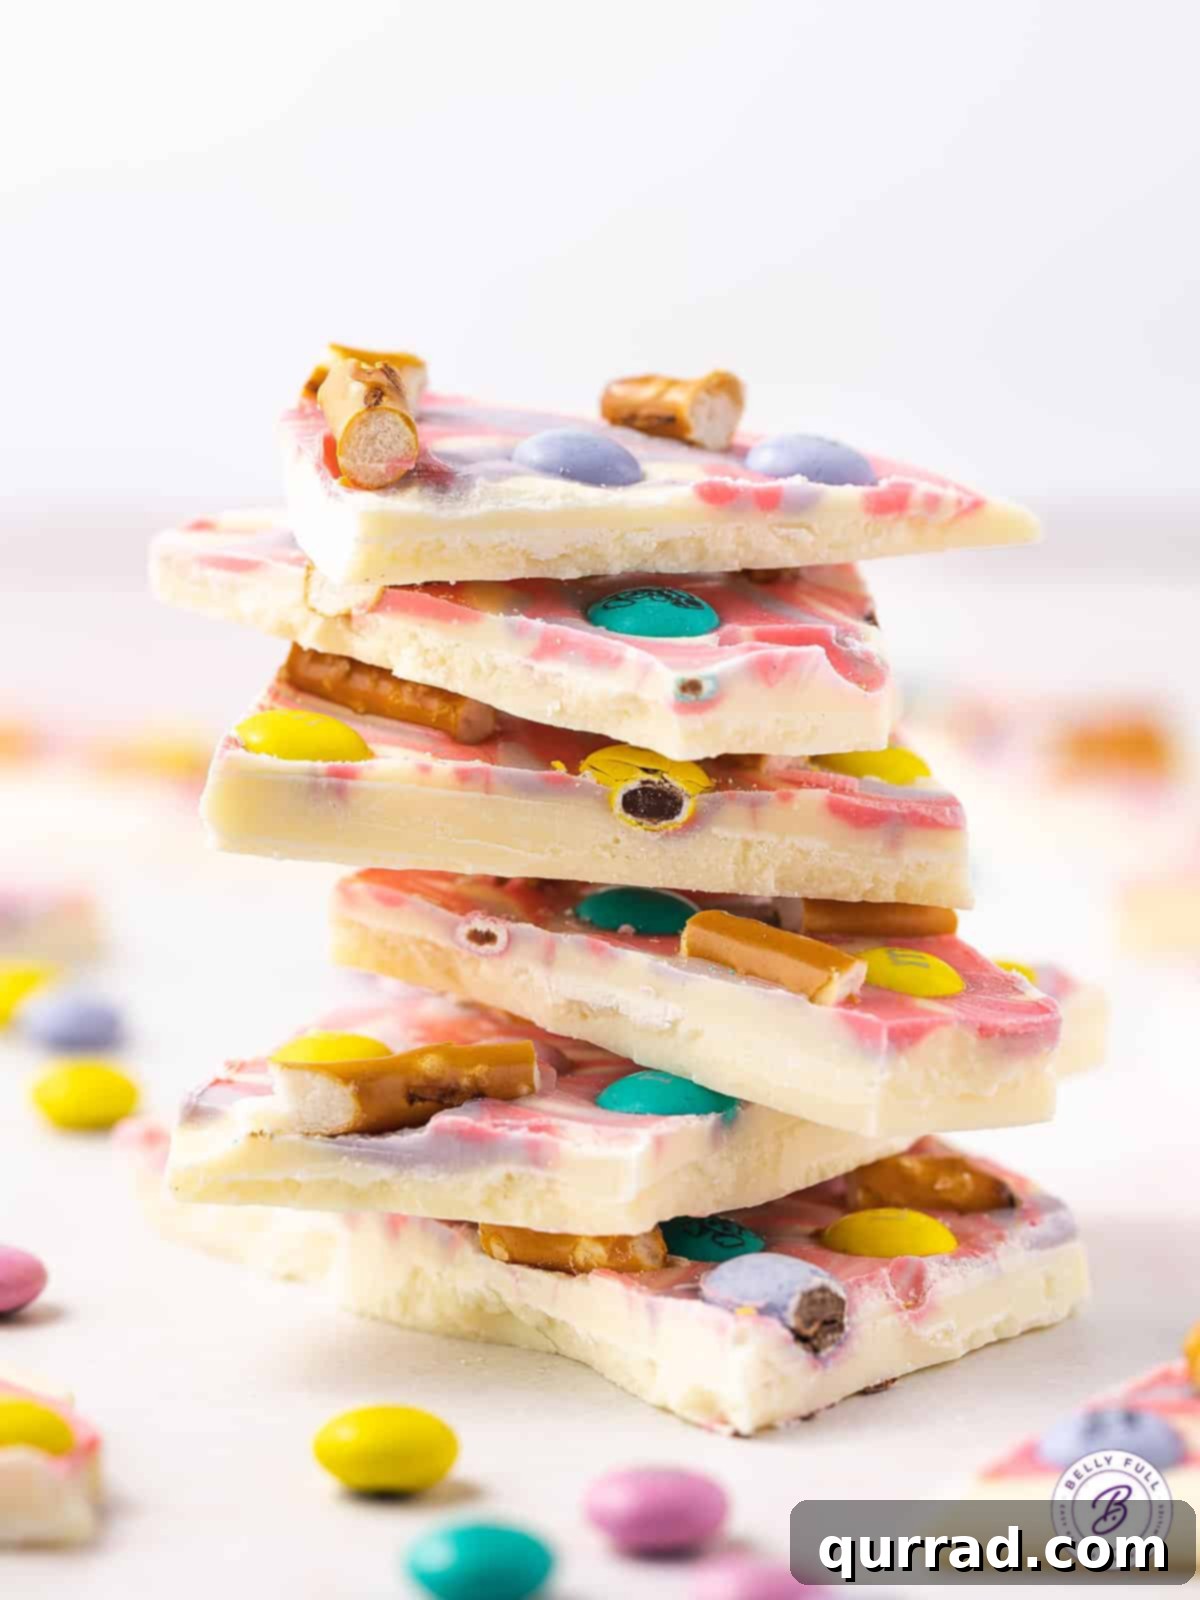
Easter Chocolate Bark is an effortlessly delightful no-bake dessert that brightens any spring celebration. This charming treat comes together in mere minutes, requiring just a handful of simple ingredients, making it the perfect last-minute addition to your Easter festivities or a thoughtful homemade gift.
Imagine whipping up a batch of this vibrant chocolate bark, then carefully placing pieces into cellophane bags tied with elegant ribbons. These make ideal gifts for cherished neighbors, dedicated teachers, dear friends, or beloved family members. Alternatively, simply prepare it to surprise the little ones with a special, colorful confection that captures the joyous spirit of the holiday.
The Allure of Easy Easter Chocolate Bark
It’s no secret that chocolate bark is a beloved confection, cherished for its simplicity and remarkable versatility. Its ability to be easily customized to fit any holiday or occasion makes it a year-round favorite. With just a few basic ingredients and minimal effort, you can create a fun, quick, and irresistibly tasty treat. The creative possibilities are truly boundless when you begin to explore various mix-ins, colors, and flavor profiles.
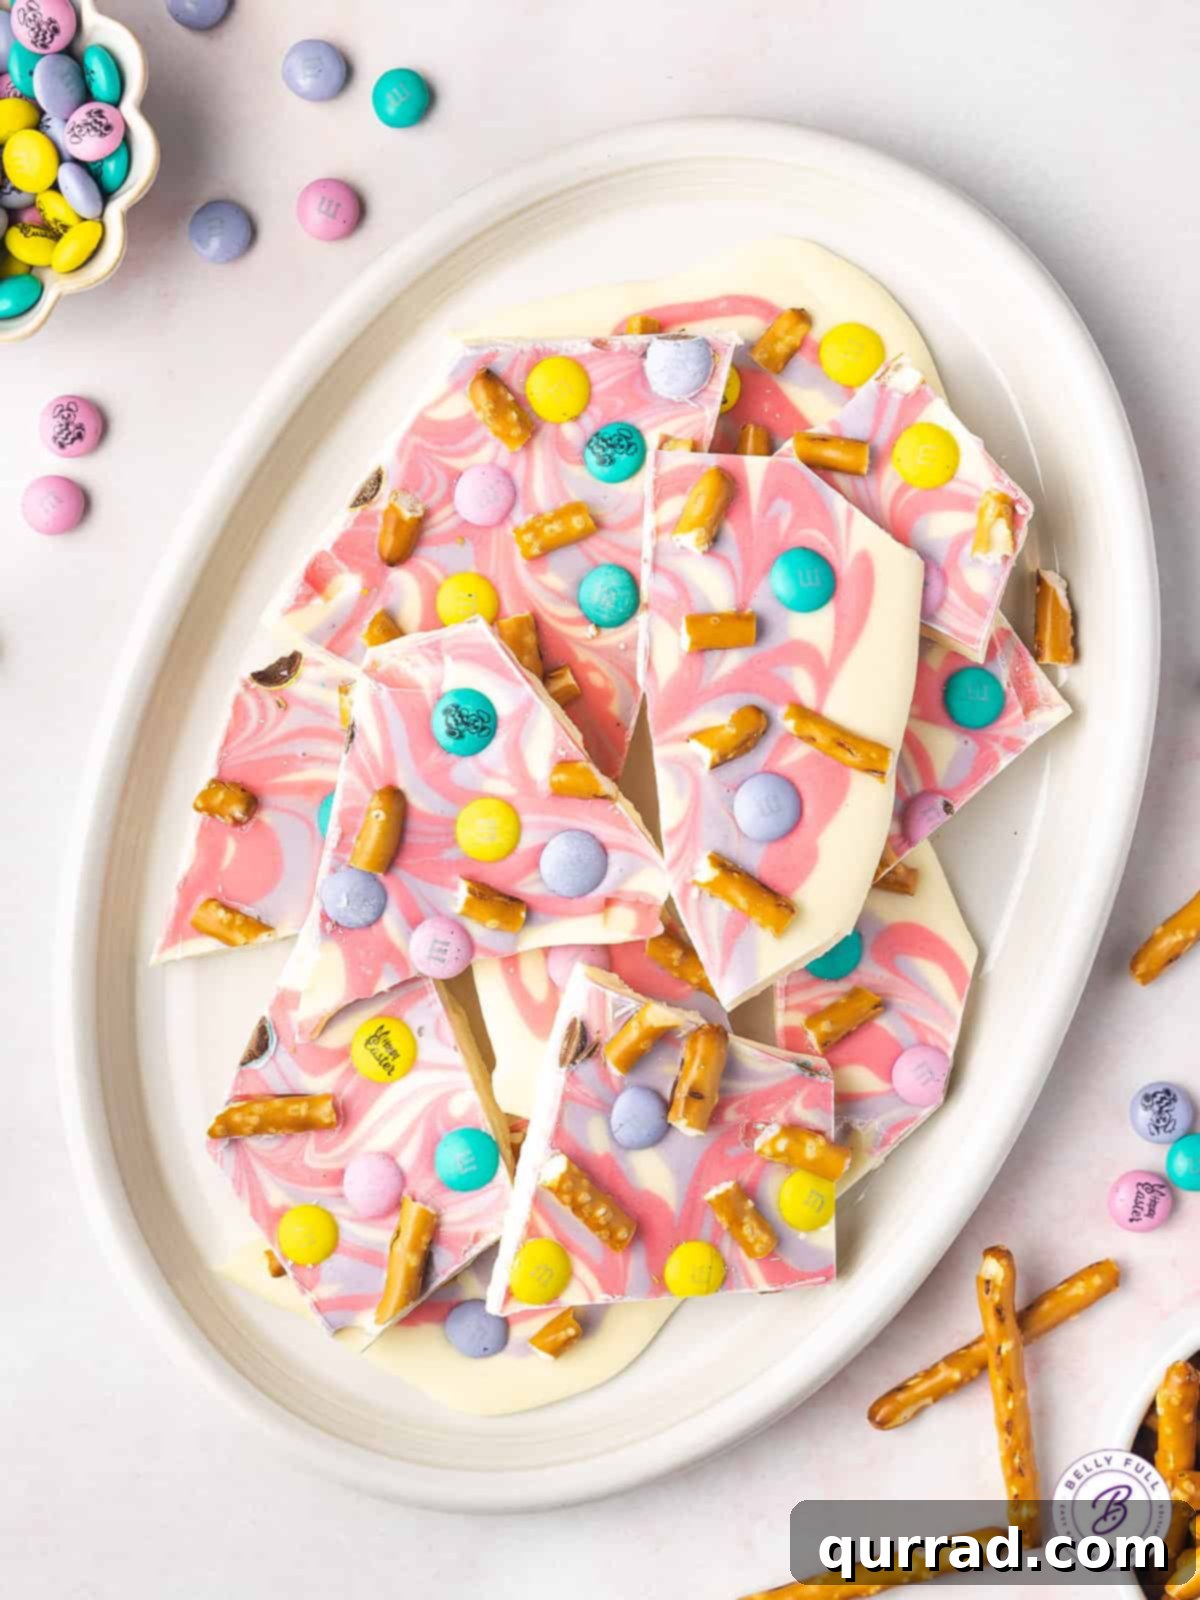
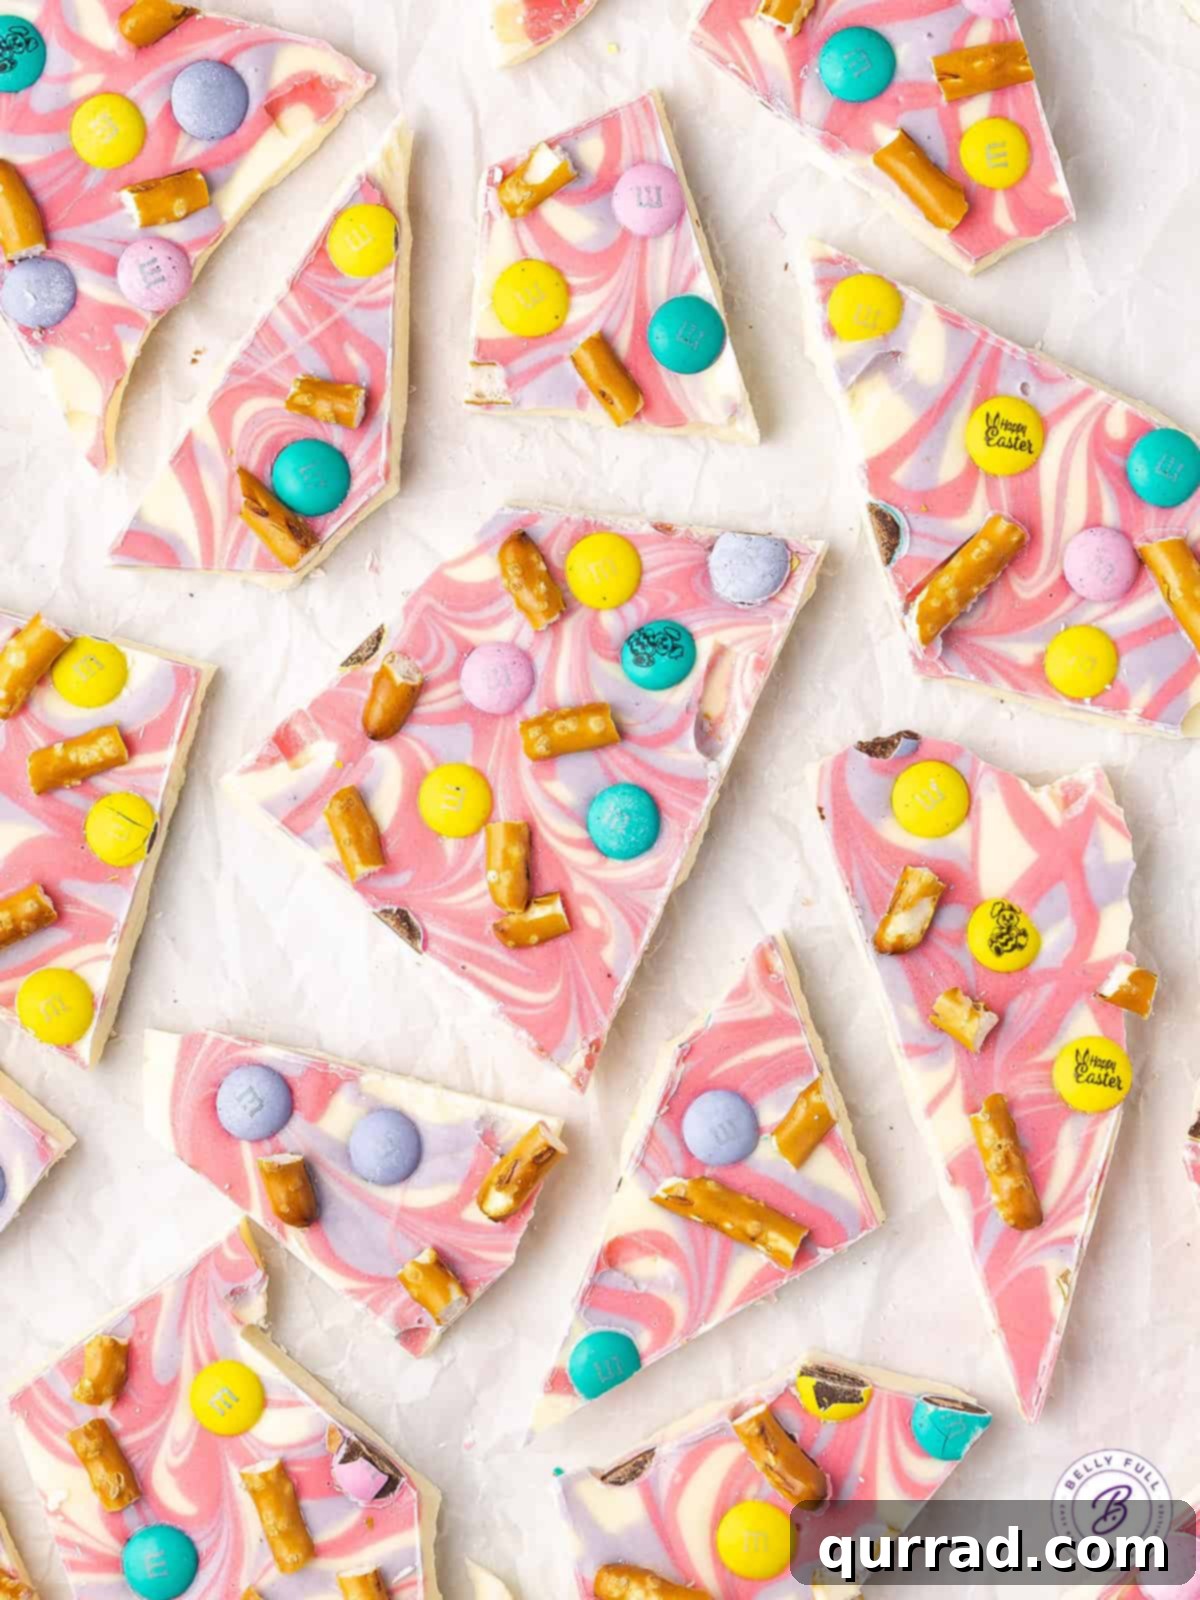
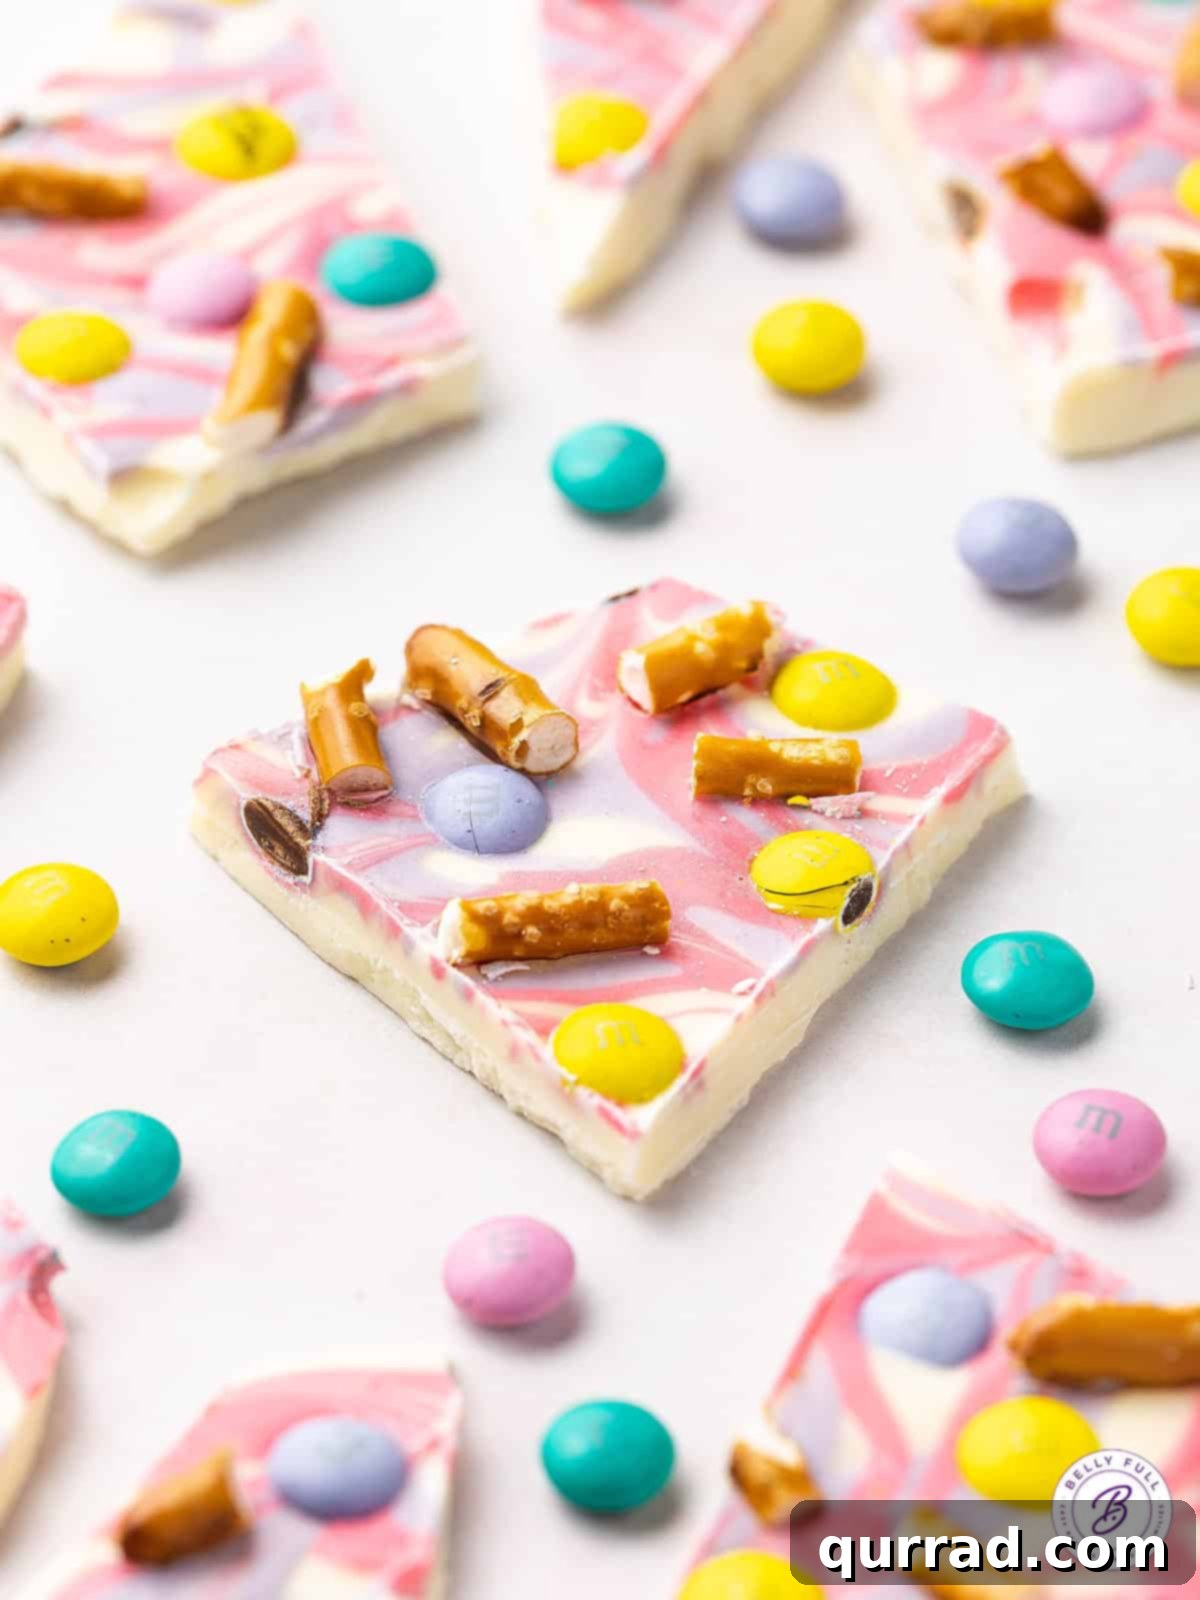
This Easter, we’re embracing the pastel hues of spring with a special Easter Chocolate Bark recipe. It features a beautiful combination of pink and purple swirls, offering a visually stunning marble effect. Adding a delightful crunch and extra sweetness are crunchy pretzel pieces and festive pastel M&M’s candies, creating a textural and flavor experience that is simply irresistible.
Wedges of chocolate bark are a fantastic sweet treat any time of year, but they particularly shine during the Easter season. They’re perfect for classroom parties, family gatherings, or simply as an easy indulgence after a festive meal. This confection also transforms into a truly wonderful edible gift; try stacking individual pieces between layers of parchment paper and tying them together with a charming pink or purple ribbon for an elegant presentation.
Gathering Your Pastel Palette: Ingredients for Easter Chocolate Bark
Crafting this vibrant Easter chocolate bark couldn’t be simpler, requiring only a handful of readily available ingredients. Once prepared, it can be effortlessly broken into pieces of any size to suit your preferences or serving needs. For this particular recipe, you’ll need three main components, plus food coloring to achieve those signature Easter shades.
- Vanilla Candy Melts (30 ounces): These are the backbone of your bark. We’ll discuss why candy melts are often preferred over traditional white chocolate chips for bark-making in detail below. They provide a smooth, consistent base that sets beautifully.
- Pink Food Coloring: Opt for gel food coloring for the best results. Gel colors are highly concentrated and won’t add excess liquid to your chocolate, which could cause it to seize.
- Purple Food Coloring: Similar to the pink, a high-quality gel food coloring will ensure vibrant, true-to-color swirls.
- Thin Salted Pretzel Sticks (3/4 cup, broken into small pieces): Pretzels add a delightful salty crunch that perfectly complements the sweetness of the chocolate and M&Ms. Breaking them into smaller pieces ensures they are evenly distributed and easy to bite through.
- Pastel Colored M&Ms (1/2 cup): These popular candies bring a burst of classic chocolate flavor, a satisfying candy crunch, and, most importantly, the iconic pastel colors that are synonymous with Easter.
Candy Melts vs. White Chocolate Chips: A Crucial Distinction for Perfect Bark
When making chocolate bark, the choice between candy melts and regular white chocolate chips can significantly impact your final product. I strongly recommend using Wilton Candy Melts or Ghirardelli White Melting Wafers for the most reliable results. Here’s why:
While I adore regular white chocolate chips in many desserts, they are specifically manufactured with additives designed to help them maintain their shape during baking. This means they don’t melt as smoothly or consistently as candy melts, which are formulated for easy melting and setting. Furthermore, once regular white chocolate chips harden into bark, the finished product tends to soften more easily at room temperature, potentially leading to a messy experience.
If you absolutely prefer to use regular white chocolate chips, there’s a trick to improve their performance for bark: combine them with some coconut oil. Adding approximately 1 tablespoon of coconut oil per 1 cup of white chocolate chips will help thin the chocolate slightly, allowing it to melt more smoothly, and, critically, it will aid in thickening it up and hardening faster once chilled. This small addition can make a big difference in achieving a firm, snap-able bark.
Crafting Your Easter Masterpiece: Step-by-Step Guide to Making Chocolate Bark
Creating this stunning Easter chocolate bark is a straightforward and rewarding process. Here’s a detailed summary of the simple steps required to make this festive candy, ensuring perfect results every time:
- Prepare Your Workspace: Begin by lining a baking sheet with parchment paper. This crucial step prevents the chocolate from sticking and makes for easy removal and cleanup. A silicone baking mat can also be used for this purpose.
- Melt the Vanilla Candy Melts: Place the vanilla candy melts in a medium glass microwavable bowl. Following the package directions carefully, melt the chocolate in the microwave, typically in 30-second intervals, stirring thoroughly after each interval, until the chocolate is completely smooth and free of any lumps. Alternatively, you can use a double boiler method for a more controlled melt.
- Prepare the Colored Chocolates: Once your main white chocolate base is melted, spoon a few small scoops (about 2-3 tablespoons each) of the melted white chocolate into two separate small bowls. Add a drop or two of pink food coloring to one bowl and purple food coloring to the other. Stir each vigorously until the color is fully incorporated and vibrant. Transfer each colored chocolate into a separate small Ziploc bag, pushing the chocolate down to one corner. Snip off a tiny corner of each bag with scissors – this creates a makeshift piping bag for precise lines.
- Create the Swirling Effect: Pour the remaining melted white chocolate onto your prepared baking sheet. Use an offset spatula or the back of a spoon to spread it into a rectangular shape, aiming for an even thickness of about 1/4-inch. Next, take your Ziploc bags of colored chocolate and pipe lines or dots of pink and purple chocolate randomly across the white chocolate base. Immediately, using a dull knife (like a butter knife) or a skewer, gently cut through the colored chocolates in a swirling or zigzag pattern. This technique will beautifully marble the colors, creating an artistic and festive appearance.
- Add Your Toppings: While the chocolate is still wet and warm, generously sprinkle the broken pretzel pieces and pastel M&Ms evenly over the entire surface of the bark. Lightly press them into the chocolate to ensure they adhere well as it sets.
- Chill and Enjoy: Place the baking sheet with the chocolate bark into the refrigerator for at least several hours, or until it has completely hardened and set. The firmer it is, the cleaner it will break. Once fully set, remove from the refrigerator and break the bark into irregular pieces with your hands, or cut it into more uniform shapes if desired. Serve immediately and enjoy!
The Art of Breaking Up Your Chocolate Bark
One of the charms of chocolate bark is its rustic, imperfect appeal, making each piece unique. I personally love the organic, uneven edges that come from simply breaking the bark up with my hands once it has completely set. This method is quick, easy, and yields beautifully natural-looking pieces.
However, if you prefer a more refined presentation with perfect squares and straight edges, you can certainly achieve this with a little extra care. To cut the bark neatly, start by heating the blade of a sharp knife under hot water for about 30 seconds. Thoroughly dry the blade, then place it firmly against the hardened bark to score the sections where you wish to cut. Allow the residual heat from the blade to melt a clean line into the chocolate, then carefully press down to cut through. Reheat and wipe the knife as needed between cuts for the cleanest results.
Unleash Your Creativity: Easter Chocolate Bark Variations
While our current recipe for Easter Chocolate Bark is absolutely delightful, one of the greatest aspects of bark is its incredible adaptability. Don’t hesitate to experiment with different flavors and toppings to create your own unique versions!
- Nutty Additions: Replace the pretzels entirely with chopped nuts, such as toasted almonds, pecans, or pistachios, for a sophisticated crunch. For extra texture and flavor, you could even include both nuts and pretzels!
- Sprinkle Magic: If you can find Easter-themed sprinkles (think bunny shapes, tiny eggs, or pastel jimmies), a tablespoon or two scattered over the top before chilling would add an extra layer of cuteness and festivity.
- Different Chocolates: Instead of vanilla candy melts, try using milk chocolate, dark chocolate, or even a mix of two types of chocolate for the base. You could also swirl in melted colored white chocolate on a dark chocolate base for a striking contrast.
- Fruity Twists: Incorporate small pieces of dried fruit like cranberries, dried cherries, or finely chopped apricots for a chewy, tangy element.
- Coconut Craze: Toasted shredded coconut adds a wonderful texture and a hint of tropical flavor that pairs surprisingly well with chocolate.
- Mini Marshmallows: For a softer, chewier texture, scatter mini marshmallows over the melted chocolate before it sets.
- Other Easter Candies: Beyond M&Ms, consider adding other small Easter candies like chopped Cadbury Mini Eggs, jelly beans, or even small pieces of Peeps for a truly festive look.
- Flavor Extracts: A few drops of peppermint, almond, or orange extract stirred into the melted white chocolate base can introduce an entirely new dimension of flavor.
Proper Storage for Lasting Freshness
To ensure your Easter Chocolate Bark remains delicious and maintains its snap, proper storage is key. Following these guidelines will help preserve its quality for days or even weeks:
- At Room Temperature: Store your chocolate bark in an airtight container in a cool, dry place, away from direct sunlight and heat, for up to 1 week. If your home tends to be warm, move to refrigeration.
- In the Refrigerator: For extended freshness, or if your kitchen is warm, place the airtight container in the refrigerator for up to 2 weeks. Be aware that refrigeration can sometimes cause a slight condensation, which might alter the chocolate’s sheen, but it will still taste great. Allow it to come to room temperature for a few minutes before serving for the best texture.
- In the Freezer: For long-term storage, chocolate bark freezes beautifully. Place pieces in a freezer-safe airtight container or heavy-duty freezer bag, separated by parchment paper to prevent sticking. It can be stored in the freezer for about 1 month. Thaw in the refrigerator overnight or at room temperature for an hour before serving.
Always ensure your container is truly airtight to prevent the chocolate from absorbing odors from other foods, which can easily happen in the refrigerator or freezer.
More Delightful Easter Desserts to Explore:
If you loved making this easy Easter Chocolate Bark, you’re sure to enjoy these other festive and delicious treats perfect for your spring celebrations:
- Peanut Butter Eggs
- Church Window Cookies
- Chocolate Strawberry Carrots
- Easter Mini Funfetti Cupcakes
- Easter Sugar Cookie Bars
- Broken Glass Jello
Easter Chocolate Bark Recipe Card
This Easter Chocolate Bark is a super easy no-bake dessert that comes together in just minutes with only 4 ingredients. Whip up a batch to give as gifts for neighbors, teachers, friends, or family or simply to give the little ones a special treat for the holiday.
Recipe Details
- Prep Time: 15 mins
- Total Time: 15 mins
- Servings: 24 (3-inch pieces)
Ingredients
- 30 ounces vanilla candy melts
- Pink food coloring
- Purple food coloring
- 3/4 cup thin salted pretzel sticks, broken into small pieces
- 1/2 cup pastel colored M&Ms
Instructions
- Line a baking sheet with parchment paper.
- Place white chocolate wafers in a medium glass microwavable bowl and melt according to package directions until completely smooth.
- Spoon a few small scoops into two separate small bowls; mix pink food dye into one, purple into the other. Transfer to two separate small Ziploc bags; snip off a small corner.
- Spread remaining melted white chocolate onto the lined baking sheet in a rectangular shape, 1/4-inch thick. Pipe both colored chocolates onto the white chocolate; then cut through with a knife to make a swirling pattern.
- Sprinkle bark with the pretzel pieces and M&Ms.
- Place in the refrigerator for several hours to harden completely, then break into pieces and enjoy!
Nutrition Information (per serving, approximate)
Calories: 106kcal | Carbohydrates: 14g | Protein: 0.4g | Fat: 5g | Saturated Fat: 5g | Polyunsaturated Fat: 0.02g | Monounsaturated Fat: 0.01g | Trans Fat: 0.01g | Cholesterol: 1mg | Sodium: 41mg | Potassium: 4mg | Fiber: 0.2g | Sugar: 12g | Vitamin A: 10IU | Vitamin C: 0.1mg | Calcium: 5mg | Iron: 0.1mg
Please note: Nutritional information is an automatic calculation and can vary based on the exact products you use and any changes you make to the recipe. If these numbers are very important to you, I would recommend calculating them yourself using a reliable nutrition calculator.
Final Thoughts on This Delightful Easter Treat
This Easter Chocolate Bark truly embodies the spirit of the season: it’s vibrant, joyful, and incredibly easy to make. Whether you’re a seasoned baker or just starting your culinary adventures, this no-fail recipe promises a beautiful and delicious outcome every time. It’s the perfect project for involving children in the kitchen, offering a fun way to create lasting memories while preparing a treat everyone will adore.
From its simple ingredients to its quick preparation, and the endless possibilities for customization, Easter Chocolate Bark is more than just a dessert – it’s an opportunity to spread a little happiness and sweetness. We hope you and your loved ones cherish this delicious and easy recipe. Be sure to try it out and let us know your thoughts!
Also, don’t forget to follow Belly Full on TikTok, Facebook, Instagram, Pinterest, and YouTube for more inspiring recipes and culinary tips!