
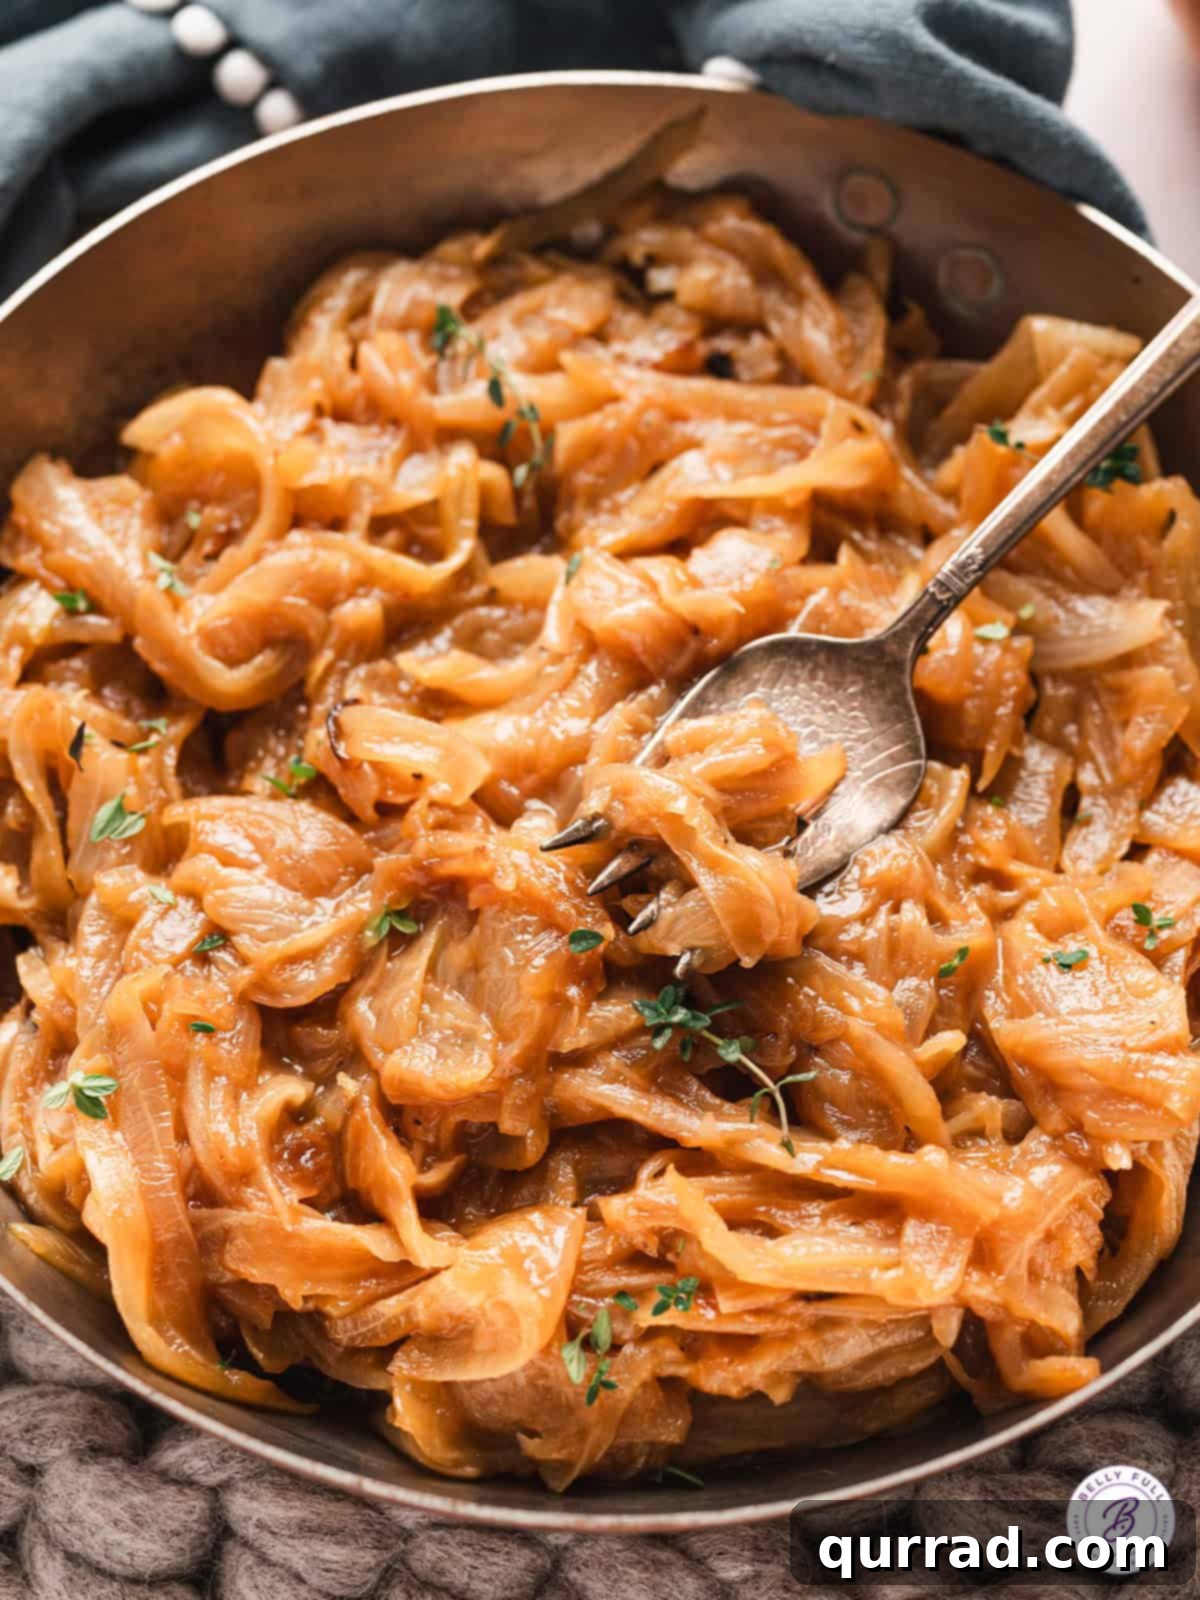
Mastering Caramelized Onions: A Sweet & Savory Flavor Enhancer
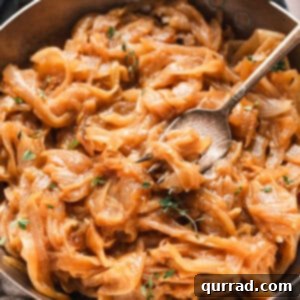
Discover the culinary magic of Caramelized Onions – a truly transformative ingredient that elevates any dish from ordinary to extraordinary. These rich, sweet, and intensely savory morsels are incredibly versatile, serving as a delectable topping or a fundamental flavor base. While they require a bit of patience and time, the process is surprisingly simple, yielding an unparalleled depth of flavor that becomes your secret weapon in the kitchen.
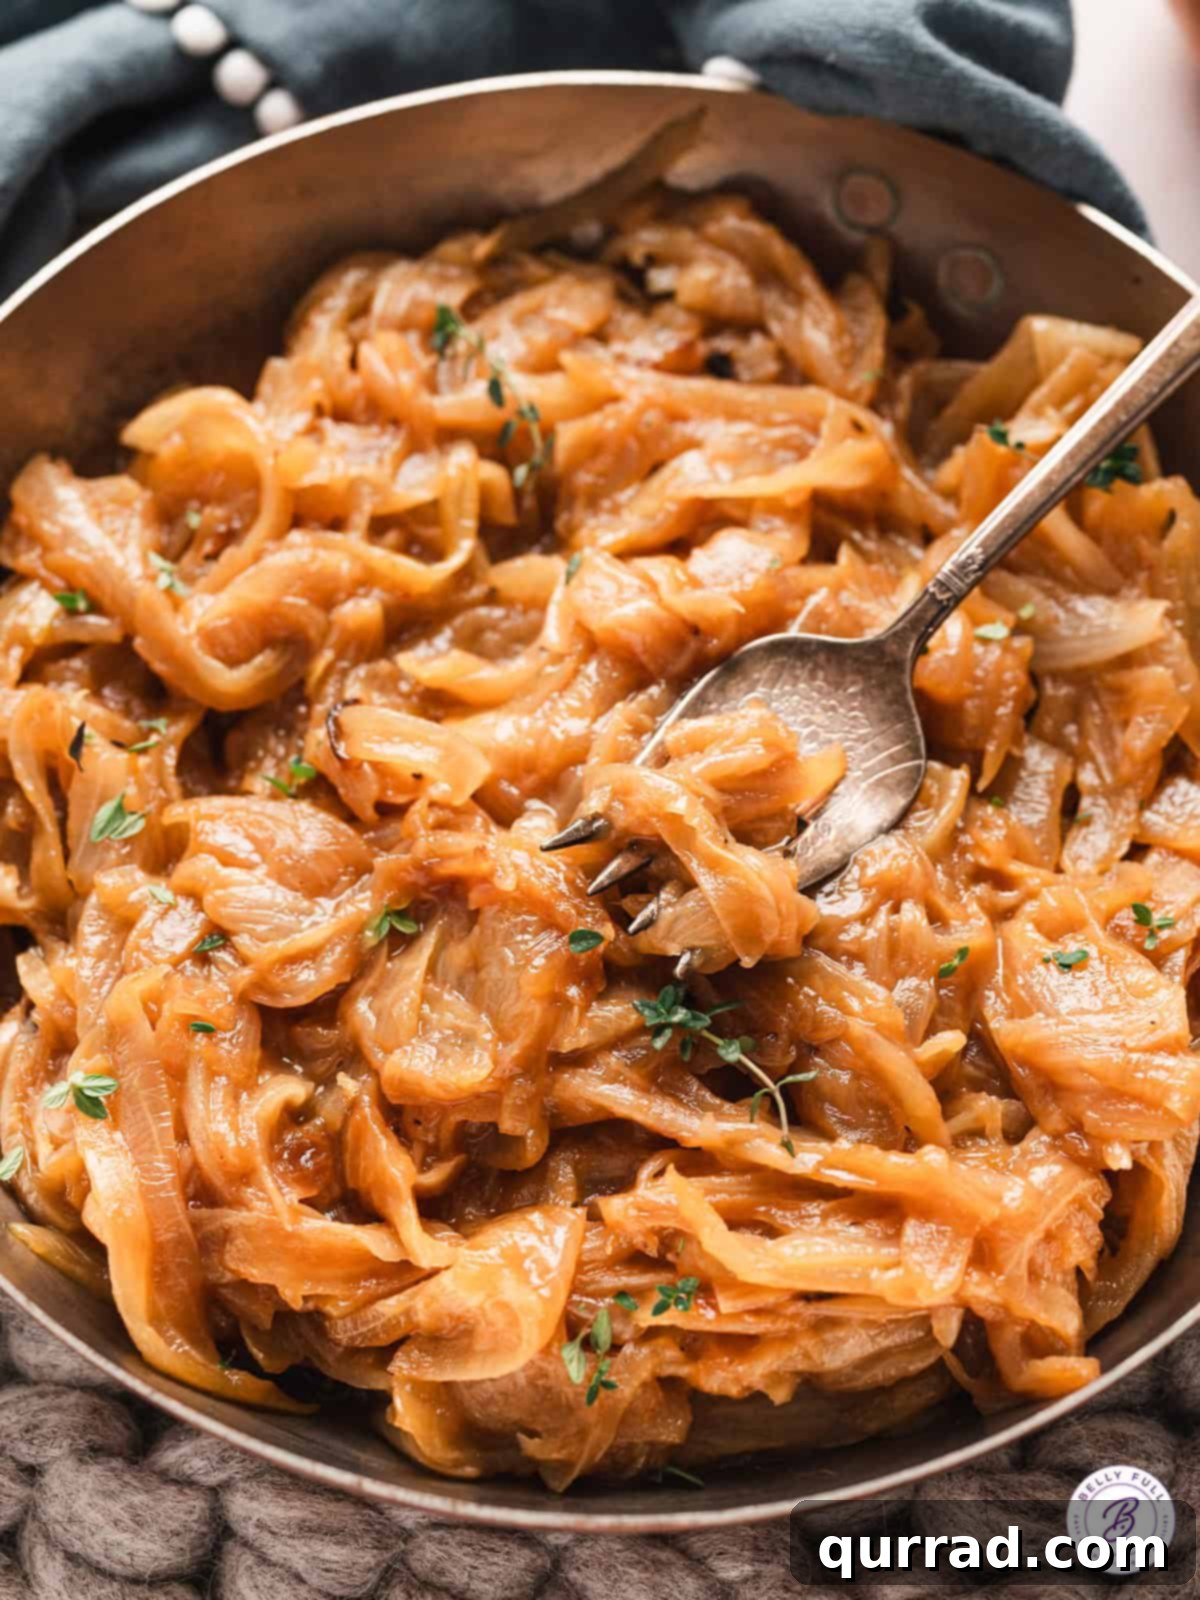
For those who adore onions, the allure of their caramelized form is undeniable. I confess, my love for onions runs deep – whether baked whole in an onion boil or forming the comforting core of a classic French onion soup, they are a staple. Many who claim to dislike onions often haven’t experienced them beyond their raw, pungent state. Caramelizing onions fundamentally changes their character, coaxing out their natural sugars through a slow, gentle cooking process. This transformation creates a sweet yet profoundly savory condiment that is nothing short of addictive. If you’re an onion enthusiast, prepare to enjoy these by the forkful!
The Culinary Alchemy: What Makes Caramelized Onions So Special?
Caramelizing onions is more than just cooking them; it’s a culinary process that transforms their sharp, pungent flavor into something incredibly sweet, complex, and mellow. This magic happens through a combination of two key reactions, fundamentally altering the onion’s chemical structure and creating new, irresistible flavor compounds:
- Maillard Reaction: This complex chemical reaction occurs between amino acids and reducing sugars when food is heated. It’s responsible for the deep, rich, savory, and umami notes developed in the onions, contributing significantly to their distinctive aroma and beautiful golden-brown to mahogany color. Think of the crust on baked bread or the sear on a steak – that’s the Maillard reaction at work, and it’s vital for the savory depth in caramelized onions.
- Caramelization: As the onions cook slowly, their natural sugars (fructose, glucose, and sucrose) break down and condense through a process called pyrolysis. This results in a pronounced sweetness and a distinct nutty flavor. This reaction is primarily responsible for the sticky, jam-like texture and the characteristic sweet profile of truly caramelized onions. While often conflated, the Maillard reaction and caramelization occur simultaneously during the cooking of onions, each contributing unique layers to the final flavor.
The “low and slow” approach is crucial here. Rushing the process with high heat would simply burn the sugars before the complex flavors have a chance to develop. The sustained, gentle heat allows moisture to evaporate slowly, concentrating the onion’s natural essences and building layer upon layer of deliciousness. This is why a simple raw onion, which can be overpowering and sharp, becomes a desirable, irresistible topping and a profoundly flavorful ingredient when properly caramelized. It’s an investment of time that pays off handsomely in culinary rewards.
Essential Ingredients for Your Perfect Batch of Caramelized Onions
The beauty of this recipe lies in its simplicity. You only need a handful of basic ingredients, typically found in any kitchen, to create this gourmet condiment. The quality and type of these few components, however, make all the difference in achieving that irresistible flavor and texture. (For precise measurements, refer to the detailed recipe card below.)
- Butter: We highly recommend using unsalted butter for this recipe. Butter not only provides a rich, creamy flavor base that complements the sweetness of the onions but also aids in the browning process, contributing to a superior texture and sheen. Using unsalted butter allows you to control the overall sodium content of your finished caramelized onions, ensuring they are perfectly seasoned to your taste. If only salted butter is available, adjust the added salt accordingly, or even omit it, tasting as you go. Olive oil can be a substitute, but butter offers a richer flavor profile.
- Sweet Onions: While any onion variety can be caramelized, sweet onions like Vidalia, Walla Walla, Spanish, or other yellow or white sweet onion varieties are ideal. Their naturally higher sugar content means they caramelize more easily and develop a deeper, more pronounced sweetness with less effort. This inherent sweetness reduces the need for additional sugar and speeds up the caramelization process slightly. However, don’t hesitate to use common yellow onions – they will still yield fantastic results, perhaps requiring a touch more patience and potentially a slightly longer cooking time to reach the desired sweetness. Red onions can also be used, offering a beautiful color and a slightly different flavor nuance. Always ensure your chosen onions are fresh and firm.
- Granulated Sugar: A small pinch of granulated sugar (typically a teaspoon per pound of onions) acts as a catalyst in this recipe. It helps jumpstart the caramelization process, encouraging the onions to release their natural sugars faster and achieve that beautiful golden-brown color more efficiently. Far from making them overly sweet, it enhances the onion’s inherent sweetness and adds a deeper, more complex dimension to the savory profile without making them cloying. It’s an accelerant, not a primary sweetener.
- Salt: Essential for balancing flavors and drawing out moisture from the onions, salt plays a critical role in the caramelization process. It amplifies the sweetness and savory notes, preventing the caramelized onions from tasting flat or one-dimensional. Adding salt early helps extract water from the onions, which then evaporates, concentrating their flavors. Adjust the amount to your preference, but don’t skip it entirely, as it’s crucial for flavor development.
Choosing the right ingredients and understanding their individual contributions is the first step towards achieving that irresistible, jammy texture and complex flavor profile that characterizes truly exceptional caramelized onions.
Mastering the Art: A Step-by-Step Guide to Perfect Caramelized Onions
Achieving perfectly caramelized onions is an exercise in patience and technique, but it’s far from complicated. By focusing on uniform slicing, appropriate heat, and consistent stirring, you’ll create a batch that will impress every time. Follow these detailed steps and tips for success:
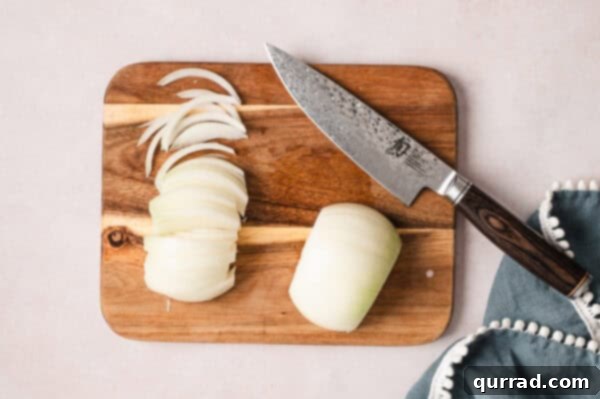
- Preparation is Key: Slice Them Thinly and Uniformly. The most crucial step begins before the cooking even starts. Begin by peeling your onions and trimming off the root and stem ends. Cut each onion in half lengthwise, from root to stem. Place the cut side down on your cutting board and slice them very thinly, julienne-style, into uniform half-moon shapes. The goal is consistency; thin, even slices ensure that all the onion pieces cook at roughly the same rate, preventing some from burning while others remain undercooked or raw. Thicker slices will take considerably longer and may not soften fully. Using a mandoline slicer is highly recommended for achieving perfectly thin, uniform slices with minimal effort, though a sharp chef’s knife and a steady hand work just as well.
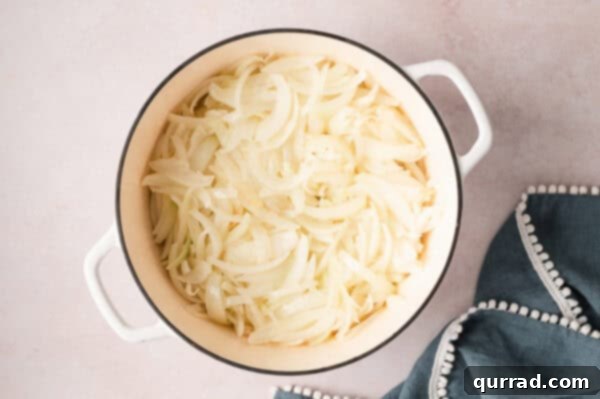
- Choose the Right Pan: Space is Your Friend. Opt for a large, heavy-bottomed pan, skillet, or Dutch oven. A wide surface area is essential, as it allows the onions to spread out in a single layer or a very thin one, facilitating rapid moisture evaporation and efficient browning. Overcrowding the pan will cause the onions to steam rather than sauté and caramelize, significantly prolonging the cooking time and potentially leading to a less desirable texture. If you have too many onions for a single layer, consider cooking them in two smaller batches rather than overloading the pan.
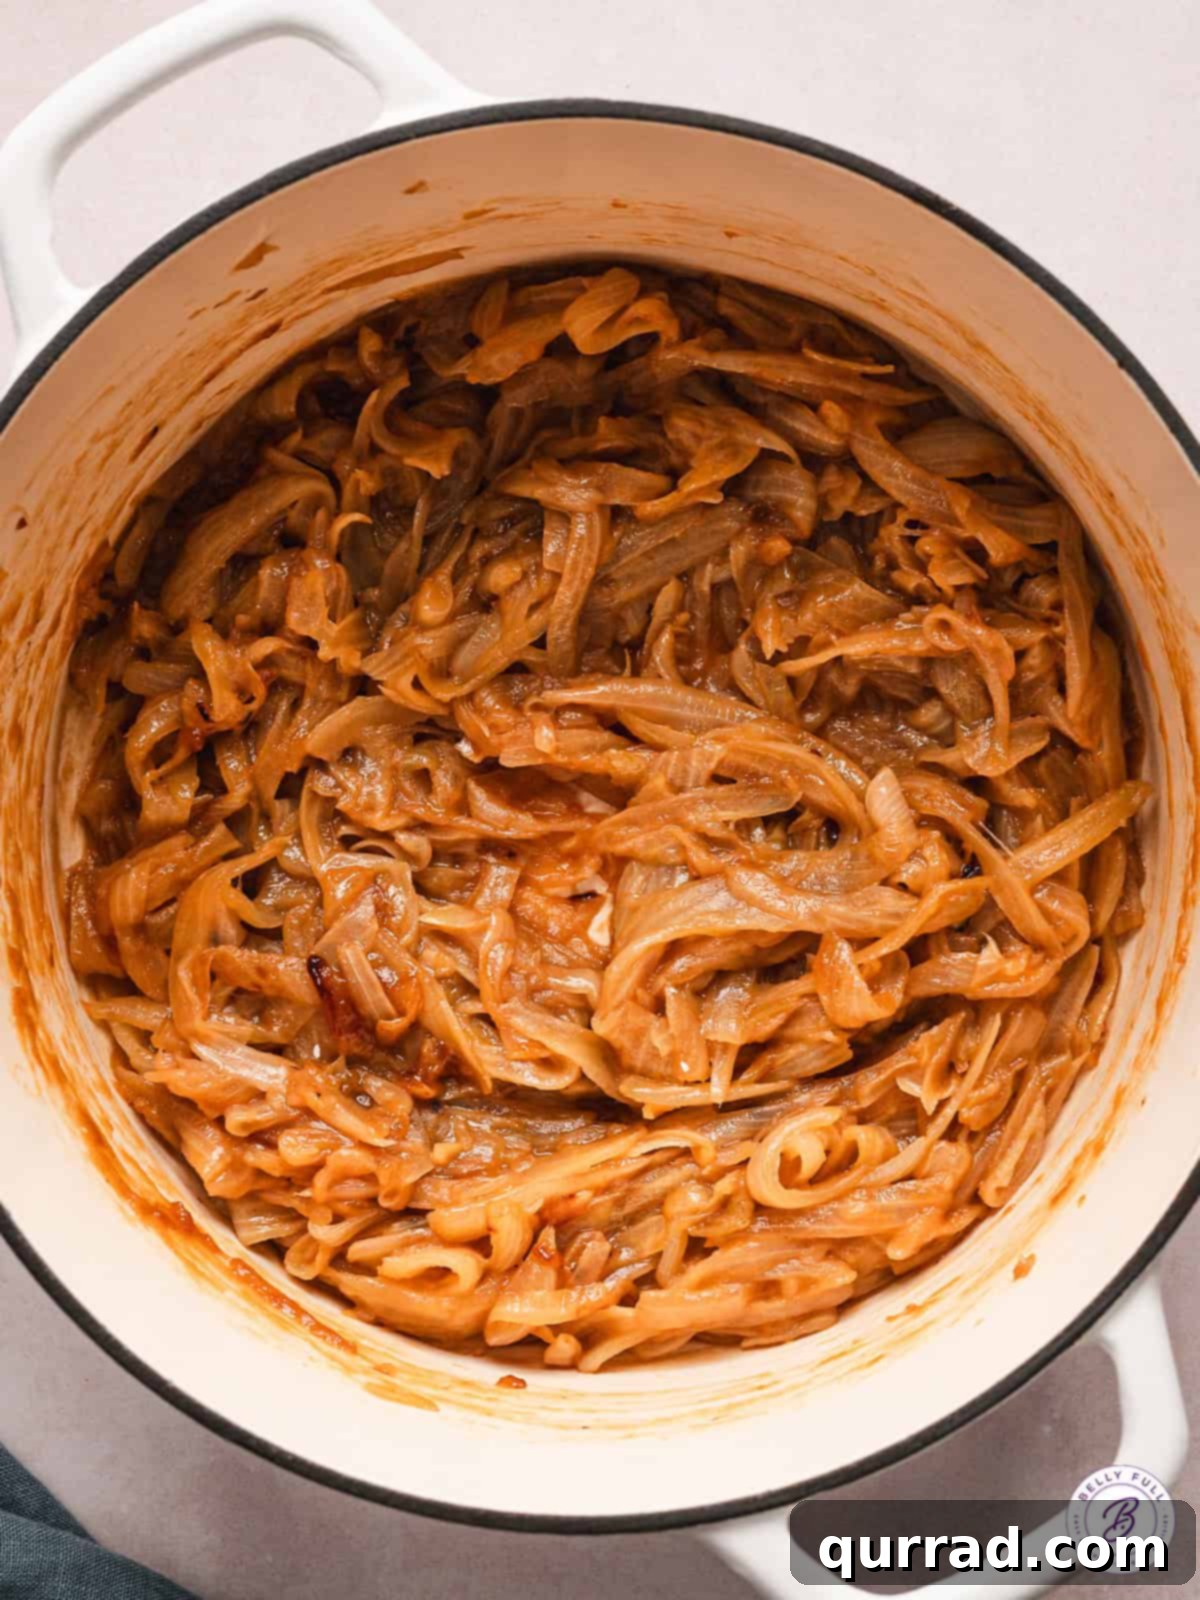
- Start with Medium Heat, Then Go Low and Slow. Begin by melting your butter (or chosen fat) in the large pot over medium-high heat. Once the butter is shimmering and melted, add all your thinly sliced onions. Sauté them, stirring frequently (every few minutes), until they soften and become translucent. This initial phase typically takes about 8-10 minutes. During this period, scrape up any browned bits that form at the bottom of the pan – this ‘fond’ is packed with flavor and should be incorporated back into the onions. Once softened and slightly limp, reduce the heat to medium-low or low. This “low and slow” cooking method is non-negotiable for true caramelization. High heat will simply burn the sugars before they can fully develop their complex flavors and soft texture, resulting in bitter, charred onions.
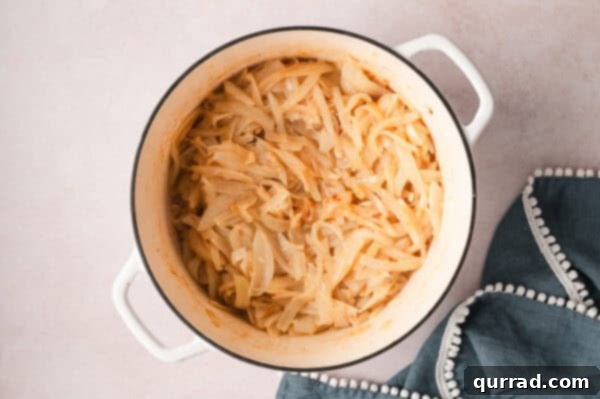
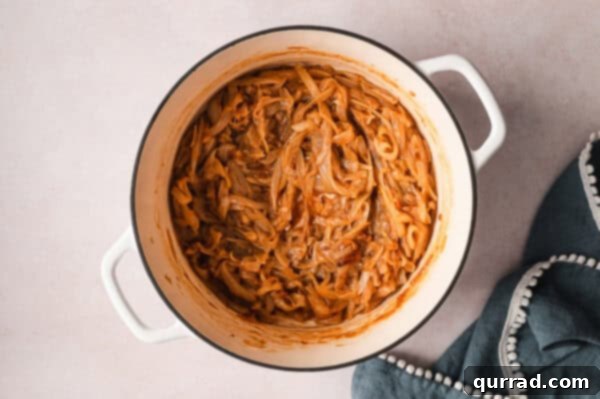
- Stir Regularly and Embrace Patience. This is where patience truly pays off. Continue cooking the onions on low heat for an additional 35-45 minutes (or even longer, up to an hour or more for a deeper, richer color). Stir the onions every 5-7 minutes or so. Regular stirring ensures that the onions cook evenly, preventing any parts from sticking to the bottom of the pan or scorching. As they cook, you’ll notice them gradually softening further, shrinking significantly in volume, and slowly transitioning from translucent to a rich golden-brown, eventually reaching a deep mahogany hue. They will become almost syrupy and jam-like in consistency.
- Don’t Be Afraid to Deglaze (Optional, but Recommended). If you notice the onions sticking too much to the bottom of the pan or developing overly dark spots before they are fully caramelized, add a tablespoon or two of water, vegetable broth, or even a splash of dry white wine. This helps to loosen the browned bits (fond) from the bottom of the pan, incorporating those delicious, concentrated flavors back into the onions and preventing burning. Stir well until the liquid has evaporated.
- Watch for the “Shrinkage Factor.” It might seem like you start with an enormous, overflowing pile of raw onions that barely fit in your pan. However, they will shrink down significantly – much like spinach or mushrooms when cooked. A large batch of raw onions will yield a surprisingly smaller, concentrated amount of caramelized goodness. Keep this in mind when determining how much to prepare, especially if you plan to make a large quantity for storage.
By adhering to these principles of careful preparation, controlled heat, and patient stirring, you’ll consistently achieve perfectly rich, sweet, and savory caramelized onions, ready to enhance a myriad of dishes and elevate your cooking to new heights.
Unleashing Flavor: Creative Ways to Use Caramelized Onions
Once you’ve made a batch of these delectable caramelized onions, you’ll quickly realize their incredible versatility. Their sweet and savory depth adds an instant gourmet touch to countless recipes, transforming simple meals into memorable culinary experiences. Here are just a few ideas to get you started, but don’t hesitate to experiment!
- Burgers and Sandwiches: Elevate an ordinary burger into a gourmet experience by piling on a generous helping of caramelized onions. They’re also fantastic on a Juicy Lucy burger, a classic patty melt, a sophisticated steak sandwich, or even a simple turkey and provolone sandwich. For a next-level lunch, transform your everyday grilled cheese with a luscious layer of these jammy onions, perhaps alongside some sharp cheddar or Gruyère.
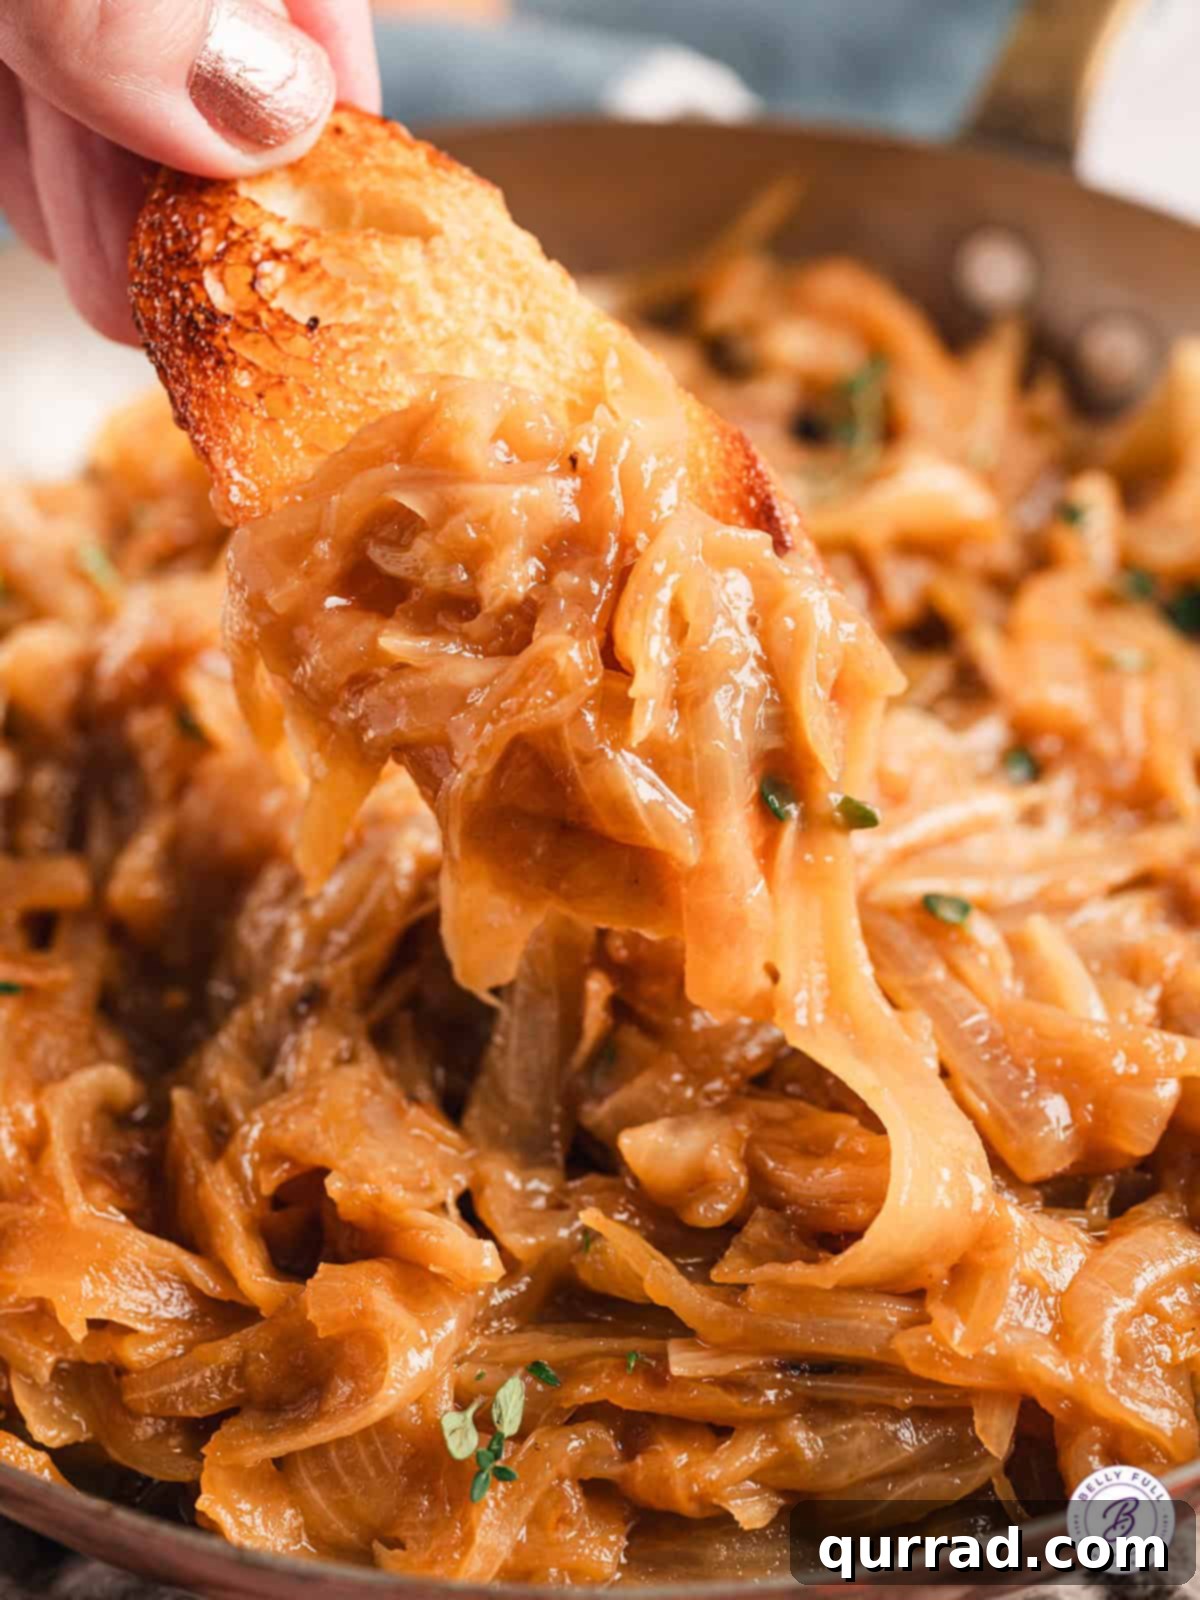
- Appetizers and Dips: Blend them into a creamy caramelized onion dip for a sophisticated and intensely flavorful twist on a party favorite. Serve them warm on crispy crostini or bruschetta, often topped with a sprinkle of goat cheese, blue cheese, or a drizzle of balsamic glaze for an elegant appetizer that’s sure to impress. They also make a fantastic topping for savory mini tarts.
- Savory Baked Goods: Incorporate these golden gems into various savory baked goods. They add incredible depth to quiches, frittatas, savory tarts, or galettes. Pair them with ingredients like Gruyère cheese, bacon, mushrooms, spinach, or thyme for a truly exquisite flavor combination. Imagine a classic French onion tart with a flaky crust!
- Pasta and Mac & Cheese: Stir a generous amount of caramelized onions into your favorite mac and cheese recipe to create a truly indulgent and flavorful French onion mac and cheese. Their richness and sweetness balance the creamy cheese beautifully. They also make a wonderful addition to creamy pasta sauces, a rustic topping for baked pasta dishes, or folded into risottos for an umami boost.
- Eggs and Breakfast: Add a sweet and savory dimension to your breakfast or brunch. Fold caramelized onions into omelets, scrambled eggs, or frittatas. They’re also delicious scattered over breakfast potatoes, stirred into a breakfast hash, or used as a topping for savory crepes.
- Steak and Roasted Vegetables: Spoon them generously over a perfectly seared steak, grilled pork chop, roasted chicken, or duck breast to add incredible depth and a touch of sweetness. They also profoundly enhance the flavor of roasted root vegetables like carrots, parsnips, sweet potatoes, or Brussels sprouts, becoming a natural pairing.
- Soups and Stews: While already a star in French Onion Soup, these onions can also deepen the flavor profile of many other soups and stews. Use them as a base for vegetable soups, beef stews, or even chili, providing a rich, umami foundation that makes the dish taste like it’s been simmering for hours.
- Pizza and Flatbreads: Use them as a gourmet topping for homemade pizzas or flatbreads. They pair exceptionally well with strong cheeses, cured meats, fresh herbs, or a simple drizzle of olive oil, adding a sophisticated touch to your favorite cheesy creation.
Don’t be surprised if, like me, you find yourself simply eating them by the forkful directly from the pan. They’re that good and truly a testament to the power of slow cooking!
Storing Your Golden Treasure: Tips for Leftovers and Freezing
Making a larger batch of caramelized onions is a smart culinary move, as they are incredibly versatile and freeze beautifully. Proper storage ensures you always have this flavor enhancer on hand, ready to transform your next meal into something special.
- In the Fridge: Store any leftover caramelized onions in a clean, airtight container in the refrigerator. They will maintain their delicious flavor and soft, jam-like texture for up to 5 days. This makes them perfect for meal prepping throughout the week, allowing you to quickly add a gourmet touch to various dishes without the full cooking time. Ensure they are completely cooled before refrigerating to prevent condensation and maintain freshness.
- In the Freezer: Caramelized onions are excellent candidates for freezing, allowing you to extend their shelf life significantly and enjoy them for up to 3-4 months. To freeze, first let them cool completely to room temperature. For convenient portioning, I highly recommend transferring small amounts into ice cube trays. Once frozen solid, pop out the individual cubes and transfer them to a larger freezer-safe bag or container. This way, you can easily grab a small amount (one or two cubes) whenever a recipe calls for them, without having to thaw the entire batch. Alternatively, you can spread them flat in a freezer-safe bag, press out all the air to prevent freezer burn, and freeze them in a thin layer. Once frozen, you can easily break off portions as needed.
- Reheating: To reheat refrigerated caramelized onions, gently warm them on the stovetop over low heat. If they seem a bit dry or stiff, add a tiny splash of water or vegetable broth to help them loosen up and regain their moist, soft texture, preventing scorching. Stir occasionally until heated through. You can also warm them through in the microwave, using short bursts and stirring between each, until they are heated evenly. Avoid high heat during reheating to preserve their delicate flavor and texture.
Having a stash of homemade caramelized onions ready to go means you’re always just a step away from adding a gourmet, flavorful touch to your next meal, saving you time and effort while boosting taste!
Caramelized Onions
10 mins
45 mins
55 mins
4 people (3 cups total)
Pin
Learn how to easily make Caramelized Onions with just a few ingredients – they’re rich, sweet, and savory, and add so much flavor stirred into dishes or as a topping.
Ingredients
- 4 tablespoons unsalted butter
- 3 pounds sweet onions, thinly sliced (about 5 large onions)
- 1 teaspoon salt
- 1 teaspoon granulated sugar
Instructions
-
Peel the onions, cut off the ends, cut in half so you have half moons, then slice thin julienne-style.

-
In a large pot over medium-high heat, melt the butter. Add in the onions and sauté, stirring often until softened, about 10 minutes, scraping up and mixing in any browned onions from the bottom of the pan.
-
Reduce heat to medium-low, stir in the salt and sugar; cook for another 35-45 minutes, stirring occasionally (every 5-7 minutes or so), until onions are deeply caramelized and almost syrupy.
-
Use as desired – perfect on top of burgers, in a patty melt, mixed into grilled cheese sandwiches, blended into a dip, served with crostini, or stirred into Mac and cheese for an incredible flavor boost!
Nutrition
Carbohydrates: 27g |
Protein: 3g |
Fat: 12g |
Saturated Fat: 7g |
Polyunsaturated Fat: 0.4g |
Monounsaturated Fat: 3g |
Trans Fat: 0.5g |
Cholesterol: 30mg |
Sodium: 610mg |
Potassium: 408mg |
Fiber: 3g |
Sugar: 18g |
Vitamin A: 353IU |
Vitamin C: 16mg |
Calcium: 72mg |
Iron: 1mg
Nutritional information provided is an automatic calculation and can vary based on the exact products you use and any modifications made to the recipe. If precise nutritional values are critical for you, we recommend calculating them independently.
We hope you thoroughly enjoy this delicious and deceptively simple recipe for caramelized onions. This humble ingredient, when given the time and care it deserves, truly unlocks a world of flavor and transforms everyday cooking. Feel free to experiment with its uses and share your culinary creations!
Connect with us on social media for more recipes and culinary inspiration:
- TikTok
- YouTube