
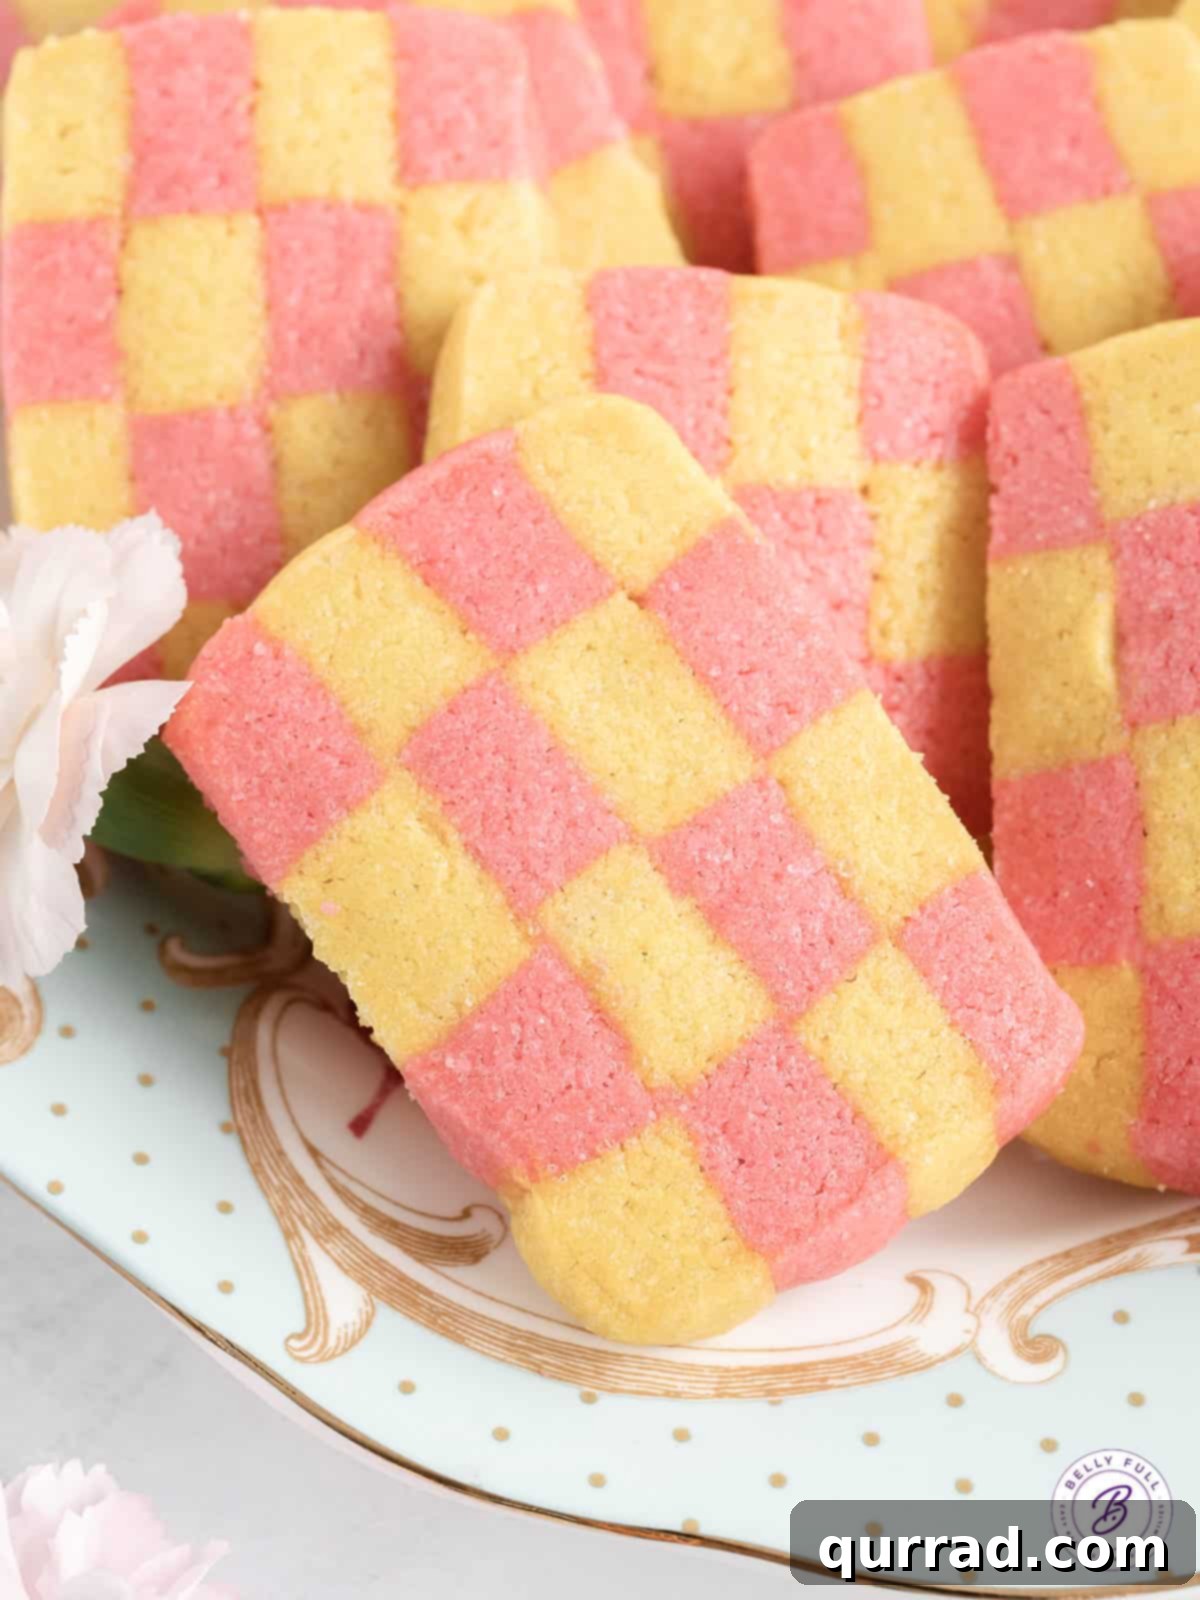
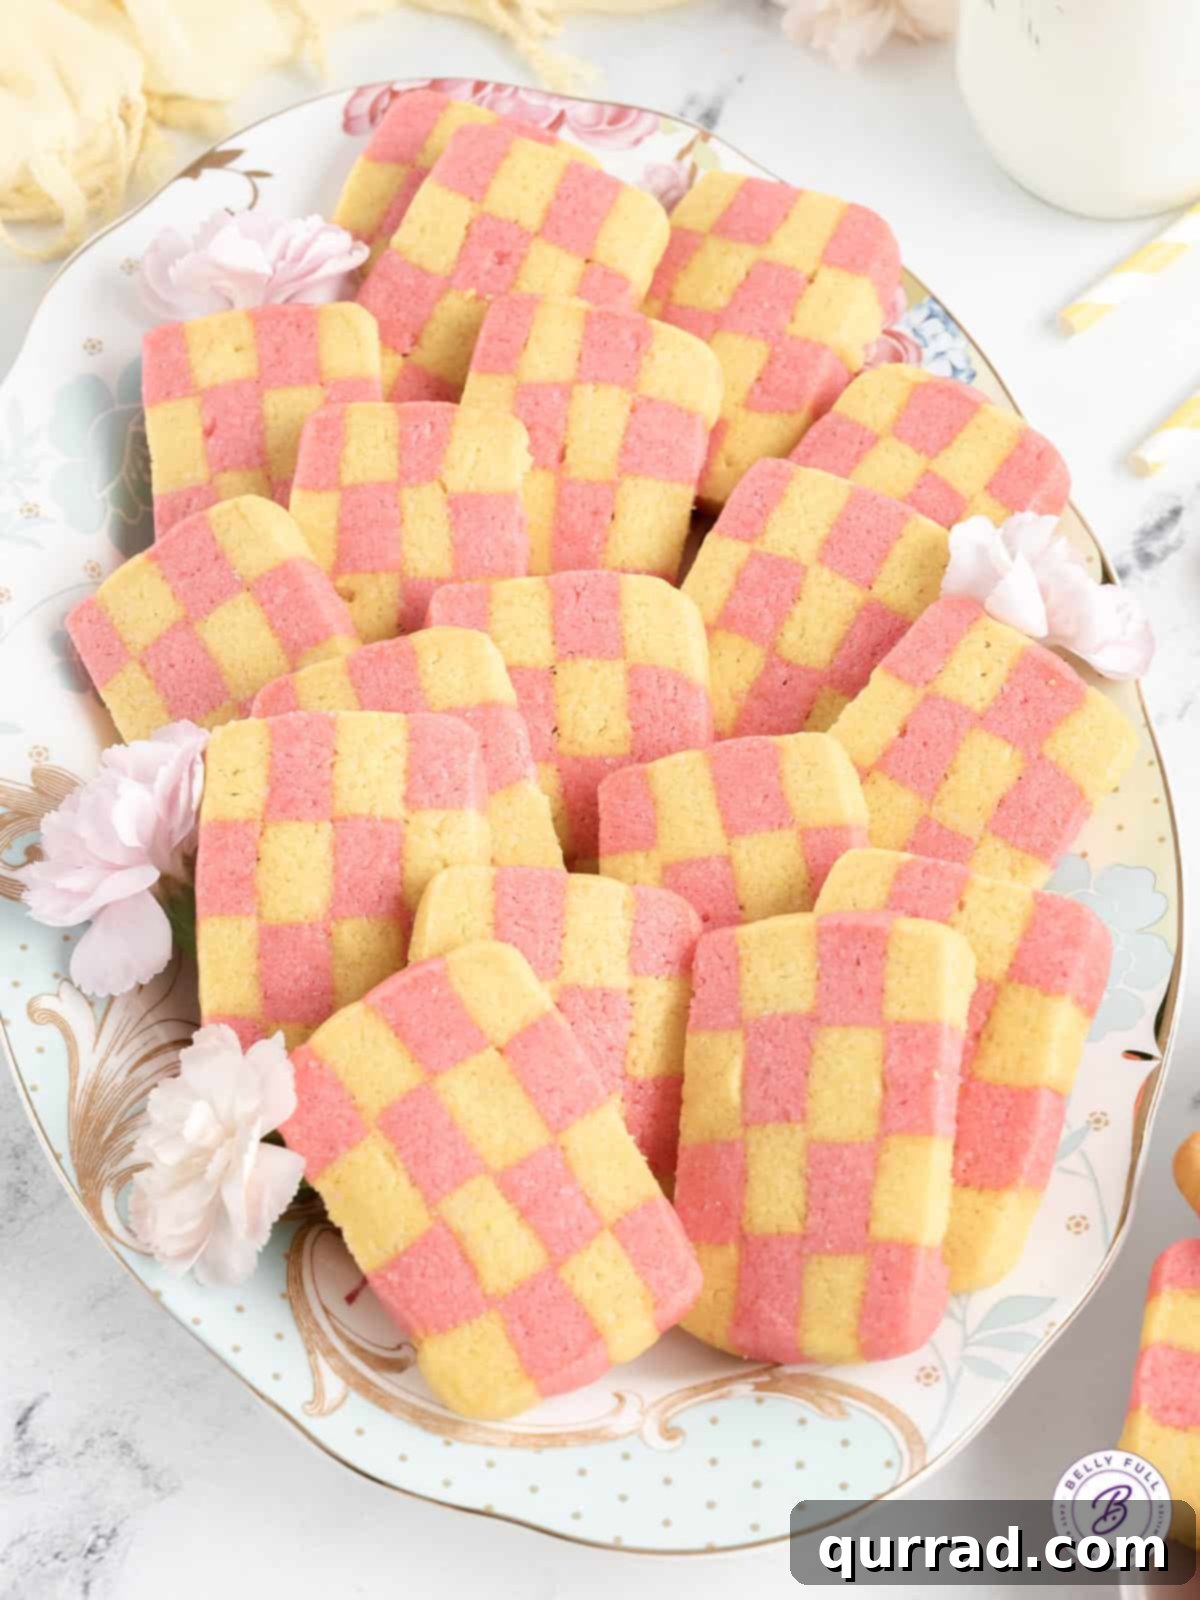
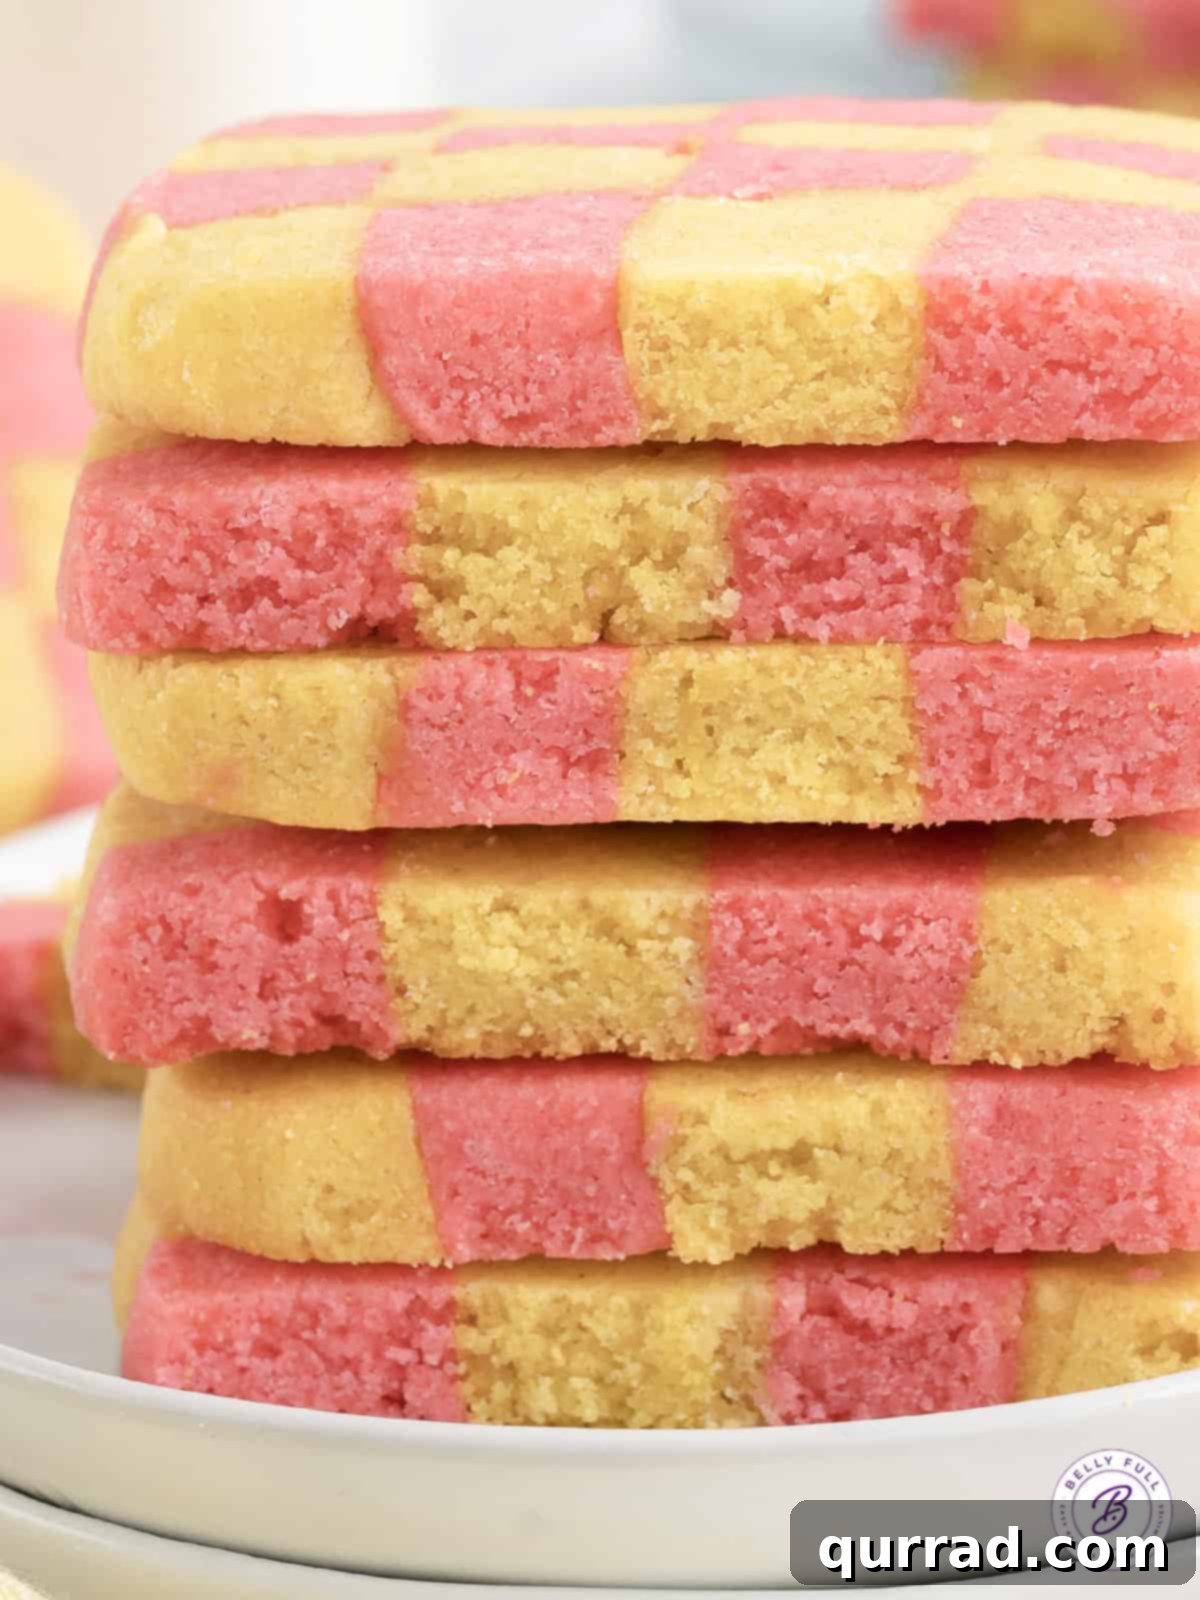
Unleash your inner baker and prepare to dazzle with these delightful Checkerboard Icebox Cookies! Perfect for ushering in the vibrancy of springtime, celebrating Easter, or simply adding a touch of whimsical elegance to any dessert table, these cookies are as impressive to look at as they are delicious to eat. Crafted from readily available pantry staples, they strike the ideal balance of sweetness, elevated by the aromatic notes of both vanilla and almond extracts for an unforgettable flavor profile.
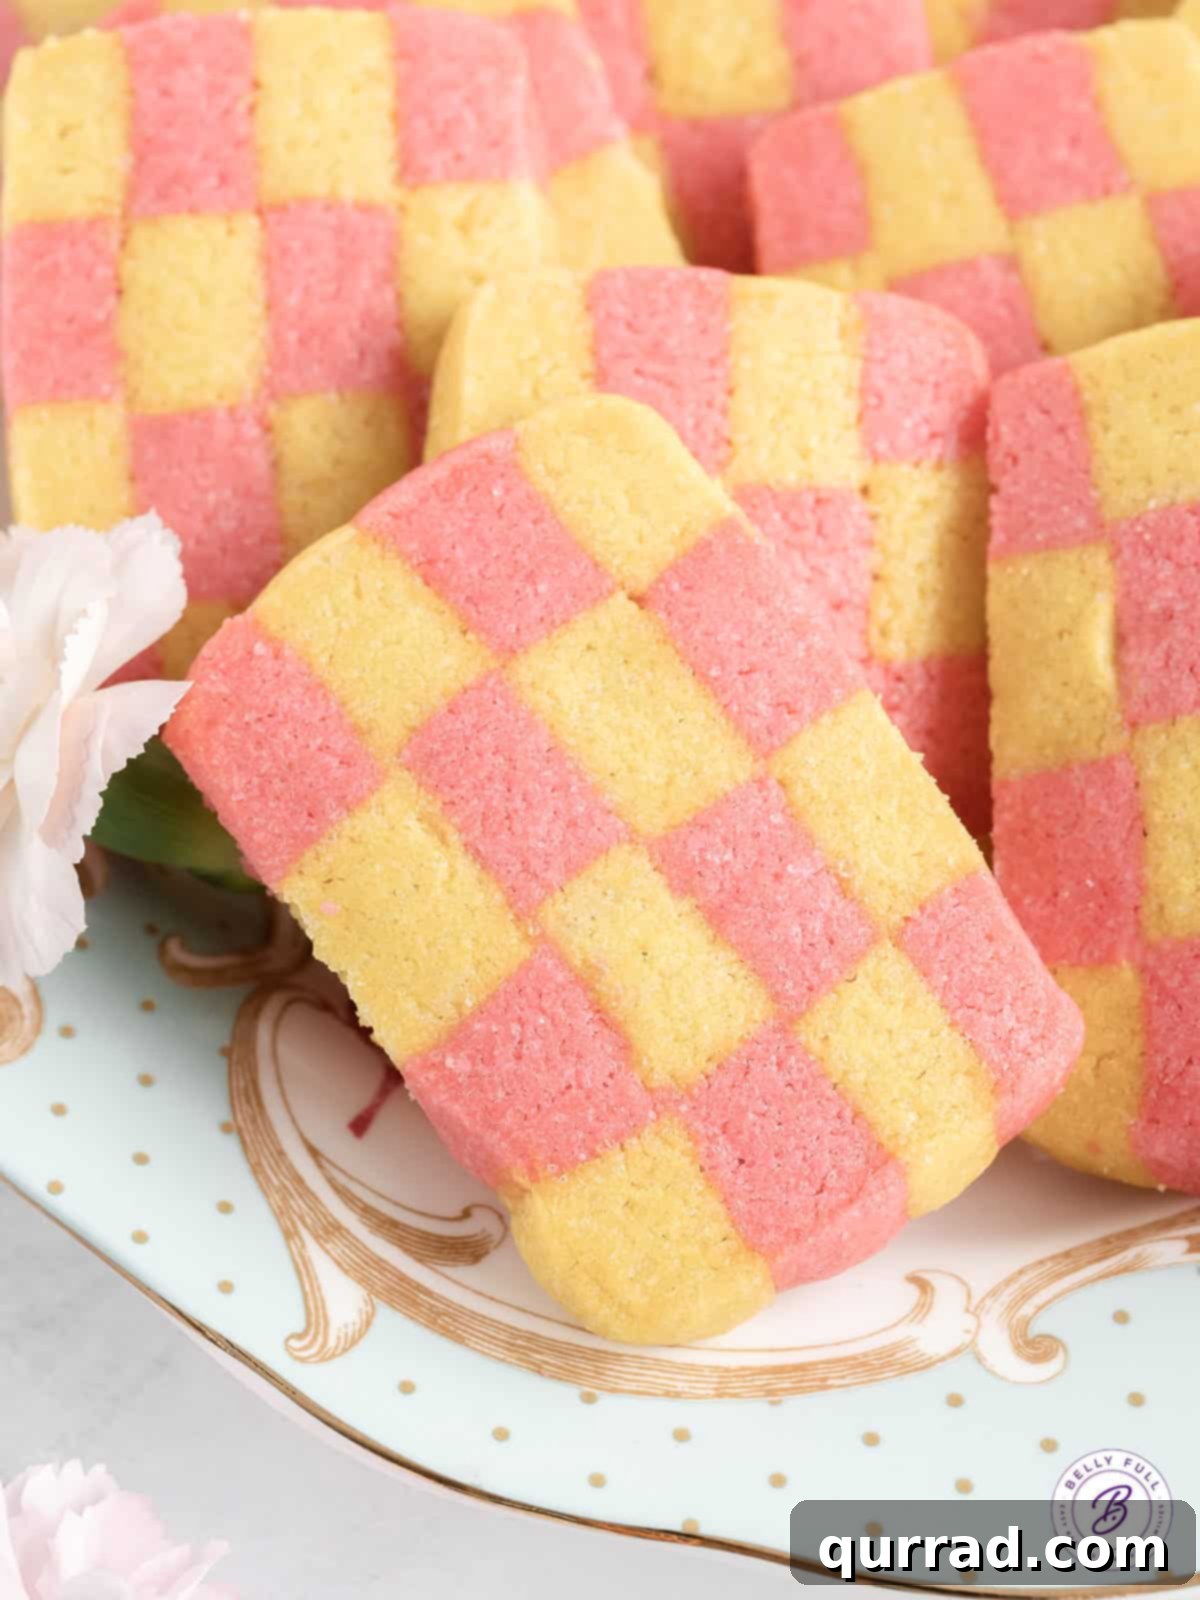
Baking Brilliance: Mastering Fun & Easy Icebox Cookies
These Checkerboard Icebox Cookies stand out as a captivating variation on the beloved classic sugar cookie. They join a cherished collection of recipes that redefine the sugar cookie experience, including our popular 3-ingredient sugar cookies, versatile cut out sugar cookies, rich chocolate sugar cookies, and comforting brown sugar cookies. What makes these checkerboard cookies truly special is their stunning visual appeal, achieved with surprising simplicity.
The magic begins with a single, straightforward sugar cookie dough, infused with the harmonious blend of vanilla and almond extracts. This dough is then thoughtfully divided, with each half transformed into a distinct, vibrant hue using gel food coloring. The captivating checkerboard pattern emerges through a clever process of stacking and precise slicing, turning ordinary dough into an extraordinary work of edible art. The dough itself is designed to be wonderfully thick and slightly sticky, a characteristic that actually simplifies the handling process and ensures the individual dough strips adhere perfectly without the need for additional binders like egg white, a common requirement in other checkerboard cookie recipes.
Unveiling the “Icebox” Secret: What Makes These Cookies Special?
The term “Icebox Cookies” harks back to an earlier era of baking, referring to a type of old-fashioned sugar cookie dough that was traditionally chilled, often overnight, in what was then known as the ‘icebox’ (a precursor to the modern refrigerator). This chilling period wasn’t just a matter of convenience; it was a fundamental step that allowed the dough to firm up, making it easier to slice into uniform shapes before baking. Beyond structural benefits, chilling also deepens the flavor profile, allowing ingredients to meld together more thoroughly, and results in a more tender, less prone-to-spreading cookie.
Our Checkerboard Icebox Cookies recipe pays homage to this classic tradition while introducing a vibrant, modern twist. While the foundational principles remain, we’ve optimized the chilling process for today’s busy bakers. Instead of an overnight wait, a mere 2 and a half hours of chilling is all it takes to achieve perfectly firm, sliceable dough, ready to be transformed into stunning cookies. This recipe demonstrates how a few thoughtful adjustments can elevate a timeless technique into a contemporary baking delight, combining the charm of yesteryear with the efficiency of modern kitchens.
Essential Ingredients for Your Checkerboard Cookie Adventure
Creating these eye-catching cookies starts with a selection of very basic ingredients, most of which you likely already have stocked in your pantry and refrigerator. It’s the careful combination and preparation of these staples that yield such delightful results.
- All-purpose Flour: The foundation of our cookie dough. For the most accurate measurement and optimal texture, always use the spoon and level technique. This prevents over-packing the flour, which can lead to dense, dry cookies.
- Salt: A crucial flavor enhancer. A small amount of salt balances the sweetness of the sugar, bringing out the richer notes of the butter and extracts, making the overall flavor profile more complex and satisfying.
- Baking Powder: While these cookies are designed to hold their intricate pattern, a hint of baking powder provides just enough lift to give them a tender crumb without causing excessive spreading or distorting the beloved checkerboard design.
- Butter: We recommend using regular salted butter, at room temperature, for these Checkerboard Icebox Cookies. The salt in the butter adds an extra layer of flavor that complements the sweetness beautifully. Ensure your butter is truly at room temperature (soft enough to indent with a finger, but not melted) for proper creaming with sugar, which creates air pockets for a lighter texture.
- Granulated Sugar: Provides the essential sweetness and contributes to the cookie’s crisp edges and golden-brown finish.
- Egg and an Additional Egg Yolk: The large egg acts as a primary binder, holding the dough together, while the extra egg yolk adds richness, tenderness, and a slight chewiness to the final cookie. This combination ensures a perfectly balanced texture.
- Vanilla Extract and Almond Extract: This duo is key to the cookies’ exceptional flavor. Vanilla offers a classic warmth, while almond extract provides a delicate, slightly nutty, and sophisticated counterpoint, making these cookies truly irresistible. Don’t skip the almond!
- Gel Food Coloring of Choice: For springtime or Easter, yellow and pink are wonderfully thematic. However, feel free to experiment with any colors that inspire you! Gel food coloring is highly recommended over liquid drops, as it delivers vibrant, intense colors without adding excess moisture to the dough, which could alter its consistency.
Crafting Your Masterpiece: How to Make Checkerboard Icebox Cookies
Making these Checkerboard Icebox Cookies is an incredibly rewarding and fun process, yielding results that look far more complicated than they actually are. Just be mindful of the several essential chill times, which are crucial for achieving that distinct, sharp checkerboard pattern.
- Prepare Dry Ingredients: In a medium bowl, sift together the all-purpose flour, salt, and baking powder. Sifting ensures there are no lumps and helps aerate the flour, contributing to a tender cookie. Set this mixture aside.
- Cream Wet Ingredients: In the bowl of a stand mixer fitted with the paddle attachment (or using a hand mixer), cream together the softened butter and granulated sugar on medium-high speed. Continue beating for about 3 minutes until the mixture is light, fluffy, and pale in color. Scrape down the sides of the bowl with a spatula, then add the large egg, the additional egg yolk, vanilla extract, and almond extract. Beat again until everything is thoroughly combined and smooth.
- Combine and Divide Dough: With the mixer on its lowest speed, gradually add the sifted flour mixture to the wet ingredients. Mix just until the dough comes together and no streaks of dry flour remain. Be careful not to overmix, as this can develop the gluten too much, leading to tough cookies. The dough will be thick and might feel a little sticky, which is perfectly normal and actually aids in the pattern formation. Transfer the entire dough mixture to a clean work surface and divide it exactly in half.
- Color the Dough: Place one half of the dough back into the clean mixing bowl. Add 2-5 drops of your first chosen gel food coloring (e.g., yellow) to achieve your desired vibrancy. Mix on medium speed until the color is completely and evenly distributed throughout the dough. Remove this colored dough, form it into a square, wrap it tightly in plastic wrap, and refrigerate. Quickly clean the mixing bowl and repeat this coloring process with the remaining half of the dough and your second chosen color (e.g., pink).
- Initial Chill: Refrigerate both wrapped dough squares for a minimum of 1 hour. This initial chill is critical for firming up the dough, making it much easier to roll and shape accurately for the checkerboard pattern.
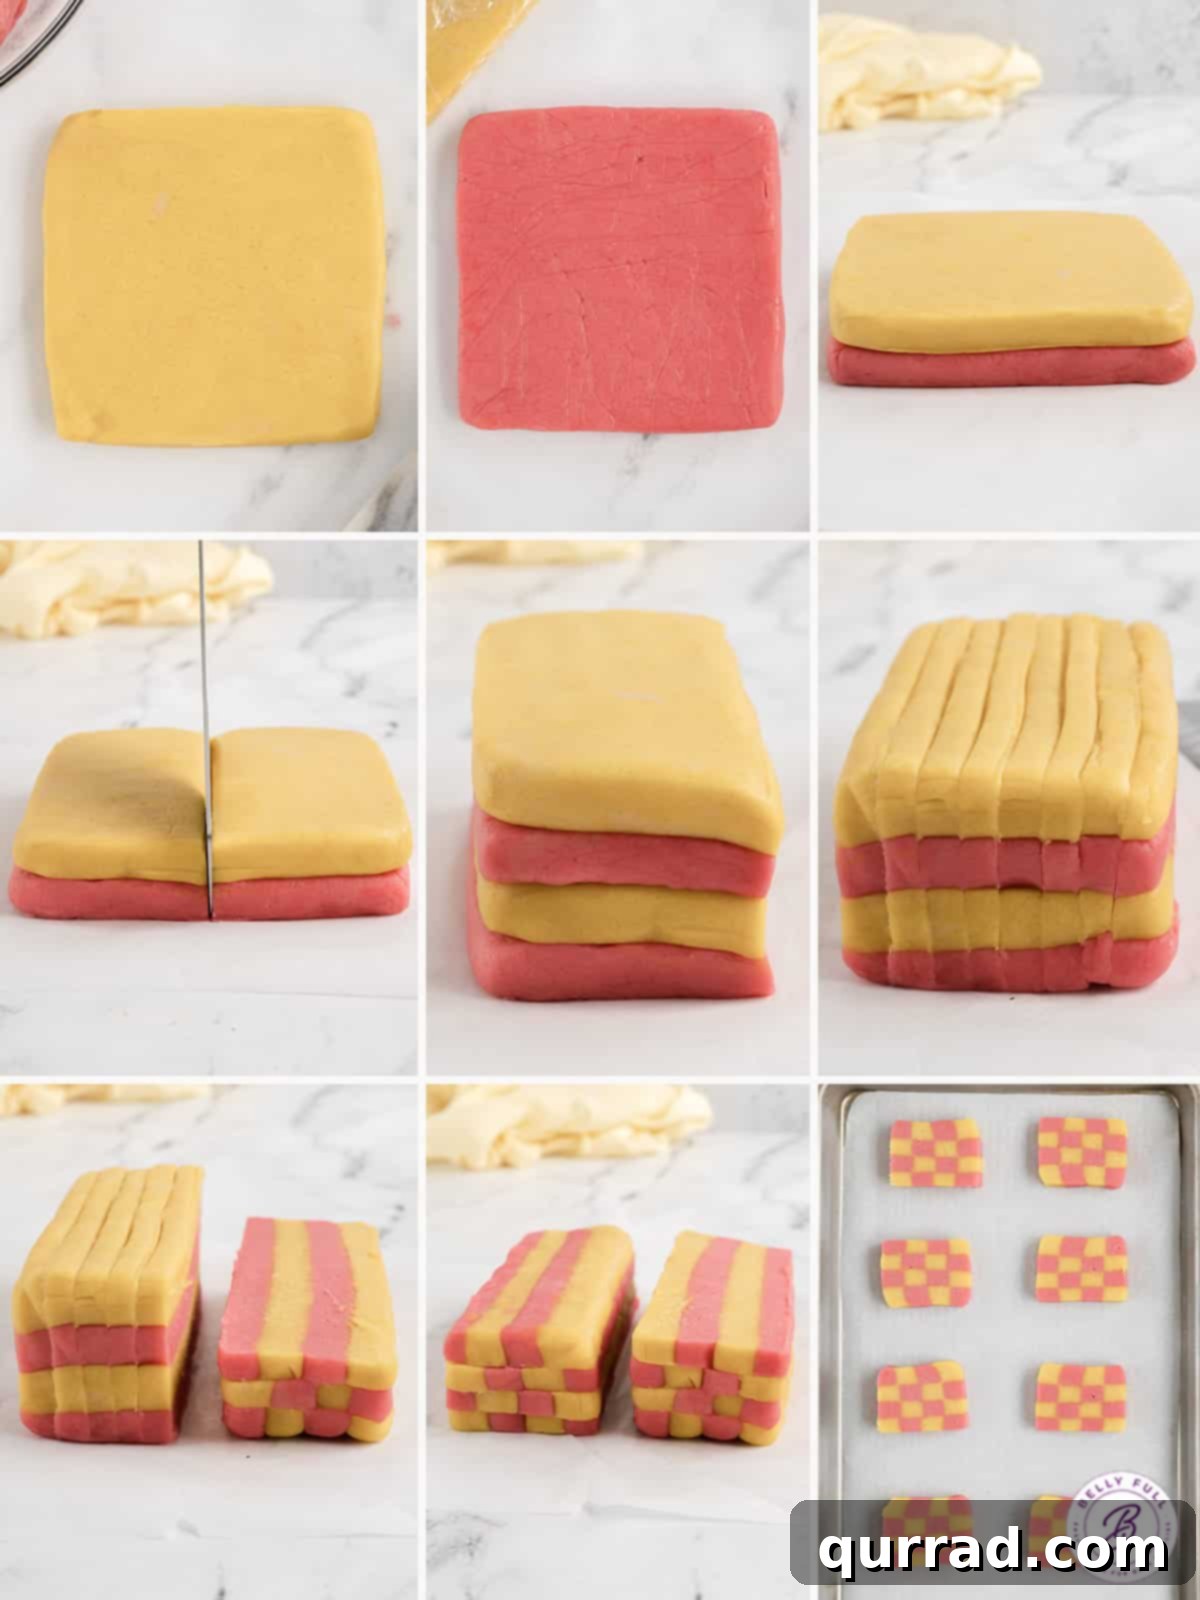
- Build the First Layers: Once both doughs are adequately chilled, gently roll each into a precise 6×6-inch square that is 1/2-inch thick. Consistency in size and thickness is key here for a perfect checkerboard. A rolling pin with thickness guides can be invaluable for achieving accurate results. Carefully layer one colored square directly on top of the other (e.g., yellow over pink). Cut these stacked squares in half lengthwise, resulting in two 3×6-inch rectangles. Stack these two rectangles on top of each other, creating a sequence of alternating colors (e.g., pink, yellow, pink, yellow). Gently mark the shorter 3-inch side of this stacked dough block with 8 even markings, indicating where you will cut your strips.
- Second Chill: Wrap this newly stacked dough block tightly in plastic wrap and return it to the refrigerator for another 30 minutes. This quick chill helps to set the layers, preventing them from shifting during the next cutting step.
- Cut and Form Logs: Remove the chilled stack from the fridge. Using a sharp knife, carefully cut the dough along your 8 markings, creating 8 even strips. Each strip will display the alternating color pattern (e.g., pink-yellow-pink-yellow). Now, take 4 of these strips and stack them together, carefully alternating or flipping every other slice to construct the checkerboard pattern. You should now have a distinct checkerboard log. Repeat this process with the remaining 4 strips to form a second checkerboard log. Refer to accompanying process photos for visual guidance if needed.
- Final Chill: Tightly wrap each checkerboard log in plastic wrap. Gently press and mold the logs to ensure they maintain their rectangular shape and that the dough strips are compressed together, leaving no gaps. Chill these logs for a final 1 hour. This prolonged chill ensures the pattern is fully set and the dough is firm enough for clean, precise slicing without crumbling or losing its shape during baking.
- Bake: Preheat your oven to 350°F (175°C) and line a baking sheet with parchment paper. Remove the chilled dough logs from their plastic wrap. Trim off any uneven end pieces for clean edges. Using a sharp knife, slice each log into uniform 1/4-inch thick cookies. Arrange the slices on the prepared baking sheet, leaving about 1 inch of space between each cookie. Bake for 11 to 13 minutes, or until the edges are just set and lightly golden, and the bottoms are faintly browned. The cookies will continue to firm up as they cool, so avoid overbaking.
- Cool: Carefully transfer the baked cookies to a wire rack to cool completely. This allows air to circulate, preventing the bottoms from becoming soggy and ensuring a crisp, delicate texture.
The Crucial Role of Chilling: Don’t Skip This Step!
In the world of icebox cookies, patience is truly a virtue, and chilling time is your best friend. For these stunning Checkerboard Icebox Cookies, the chilling periods are not merely suggestions but critical steps that dictate the success and beauty of your final product. Because the cookie dough is inherently soft and on the heavier side, it is absolutely imperative to chill it repeatedly throughout the preparation process.
Each chill serves a vital purpose. Firstly, it firms up the dough, making it manageable and easy to roll, stack, and slice with precision. Without sufficient chilling, the dough would be too soft, sticky, and difficult to manipulate, leading to a messy and distorted pattern. Secondly, and perhaps most importantly for a checkerboard design, chilling prevents the vibrant colors of your dough from bleeding or blending together. Cold dough holds its shape and color definition far better than warm dough, ensuring those crisp, distinct squares you’re aiming for. Lastly, baking cold dough helps the cookies maintain their shape and spread less in the oven, preserving the intricate checkerboard pattern and resulting in a cookie with a delightful texture.
Therefore, resisting the urge to shorten or skip any of the chill times is paramount. Embrace the waiting periods; they are an investment in perfectly structured, beautifully colored, and utterly delicious Checkerboard Icebox Cookies.
Expert Tips for Bakery-Quality Checkerboard Icebox Cookies
Making these Checkerboard Icebox Cookies for the first time is an exciting endeavor. Here are a few invaluable tips to ensure your cookies turn out perfectly, looking and tasting like they came straight from a professional bakery:
- Stick with Gel Food Coloring: This is arguably the most critical tip for vibrant, distinct patterns. While liquid food drops are common, they add extra moisture to your dough, which can affect its consistency and cause the colors to bleed. Gel food coloring provides intense pigmentation with very little liquid, ensuring your colors remain sharp and separate. Experiment with different shades to match any holiday or occasion!
- Try Using More Colors for Creative Patterns: Don’t limit yourself to just two colors! For an even more intricate design, consider using three or even four different colors. If you opt for more colors, simply divide the original dough into quarters (or the appropriate number of portions) before adding the gel coloring to each section. This opens up a world of creative possibilities for holiday themes or personalized palettes.
- Don’t Overmix the Dough: After adding the dry ingredients to the wet, mix only until the flour is just incorporated and the dough comes together. The dough for these cookies will naturally be a bit thick and on the stickier side, and that’s exactly what you want. Overmixing develops the gluten in the flour, which can lead to tough, dry, and crumbly cookies, detracting from their delicate texture.
- Avoid Overbaking for Tender Results: Keep a close eye on your cookies while they’re in the oven. Bake them just until the edges are lightly set and very faintly browned on the bottoms. The tops should still look soft and perhaps slightly pale. Remember, cookies continue to bake for a few minutes after they are removed from the oven due to residual heat. Overbaking will result in hard, dry cookies that lose their tender bite.
- Ensure Even Slicing: For a uniform checkerboard pattern and even baking, it’s crucial that your slices are consistently 1/4-inch thick. A sharp, non-serrated knife works best. You can use a ruler or even invest in a cookie dough slicing guide if you plan to make these often, ensuring every cookie looks professionally made.
Proper Storage and Make-Ahead Options for Ultimate Convenience
One of the many appealing aspects of Icebox Cookies, particularly these Checkerboard Icebox Cookies, is their incredible flexibility when it comes to preparation and storage. They are perfectly suited for making in advance, allowing you to enjoy fresh-baked treats with minimal effort when the craving strikes or guests arrive.
- Can I Make The Dough In Advance? Absolutely! This recipe is ideal for proactive bakers. The uncooked dough logs, once assembled and tightly wrapped in plastic wrap, can be stored in the refrigerator for up to 3 days. For even longer storage, you can freeze the dough logs for up to 3 months. Simply transfer them to a freezer-safe bag or container. When you’re ready to bake, there’s no need to thaw completely; just slice the cookies from the frozen log and place them on a baking sheet. You might need to add an extra 2-3 minutes to the bake time when baking from frozen. This make-ahead capability makes them perfect for busy schedules or impromptu baking sessions.
- Storing Leftovers: If you find yourself with any delicious baked Checkerboard Icebox Cookies (a rare occurrence!), they will maintain their freshness beautifully. Once completely cooled, store the cookies in an airtight container at room temperature on your kitchen counter for up to 4 days. This keeps them wonderfully crisp and flavorful.
- Freezing Baked Cookies: For longer enjoyment, baked Checkerboard Icebox Cookies can also be frozen. After they have cooled completely, arrange them in a single layer on a baking sheet and freeze until solid. Once frozen, transfer them to an airtight, freezer-safe container or a heavy-duty freezer bag, layering them with parchment paper to prevent sticking. They will keep well in the freezer for up to 3 months. To enjoy, simply thaw them on the counter at room temperature for an hour or two, and they’ll be as delightful as freshly baked.
Frequently Asked Questions (FAQ)
- Can I use different flavor extracts? Yes, absolutely! While vanilla and almond provide a classic, delightful combination, feel free to experiment. Lemon, orange, or peppermint extract could offer a refreshing twist, especially for holiday themes. Start with a small amount and adjust to taste.
- What if my dough is too sticky or too dry? If your dough feels excessively sticky after mixing, try chilling it for an additional 30 minutes to an hour. If it’s too dry and crumbly to form a cohesive ball, add a tiny amount (1/2 teaspoon at a time) of milk or water until it comes together. Remember, the dough should be thick and slightly sticky.
- How can I get cleaner lines in my checkerboard pattern? The key is consistent rolling and even slicing. Use a ruler or a rolling pin with thickness guides to ensure uniform dough squares. Chill the dough thoroughly at each stage, and use a sharp knife for clean cuts. Gently pressing the stacked logs together before the final chill also helps compress the layers.
- Can I use unsalted butter? Yes, you can. If using unsalted butter, we recommend adding an extra pinch (about 1/8 teaspoon) of fine salt to the dry ingredients to balance the flavors.
- Can I make these cookies gluten-free? We haven’t tested this recipe with gluten-free flour. While it might be possible, gluten-free flours often require different hydration levels and binders, which could affect the dough’s texture and ability to hold the checkerboard pattern.
Explore More Delicious Cookie Recipes:
- DoubleTree Cookies
- Easy Sugar Cookies
- Snickerdoodle Cookies
- Lofthouse Cookies
- Pistachio Cookies
- Creamsicle Cookies
Concluding Thoughts: A Sweet Treat for Every Occasion
These Checkerboard Icebox Cookies are more than just a dessert; they are a delightful fusion of classic baking techniques and modern culinary artistry. Their striking visual appeal, combined with a perfectly balanced vanilla-almond flavor, makes them an ideal choice for any gathering, from casual tea parties to elaborate holiday buffets. The process, while requiring a few chilling steps, is straightforward and immensely satisfying, resulting in a batch of cookies that are sure to impress and bring smiles.
We sincerely hope you cherish this fun and surprisingly easy recipe as much as we do. It’s a wonderful way to add a touch of handmade charm and elegance to your table. Don’t forget to share your creations and experiences!
If you loved this recipe, please consider leaving a rating below! Also, stay connected with Belly Full for more delicious recipes and kitchen inspiration by following us on TikTok, Facebook, Instagram, Pinterest, and YouTube!
Checkerboard Icebox Cookies Recipe
These fun Checkerboard Icebox Cookies are perfect for springtime or Easter and look so impressive on a buffet table. They’re made using pantry staples, just the right amount of sweetness, and both vanilla and almond extract for the best flavor.
- Prep Time: 45 mins
- Cook Time: 11 mins
- Chill Time: 2 hrs 30 mins
- Total Time: 3 hrs 26 mins
- Servings: 24 cookies
Ingredients
- 2 & 1/2 cups all-purpose flour, spooned and leveled
- 1/2 teaspoon salt
- 1/2 teaspoon baking powder
- 1 cup regular salted butter, room temperature (2 sticks)
- 1 cup granulated sugar
- 1 large egg plus 1 egg yolk
- 1 teaspoon vanilla extract
- 1 teaspoon almond extract
- Food coloring of choice (e.g., yellow and pink gel food coloring)
Instructions
- In a small bowl, sift together the flour, salt, and baking powder. Set aside.
- In the bowl of a stand mixer or a bowl with a hand mixer, cream together the butter and sugar until light and fluffy, about 3 minutes. Add the egg, egg yolk, and both extracts and beat until well incorporated. Scrape the bowl and mix again.
- With the mixer on low speed, add the flour mixture, just until the dough comes together. The dough will be thick and on the stickier side.
- Transfer the dough to a clean work surface. Divide the dough in half.
- Place one half of the dough back into the mixing bowl and color with your first food coloring, adding 2-5 drops to reach your desired color. Mix on medium speed until the color is completely mixed in and even throughout the dough. Remove from the mixer and place on plastic wrap, pat into a square, and tightly wrap the dough to refrigerate for at least 1 hour. Quickly clean out the mixing bowl and repeat this process with the other half of the dough and the second food coloring.
- Once both doughs have chilled for at least 1 hour, gently roll them out so that they are in a 6”x6” square and that they are both 1/2-inch thick. These doughs should be the same size and thickness. A 1/2-inch rolling pin guide is recommended for accuracy.
- To build the checkerboard pattern: Layer the first colored dough square on top of the second colored square, making sure they are perfectly aligned. Cut these stacked squares in half lengthwise; this will give you 2, 3”x6” rectangles. Stack these on top of one another, creating an alternating color pattern. Gently mark the short 3-inch side of the dough stack with 8 even markings (you will be cutting 8 even strips down the length of the dough stack).
- Gently wrap the stacked dough and return it to the fridge for 30 minutes. Then remove from the fridge and carefully cut the 8 even strips along your markings. Each strip will have the same alternating color pattern. Stack 4 of these strips together, alternating or flipping every other slice, to create one checkerboard pattern log. Repeat with the remaining 4 strips of dough to create a second log.
- Tightly wrap the logs in plastic wrap, gently pressing the logs together so they maintain their rectangular shape and the doughs are compressed. Chill for another 1 hour.
- To make the cookies, preheat your oven to 350°F (175°C) and line a sheet pan with parchment paper. Remove the dough logs from their plastic wrap and trim off the end pieces for clean edges. Cut the log into uniform 1/4-inch thick slices and place on the sheet pan 1 inch apart.
- Bake for 11-13 minutes, or until the cookies are just set and firm, and starting to brown lightly on the bottom. Do not overbake.
- Transfer to a cooling rack and allow to cool completely.
Nutrition
Calories: 151kcal | Carbohydrates: 18g | Protein: 2g | Fat: 8g | Saturated Fat: 5g | Polyunsaturated Fat: 0.4g | Monounsaturated Fat: 2g | Trans Fat: 0.3g | Cholesterol: 27mg | Sodium: 64mg | Potassium: 28mg | Fiber: 0.4g | Sugar: 8g | Vitamin A: 246IU | Calcium: 9mg | Iron: 1mg
Nutritional information given is an automatic calculation and can vary based on the exact products you use and any changes you make to the recipe. If these numbers are very important to you, I would recommend calculating them yourself.
Did you make this? Leave a rating below!