
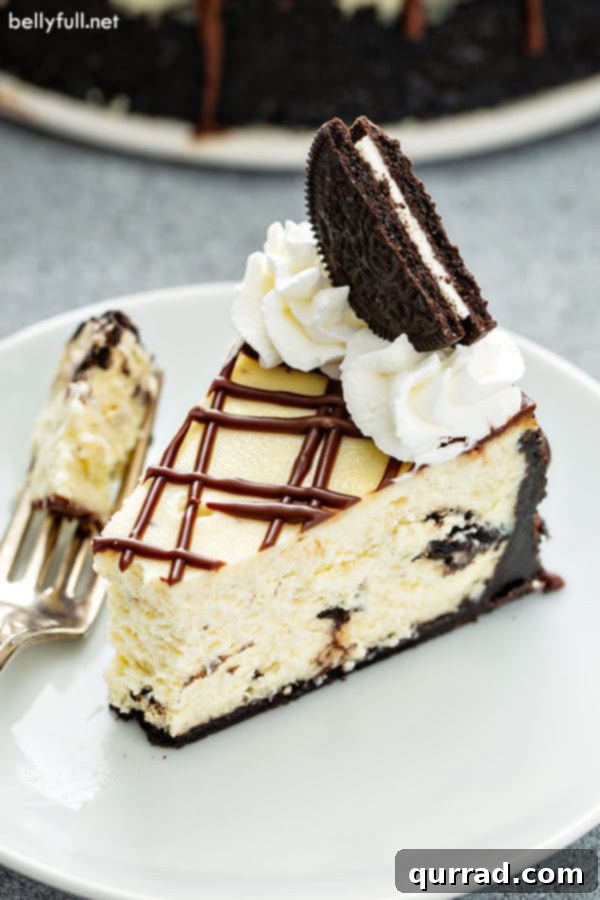
Welcome to the ultimate guide for creating an extraordinary Oreo Cheesecake that promises to be the star of any dessert table! This recipe isn’t just about combining ingredients; it’s about crafting a rich, creamy, and undeniably delectable experience. We’ll dive deep into making a perfectly crisp Oreo cookie crust, folding generous chunks of these iconic cookies into a luscious cream cheese filling, and then baking it to golden perfection. The grand finale? A luxurious chocolate ganache topping and a swirl of homemade whipped cream, transforming each slice into a dream come true for any cookies and cream enthusiast.
READER REVIEW
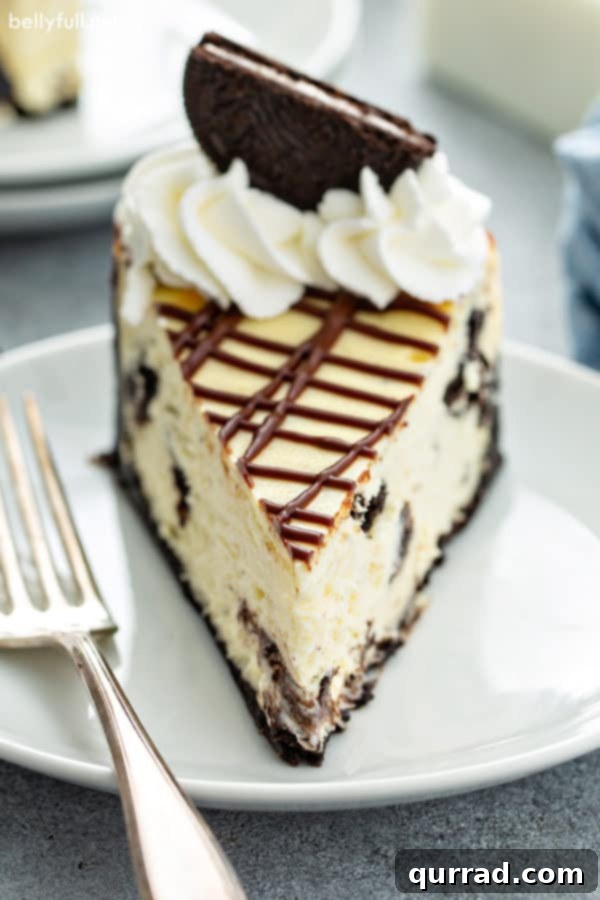
“It looked exactly like the picture and tasted amazing! I didn’t change one thing! It was so delicious!” – Kathy
Crafting the Perfect Oreo Cheesecake: A Surprisingly Easy Recipe
There are simply not enough superlatives to describe the sheer delight of this homemade Oreo Cheesecake. It’s more than just a dessert; it’s an experience – a creamy, luscious, and utterly out-of-this-world creation that will have everyone asking for more. My brother-in-law, a notoriously tough critic, even declared it worthy of a spot on a fancy restaurant menu! The best part? You can create this show-stopping dessert right in your own kitchen without the hefty price tag of a gourmet slice.
Many cheesecake aficionados wonder if this recipe rivals the famous Cheesecake Factory Oreo cheesecake. While I can’t speak to that comparison directly, as I’ve never had the pleasure of trying theirs, I can confidently say that this recipe delivers an unparalleled cookies and cream flavor and texture that will undoubtedly impress. It’s a testament to how simple ingredients, combined with a few key techniques, can yield a truly spectacular result.
Mastering Your Oreo Cheesecake: Essential Tips for Success
Baking a cheesecake can seem daunting, but with these expert tips, you’ll achieve a flawless, crack-free, and incredibly smooth dessert every time. These foundational pieces of advice are crucial for unlocking the full potential of your Oreo Cheesecake, ensuring a truly professional finish and an unforgettable taste.
- Full-Fat Cream Cheese is Key for Richness. When selecting your cream cheese, always opt for the full-fat variety that comes in blocks. Avoid the whipped or low-fat versions found in tubs, as they contain more water and stabilizers which can compromise the rich, dense, and creamy texture essential for a perfect cheesecake. Full-fat cream cheese provides the ideal foundation for a luxurious filling.
- Room Temperature Ingredients for a Silky Filling. This tip cannot be stressed enough! Ensure all chilled ingredients, especially your cream cheese and eggs, are brought to complete room temperature before you begin mixing. This allows them to blend seamlessly, creating a smooth, lump-free batter. Cold ingredients tend to clump, requiring longer mixing times which can incorporate too much air, leading to cracks during baking.
- Consider a Water Bath for Crack-Free Perfection. While I sometimes opt for simplicity, a water bath is truly the secret weapon against cheesecake cracks. The gentle, moist heat from the water bath helps the cheesecake bake evenly and slowly, preventing the edges from setting too quickly and pulling away from the pan. If you’re aiming for absolute perfection, place your springform pan (wrapped securely in foil) into a larger baking pan filled with hot water before baking.
- Resist the Urge to Open the Oven Door. Consistency is crucial during the baking process. Frequent temperature fluctuations caused by opening the oven door can lead to uneven baking and, you guessed it, cracks. Once your cheesecake is in the oven, trust the process and let it bake undisturbed until it’s time to check for doneness.
- The Power of an Extra Egg Yolk. Our recipe calls for whole eggs plus an additional egg yolk. The extra fat and emulsifiers found in the egg yolk are magical. They bind liquids and fats more effectively, significantly enhancing the richness, smoothness, and billowy texture of the cheesecake. This small addition makes a big difference in preventing separation and achieving that coveted melt-in-your-mouth consistency.
★
★
★
★
Oreo Cheesecake
20 mins
45 mins
12 hrs
13 hrs 5 mins
12
Pin
This Oreo Cheesecake recipe is rich, creamy, and absolutely delectable. It’s truly what cookies and cream dessert dreams are made of!
Step-by-step photos can be seen below the recipe card.
Ingredients
For the Crust
- 24 whole Oreo cookies, crushed into fine crumbs
- 6 tbsp unsalted butter, melted
For the Filling
- 32 oz. full-fat cream cheese, at room temperature
- 1 cup granulated sugar
- 2 tbsp all-purpose flour
- pinch of salt
- ½ cup heavy cream
- 1 tsp vanilla extract
- 3 large eggs
- 1 egg yolk
- 12 whole Oreo cookies, quartered or crushed
For Topping
- chocolate ganache: 7 oz chocolate chips & ¼ cup heavy cream
- homemade whipped cream
Instructions
-
Preheat oven to 350°F. Grease a 9-inch springform pan; set aside.
For the Crust
-
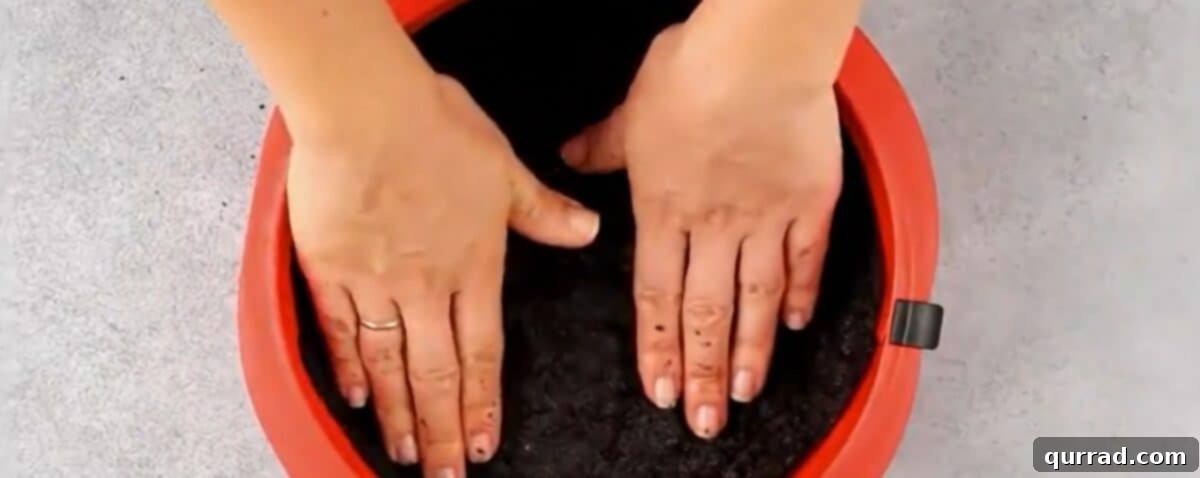
In a medium bowl, stir together the Oreo cookie crumbs and melted butter with a fork until combined. Press into the bottom and halfway up the sides of the prepared springform pan. Refrigerate while you prepare the filling.
For the Filling
-
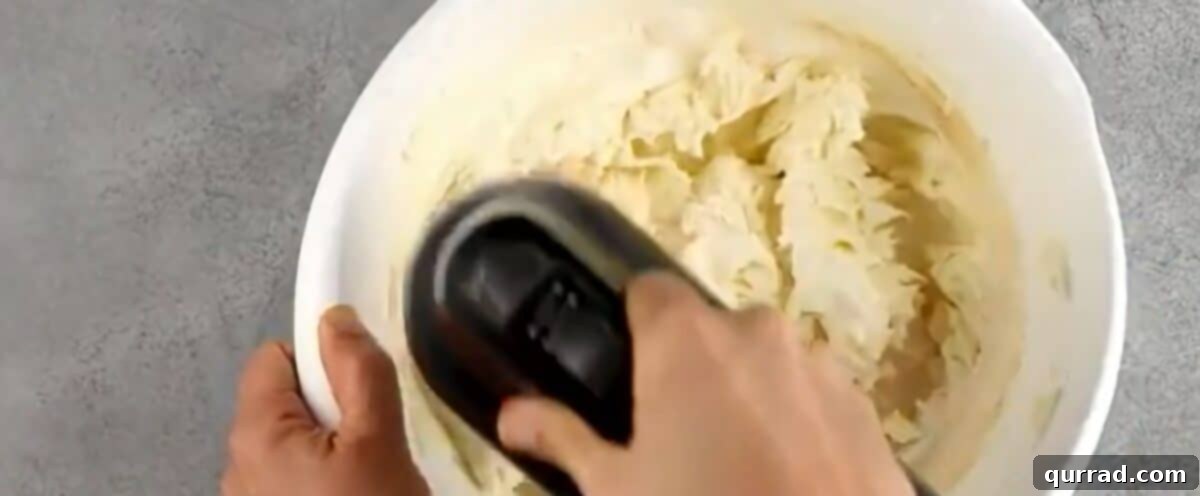
Using an electric mixer on medium-low speed, beat the cream cheese, sugar, flour, and salt until the mixture is creamy and no lumps of cream cheese remain, about 3 minutes.
-
Scrape down the sides of the bowl, add the heavy cream and vanilla and beat to combine.
-
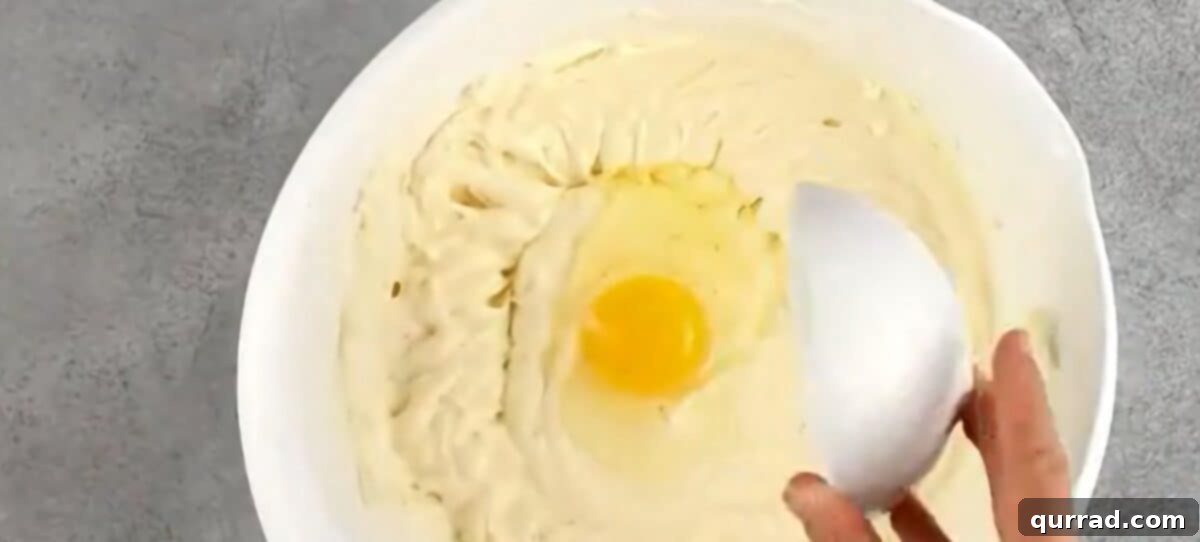
Beat in the whole eggs and egg yolk one at a time, beating for about 5-10 seconds before adding the next.
-
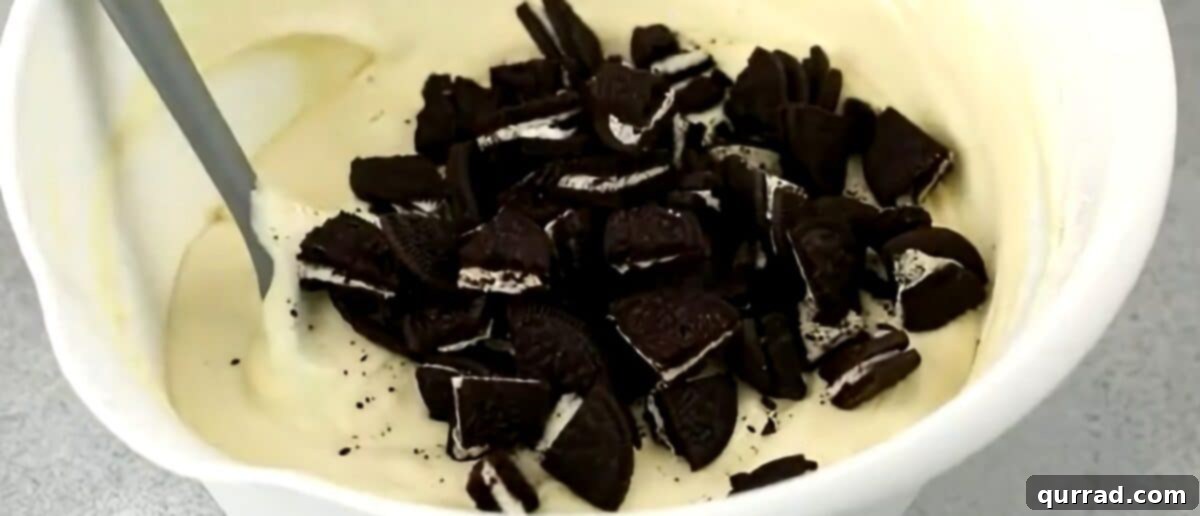
Using a rubber spatula, mix a few times by hand to ensure that all of the ingredients are evenly incorporated. Do not overmix. Fold in the quartered Oreo cookies.
Assemble and Bake
-
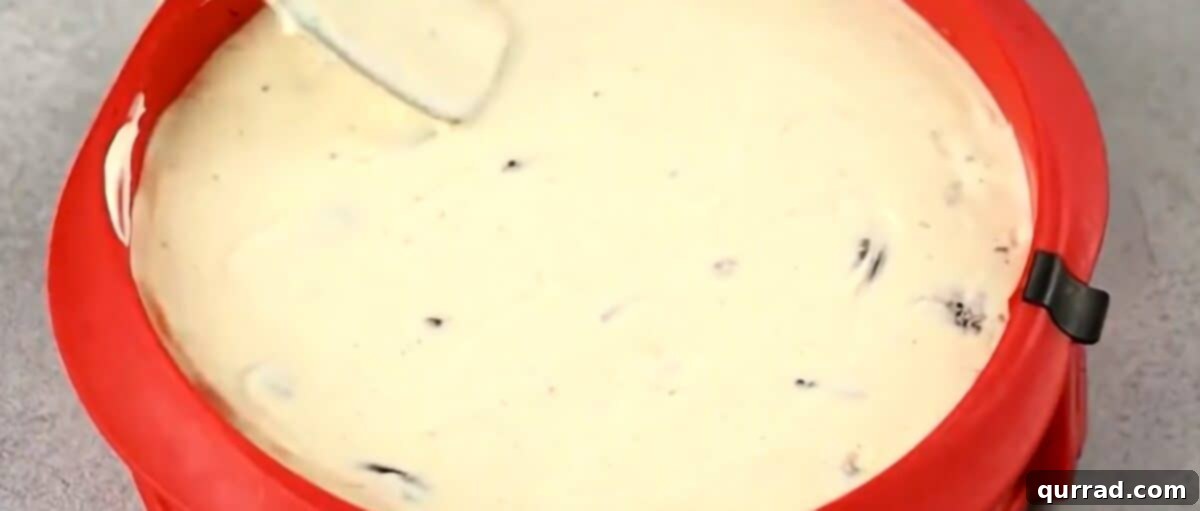
Pour the filling into the chilled crust and spread into an even layer.
-
Bake until the outer couple of inches of cheesecake look puffed and set, but 2-3 inches in the center still jiggles when you move the pan, about 45 to 55 minutes. Do not overbake.
-
Turn off the oven, crack open the door, and leave the cheesecake inside for 1 hour. This helps minimize cracking, which may occur with temperature changes.
Cool and Chill
-
After an hour, remove the cheesecake from the oven, place on a wire cooling rack and run a thin, dull knife around the edge of the cake. Allow to cool completely to room temperature.
-
Once the cheesecake has cooled to room temperature, refrigerate for at least 4 hours, preferably overnight.
Make the ganache
-
Place 7 oz. of chocolate chips in a heat-proof bowl. Pour ¼ cup of very hot (almost boiling) heavy cream over it and allow to sit for a couple of minutes, then whisk until smooth.
-
Allow the ganache to cool a bit (about 5 minutes, until thickened but still pourable), then transfer to a squeeze bottle.
Slice and Serve
-
Remove from the refrigerator 30 minutes before serving, and unmold the cheesecake.
-
Drizzle with chocolate ganache and fresh piped whipped cream (this is great to hide any cracks!). Slice, serve, and dream about every bite until you make it again!
Video Tutorial
Watch our step-by-step video guide for making this delicious Oreo Cheesecake!
Nutrition
Calories: 191 kcal | Carbohydrates: 20g | Protein: 2g | Fat: 12g | Saturated Fat: 7g | Cholesterol: 91mg | Sodium: 37mg | Potassium: 29mg | Fiber: 1g | Sugar: 18g | Vitamin A: 410IU | Calcium: 17mg | Iron: 1mg
Nutritional information given is an automatic calculation and can vary based on the exact products you use and any changes you make to the recipe. If these numbers are very important to you, I would recommend calculating them yourself.
A Visual Guide: How to Make Oreo Cheesecake Step by Step
Embark on your journey to cheesecake perfection with this detailed, visual step-by-step guide. We’ll walk you through each stage, from preparing your springform pan to achieving that irresistible creamy filling and beautiful presentation.
Step 1: Prepare Your Oven and Pan
Begin by preheating your oven to 350°F (175°C). This ensures a consistent temperature from the moment your cheesecake goes in. Next, lightly grease a 9-inch springform pan. This type of pan is essential for easy removal of the cheesecake once it’s set, allowing you to showcase its perfect edges. Set it aside, ready for its crust.
Step 2: Construct the Dreamy Oreo Crust
In a medium-sized bowl, combine the finely crushed crumbs from 24 whole Oreo cookies with 6 tablespoons of melted unsalted butter. Use a fork to mix these ingredients thoroughly until the crumbs are evenly moistened and resemble wet sand. This butter acts as the binding agent, giving your crust structure. Firmly press this mixture into the bottom of the prepared springform pan, extending it halfway up the sides. A flat-bottomed glass or your fingers can help achieve an even layer. Once pressed, refrigerate the pan. Chilling the crust helps it firm up and prevent crumbling during baking and slicing, creating a robust foundation for your cheesecake.
Step 3: Crafting the Luscious Cream Cheese Filling
Now for the heart of the cheesecake! In the bowl of an electric mixer fitted with the paddle attachment (or using a hand mixer), combine 32 oz. of full-fat cream cheese (remember, at room temperature!), 1 cup of granulated sugar, 2 tablespoons of all-purpose flour, and a pinch of salt. Beat these ingredients together on medium-low speed for approximately 3 minutes, or until the mixture is incredibly creamy and smooth, with absolutely no lumps of cream cheese visible. This slow and steady mixing prevents over-aeration, which can contribute to cracks.
Step 4: Incorporate Wet Ingredients for Flavor and Moisture
Stop the mixer and use a rubber spatula to scrape down the sides and bottom of the bowl, ensuring everything is evenly incorporated. Add ½ cup of heavy cream and 1 teaspoon of vanilla extract. Beat again on low speed just until combined. This adds a lovely subtle flavor and extra richness to the filling.
Step 5: Adding Eggs for Structure and Richness
With the mixer still on low, add the 3 whole large eggs and the single egg yolk one at a time. Beat for only about 5-10 seconds after each addition. The key here is minimal mixing once the eggs are in. Overmixing at this stage can incorporate too much air, leading to a soufflé-like texture that can collapse and crack. Gently fold until just combined.
Step 6: The Signature Oreo Fold
Before adding the main event, give the batter a final few stirs by hand with a rubber spatula to ensure all ingredients are perfectly incorporated from the bottom of the bowl. Then, gently fold in the 12 quartered or crushed Oreo cookies. This step adds those delightful pockets of cookies and cream texture throughout the cheesecake. Be careful not to overmix, as you want discernible cookie pieces, not just crumbs.
Step 7: Assemble and Bake to Perfection
Carefully pour the creamy cheesecake filling into the chilled Oreo crust in the springform pan. Use your rubber spatula to spread the filling into an even layer, ensuring a flat top. Place the pan in your preheated oven.
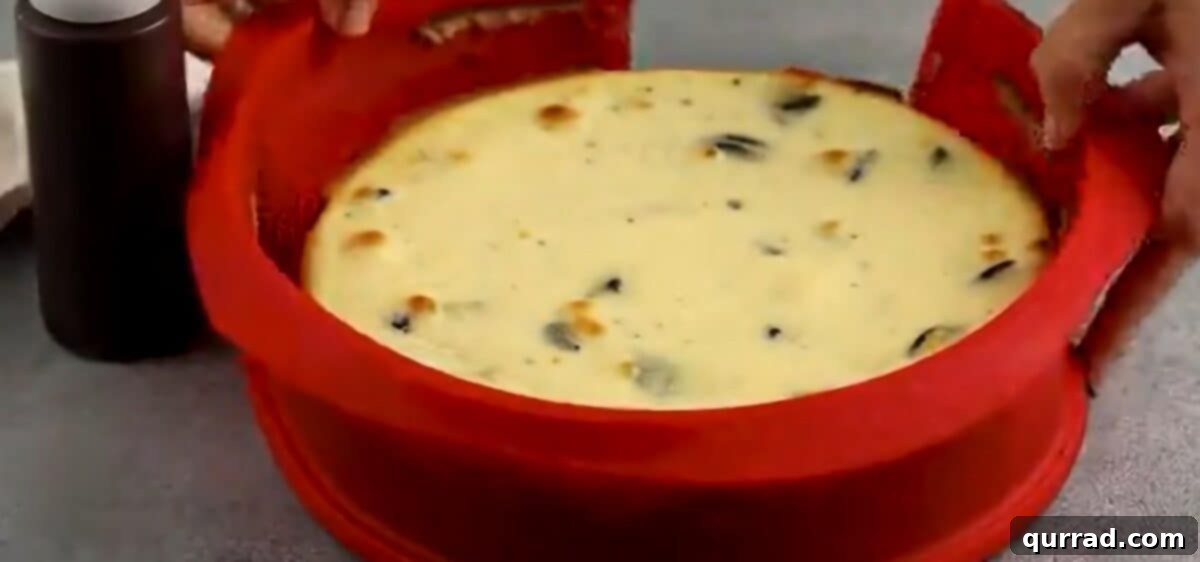
Bake for approximately 45 to 55 minutes. You’ll know it’s done when the outer couple of inches of the cheesecake appear slightly puffed and set, but the center (about 2-3 inches wide) still has a slight jiggle when you gently move the pan. It’s crucial not to overbake, as this is a common cause of cracks and a dry texture. A perfectly baked cheesecake will continue to set as it cools.
Step 8: The Gentle Cooling Process
Once baked, turn off the oven but resist the urge to immediately pull out your cheesecake. Instead, crack open the oven door (leaving it slightly ajar) and allow the cheesecake to cool inside for exactly 1 hour. This gradual decrease in temperature is vital for preventing drastic changes that can shock the cheesecake and lead to unsightly cracks. Patience is a virtue here!
Step 9: Cool Completely and Chill Thoroughly
After the hour in the cooling oven, remove the cheesecake and place it on a wire cooling rack. Immediately run a thin, dull knife (or an offset spatula) around the edge of the cake, between the cheesecake and the springform pan. This small action helps prevent the cheesecake from sticking to the pan as it shrinks slightly while cooling, further reducing the risk of cracks. Allow the cheesecake to cool completely to room temperature on the rack, which can take several hours.
Once cooled, transfer the cheesecake to the refrigerator for at least 4 hours, though preferably overnight. Chilling is crucial for the cheesecake to fully set, develop its dense, creamy texture, and allow the flavors to meld beautifully. Do not rush this step!
Step 10: Crafting the Silky Chocolate Ganache
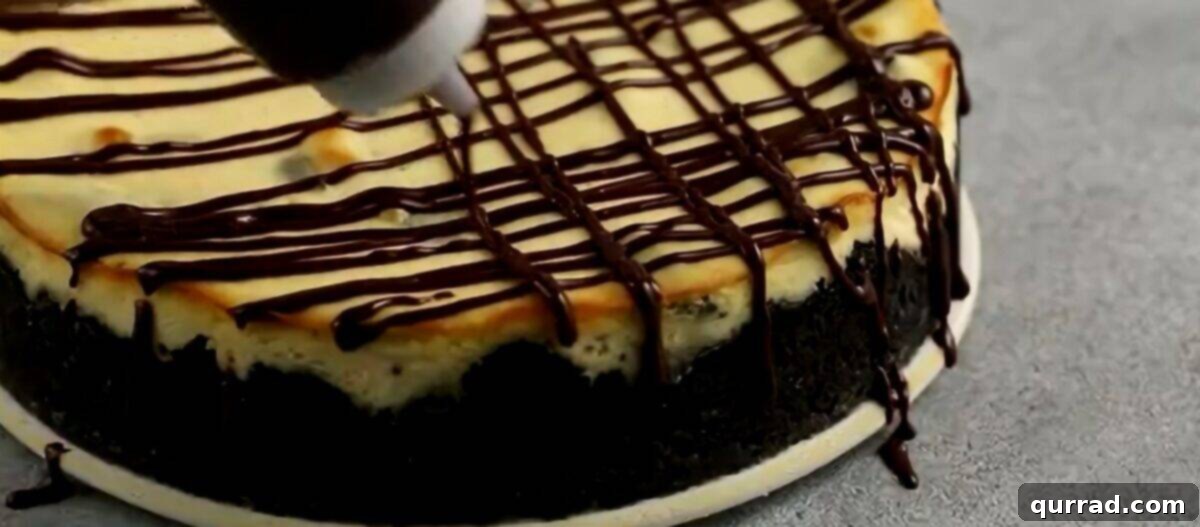
To make your decadent chocolate ganache topping, place 7 oz. of chocolate chips in a heat-proof bowl. In a separate saucepan, heat ¼ cup of heavy cream until it’s very hot, just shy of boiling. Pour the hot cream over the chocolate chips and let it sit undisturbed for 2-3 minutes. This allows the heat from the cream to melt the chocolate. Then, whisk gently until the mixture is completely smooth, shiny, and lump-free.
Allow the ganache to cool for about 5 minutes, or until it has thickened slightly but is still pourable. For a neat drizzle, transfer the ganache to a squeeze bottle or a piping bag with a small round tip.
Step 11: Unmolding and Preparing for Presentation
About 30 minutes before you plan to serve, remove the cheesecake from the refrigerator. Carefully unmold it from the springform pan by releasing the latch and lifting the ring away. This slight warming helps the cheesecake cut more cleanly.
Step 12: The Grand Drizzle and Whipped Cream Finish
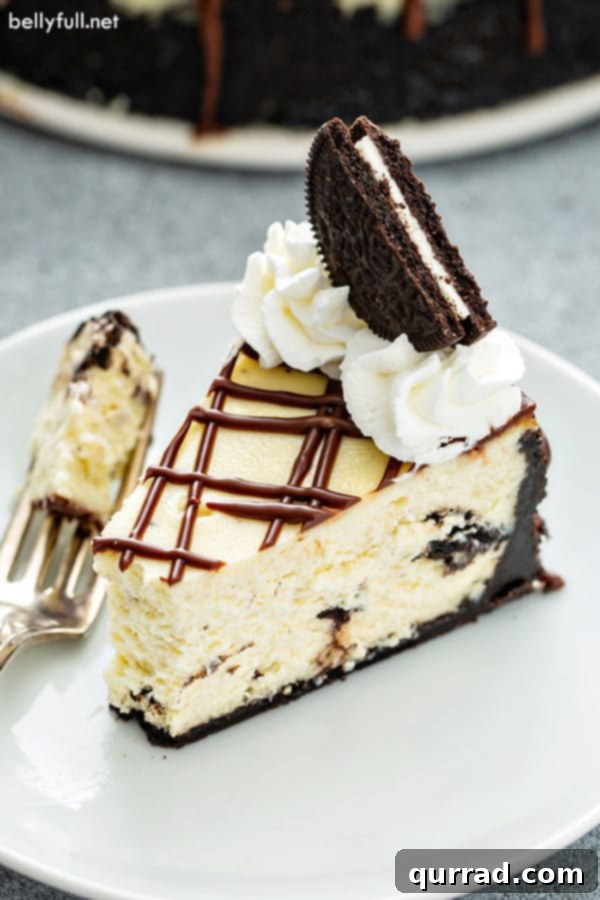
Now for the final flourish! Drizzle the cooled chocolate ganache elegantly over the top of the cheesecake. If desired, pipe fresh homemade whipped cream around the edges or in decorative dollops. A bonus tip: the whipped cream is a fantastic way to discreetly cover any tiny cracks that may have appeared on the surface, making your cheesecake look absolutely perfect!
Step 13: Slice, Serve, and Savor Every Moment
Using a sharp knife, ideally dipped in hot water and wiped clean between each slice, cut your magnificent Oreo Cheesecake into 12 generous portions. Serve immediately and prepare for an outpouring of compliments. Each bite is a harmonious blend of crisp cookie, smooth cream cheese, rich chocolate, and light cream – a true symphony of flavors and textures. Enjoy every single mouthful!
Oreo Cheesecake Recipe Variations to Explore
While the classic Oreo Cheesecake is a masterpiece on its own, don’t hesitate to get creative and experiment with these delightful variations to suit your taste or occasion. These simple swaps can transform your cheesecake into something uniquely yours!
- Flavorful Cookie Swaps: Instead of traditional Oreos, try using Golden Oreos for a vanilla twist, or Mint Oreos for a refreshing, cooling sensation. You could even explore other sandwich cookies like peanut butter-filled ones for a different flavor profile.
- Different Cookie in the Batter: Beyond Oreos, consider folding in chopped chocolate chip cookies, sugar cookies, or even brownie pieces into the cream cheese filling for an unexpected texture and flavor combination.
- Alternative Crust Options: If you’re not an all-Oreo purist, swap out the Oreo crust for a classic graham cracker crust, a shortbread crust, or even a crushed vanilla wafer crust. Each option offers a unique base that complements the creamy filling.
- White Chocolate Indulgence: For those who prefer white chocolate, drizzle melted white chocolate over the cheesecake instead of milk chocolate ganache. You can also mix white chocolate chips into the filling for an extra layer of sweetness.
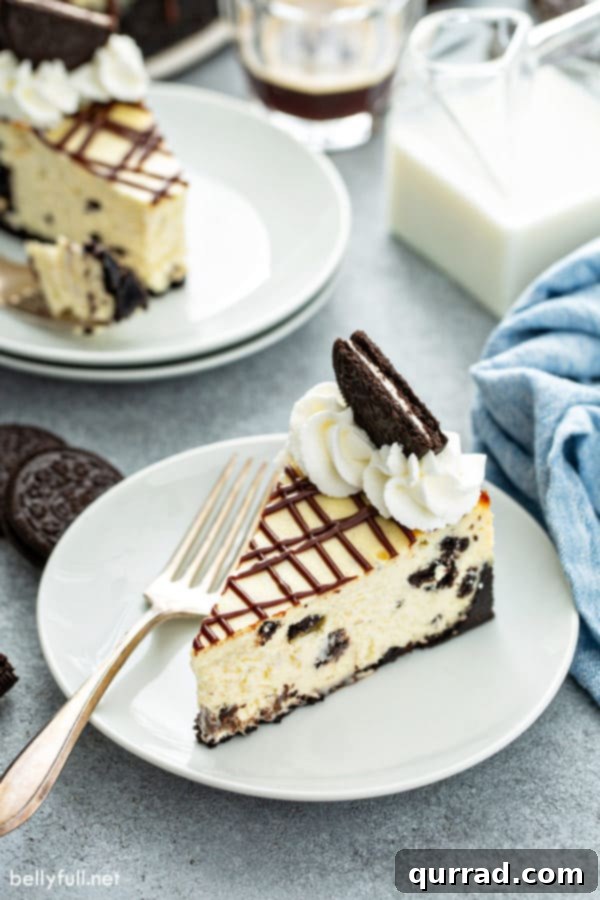
Storing Your Oreo Cheesecake: Tips for Freshness and Freezing
Proper storage is essential to keep your Oreo Cheesecake tasting as fresh and delicious as the day it was made. Cheesecakes are delicate and can dry out or absorb refrigerator odors if not stored correctly.
For Refrigeration: Any leftover cheesecake should be stored promptly in the refrigerator. To prevent it from drying out and to protect its delicate top, cover it tightly with plastic wrap, followed by a layer of aluminum foil. Ideally, return the remaining portion to the springform pan (if available) and cover it there, as the pan offers structural protection. Stored this way, your cheesecake will remain fresh and delicious for up to 1 week.
For Freezing: This Oreo Cheesecake freezes exceptionally well, making it a fantastic make-ahead dessert! For the best quality and flavor, I highly recommend freezing the cheesecake without the chocolate ganache and whipped cream toppings. These are best added fresh just before serving after thawing.
To freeze the entire cheesecake: Once the cheesecake has cooled completely to room temperature and chilled overnight as directed in the recipe, wrap it very tightly first in several layers of plastic wrap, ensuring no air can get in. Then, wrap it again securely in heavy-duty aluminum foil. Label with the date. It can be frozen for up to 1 month for optimal flavor, or a maximum of 2 months. To thaw, simply transfer the frozen cheesecake to the refrigerator overnight. Add fresh toppings once thawed.
A helpful trick when wrapping the cheesecake for freezing is to place a piece of paper towel directly on top of the cheesecake before applying the plastic wrap and foil. This helps to absorb any condensation that might form during freezing and thawing, preventing a watery surface.
To freeze individual slices: This is a convenient option for portion control. Wrap each slice individually in plastic wrap, then place the wrapped slices into a freezer-safe plastic bag or an airtight container. They will keep for up to 1 month for the best flavor (maximum 2 months). Thaw individual slices in the refrigerator overnight or on the counter for a few hours until defrosted. Top with ganache and whipped cream before serving.
What to Serve with Your Decadent Oreo Cheesecake
This rich and creamy Oreo Cheesecake is a showstopper on its own, but pairing it with the right beverage can elevate the dessert experience even further, making it perfect for any gathering or a special treat.
- For the Adults: A steaming cup of robust Irish coffee offers a wonderful contrast with its warmth and subtle boozy kick, cutting through the sweetness of the cheesecake.
- For the Kids (and Everyone Else!): A comforting mug of slow cooker hot chocolate is always a hit. Its rich, velvety texture and classic chocolate flavor perfectly complement the cookies and cream profile of the cheesecake.
- A simple glass of cold milk or a strong black coffee are also excellent choices, providing a refreshing balance to the cheesecake’s indulgence.
More Irresistible Oreo Desserts to Try
If you’ve fallen in love with the magic of Oreos in dessert form, you’re in for a treat! There’s a whole world of delightful recipes waiting to be explored, showcasing the versatility and irresistible flavor of America’s favorite cookie. Expand your repertoire with these other fantastic Oreo-inspired creations:
- Oreo Dip: A surprisingly simple yet incredibly addictive dip that’s perfect for parties.
- Oreo Truffles {3 Ingredient}: Minimal effort for maximum impact – these truffles are a crowd-pleaser.
- Oreo Milkshake: A classic indulgent treat, perfect for cooling down or satisfying a sweet craving.
- Oreo Stuffed Chocolate Chip Cookies: The ultimate fusion of two beloved cookies, creating a doubly delicious dessert.
- Cookies and Cream Cheesecake Parfait: A lighter, deconstructed version of cheesecake, layered for visual appeal and delightful texture.
Whether you’re making this stunning Oreo Cheesecake for a special occasion or simply to treat yourself, this recipe promises to deliver an unforgettable dessert experience. Enjoy the process, savor each bite, and prepare to impress!