
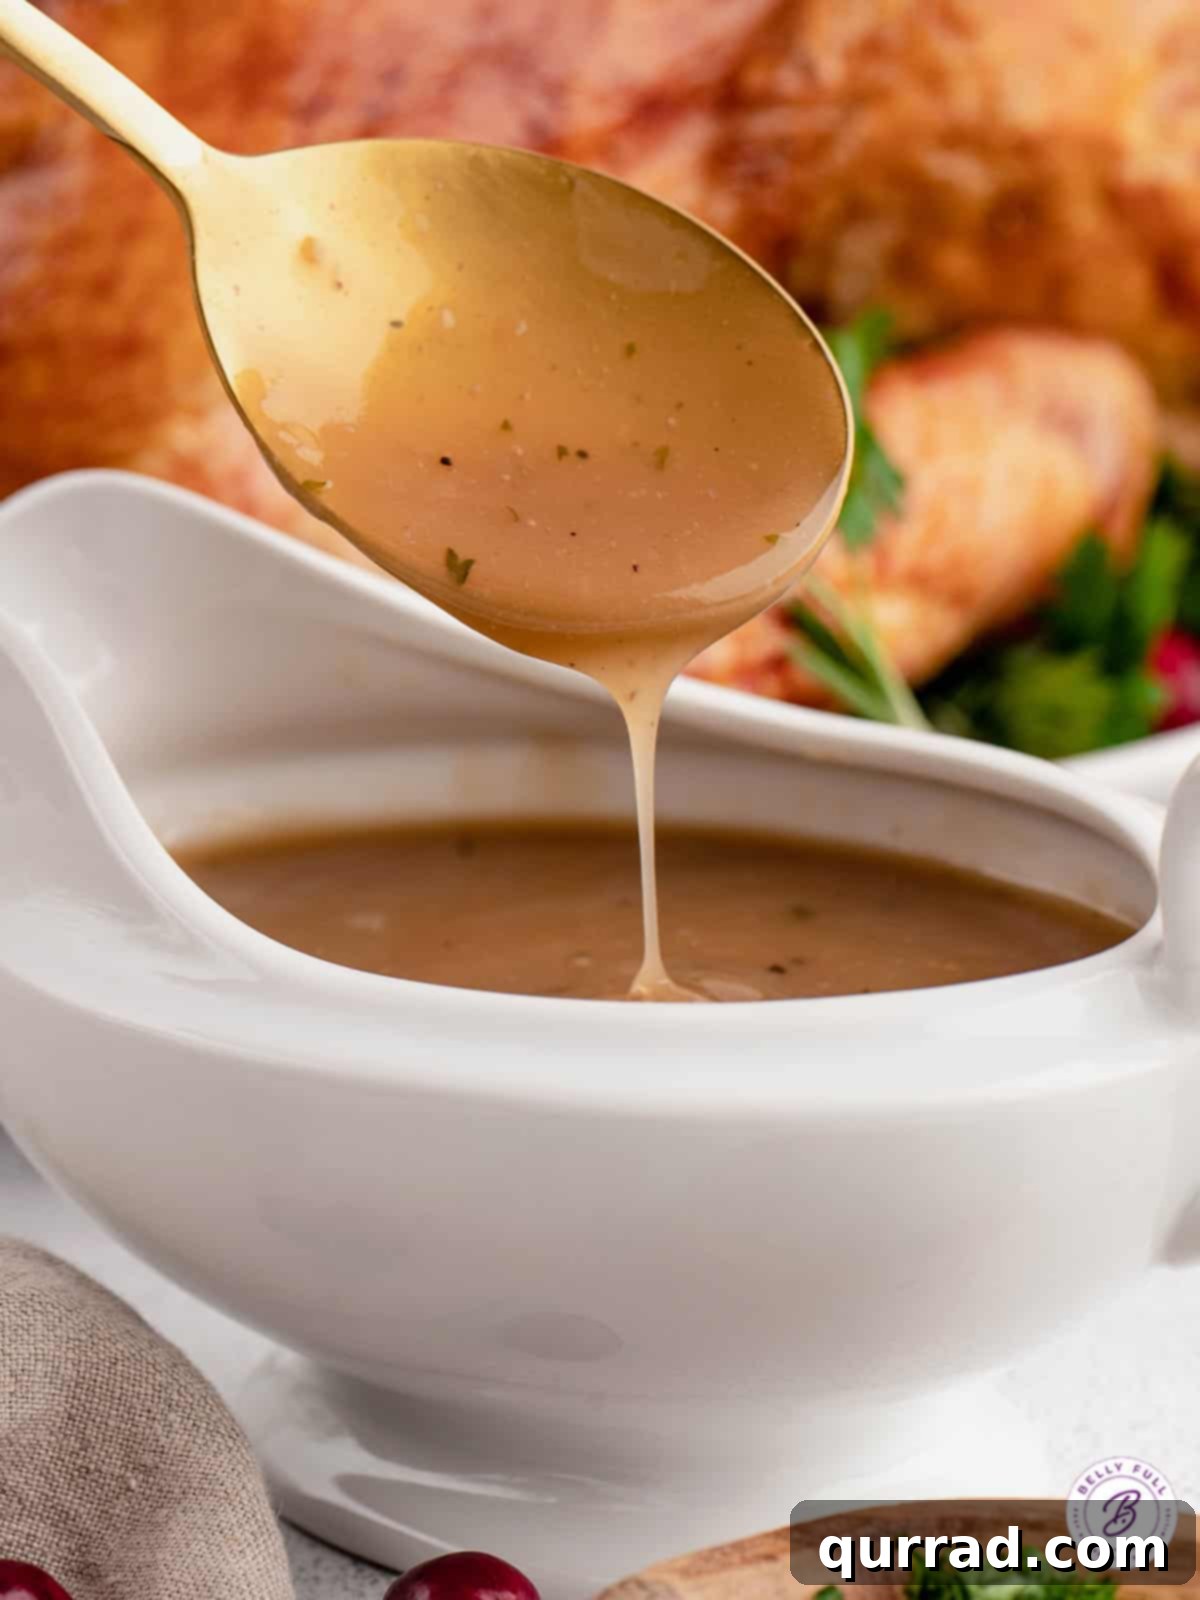
Crafting the perfect holiday meal is an art, and no masterpiece is complete without the ideal accompaniment. Enter this exquisite Homemade Turkey Gravy – a velvety, savory elixir that elevates your perfectly roasted turkey from great to utterly unforgettable. Forget bland, store-bought alternatives; this ridiculously easy recipe harnesses the rich, concentrated flavors from your turkey’s pan drippings, delivering a depth of taste you simply won’t find anywhere else. Infused with fresh herbs, each spoonful offers a vibrant burst of flavor that dances on the palate, making it the ultimate complement to your festive feast.
One of the many beauties of this homemade gravy is its versatility and freezer-friendliness. While it’s undoubtedly a star on your holiday table, any leftovers can be easily frozen, allowing you to savor that comforting taste long after the big dinner. Imagine drizzling this rich gravy over creamy mashed potatoes on a chilly weeknight, bringing a touch of gourmet warmth to an ordinary meal. It’s a simple luxury that keeps on giving!

Unlocking the Secrets to Easy Turkey Gravy
Once your magnificent, juicy, and moist roast turkey emerges golden brown from the oven, the anticipation for Thanksgiving dinner reaches its peak. But before carving that masterpiece, there’s one crucial step remaining to achieve culinary perfection: preparing this incredible homemade gravy. What sets this recipe apart is its ingenious use of the very pan drippings from your roasted turkey. This not only makes the process incredibly easy but also infuses the gravy with an unparalleled depth of turkey flavor that simply can’t be replicated.
The magic truly happens when those concentrated drippings are combined with fresh, aromatic herbs. The result is a gravy so rich and savory, you might find yourself sneaking spoonfuls straight from the pan! Best of all, this exquisite turkey gravy comes together in a mere 10 minutes – the perfect timing, as your glorious bird needs its essential resting period before carving. By the time this flavorful gravy is simmering to perfection, your turkey will be ready for slicing, ensuring a seamless transition to a truly memorable holiday meal.
Why Homemade Gravy Reigns Supreme
Making gravy from scratch is more than just a culinary task; it’s a cherished tradition that adds an authentic touch to any roast. Unlike mass-produced gravies that often rely on artificial flavors and excessive sodium, homemade turkey gravy allows you complete control over every ingredient. This means you can tailor the seasoning to your exact preferences, ensuring a fresh, clean taste that perfectly complements your carefully prepared turkey and sides. The natural richness derived from the pan drippings provides a complex flavor profile that simply cannot be replicated with powders or cubes. It’s healthier, fresher, and undeniably more delicious, offering a genuine taste of home-cooked goodness that store-bought versions simply can’t match. It’s a testament to the fact that sometimes, the simplest methods yield the most profound flavors.
Essential Ingredients for the Best Turkey Gravy
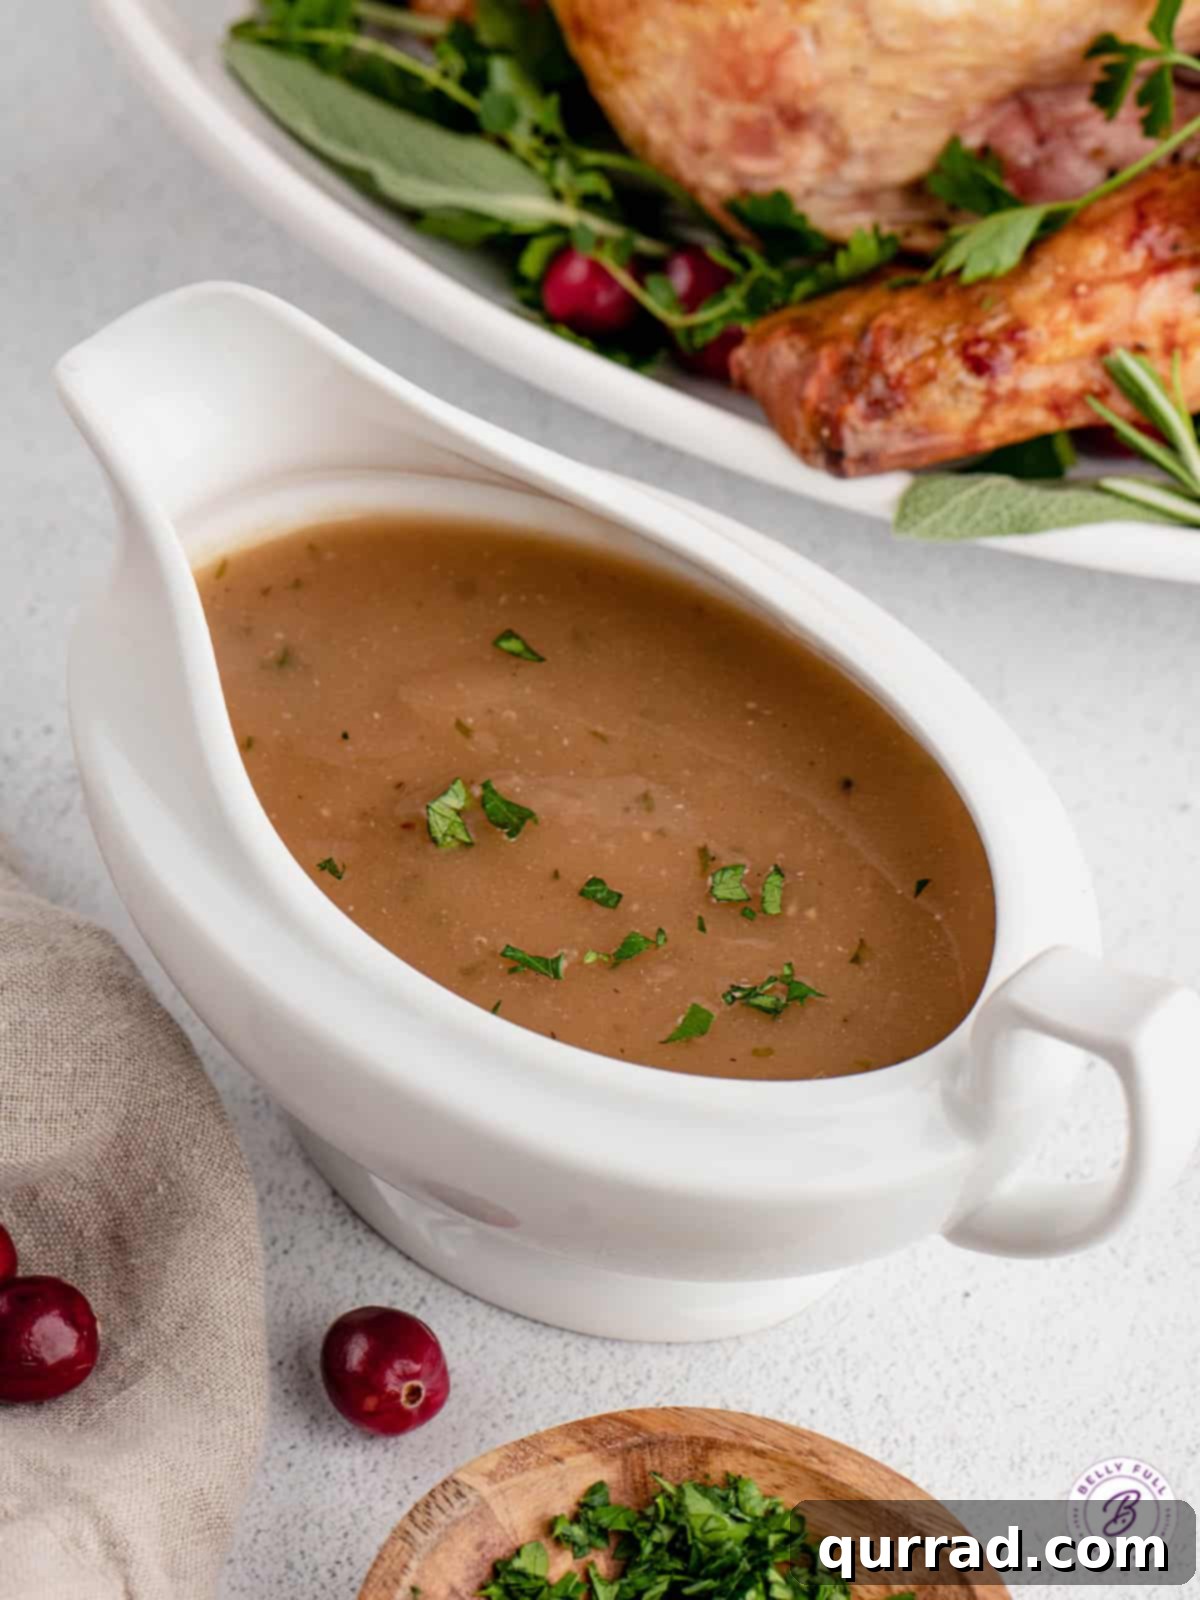
The foundation of this exceptional gravy lies in just a few high-quality ingredients, with the turkey pan drippings being the undisputed star. These savory juices are the concentrated essence of your roasted bird, providing an incredible depth of flavor that is simply irreplaceable. Beyond these golden drippings, you’ll only need a handful of other items to create a truly spectacular gravy. For precise measurements and detailed instructions, remember to scroll down to the printable recipe card below.
- Turkey Pan Drippings – These are the cornerstone of your gravy, collected from the roasting pan. After the turkey is cooked, carefully separate and discard as much of the fat as possible, leaving behind the rich, flavorful liquid gold. This step is crucial for a clean, non-greasy gravy.
- Chicken Broth – This liquid component combines with your drippings to create a luscious, pourable gravy. While chicken broth is a versatile and excellent choice, feel free to substitute with turkey broth for an even more intense turkey flavor, or opt for vegetable broth if you prefer a lighter, vegetarian-friendly base (though the drippings will still be from turkey). Choose a low-sodium variety to control the overall saltiness of your gravy.
- Fresh Herbs – Aromatic fresh herbs are key to adding a vibrant, fragrant dimension to your gravy. I highly recommend a classic trio of finely minced thyme, rosemary, and sage. These herbs offer a perfect earthy balance to the richness of the turkey, elevating the gravy’s aroma and taste.
- Cornstarch – This is our go-to thickener for achieving that perfect, glossy consistency. Cornstarch creates a smooth, translucent gravy without imparting any floury taste, making it an excellent gluten-free option. It’s crucial for achieving the desired thickness.
- Cold Water – Essential for creating a cornstarch slurry. Mixing cornstarch with cold water before adding it to hot liquid prevents lumps and ensures a silky-smooth gravy. Never add cornstarch directly to hot liquid, as it will clump immediately.
- Salt and Pepper – These fundamental seasonings are vital for enhancing and balancing all the flavors. Always add them to taste at the end, as the drippings and broth may already contribute some salinity. Adjusting them precisely ensures your gravy is perfectly seasoned.
How to Master Homemade Turkey Gravy from Drippings
Creating this rich and flavorful turkey gravy is surprisingly simple, coming together in mere minutes, perfectly timed with your turkey’s resting period. The key is to work efficiently and have all your ingredients prepped. For exact measurements and a detailed step-by-step guide, please refer to the printable recipe card below.
- Prepare Your Base Liquid: Begin by carefully pouring the defatted turkey drippings into a medium-sized saucepan. To this, add enough chicken broth (or your preferred broth) to reach a total of 3 cups of flavorful liquid. This combination forms the robust foundation of your gravy, ensuring a deep, savory taste.
- Infuse with Herbs and Bring to a Boil: Stir in the fresh, minced herbs – the delightful trio of thyme, rosemary, and sage – into the broth and drippings mixture. Place the saucepan over medium-high heat and bring the liquid to a rolling boil. The heat will help release the aromatic oils from the herbs, infusing the gravy with their fresh essence.
- Create and Incorporate the Cornstarch Slurry: While the liquid is heating, prepare your thickening agent. In a small bowl, whisk together the cornstarch with just enough cold water to create a smooth, lump-free slurry. Once the broth mixture is boiling, slowly pour the cornstarch slurry into the pan while continuously whisking. This gradual addition and constant stirring are crucial to prevent lumps and ensure even thickening.
- Simmer to Perfection: Reduce the heat to a gentle simmer and continue to cook, stirring occasionally, for 2-4 minutes. During this time, the gravy will visibly thicken to a beautiful, luscious consistency. Keep an eye on it; it should coat the back of a spoon.
- Season and Taste: Finally, season your gravy generously with salt and freshly ground black pepper to taste. Remember that the drippings and broth already contain some sodium, so always taste first and adjust as needed. A perfectly seasoned gravy makes all the difference!
Expert Tips & Variations for the Ultimate Gravy
Even though this recipe is straightforward, a few expert tips and creative variations can elevate your turkey gravy from excellent to extraordinary. These insights ensure a consistently smooth, deeply flavorful, and perfectly textured gravy every time you make it.
- Amplify Flavor with the Turkey Neck: For an even richer, more profound broth, consider adding the turkey neck (roasted alongside the turkey) to your gravy base. Simply simmer the neck along with the defatted drippings and broth at the beginning of the cooking process. The bones and connective tissue will impart additional savory notes and body to your gravy. Just remember to remove the neck before you add the cornstarch slurry to avoid any unwanted lumps or textures.
- Introduce a Roux for Extra Richness: While cornstarch provides a clear, smooth finish, a roux (a cooked mixture of fat and flour) offers a deeper, richer flavor and a slightly more opaque consistency. For an even more decadent gravy, you can use some of the separated turkey fat, or an equal amount of unsalted butter, mixed with an equal part of all-purpose flour (e.g., 3 tablespoons of fat/butter with 3 tablespoons of flour). Cook this roux in a medium-sized saucepan over medium heat for 1-2 minutes until it forms a smooth paste and turns a light golden color, continuously stirring. Then, gradually whisk in the defatted pan drippings and broth, bringing the mixture to a boil. Add your fresh herbs and allow it to simmer for 2-3 minutes, whisking frequently until it thickens. This method adds another layer of nutty, savory flavor.
- Ensure a Silky-Smooth Gravy: The key to a lump-free gravy lies in properly preparing the cornstarch slurry. Always mix the cornstarch with cold water until it is completely dissolved before adding it to the hot liquid. If, despite your best efforts, you do end up with any small lumps that a whisk can’t eliminate, don’t despair! Simply pass the finished gravy through a fine-mesh strainer. This quick trick will remove any imperfections, leaving you with a perfectly smooth and luxurious gravy.
- Adjusting Seasoning Creatively: Beyond salt and pepper, consider a tiny splash of Worcestershire sauce or a teaspoon of Dijon mustard for an added layer of umami or tang. A pinch of smoked paprika can also introduce a subtle smokiness, complementing the roasted turkey flavor beautifully.
Achieving Perfect Gravy Consistency Every Time
The ideal gravy boasts a perfect balance: thick enough to cling to your food but still fluid enough to pour beautifully. Thankfully, adjusting the consistency of your homemade turkey gravy is incredibly simple and can be done quickly on the stovetop. It’s all about finding that sweet spot that suits your preference.
How to Thicken Gravy from Turkey Drippings
If, after simmering for the recommended few minutes, you find your turkey gravy isn’t quite thick enough to your liking, don’t worry. The solution is straightforward. Prepare a small additional cornstarch slurry by whisking a teaspoon of cornstarch with a tablespoon of cold water until smooth. Slowly drizzle this extra slurry into the simmering gravy while continuously whisking. Allow it to cook for another minute or two, letting the cornstarch activate and thicken the mixture. Repeat this process, adding small amounts of slurry gradually, until your gravy reaches your desired luscious thickness. Patience is key here; thickening happens quickly, so add in small increments.
How to Thin Gravy from Turkey Drippings
Conversely, if your gravy turns out too thick, resembling more of a paste than a pourable sauce, it’s just as easy to remedy. Simply add a small amount of warm chicken broth (or turkey/vegetable broth) to the gravy, a tablespoon at a time. Whisk thoroughly after each addition, allowing the broth to fully incorporate. Continue adding and whisking until the gravy reaches the perfect, pourable consistency you desire. It’s much easier to add liquid than to remove it, so start small and build up.
Irresistible Serving Suggestions
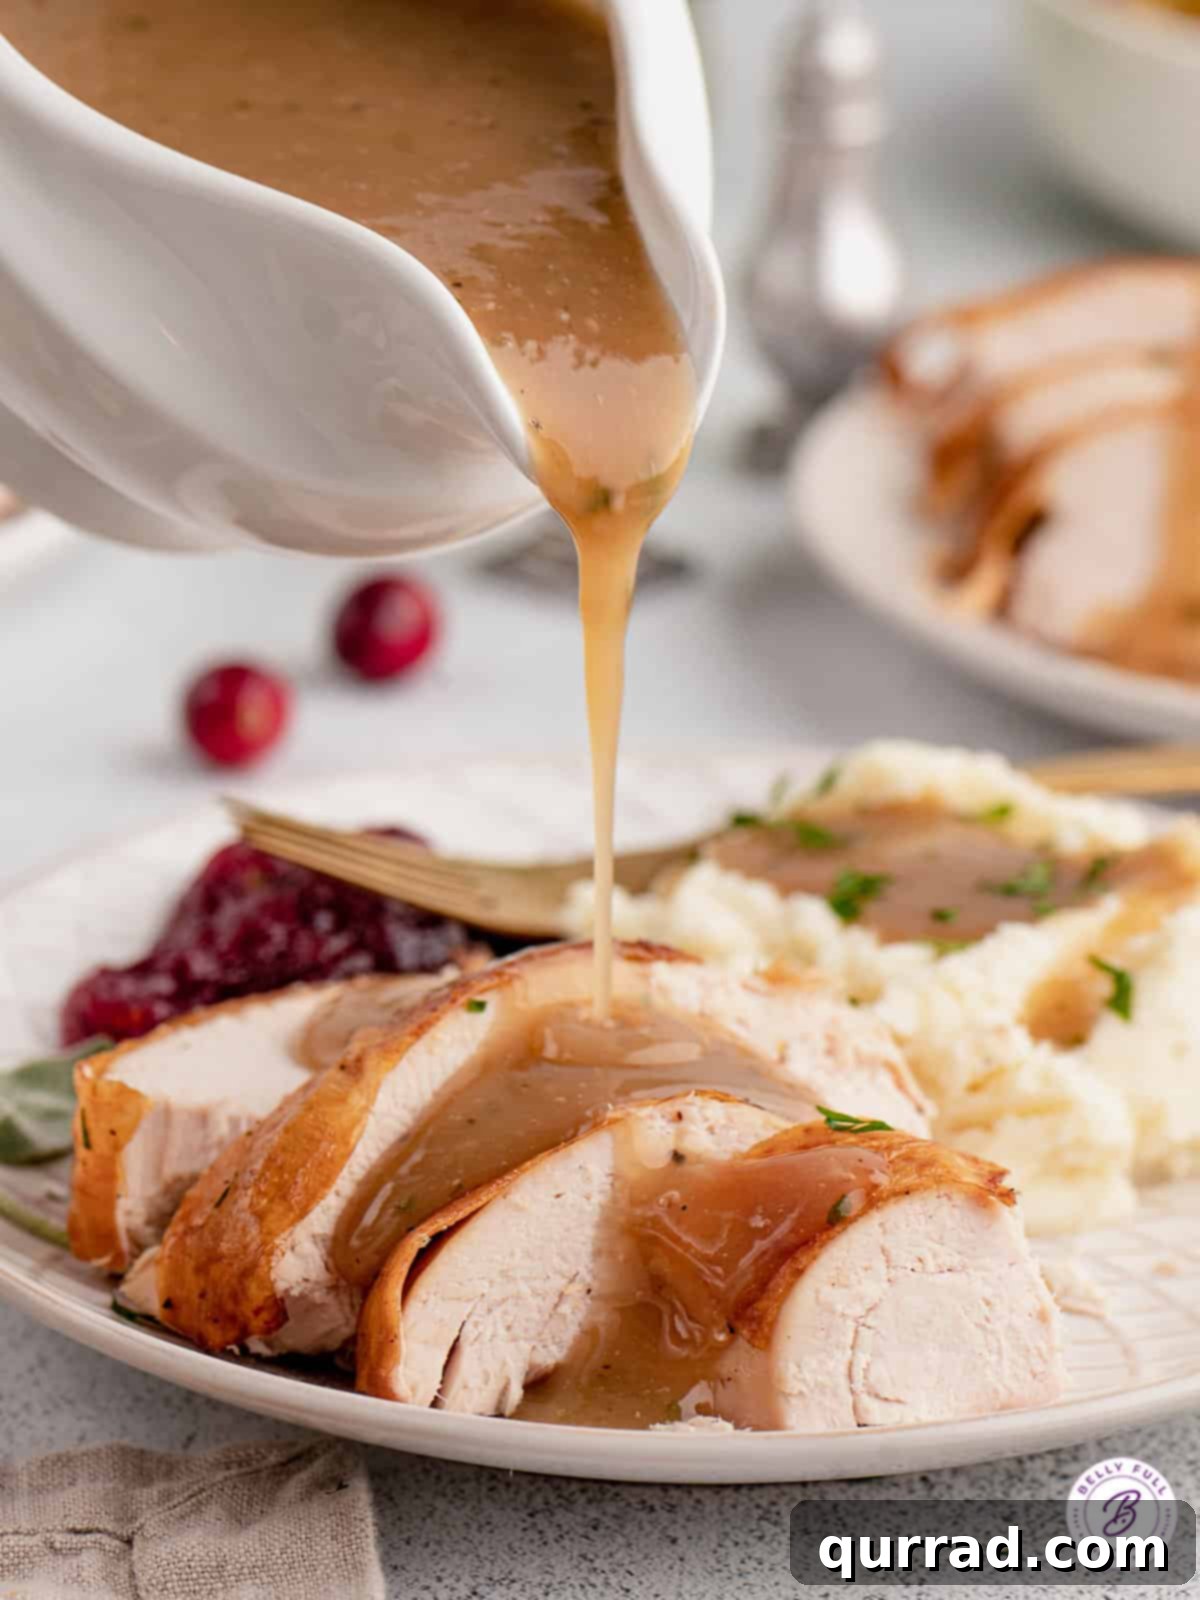
While this gravy is inherently designed to be served over roasted turkey – given that its very essence comes from the turkey drippings – its versatility extends far beyond the main bird. I always ensure a generous gravy boat is placed prominently on the table, inviting guests to lavishly drizzle as much as they desire over their turkey, creating a personalized, rich experience with every bite. But don’t stop there; this golden elixir is a game-changer for many other holiday staples.
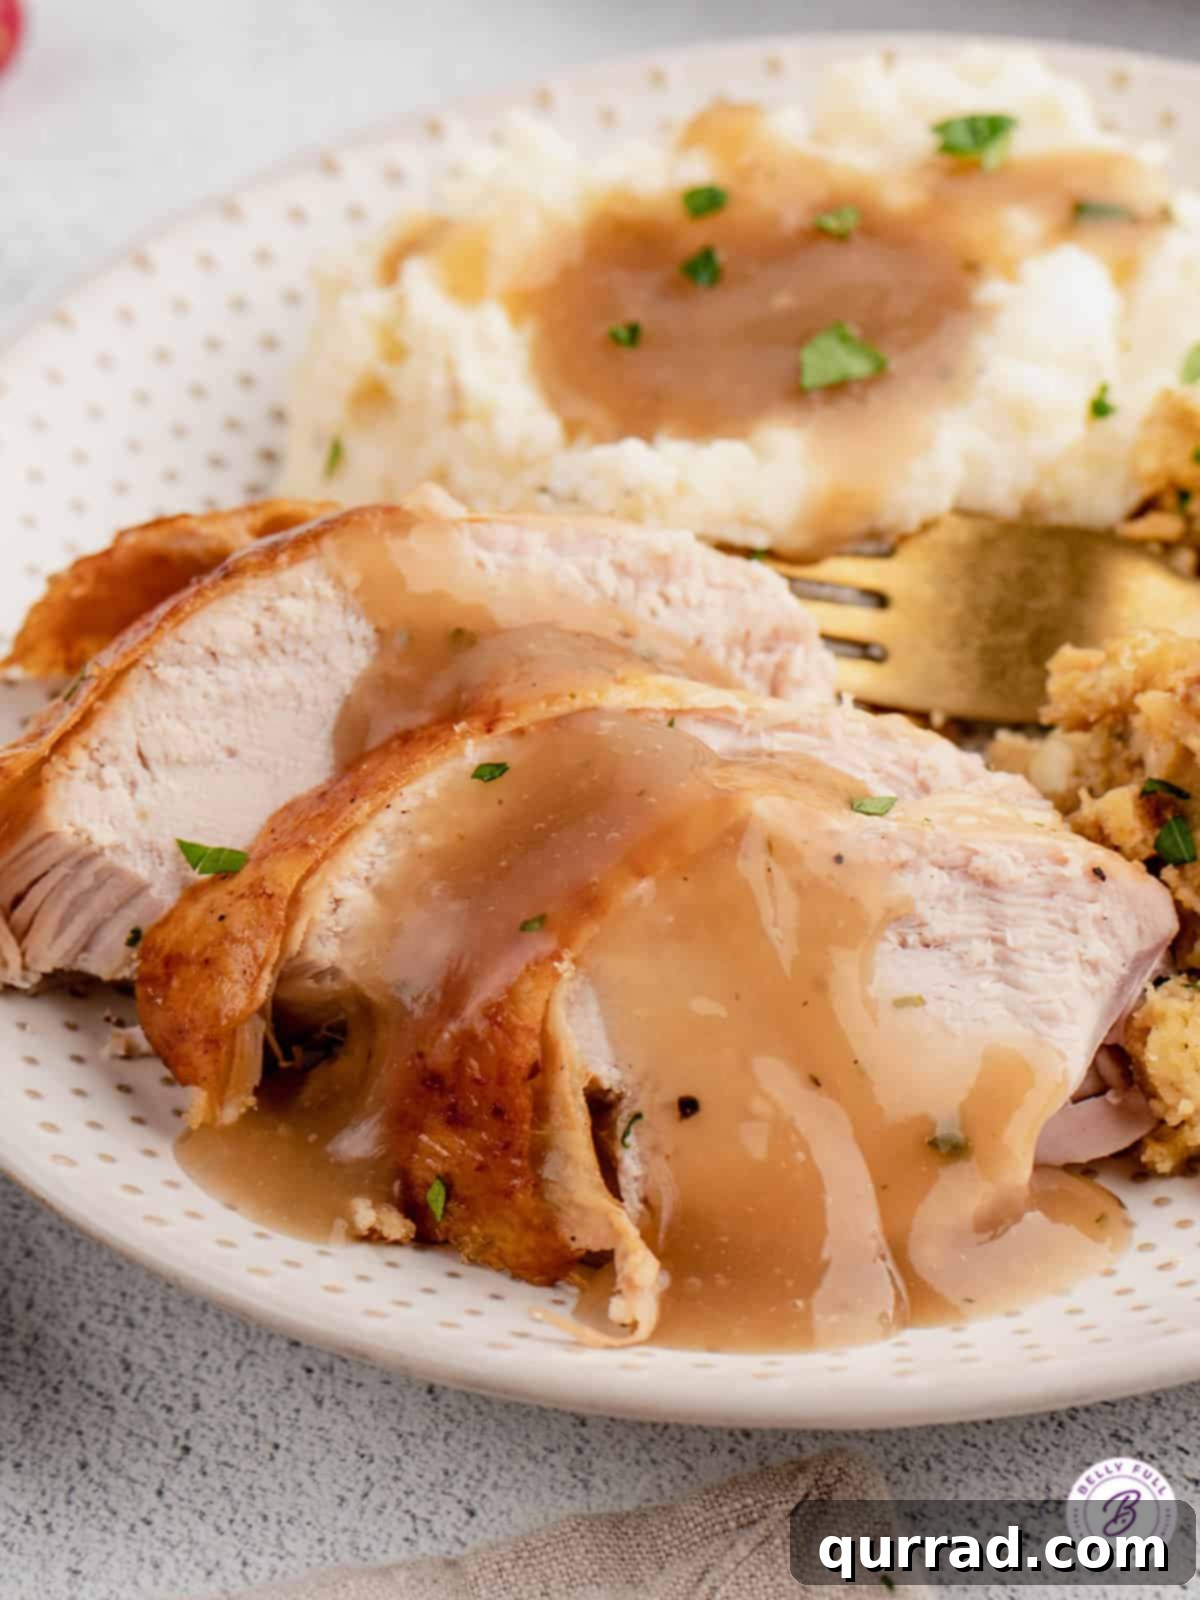
I wholeheartedly recommend spooning a generous amount over your fluffy, creamy mashed potatoes. The way the savory gravy melts into the warm potatoes creates a comforting, dreamy combination. It’s equally fantastic over a spoonful of savory stuffing or dressing, binding the flavors and textures together beautifully. For an unexpected treat, try it with hot, flaky biscuits – they soak up the richness perfectly. Don’t forget green bean casserole or roasted vegetables, which also benefit immensely from a drizzle of this homemade goodness. Every dish touched by this gravy transforms into something truly special!
Storing & Reheating Leftover Turkey Gravy
Having leftover homemade turkey gravy is like finding a hidden treasure – it’s a wonderful asset for future meals. Proper storage ensures its deliciousness lasts, and knowing how to reheat it correctly means you can enjoy that comforting flavor without compromise.
- Storing Leftovers: After your meal, allow the gravy to cool completely to room temperature before transferring it to an airtight container. Stored properly in the refrigerator, homemade turkey gravy will remain fresh and delicious for up to 5 days. This makes it a fantastic make-ahead component for smaller meals throughout the week.
- Reheating Gravy: When you’re ready to enjoy your gravy again, the best method is to reheat it gently on the stovetop. Pour the desired amount into a saucepan and warm it over low or medium heat, stirring frequently. Gravy often thickens significantly as it cools, so it’s quite common to find it a bit too dense when reheating. If this happens, simply add a little extra chicken broth (or any preferred broth) gradually, whisking it in until your desired pourable consistency is reached. Avoid reheating it too quickly or at too high a temperature, as this can cause separation or scorching.
- Freezing Turkey Gravy: Freezing is an excellent option for long-term storage, allowing you to enjoy homemade gravy for months. You can freeze gravy for up to 3 months without any loss of quality. For best results, portion the cooled gravy into freezer-safe containers, heavy-duty ziploc bags (lying flat for easier storage), or even ice cube trays. Using ice cube trays is a brilliant hack, as it allows you to thaw and use just a small amount of gravy at a time, perfect for individual servings or when you need a quick flavor boost for soups or stews. Once frozen in trays, pop the gravy cubes out and transfer them to a larger freezer bag. When ready to use, thaw in the refrigerator overnight or gently reheat from frozen in a saucepan, adding broth as needed to adjust consistency.
More Essential Thanksgiving Dinner Recipes:
Complete your holiday spread with these other delectable recipes that perfectly complement your glorious turkey and homemade gravy.
- Fluffy Dinner Rolls
- Homemade Cranberry Pomegranate Sauce
- Classic Green Bean Casserole
- Roasted Beets with Orange and Maple Glaze
- Creamy Creamed Corn
- Simple Baked Sweet Potatoes
We truly hope you adore this deliciously simple and rewarding recipe! If you make it, please be sure to leave a review below and share your experience. And don’t forget to connect with Belly Full across all our social media channels – you can find us on TikTok, Facebook, Instagram, Pinterest, and YouTube for more culinary inspiration and easy-to-follow recipes!
Easy Turkey Gravy

Pin
Ingredients
- drippings from roasted turkey, , separated
- 3 cups low-sodium chicken broth, (or vegetable broth)
- 1 teaspoon fresh herbs, , minced (thyme, rosemary, sage)
- 3 tablespoons cornstarch
- cold water to dissolve
- salt and pepper, , to taste
Instructions
-
Add the defatted turkey drippings to a pan and add enough chicken broth to make 3 cups of liquid.
-
Bring to a boil with the fresh herbs. Mix the cornstarch with just enough water to dissolve it; add to boiling broth.
-
Reduce heat to a gentle bubble and simmer for 2-4 minutes. Add salt and pepper to taste.
-
If your gravy isn’t thick enough, add a bit more slurry. If it’s too thick, thin out with broth until desired consistency is reached.
Notes
Use some of the turkey fat in the gravy. For an even richer gravy, you can use the turkey fat that has been separated from the broth, or butter, mixed with equal parts of flour to make a roux (3 tablespoons each). Cook the roux in a medium size saucepan for 1-2 minutes. Then whisk in the broth and defatted pan drippings, and bring it up to a boil. Add in the herbs and let it simmer for 2-3 minutes.
Remove any lumps. As long as you mix the cornstarch into the water and it is all dissolved, you should have a nice smooth gravy. If you do end up with any lumps that you can’t whisk out, you can pass it through a fine mesh strainer.
Nutrition
Nutritional information given is an automatic calculation and can vary based on the exact products you use and any changes you make to the recipe. If these numbers are very important to you, I would recommend calculating them yourself.