
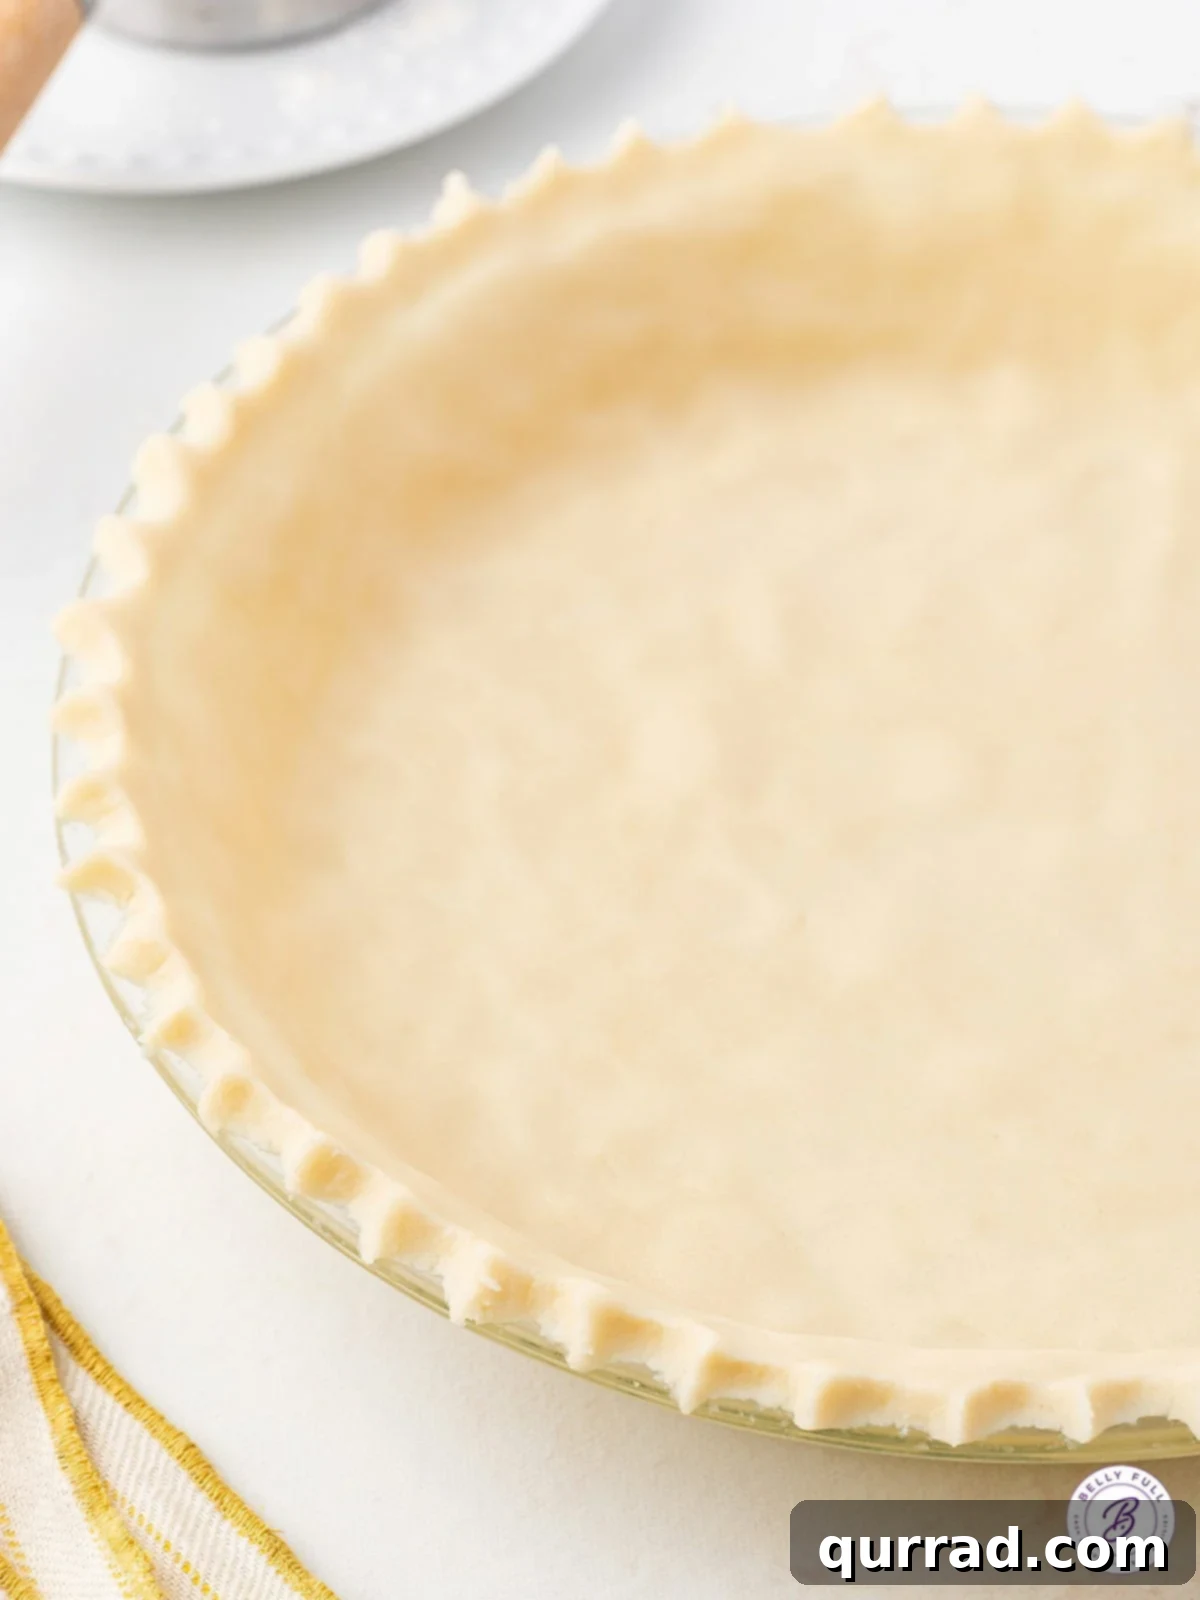
Unlock the secret to truly unforgettable pies with this incredibly easy Homemade Pie Crust recipe. Forget store-bought alternatives; crafting your own tender, flaky, and rich crust is not only simple but also deeply satisfying. Using just four basic ingredients, you can create a versatile foundation for any dessert – from classic baked pies to elegant no-bake varieties, charming mini pies, convenient hand pies, or even impressive slab pies. This comprehensive guide, complete with step-by-step instructions and essential tips, is designed to empower every home baker on their journey to pie crust perfection.
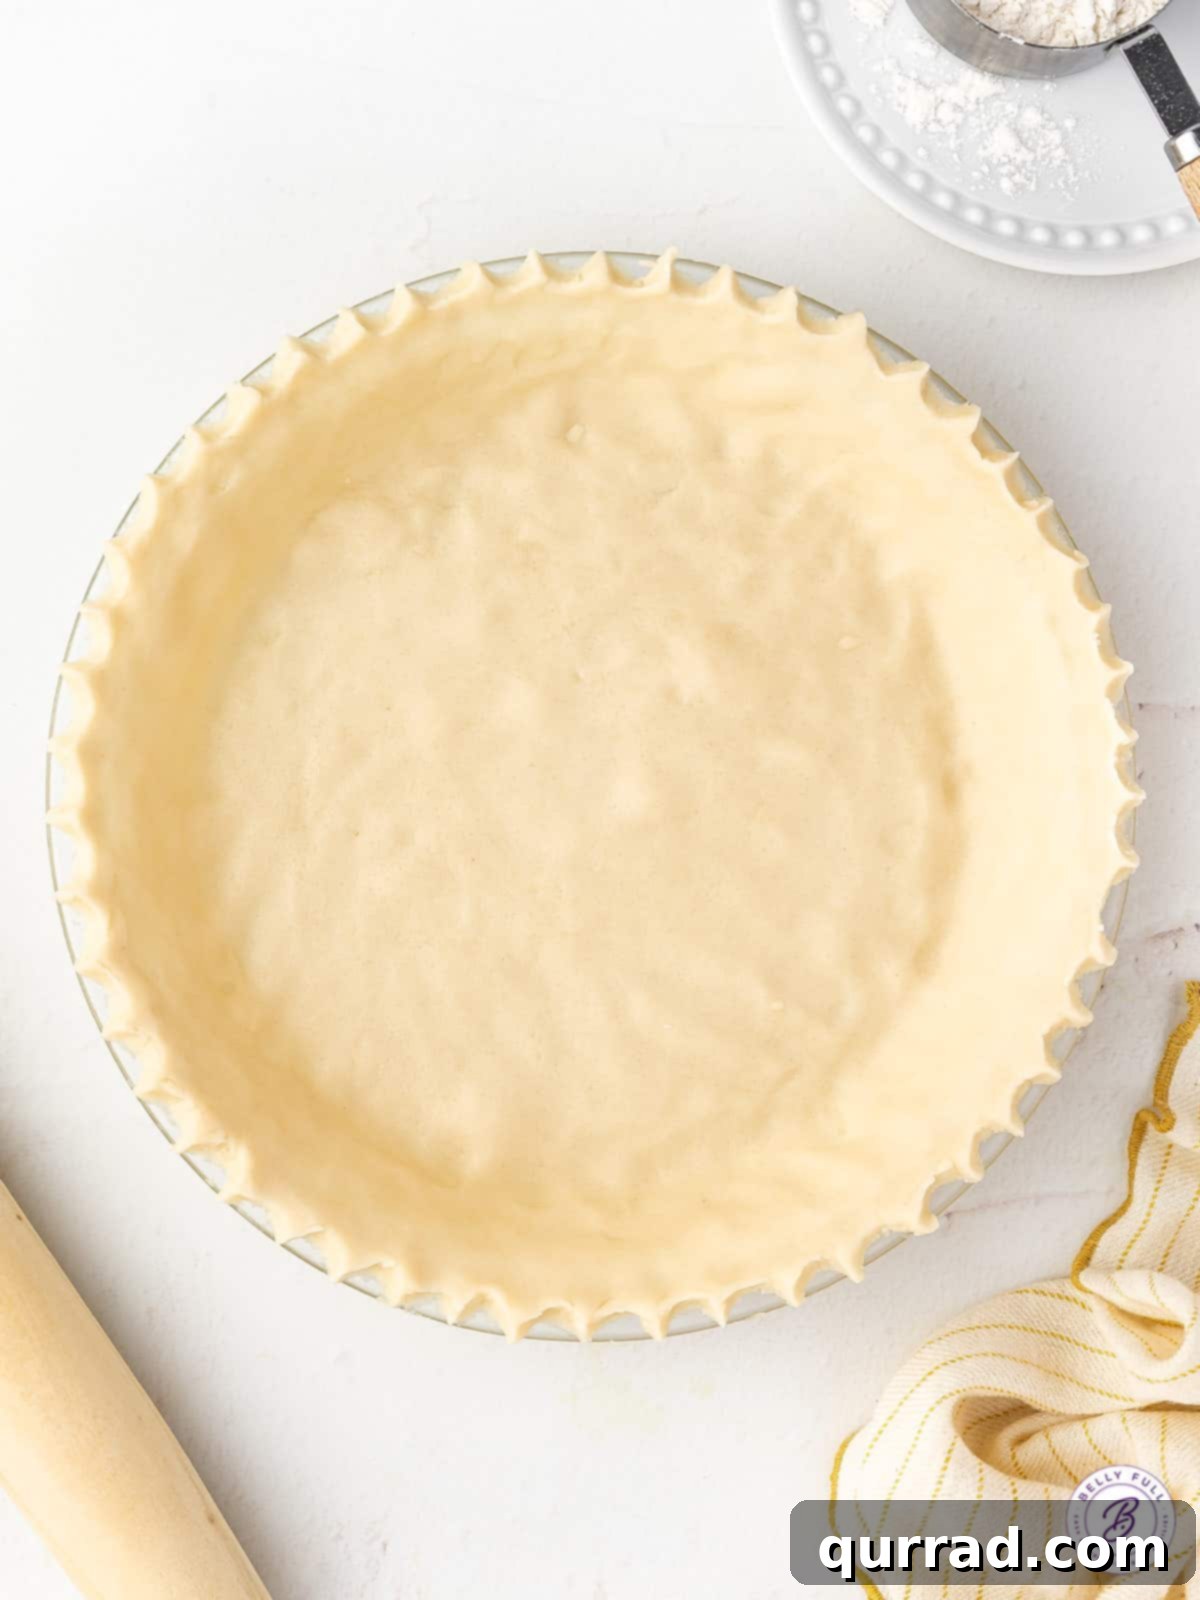
This beloved pie crust recipe has graced our family’s table for over half a century, a treasured heirloom passed down through generations. It’s a testament to its simplicity and foolproof nature, ensuring a delightful result every time you bake. What makes homemade pie crust truly special is the control you have over its texture and flavor, far surpassing the often bland and brittle commercial options.
The world of pie making is rich with diverse techniques and passionate preferences. Some bakers swear by all-butter crusts for their rich flavor, while others champion shortening for unparalleled flakiness. Many opt for a combination of both to achieve the best of both worlds. The method of combining ingredients also varies: a food processor offers speed and consistent results, while a pastry blender provides a more hands-on approach and ensures minimal gluten development. Even transferring the delicate dough to the pie plate has its advocates, from rolling it onto a pin to carefully folding it into quarters. And the final touch, crimping the edges, can be done with a fork or the delicate touch of fingertips. While each method has its merits and ardent supporters, the truth is that the “best” way often comes down to personal preference and what yields the most success for you.
Regardless of your chosen path, making pie crust is an art that flourishes with practice. Don’t let the process intimidate you; instead, embrace it as an enjoyable culinary challenge. The reward? A truly exquisite pie that you can proudly present, declaring your accomplishment with a triumphant “Hey look! I made a pie crust!” – a moment worthy of celebration.
The Building Blocks: What’s in This Pie Crust Recipe?
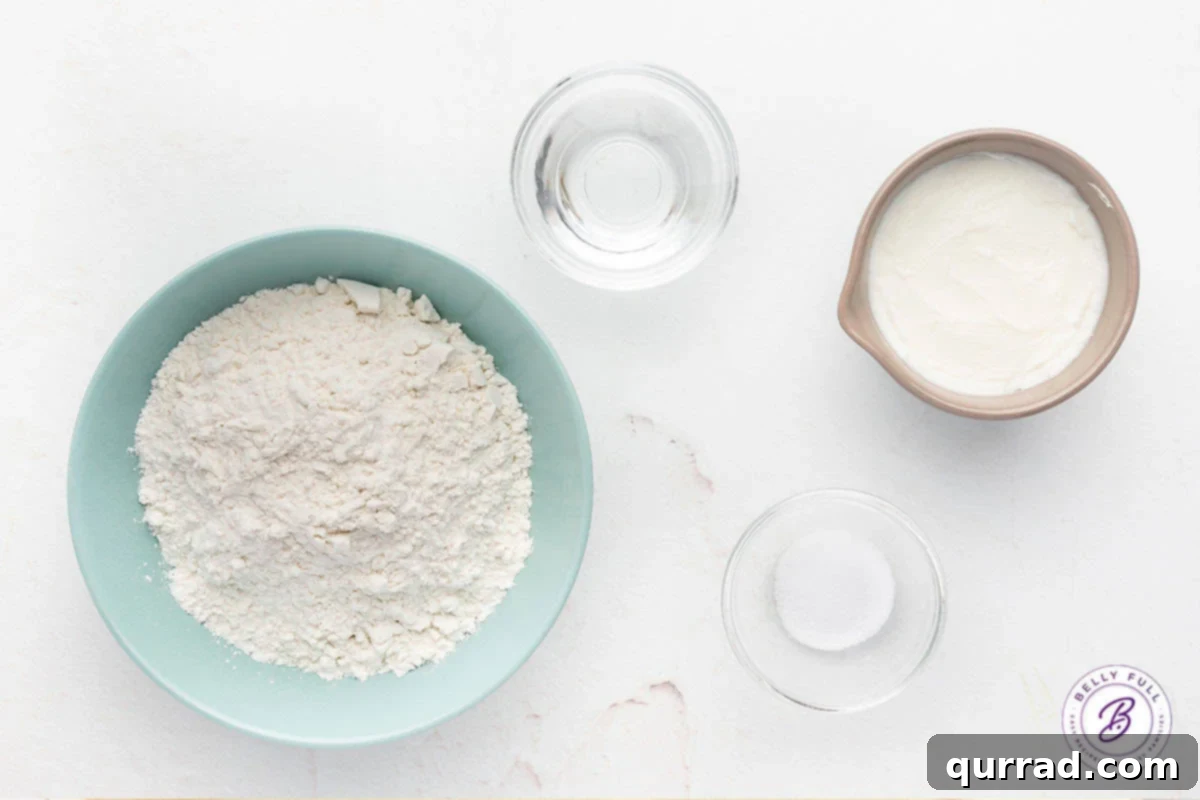
Crafting this phenomenal pie crust requires only three essential pantry items and one crucial liquid: ice-cold water. While the ingredient list is short, the quality and temperature of each component are paramount to achieving that coveted tender and flaky texture. You’ll find the precise measurements in the comprehensive recipe card below.
- All-Purpose Flour: The backbone of our crust, simple all-purpose flour provides the necessary structure. Ensure you measure your flour correctly – spooning it into the measuring cup and leveling it off – to avoid a tough crust. Too much flour can make the dough dry and difficult to work with.
- Shortening: This recipe primarily utilizes shortening, and for good reason! Shortening boasts a higher melting point than butter, which is crucial for creating those distinct, flaky layers we all adore. As the crust bakes, the shortening melts slowly, releasing steam and pushing apart the flour layers, resulting in an incredibly airy and flaky texture that holds its shape beautifully. While shortening is our top pick, this recipe is adaptable if you prefer an all-butter crust or a 50/50 butter-shortening blend. (For the adventurous baker, if you ever have the chance to try a pie crust made with lard, seize it! It produces an unbelievably tender and flavorful crust, though it’s not always the most accessible ingredient.)
- Salt: Often underestimated, salt plays a vital role in enhancing the overall flavor profile of your pie crust. It balances the richness of the fat and complements the sweetness of your pie filling, ensuring a well-rounded taste experience.
- Ice Cold Water: The magic liquid that binds everything together. Using ice-cold water is non-negotiable. Cold water prevents the shortening from melting prematurely and helps to inhibit gluten development, which is key to a tender crust. You want just enough water to bring the dough together without making it sticky. Some recipes even suggest a splash of vodka alongside water for an ultra-flaky crust, as the alcohol evaporates quickly, reducing gluten formation – feel free to experiment!
How To Make Pie Crust: A Step-by-Step Guide
While the idea of making pie crust from scratch might seem daunting at first, the resulting flaky, buttery goodness is absolutely worth the effort. With a little practice and patience, you’ll be crafting perfect pie crusts like a seasoned pro. For detailed instructions and ingredient quantities, please refer to the recipe card below.
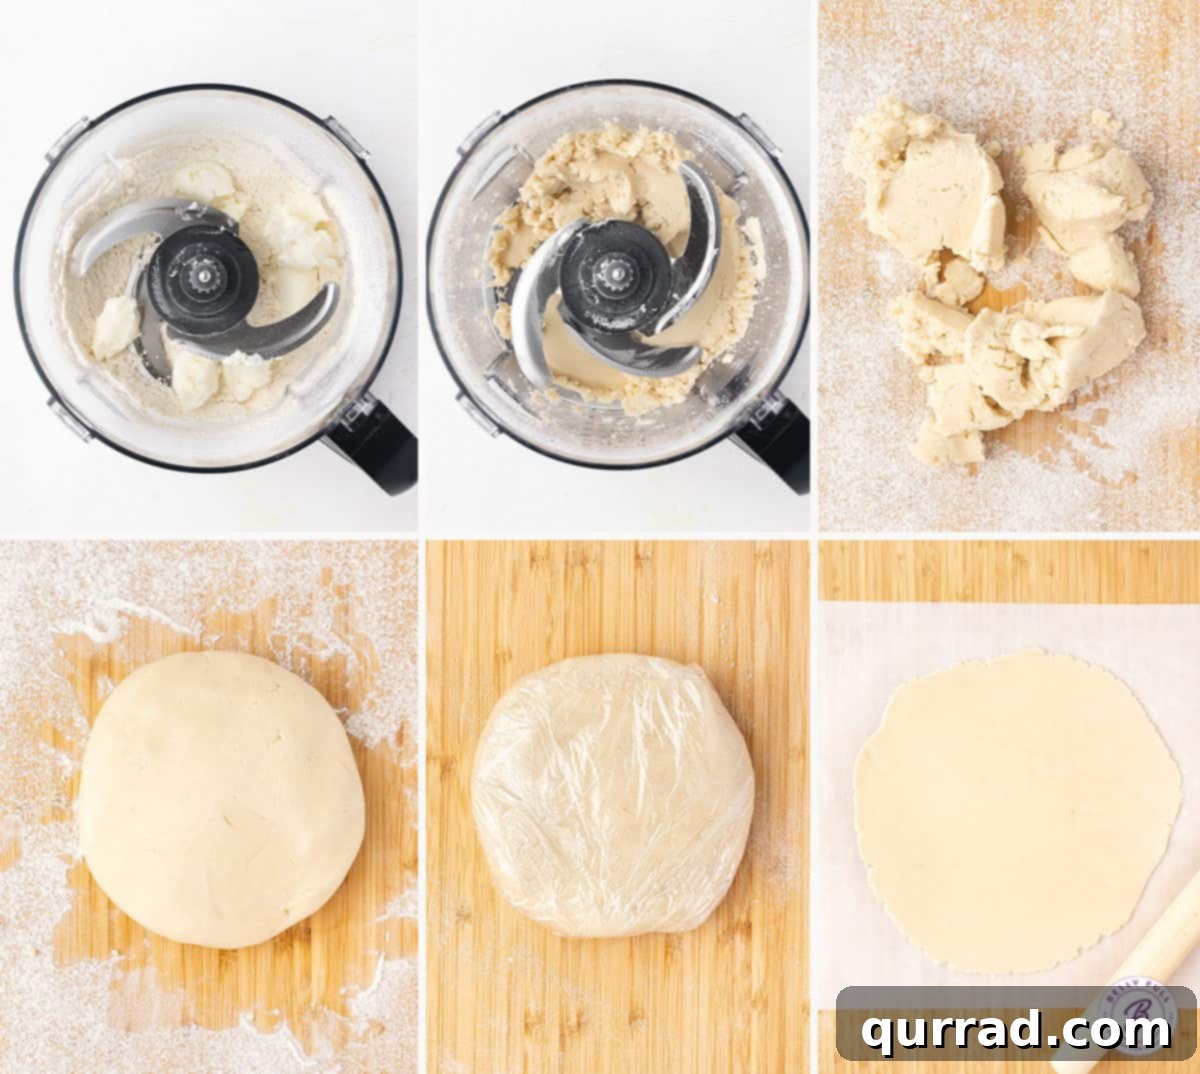
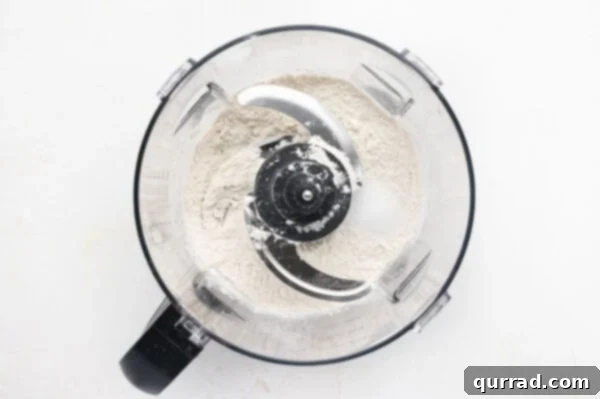
- Combine Dry Ingredients: Begin by adding your all-purpose flour and salt into the bowl of a food processor. Give it a few quick pulses to thoroughly combine these dry ingredients. This ensures an even distribution of salt throughout the flour, enhancing flavor in every bite.
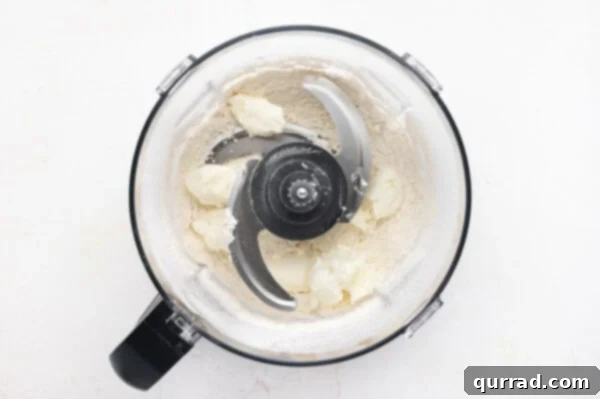
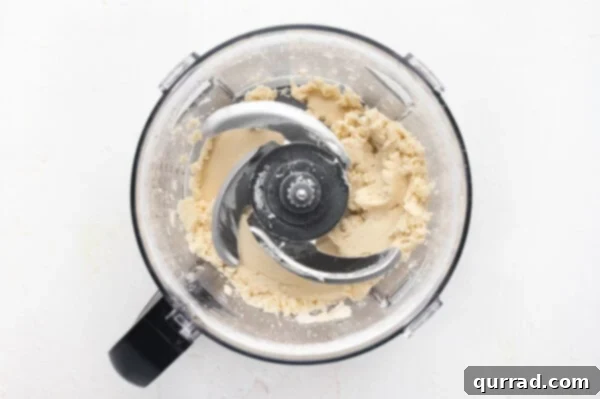
- Incorporate the Shortening: Cut your cold shortening into small, approximately 1/2-inch cubes. Scatter these cubes evenly over the flour mixture in the food processor. Pulse the mixture in short bursts, about 15 times, until it transforms into a coarse meal resembling large peas. The mixture should also appear slightly darker in color. To test for readiness, pinch a small amount between your fingers; if it holds together, your dough is ready for the liquid. The goal here is to create distinct pockets of fat, which will yield those delightful flaky layers during baking.
- Gradually Add Ice Water: With the food processor still running (or pulsing intermittently), slowly drizzle in the ice-cold water through the lid’s feed tube. Continue pulsing just until the mixture begins to come together and form a loose ball. It’s crucial not to over-process at this stage, as overworking the dough develops gluten, leading to a tough crust. Stop as soon as the dough barely forms a cohesive mass.
- Assess Dough Consistency: Take a small portion of the dough and gently pinch it between your fingers. If it holds its shape without crumbling, you’ve achieved the perfect consistency. If it’s still too crumbly, add a tiny bit more ice water, no more than a tablespoon at a time, pulsing briefly after each addition. Be mindful not to add too much water; an overly wet dough will require more flour, which can make your crust tough and less tender.
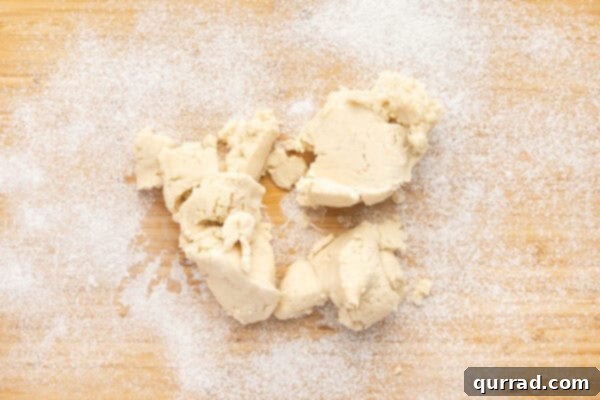
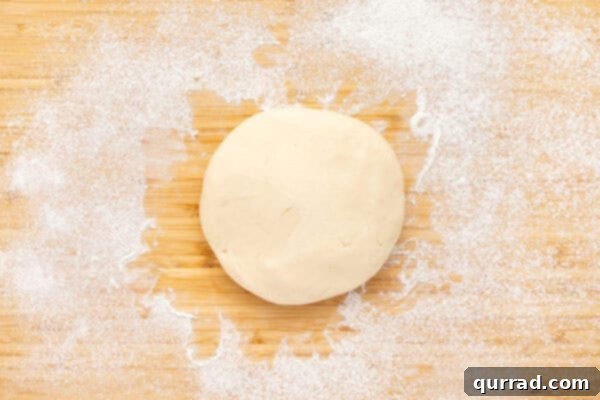
- Form and Shape the Dough: Carefully transfer the dough mixture from the food processor onto a clean, dry, and lightly floured work surface. Gather the dough into a mound. Gently fold the dough into itself a few times until the flour is fully incorporated and the dough comes together smoothly without cracks. It should feel pliable but not sticky. Remember, minimal kneading is key to maintaining tenderness, so work it just enough to form a cohesive ball. Then, gently flatten this mound into a uniform 1-inch thick disc, ensuring there are no open edges or significant cracks.
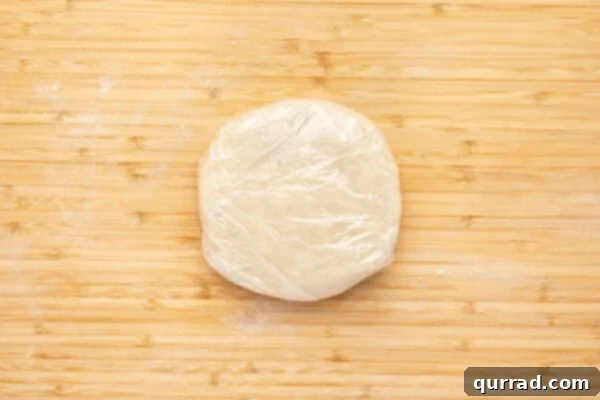
- Wrap and Chill: Tightly wrap the disc of dough in plastic wrap. Refrigerate it for a minimum of 30 to 60 minutes. This chilling period is vital; it allows the gluten to relax, prevents shrinkage during baking, and solidifies the fat, which contributes to a flakier crust. You can even chill it for up to 2 days or freeze it for longer storage.
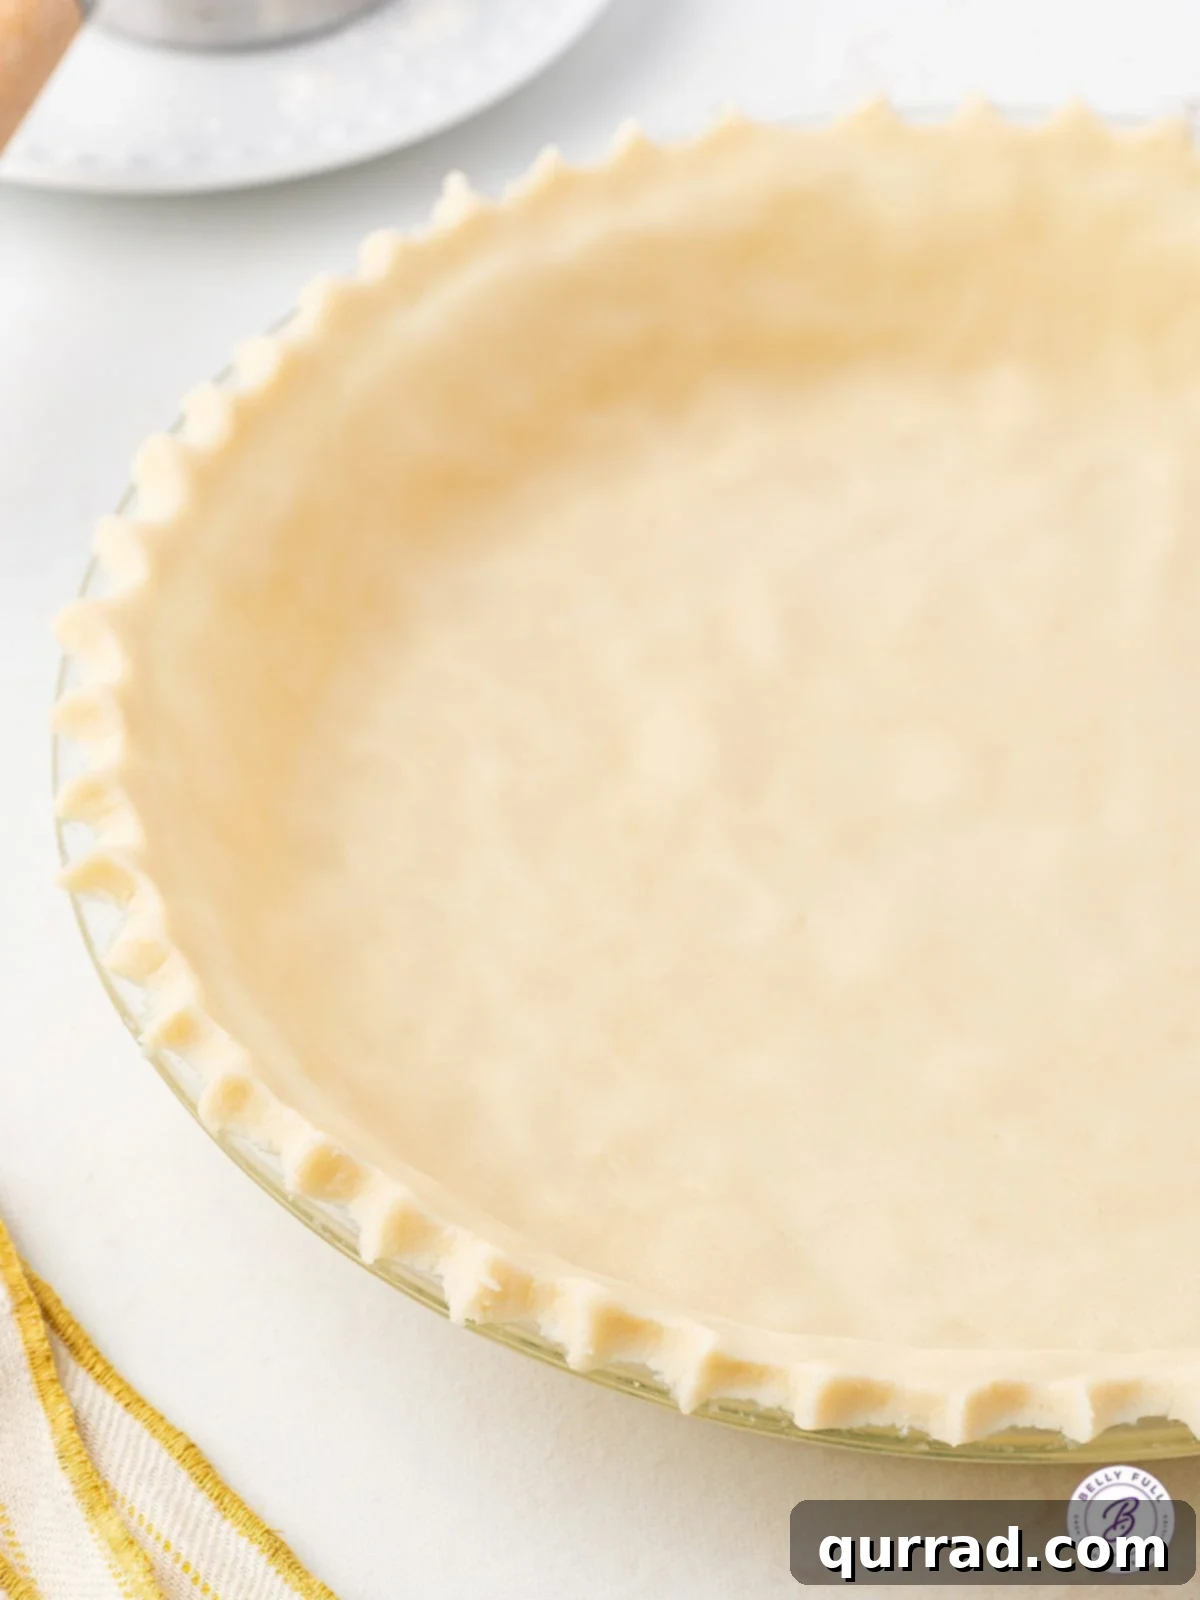
Mastering the Roll: How to Roll Out Pie Crust with Ease
Rolling out pie crust can be intimidating, but with the right technique and a little patience, you’ll achieve a perfect circle every time. The key is to work gently and strategically.
- Temper the Dough: After its time in the refrigerator, your dough will be quite firm. Remove it and let it sit at room temperature for about 5-10 minutes. This allows it to soften slightly, making it more pliable and less prone to cracking when you begin to roll, but still cold enough to maintain its structure.
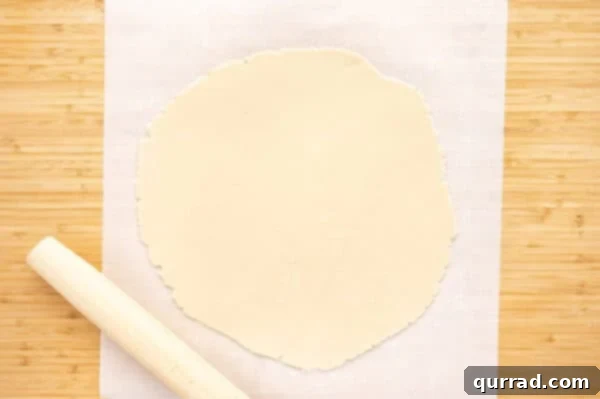
- Prepare Your Work Surface: For mess-free rolling and easy transfer, use parchment and wax paper. Cut a large piece of parchment paper and lay it flat on a clean, dry surface, lightly dusting it with flour. Cut a similar-sized piece of wax paper. This sandwiching technique prevents sticking and eliminates the need for excessive flour, which can toughen the crust.
- Begin Rolling: Place your chilled dough disc on the floured parchment paper and sprinkle a little more flour on top. Cover the dough with the wax paper. Using a rolling pin, begin rolling from the center outwards, applying even, gentle pressure. Make sure to lift and turn the dough frequently (along with the parchment and wax paper) to ensure it rolls into a consistent circular shape and doesn’t stick to your surface. If the dough starts to stick to the wax paper, simply lift the wax paper, sprinkle a few more pinches of flour on the dough, and continue.
- Achieve the Desired Size and Thickness: Continue rolling until your dough forms a roughly 12-inch circle, approximately 1/8 inch thick. This size is ideal for a standard 9-inch pie plate, providing enough overhang for trimming and crimping the edges. My mother, with her decades of experience, often uses a 10-inch pie plate, creating a perfectly fitted crust with no excess – a testament to how adaptable this recipe truly is! Don’t stress about absolute perfection; a slightly rustic look adds character.
Graceful Transfer: How To Move Your Crust to a Pie Plate
Transferring your delicate, rolled-out pie dough into the pie plate can be the trickiest part of the process, but there are several methods to make it a breeze. After a few attempts, you’ll discover which technique you prefer!
- The Rolling Pin Method: This classic technique involves gently rolling your flattened pie dough onto your rolling pin. Once the dough is draped over the pin, carefully unroll it over your pie plate, letting it settle into the dish.
- The Folding Method (with a Dough Blade): Lightly flour a flexible dough blade. Carefully work the blade gently under the edges of your rolled-out pie dough. Using the blade to support it, gently fold the dough in half, then into quarters. Carefully transfer the quartered dough into the center of your pie plate, then unfold it, easing it into the contours of the dish.
- The Inversion Method (with a Cutting Board): This method is particularly easy when using parchment paper. Simply slide the parchment paper with your rolled-out dough onto a large, flat cutting board. Place your pie plate upside down directly on top of the dough. Then, with a swift and confident motion, invert the cutting board and pie plate together, allowing the dough to fall perfectly into the dish. Carefully peel away the parchment paper.
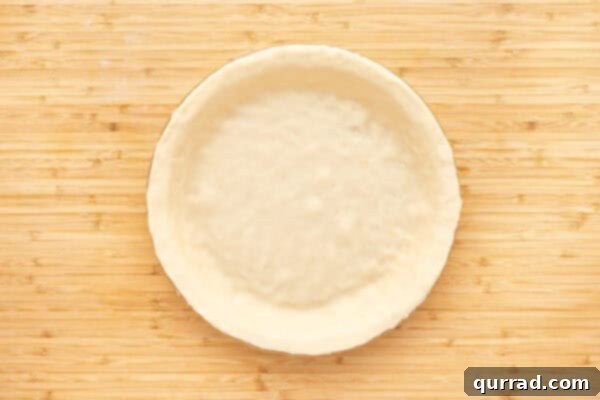
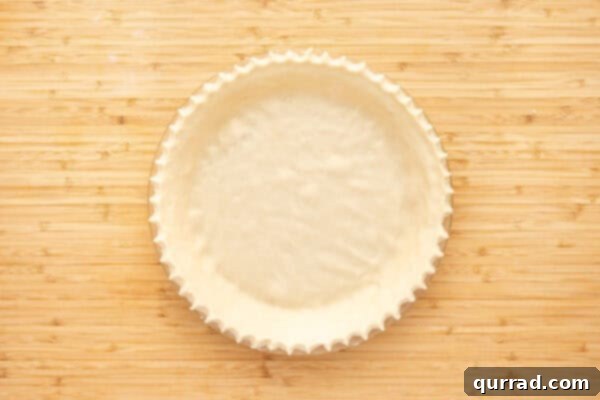
Once your dough is nestled in the pie plate, gently press it down to line the bottom and sides evenly. Avoid stretching the dough, as this can cause it to shrink back during baking. Use a pair of sharp kitchen scissors or a paring knife to trim the dough, leaving about a 1/2-inch overhang from the edge of the pie dish. Don’t despair if you encounter a few tears or cracks! Pie dough is forgiving. Simply use your fingertips to gently press together any imperfections, sealing them seamlessly. Finally, crimp the edges of your pie crust to create a beautiful finish – whether with a fork, your fingers, or a decorative pastry wheel.
Expert Tips for an Unforgettable Pie Crust
- Cold Ingredients are Non-Negotiable: Always use ice-cold water and very cold shortening (or butter). Cold fat creates pockets that release steam during baking, leading to an incredibly flaky crust. If your kitchen is warm, you can even chill your flour for 15-20 minutes before starting.
- The Power of a Food Processor: While a pastry blender or even your hands can work, a food processor is highly recommended for pie crust. It efficiently cuts the fat into the flour, distributing it evenly without overworking the dough, which means less handling and less gluten development for a tender crust.
- Choose a Glass Pie Plate: Glass pie plates are superior for baking pies. Glass transmits heat more evenly than metal, ensuring that the bottom of your crust cooks thoroughly and browns beautifully. Plus, its transparency allows you to monitor the browning process, preventing a pale, underbaked bottom crust.
- Prevent Over-Browning with a Pie Crust Shield: To avoid burnt edges while the filling bakes, use a pie crust shield. An adjustable silicone shield is a great investment, adapting to various pie sizes. Alternatively, you can easily create a makeshift shield by gently wrapping a strip of aluminum foil around the rim of your pie crust.
- Don’t Overwork the Dough: Excessive kneading or handling develops gluten, which makes the crust tough and chewy, rather than tender and flaky. Work the dough just enough to bring it together.
- Avoid Stretching the Dough: When transferring and pressing the dough into the pie plate, resist the urge to stretch it to fit. Stretching causes the dough to retract significantly during baking, leading to a shrunken crust.
- Dock Your Crust (for single-crust pies): For single-crust pies or blind-baked crusts, gently prick the bottom and sides of the dough with a fork before baking. This process, called “docking,” allows steam to escape, preventing the crust from puffing up unevenly.
- Consider an Egg Wash: For a golden, glossy finish and added richness, brush the top crust of a double-crust pie with an egg wash (one egg beaten with a tablespoon of water or milk) before baking.
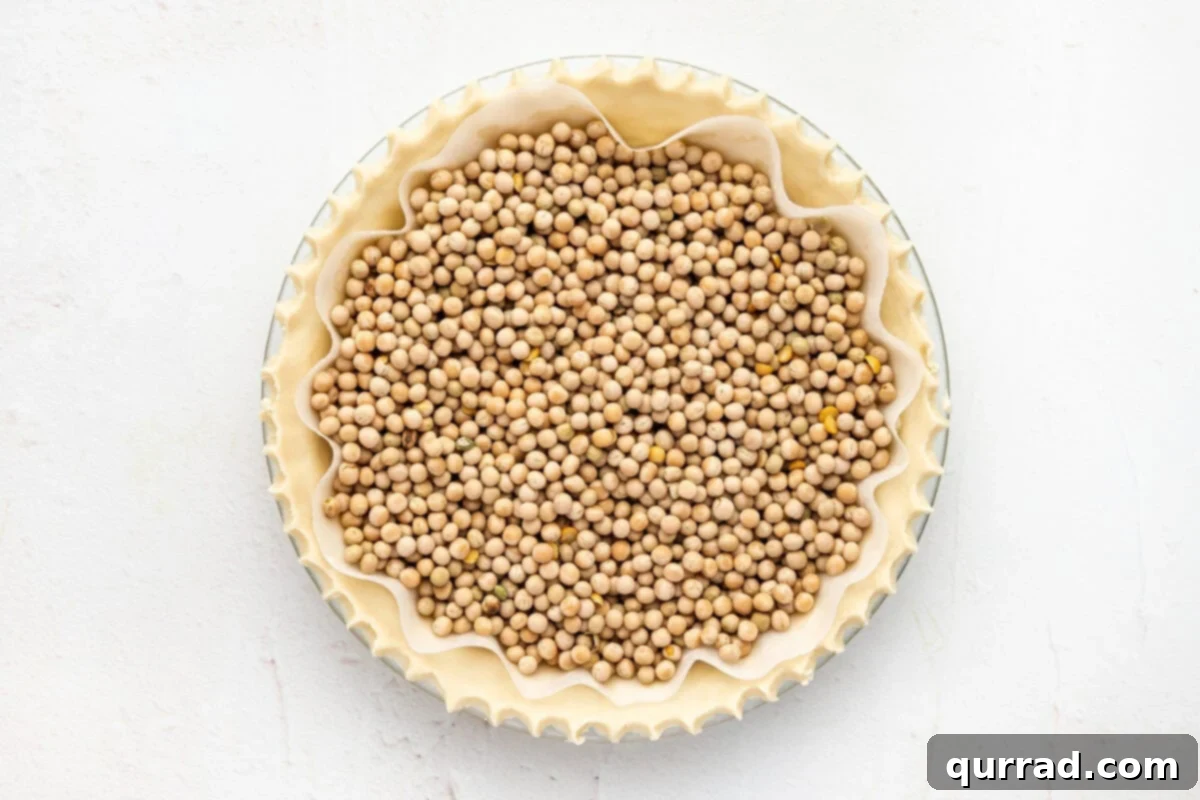
Blind Baking Explained: For Perfect Fillings Every Time
Blind baking, also known as pre-baking or par-baking (partial baking), refers to baking a pie crust without its filling. This crucial step is often necessary to prevent a soggy bottom crust, especially with certain types of fillings. But why blind bake?
You’ll want to blind bake your pie crust in a few key scenarios:
- For No-Bake Fillings: If your pie filling, like pudding or cream pies, doesn’t require baking, the crust needs to be fully cooked beforehand.
- For Wet Fillings: Custard pies, quiches, or pies with very moist fruit fillings benefit from blind baking to ensure the crust remains crisp and doesn’t become saturated.
- When Filling Cooks Faster Than Crust: If your filling has a shorter baking time than the crust needs to fully cook, blind baking gives the crust a head start.
How to Blind Bake Your Pie Crust:
- Chill the Dough: After fitting the pie dough into your pie plate, crimp the edges and then chill it in the refrigerator for at least 30 minutes (or freeze for 15 minutes). This helps prevent shrinkage.
- Line with Parchment and Fill with Weights: Line the chilled crust with parchment paper or aluminum foil, pressing it gently against the bottom and sides. Fill the lined crust with pie weights, dried beans, or uncooked rice. These weights prevent the crust from puffing up and shrinking.
- Bake: Bake in a preheated oven (usually 375-400°F / 190-200°C) for 15-20 minutes, or until the edges are lightly golden.
- Remove Weights and Continue Baking: Carefully remove the parchment paper and pie weights. If you’re doing a partial bake (par-baking), continue baking for another 5-10 minutes, or until the bottom is set but not fully golden. If you need a fully baked crust, continue baking for an additional 10-15 minutes, or until the entire crust is golden brown and cooked through.
- Cool: Let the blind-baked crust cool completely on a wire rack before adding your filling.

A World of Possibilities: Creative Ways to Use Your Homemade Pie Crust
The true beauty of mastering a homemade pie crust recipe lies in its incredible versatility. Once you’ve perfected your flaky foundation, a world of sweet and savory creations opens up before you! This single recipe can be adapted for countless delectable dishes, transforming ordinary meals into extraordinary experiences.
- Classic Fruit Pies: From a vibrant apple to a juicy cherry or a sweet peach, a flaky crust is the perfect complement to seasonal fruit fillings.
- Rich Cream and Custard Pies: Indulge in velvety chocolate pie, luscious coconut pie, or a silky pumpkin pie, knowing your crust will hold up perfectly.
- Slab Pies: Ideal for feeding a crowd, a slab pie uses a rectangular crust, making it easy to serve at gatherings. Imagine a bountiful pumpkin slab pie during the holidays!
- Mini Pies and Tarts: Cut smaller circles from your dough to create individual mini pecan pies or elegant fruit tarts. These are perfect for portion control or a charming dessert spread.
- Hand Pies: Portable and utterly delightful, hand pies are single-serving pastries filled and folded over. Try making irresistible air fryer apple hand pies for a quick treat.
- Savory Creations: Don’t limit yourself to desserts! Use your pie crust for savory quiches, chicken pot pies, or savory tarts filled with vegetables and cheese.
This homemade pie crust recipe is a fantastic starting point for some of my favorite pie recipes, including the rich and decadent chocolate pie, the tropical delight of coconut pie, and the comforting sweetness of sour cream peach pecan pie. Let your creativity soar and explore the endless possibilities!
Prep Ahead: Can I Make Pie Dough in Advance and Freeze It?
Absolutely! One of the great advantages of homemade pie dough is its freezer-friendly nature, allowing you to prepare it ahead of time and have it ready for spontaneous baking sessions. This convenience makes pie making far less intimidating and perfect for busy schedules.
Once you’ve prepared the pie dough and formed it into a disc, as instructed in step 5, you have several storage options:
- Refrigerate: Tightly wrap the dough disc in plastic wrap (or even a double layer for extra protection). It will keep beautifully in the refrigerator for up to 2 days. This is perfect for planning a pie a day or two in advance.
- Freeze: For longer storage, wrap the plastic-wrapped dough disc tightly in an additional layer of aluminum foil or place it in a freezer-safe plastic bag. Label it with the date. Your pie dough can be stored in the freezer for up to 3 months. This is fantastic for holiday baking or when you simply want to have homemade dough on standby.
Thawing Frozen Dough: When you’re ready to use frozen dough, transfer it from the freezer to the refrigerator and let it thaw overnight. Avoid thawing at room temperature, as this can cause the fat to warm up too quickly, compromising the flaky texture. Once thawed, let it sit out for a few minutes before rolling, as described in the “How to Roll Out Pie Crust” section.
We hope you adore this easy and delicious homemade pie crust recipe! Be sure to leave a review below and share your thoughts. Don’t forget to follow Belly Full on TikTok, Instagram, Facebook, Pinterest, and YouTube!
Homemade Pie Crust
15
30
45
8
servings (1 pie crust)
Pin
Ingredients
- 1 & 1/2 cups all-purpose flour, spooned and leveled
- 1/2 teaspoon salt
- 1/2 cup shortening, (see note below)
- 3 tablespoons ice cold water
Instructions
Process the Dough Ingredients
-
Put 1 & 1/2 cups all-purpose flour and 1/2 teaspoon salt into the bowl of a food processor and pulse a few times to combine.

-
Cut 1/2 cup shortening into cubes and sprinkle it on top of the flour in different places.
-
Pulse several times (about 15) until the mixture resembles large pea-sized crumbs and changes to a darker color. Take a little bit of the mixture and pinch it together with your fingers; if it holds together, your dough is ready for the water.
-
Remove the food processor lid cap and slowly drizzle in 3 tablespoons ice cold water while pulsing, until the mixture just starts to form a ball. Don’t over-process.
-
Take some of the mixture and pinch it together with your fingers; if it holds together, your dough is good to go. If it’s still crumbly, add a little more water (but no more than a tablespoon at a time. Too much water will require more flour, which will make the crust tough.)
Form the Dough & Chill
-
Transfer the dough mixture onto a clean, dry, flat surface that’s been lightly dusted with flour.
-
Gather into a mound, then fold the dough into itself until the flour is fully incorporated. (The dough should come together easily and should not feel sticky. Don’t over-knead. You should just knead enough so that the dough holds together without cracks.) Then flatten the mound into a 1-inch thick disk, making sure there aren’t any open edges or cracks.
-
Wrap the dough tightly in plastic wrap and refrigerate for 30-60 minutes.
Roll out the Dough
-
After the dough has chilled, remove it from the refrigerator and let it sit for a few minutes while you prep your work surface to roll it out.
-
Cut a large piece of parchment paper; lay it on a clean, dry, flat surface and sprinkle with a little flour. Cut a similar sized piece of wax paper.
-
Place your dough disk on top of the parchment paper and sprinkle with a little flour, then place the wax paper on top of the dough.
-
Using a rolling pin, start to roll out the dough. You want to roll with purpose, but gently. Start rolling from the center to the outer edge, in single strokes, making sure to move in all directions, turning as you go, so that your crust stays in a general circular shape. Roll, turn, roll, turn, etc. If the dough is sticking to the wax paper as you roll, add a few sprinkles of flour on top of the dough, and continue rolling.
-
Roll the dough into a 12-inch circle, about 1/8 inch thick. (I then transfer the dough into a 9-inch pie plate, which allows me to trim and crimp the edges. My mom always uses a 10-inch pie plate, so there isn’t any excess and that’s ok, too!)
Transfer the Dough to Pie Plate
-
Transfer the dough to your pie plate with a rolling pin, dough blade, or cutting board. Gently press down so that it lines the bottom and sides of the pie plate.
-
Use a pair of kitchen scissors or sharp pairing knife to trim the dough to within 1/2 inch of the edge of the pie dish. (If you’ve got some tears DON’T FRET! Just simply use your fingertips and gently press together any tears or cracks.) Crimp the edges.
Make all the pies!
-
Proceed with whatever pie recipe you’re making! (Some recipes do call for a fully baked pie crust or a partially baked crust, so pay attention to that.) Don’t miss all the helpful tips about forming and rolling the pie crust, and blind baking in the article.
Notes
Nutrition
Calories: 199kcal
|
Carbohydrates: 18g
|
Protein: 2g
|
Fat: 13g
|
Saturated Fat: 3g
|
Sodium: 146mg
|
Potassium: 25mg
|
Fiber: 1g
|
Sugar: 1g
|
Calcium: 4mg
|
Iron: 1mg
Nutritional information given is an automatic calculation and can vary based on the exact products you use and any changes you make to the recipe. If these numbers are very important to you, I would recommend calculating them yourself.
Did you make this? Leave a rating below!