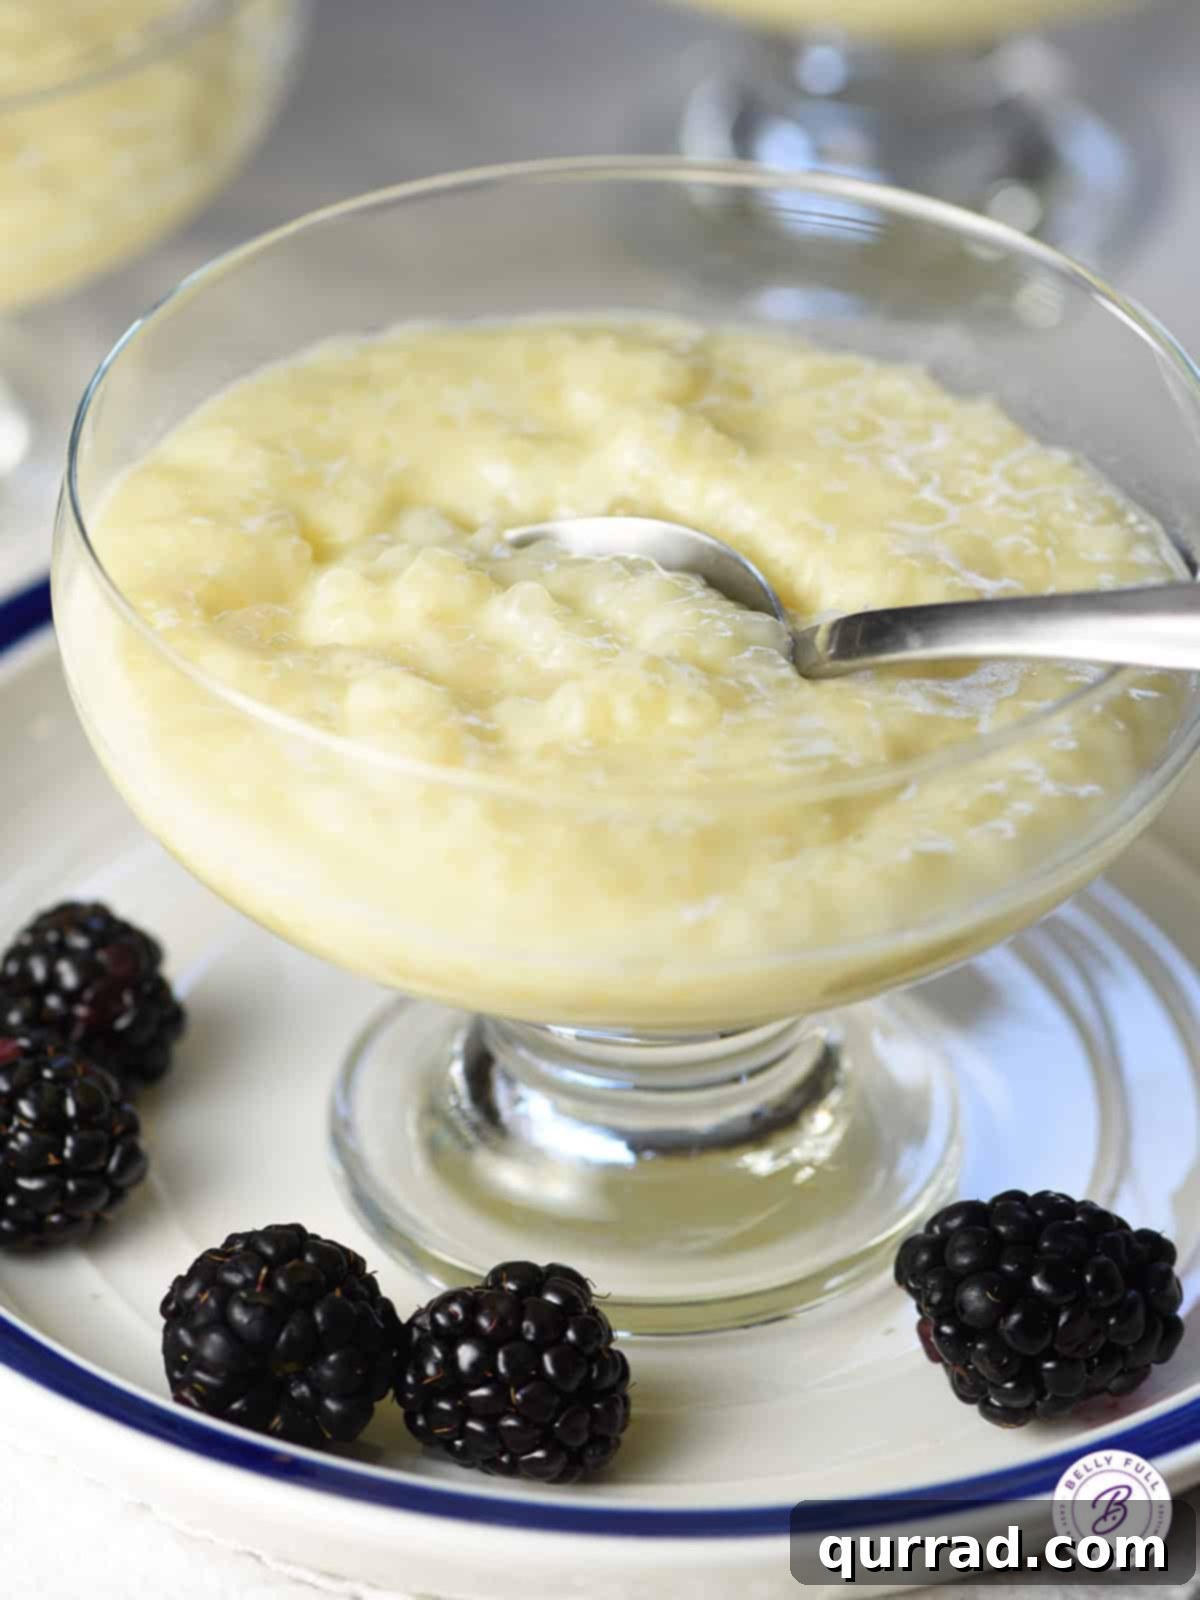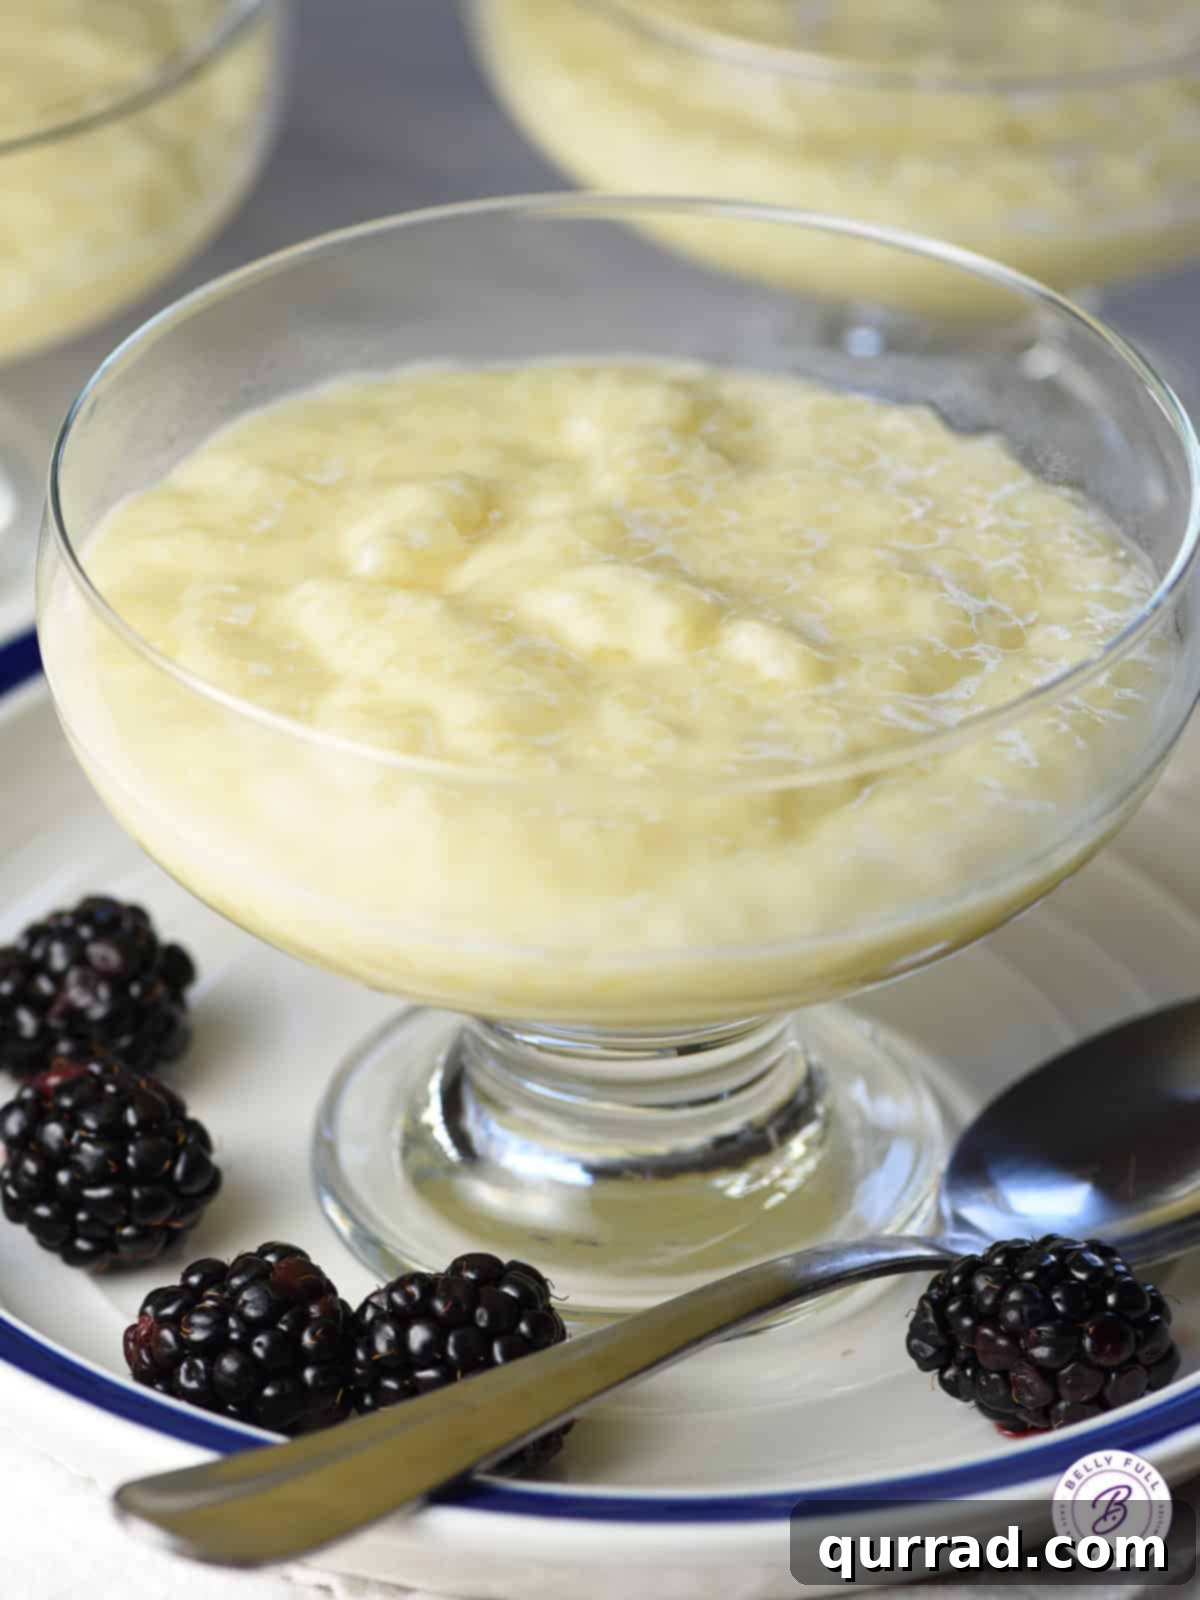
Step into a world of creamy comfort and sweet nostalgia with this delightful Homemade Tapioca Pudding recipe. Crafted from just a handful of staple ingredients like delicate tapioca pearls, rich milk, and a touch of sugar, this dessert is a timeless classic. Forget the instant boxed versions; making tapioca pudding from scratch is surprisingly simple and yields a truly superior taste and texture that will transport you straight back to cherished childhood memories. Prepare for a rich, velvety treat that’s easy to make and impossible to resist!
⭐
5-STAR REVIEWS FOR THIS TAPIOCA PUDDING
Mollie says, “First time making tapioca pudding and it was so much easier than I imagined. This brought back great memories of my gram.”
Wendy says, “This recipe is so easy and perfect every time!”
Bev says, “This Tapioca Pudding recipe was just awesome. Will definitely make it again. Way better than store-bought.”
Embrace the Charm of Homemade Tapioca Pudding
Tapioca pudding often feels like a forgotten treasure in the realm of desserts. It’s rarely discussed in modern culinary circles, and it’s even less frequently seen on dinner tables. Yet, for many of us, it holds a special place, brimming with wonderful memories.
My mind immediately drifts to my childhood, to the comforting times my mom would prepare homemade tapioca pudding. It was often reserved for moments when I wasn’t feeling well, much like her famous matzo ball soup. She always served it in elegant footed dessert dishes, never in simple parfait glasses or ramekins. It’s fascinating how certain small details, like a specific serving dish, can cement a memory so vividly from our youth!
This recipe aims to revive that classic comfort. It’s incredibly easy to make, and the resulting creamy, tender pearls are far superior to any instant mix. Let’s bring tapioca pudding back into the spotlight where it truly belongs.
Understanding Tapioca: The Star Ingredient
Tapioca is a fascinating starch extracted from the cassava root, also widely known as yuca or manioc. This versatile plant, native to Brazil, where it’s called “mandioca,” has become a dietary staple in countless countries across the globe. While tapioca itself offers minimal nutritional value, its true magic lies in its remarkable ability to act as an exceptional thickening agent. From hearty stews and rich gravies to fruit-filled pies and, of course, creamy puddings, tapioca lends a smooth, desirable texture.
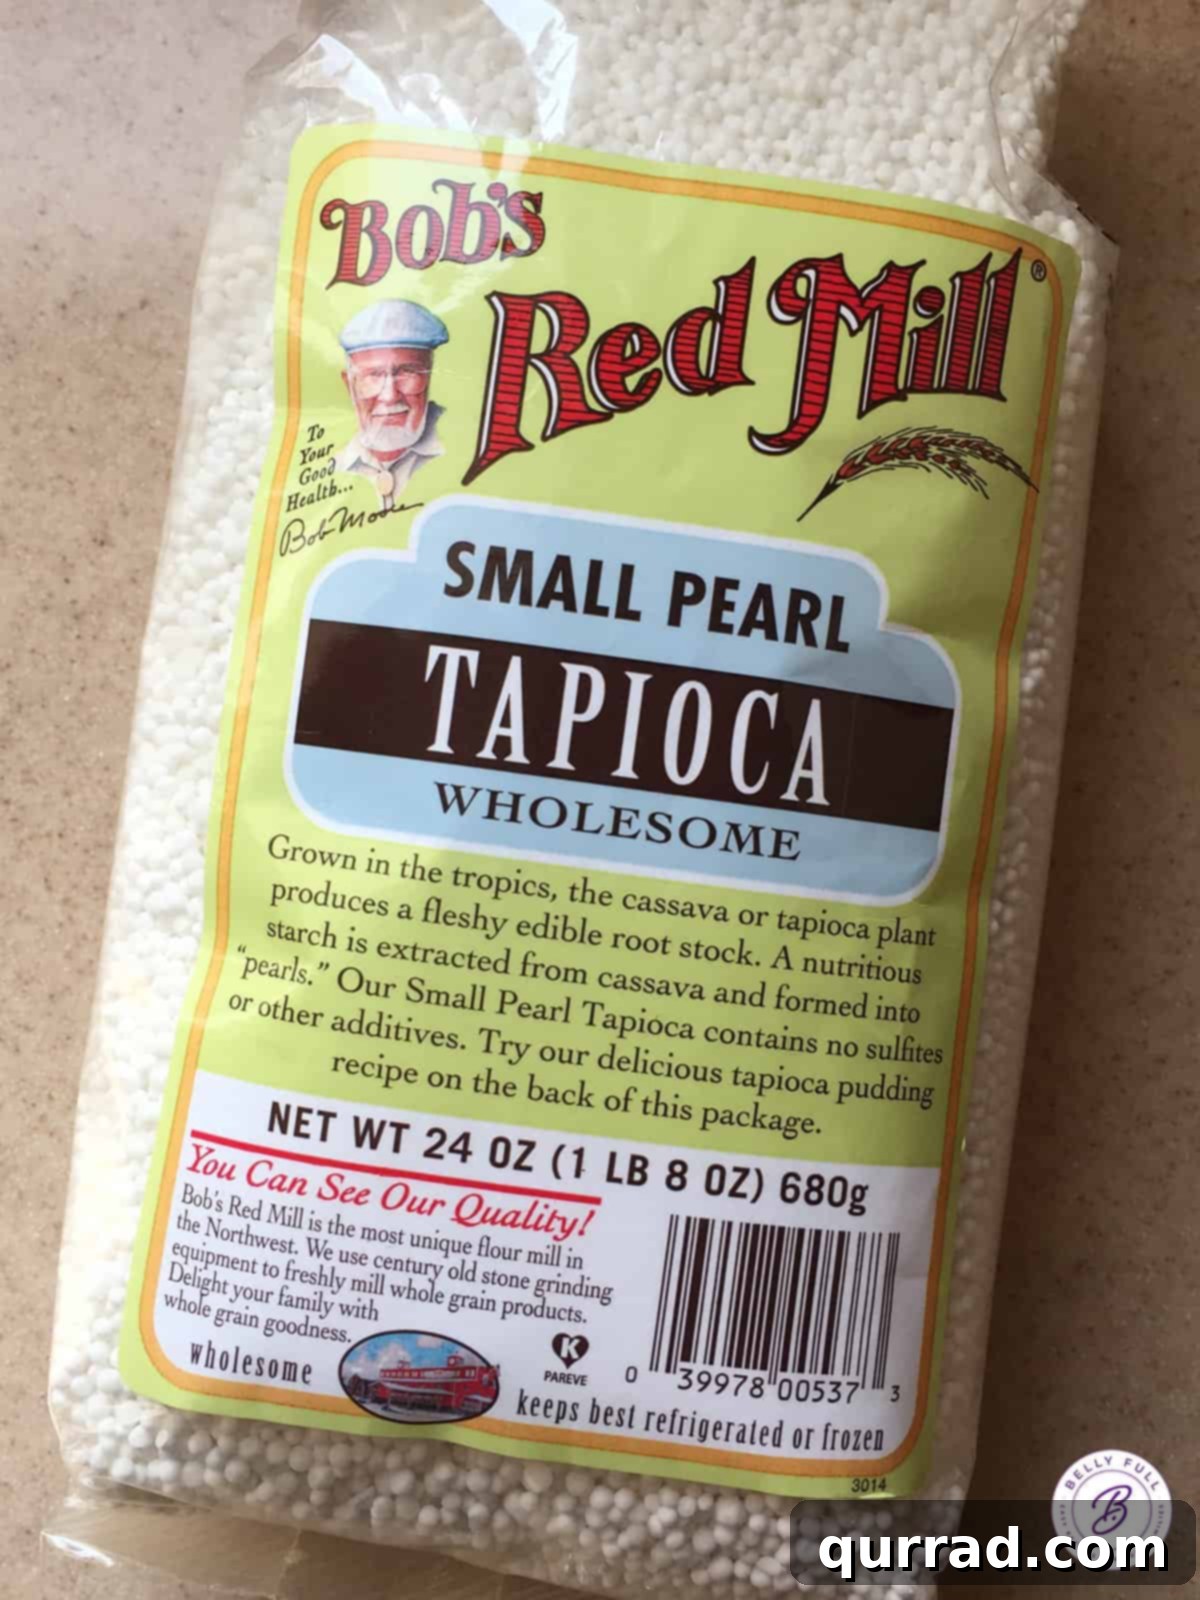
Tapioca is available in various forms, most commonly as flour, flakes, or pearls. Tapioca pearls, which are essential for this pudding, come in different sizes and can even be dyed vibrant colors, as famously seen in popular boba tea. For this recipe, we focus on small pearl tapioca. While my personal preference leans towards brands like Bob’s Red Mill for their consistent quality, you can certainly use any brand of small pearl tapioca you find. Just be sure to always check the specific package instructions, as preparation times, particularly for soaking, can vary significantly between brands. This small step ensures your pudding turns out perfectly every time.
Homemade vs. Instant: Why Pearl Tapioca Wins
When it comes to tapioca pudding, there’s a distinct difference between “Minute” (or Instant) tapioca and traditional small pearl tapioca. Instant tapioca is processed into much finer grains, allowing it to cook remarkably fast. This convenience has made it a popular choice for quick desserts. However, true tapioca enthusiasts will tell you that the larger, more substantial tapioca pearls offer an unparalleled texture.
Traditional tapioca pearls, while still varying in size, are generally larger than their instant counterparts and typically require a pre-soak before cooking. This initial soaking stage allows the pearls to absorb liquid and soften, leading to a wonderfully chewy yet tender texture in the final pudding. And honestly, for me, this slightly extended preparation time is absolutely worth it! The delightful mouthfeel of plump, distinct tapioca pearls in a creamy base simply cannot be replicated by instant varieties.
Despite the extra step of soaking, making tapioca pudding from scratch with pearls is still incredibly straightforward and far less complicated than many imagine. The result is a pudding with a superior, authentic texture that truly elevates the dessert from merely good to absolutely sublime. You’ll be amazed at how easy it is to achieve this classic comfort food in your own kitchen!
Expert Tips & Delicious Variations for Your Pudding
Creating the perfect tapioca pudding is an art, and a few key techniques and creative variations can elevate your dessert to new heights. Here are some indispensable tips and exciting ways to customize your batch:
- Understanding Tapioca Brands and Soaking: The world of tapioca pearls is not uniform. Different brands often come with varying instructions, especially regarding pre-soaking. Some small tapioca pearls may require an overnight soak, while others might only need a quick 30-minute stand, or no soaking at all. It’s crucial to consult your tapioca packaging. The soaking process directly affects how much liquid the pearls absorb before cooking, which in turn impacts the overall milk quantity and cooking time needed for a perfectly thick pudding. Adjusting your recipe based on the specific brand ensures optimal results.
- The Golden Rule: Avoid Boiling: This is perhaps the most critical tip for a smooth, luscious tapioca pudding. The mixture should only ever reach a gentle simmer, just barely bubbling. If the pudding comes to a rapid boil, especially after the eggs have been added, the eggs can curdle, resulting in a lumpy, unappetizing texture. Low and slow is the way to go for perfectly creamy consistency.
- Enhance with Optional Mix-ins: While delightful on its own, tapioca pudding is a fantastic canvas for additional flavors. Channel the comforting vibes of rice pudding by stirring in a handful of plump raisins and a dash of ground cinnamon. These additions lend a warm, spiced sweetness that beautifully complements the creamy base. For best results, add these mix-ins towards the end of the cooking process or just before chilling.
- Indulge in a Chocolatey Twist: For all the chocolate lovers, transforming your tapioca pudding into a rich, cocoa-infused dessert is surprisingly simple. Just whisk in a few tablespoons of unsweetened cocoa powder along with the sugar. Start with a smaller amount and add more to taste, ensuring it’s fully dissolved for a smooth, consistent chocolate flavor. This variation is a delightful departure from the classic.
- Achieve an Extra Fluffy Texture: If you adore tapioca pudding with an airy, lighter consistency, consider separating your eggs. The egg yolks are used as per the recipe, stirred into the hot tapioca mixture to enrich it. Once the pudding has thickened and is removed from the heat, beat the egg whites separately until they form soft, ethereal peaks. Gently fold these whipped egg whites into the warm pudding. This technique incorporates air, giving the pudding a wonderfully light, cloud-like texture that melts in your mouth.
5 from 61 reviews
Classic Homemade Tapioca Pudding
5 mins
10 mins
45 mins
1 hr
6
Pin Recipe
Print Recipe
Ingredients
- 1 cup water
- 1/2 cup small pearl tapioca (not instant)
- 2 & 1/2 cups whole milk
- 1/4 teaspoon coarse salt
- 1/2 cup granulated sugar
- 2 large eggs
- 1 teaspoon vanilla extract
Instructions
-
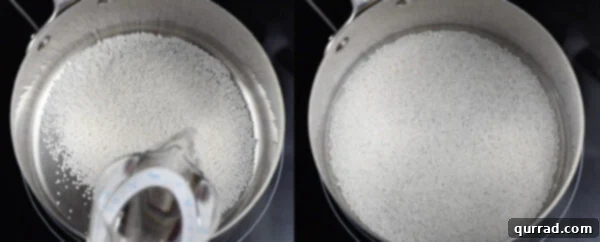
Combine 1 cup of water and 1/2 cup of small tapioca pearls in a 1 & 1/2 quart pot. Allow the pearls to stand for 30 minutes. During this time, the tapioca pearls will plump up and absorb most of the water, preparing them for cooking.

-
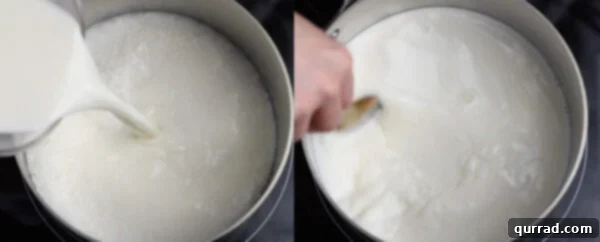
Place the pot over medium-high heat. Pour in 2 & 1/2 cups of whole milk and add 1/4 teaspoon of coarse salt. Stir continuously as you gently bring the mixture to a bare simmer. Be careful not to let it boil vigorously.
-
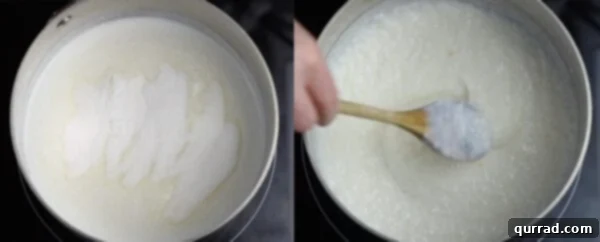
Reduce the heat to low. Stir in 1/2 cup of granulated sugar. Cook, uncovered, stirring frequently to prevent the tapioca from sticking to the bottom of the pan. Continue cooking for about 5 minutes, or until the tapioca pearls have plumped up further and the mixture begins to thicken.
-
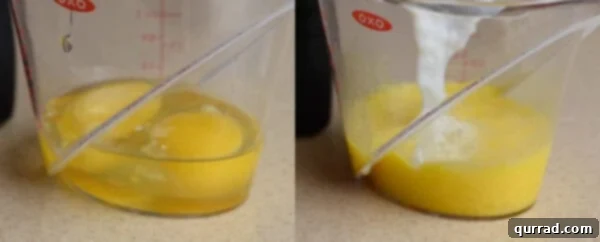
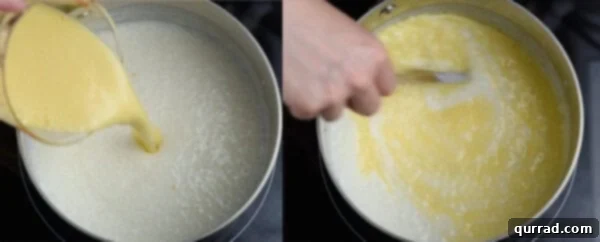
In a separate bowl or measuring cup, lightly beat the 2 large eggs. To temper the eggs and prevent curdling, slowly whisk in about 1/2 cup of the hot tapioca mixture into the beaten eggs. This gradually raises the temperature of the eggs without scrambling them.
-
Pour the tempered egg mixture back into the pot with the remaining tapioca. Increase the heat to medium and stir continuously for several minutes until the pudding reaches a thick consistency that coats the back of a wooden spoon. Remember, it is crucial not to let the mixture boil during this stage to ensure a smooth, creamy result.
-
Remove the pot from the heat and allow the pudding to cool for approximately 15 minutes. This cooling period helps the pudding set further.
-
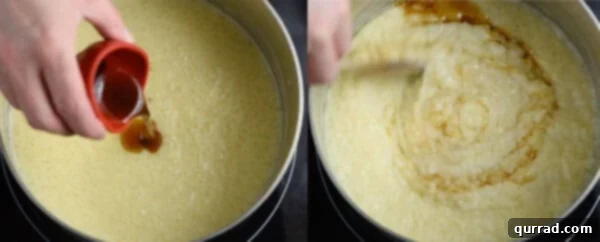
Stir in 1 teaspoon of vanilla extract. The vanilla adds a wonderful depth of flavor to the pudding.
-
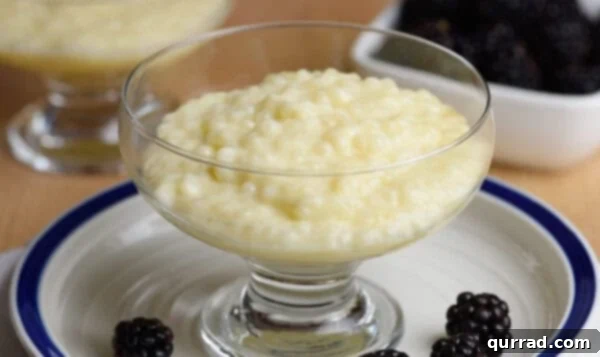
Serve your delicious tapioca pudding either warm, for a comforting treat, or chilled, for a refreshing dessert. Enjoy every spoonful!
Video Tutorial
Chef’s Notes & Pro Tips
Tapioca Pearl Variations: It’s crucial to remember that not all brands of tapioca pearls are created equal. Some small tapioca pearls might require an overnight soak for optimal plumpness, while others are ready after just a 30-minute stand. Always refer to the specific instructions on your tapioca packaging. If your chosen brand doesn’t require pre-soaking and you opt to skip step 1, you’ll likely need to adjust the liquid, increasing the milk to 3 cups. Additionally, expect a longer cooking time, possibly up to 45 minutes over very low heat, to achieve the desired thick consistency.
Flavorful Mix-ins: Don’t hesitate to experiment with additional flavors! For a delightful chocolate twist, stir in a bit of unsweetened cocoa powder along with the sugar. Classic additions like plump raisins and a dash of ground cinnamon also create a wonderfully warm and comforting profile.
Achieving a Fluffier Pudding: To create an extra light and airy tapioca pudding, employ the egg separation technique. Stir only the egg yolks into the hot tapioca mixture as instructed. Once the pudding thickens and is removed from the stove, in a separate, clean bowl, beat the egg whites until they form soft peaks. Gently fold these whipped egg whites into the warm pudding. This aeration will result in a beautifully fluffy texture.
Dairy-Free Alternatives: While this recipe traditionally uses whole milk for its rich creaminess, many have successfully adapted it for a dairy-free diet. Several home cooks have reported excellent results using unsweetened almond milk or full-fat canned coconut milk as a direct substitute. If using coconut milk, be aware it might impart a subtle coconut flavor, which can be a delightful addition.
Nutrition Facts (per serving)
- Calories: 200kcal
- Carbohydrates: 32g
- Protein: 5g
- Fat: 5g
- Saturated Fat: 2g
- Cholesterol: 80mg
- Sodium: 169mg
- Potassium: 160mg
- Sugar: 22g
- Vitamin A: 265IU
- Calcium: 128mg
- Iron: 0.6mg
Nutritional information provided is an automatic calculation and can vary based on the exact products you use and any modifications made to the recipe. If precise dietary values are essential for you, it is recommended to calculate them independently.
Serving Your Homemade Tapioca Pudding
One of the beauties of tapioca pudding is its versatility in serving temperature. You can enjoy it either warm or chilled, and both ways offer a uniquely satisfying experience. While many people gravitate towards cold tapioca pudding, I highly recommend trying it straight from the pot, slightly warm—it’s absolutely incredible! The subtle warmth really enhances the creamy texture and highlights the delicate flavors.
We typically enjoy our tapioca pudding simple and unadorned, appreciating its inherent goodness. However, it serves as an excellent base for various toppings and mix-ins. Consider stirring in some fresh berries or sliced bananas for a fruity twist. For an extra touch of decadence, a generous dollop of homemade whipped cream is always a welcome addition. A sprinkle of cinnamon or a drizzle of caramel sauce can also elevate the presentation and flavor profile, making it suitable for any occasion, from a casual weeknight dessert to a special gathering.
Storing and Reheating Your Tapioca Pudding
Proper storage is key to extending the enjoyment of your delicious homemade tapioca pudding. Here are the best practices for keeping it fresh and tasty:
- How long is tapioca pudding good for? Any leftover tapioca pudding should be transferred to an airtight container or individual custard cups immediately after cooling. Store it promptly in the refrigerator, where it will maintain its quality for up to 5 days. To prevent a “skin” from forming on the surface, which can happen as it chills, I recommend placing a piece of plastic wrap directly onto the surface of the pudding before sealing the container.
- To reheat tapioca pudding: If you prefer to enjoy your tapioca pudding warm, reheat it gently over low heat on the stovetop. As tapioca pudding tends to thicken considerably when chilled, you will likely need to add a splash or two of additional milk while reheating. Stir constantly until it reaches your desired consistency and temperature, ensuring it doesn’t boil to avoid curdling.
- Can you freeze tapioca pudding? While technically possible, freezing tapioca pudding is generally not recommended. Upon thawing, the pudding’s texture significantly degrades; it tends to separate, becoming grainy and losing its signature creamy smoothness. For the best experience, tapioca pudding is best enjoyed fresh, chilled, or gently reheated. Avoid freezing to preserve its delightful texture and flavor.
If you’re a fan of comforting puddings, make sure to explore our other beloved recipes, including classic rice pudding and our irresistible homemade banana pudding.
I sincerely hope you adore this simple, creamy, and utterly delicious homemade tapioca pudding recipe. Please don’t forget to leave a review below and share your thoughts! For more delectable recipes and kitchen inspiration, be sure to follow Belly Full on TikTok, Facebook,Instagram,Pinterest, and YouTube! Happy cooking!