
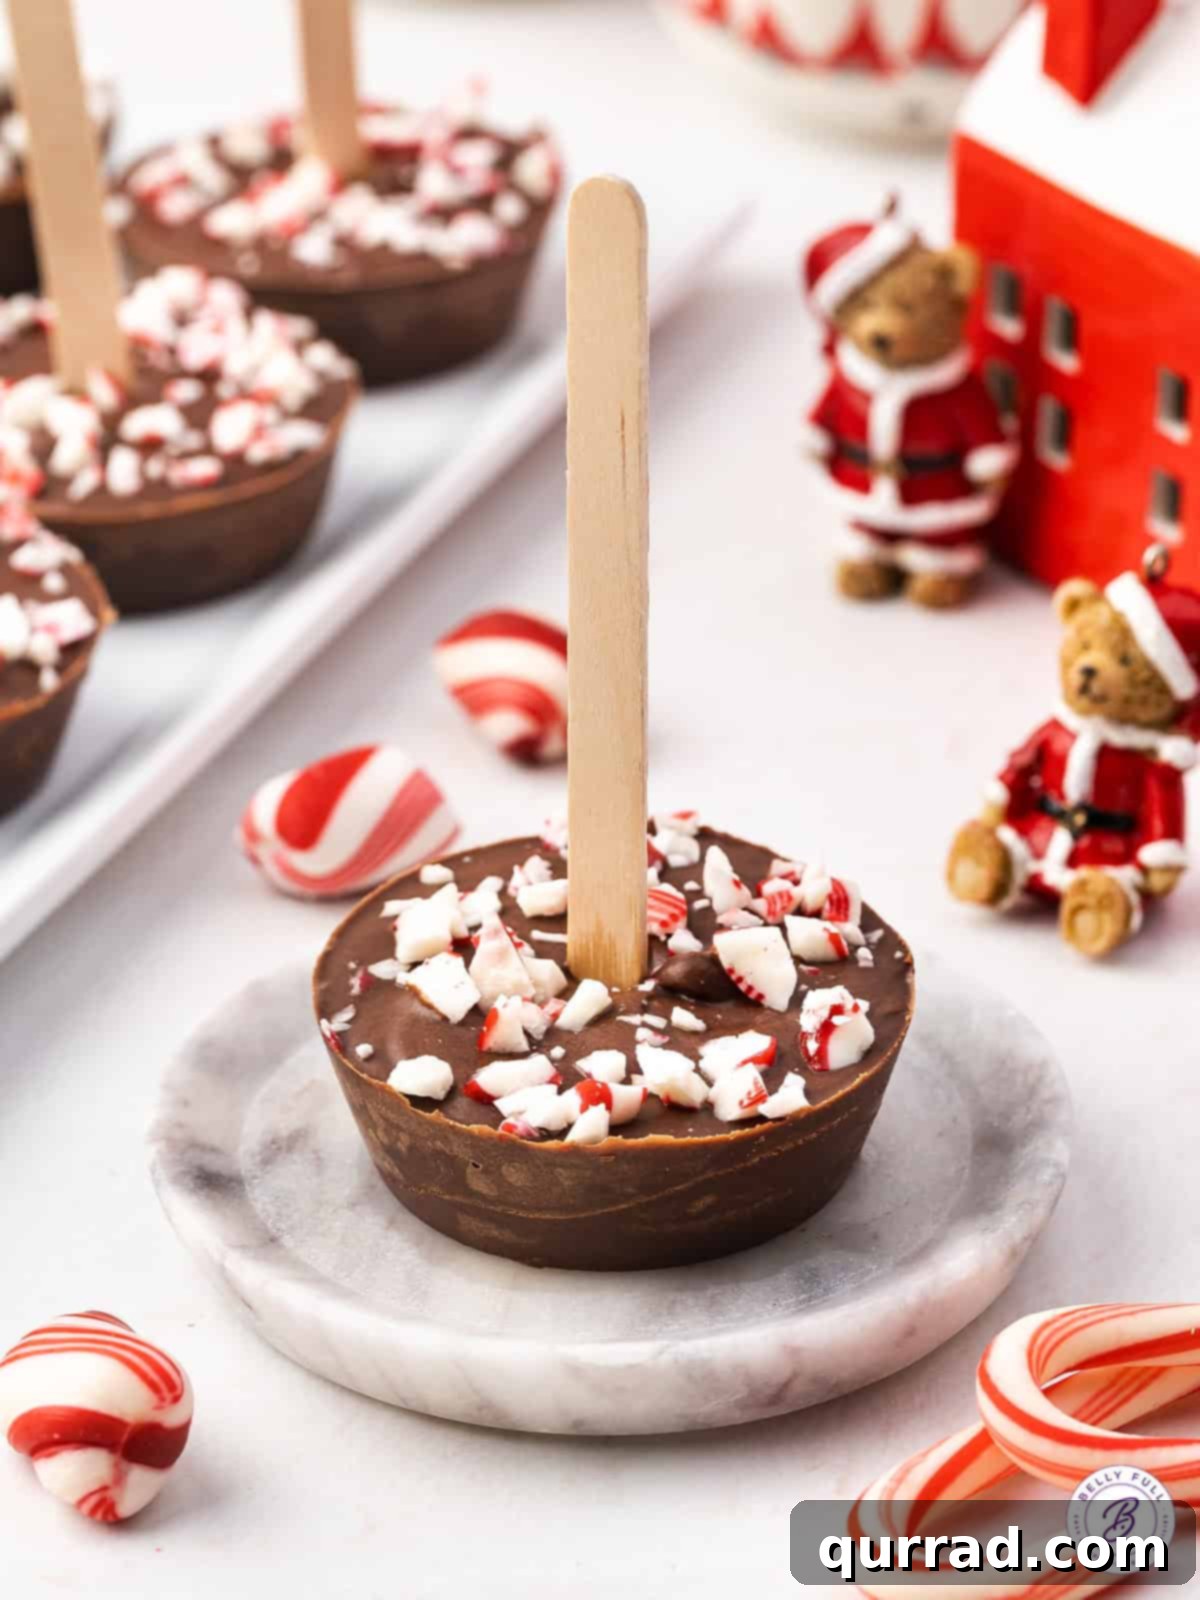
The Ultimate Guide to Homemade Hot Chocolate on a Stick: A Decadent Treat and Perfect Edible Gift
There’s nothing quite like a warm, comforting mug of hot chocolate on a chilly day, especially when it’s a gourmet experience you’ve created yourself. Hot Chocolate on a Stick offers a wonderfully fun and simple way to enjoy a rich, creamy beverage, and they make exceptional, thoughtful gifts! I love making these delightful treats throughout the holiday season, keeping a batch ready in the fridge or freezer. This ensures we always have a decadent hot chocolate waiting to be stirred into a mug of warm milk while we curl up to watch our favorite movies. Beyond personal indulgence, these hot cocoa sticks are incredibly easy to prepare, endlessly customizable with your preferred toppings, and truly shine as a charming homemade present.
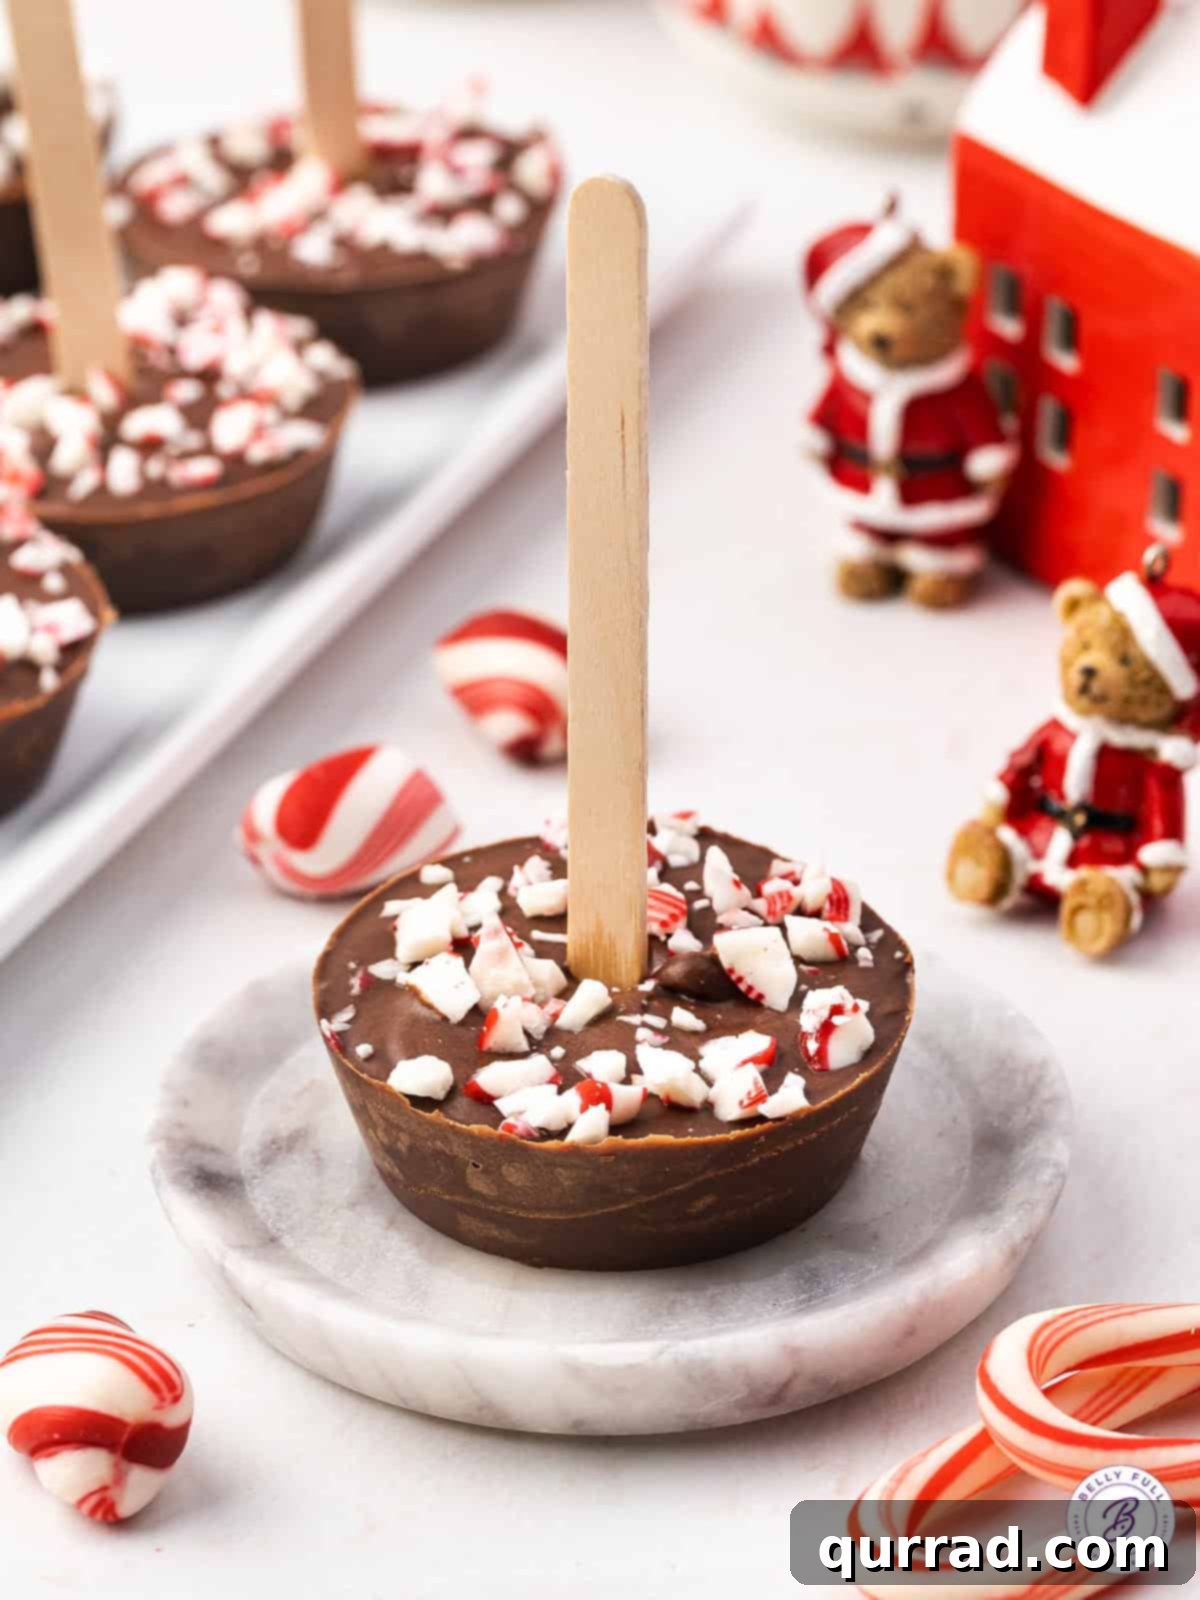
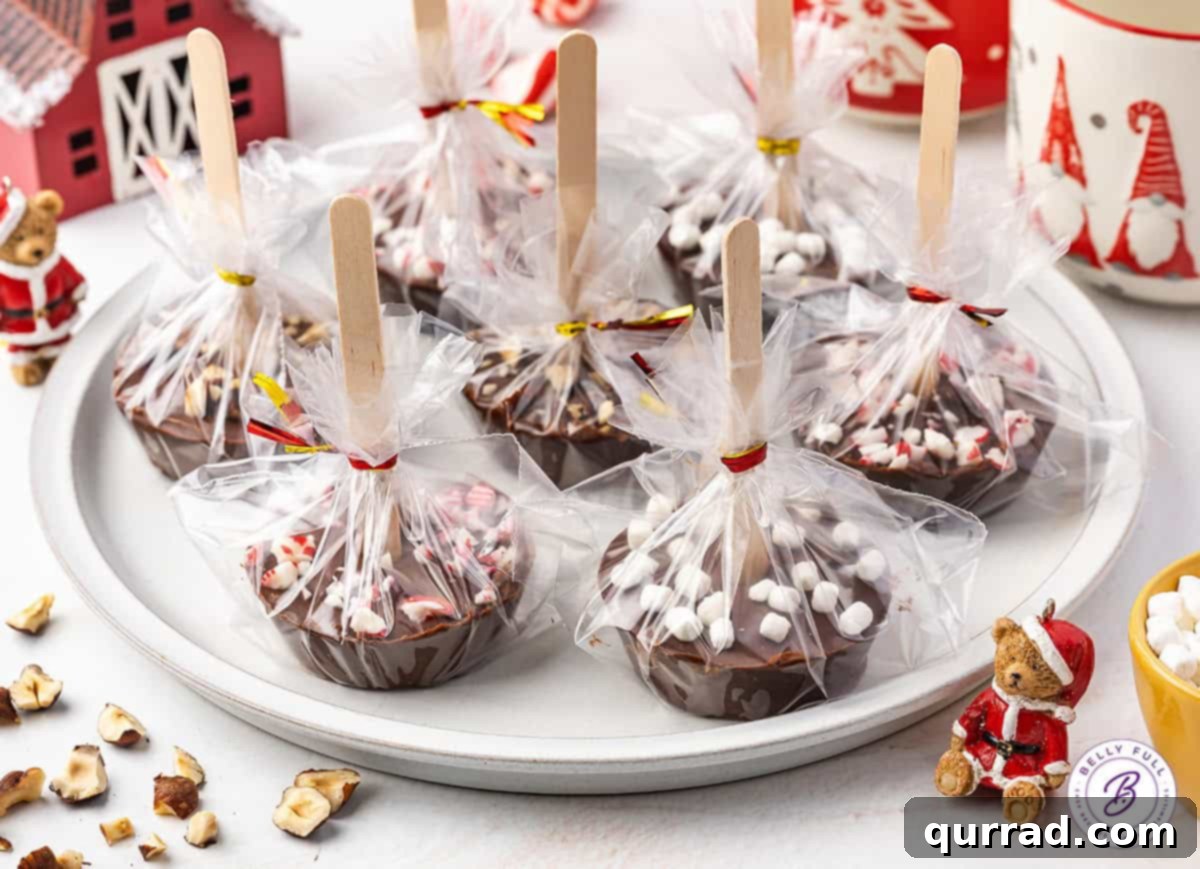
Who can resist the allure of a steaming mug of hot chocolate, perhaps alongside some hot cocoa cookies, when the weather turns cold? While my family and I adore enjoying these hot chocolate sticks ourselves, their gifting potential is what truly makes them special. Once hardened, these sticks can be individually wrapped in clear cellophane, adorned with a festive ribbon, and they are instantly transformed into a delightful present. They’re a guaranteed hit with everyone, from young children and teenagers to adults, making them a versatile gift for any age.
Another fantastic aspect of this recipe is the incredible room for customization. While I typically stick with semi-sweet chocolate when crafting gifts – its balanced sweetness appeals to a wide audience – these sticks are equally delicious with dark chocolate for a more intense flavor profile. The real fun, however, lies in experimenting with various toppings and mix-ins. The possibilities are truly endless, allowing you to tailor each batch to specific tastes and occasions.
For those eager to explore more creative ways to enjoy hot chocolate, be sure to check out my recipes for white hot chocolate bombs and slow cooker hot chocolate.
Why You’ll Love Making Hot Chocolate on a Stick
There are countless reasons why these delightful hot chocolate sticks have become a holiday staple and a year-round favorite. Here’s why you’ll fall in love with them:
- Effortlessly Indulgent: They deliver a rich, luxurious hot chocolate experience with minimal effort. Just stir into hot milk and enjoy!
- Simple to Prepare: With just a few basic ingredients and a straightforward process, even novice bakers can master this recipe.
- Perfect for Gifting: Homemade gifts are always cherished, and these hot chocolate sticks are particularly charming and unique. They show thoughtfulness and culinary flair.
- Highly Customizable: From different chocolate types to a vast array of toppings and flavor additions, you can truly make these your own.
- Less Mess: No dusty cocoa powder or messy syrup. Each stick is a self-contained serving of chocolate goodness.
- Ideal for Parties: Set up a hot milk bar with various hot chocolate sticks and toppings for an interactive and memorable gathering.
- Long Shelf Life: They store well in the fridge or freezer, allowing you to prepare them in advance.
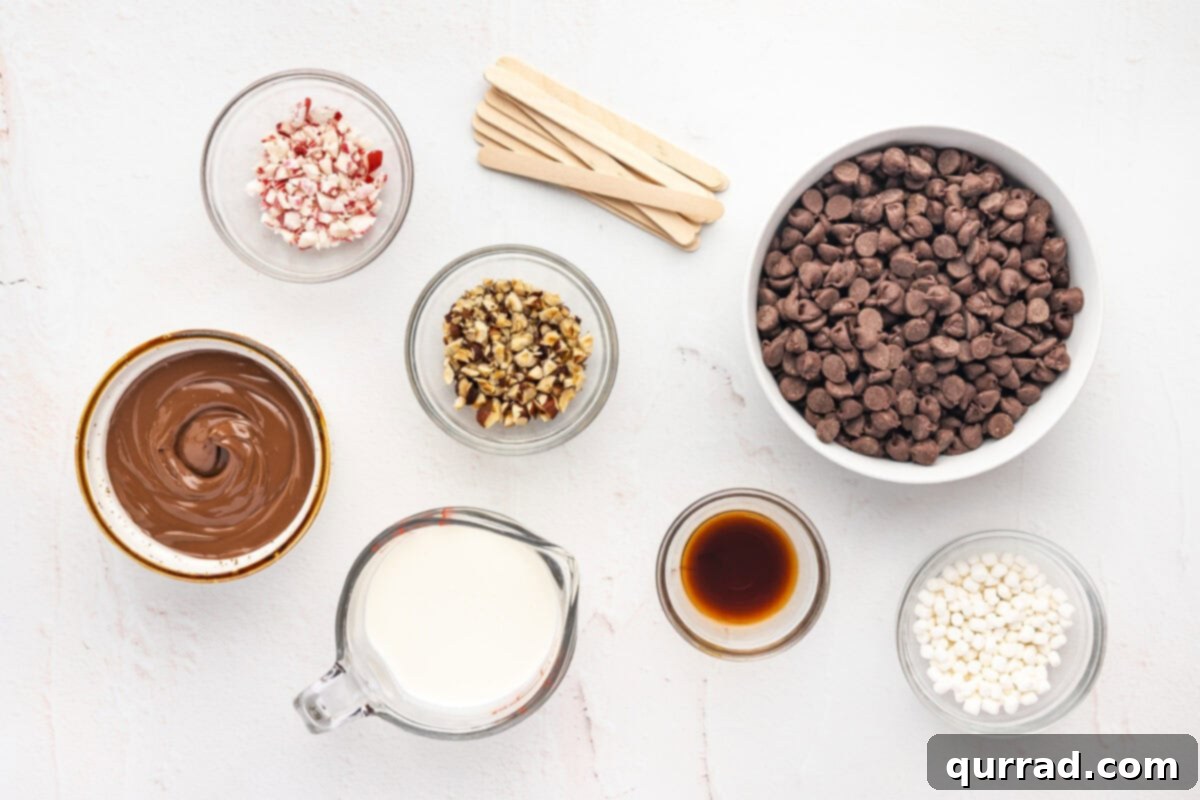
Essential Ingredients for Decadent Hot Cocoa Sticks
This delightful recipe requires only a handful of ingredients, plus a few optional toppings to elevate the experience. The quality of your ingredients directly impacts the final taste and texture, so choose wisely!
- Semi-sweet chocolate chips: The foundation of our hot chocolate. Opt for a high-quality brand like Ghirardelli or Guittard. Better chocolate means a smoother melt and richer flavor.
- Nutella: This chocolate-hazelnut spread is key for adding an extra layer of chocolatey depth and a wonderfully thick, creamy consistency that enhances the melt.
- Heavy cream: Crucial for achieving that perfectly smooth, luscious texture in your hot chocolate sticks, ensuring they dissolve beautifully when stirred into hot milk.
- Coconut oil: A small amount of coconut oil mixed with the melted chocolate helps it set properly and gives the finished sticks a lovely sheen. It also aids in easy melting.
- Vanilla extract: A dash of pure vanilla extract balances the intense chocolate flavors, adding a subtle warmth and aroma.
- Toppings: Get creative! I love using crushed hazelnuts, mini marshmallow bits, and crushed candy canes for a festive touch and varied textures.
- Popsicle sticks: Or any similar small wooden sticks, essential for holding and stirring your hot chocolate treat.
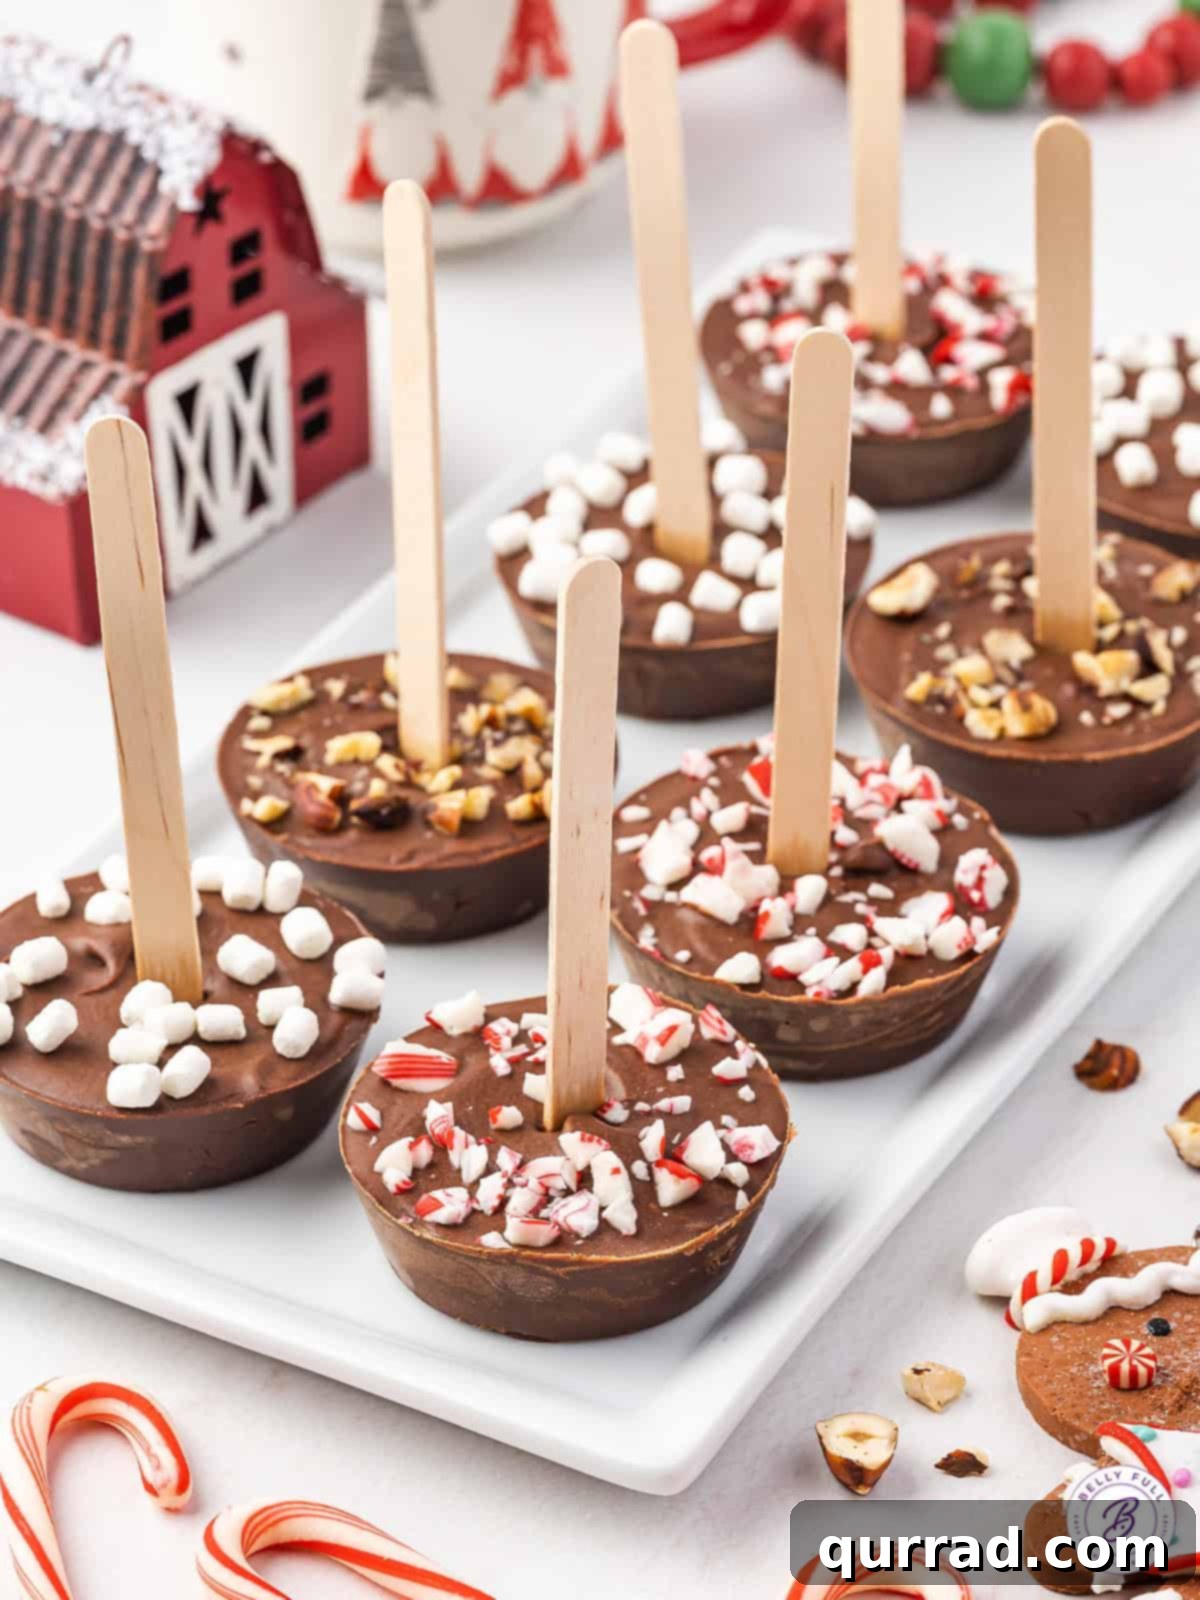
Unleashing Your Creativity: Flavor Variations & Topping Ideas
The beauty of Hot Chocolate on a Stick lies in its incredible versatility. Don’t hesitate to customize these treats to your heart’s desire, experimenting with different chocolates, spreads, and toppings to create unique flavor profiles.
Chocolate Choices
- Milk Chocolate: For a sweeter, creamier hot chocolate that’s a classic comfort.
- Dark Chocolate: If you prefer a richer, more intense cocoa flavor with less sweetness.
- White Chocolate: A delightful alternative for a creamy, vanilla-infused hot “cocoa” that forms a lovely base for fruit or nutty toppings.
- Flavored Chocolates: Consider using mint chocolate chips, orange-flavored chocolate, or even chili-infused chocolate for an adventurous twist.
Flavor Boosters & Spreads
- Swap out the Nutella: While Nutella is fantastic, you can replace it with other spreads. Try peanut butter, almond butter, Biscoff cookie butter, or even a different brand of chocolate hazelnut spread for varied tastes.
- Extracts: Add a few drops of peppermint extract for a festive kick, almond extract for a marzipan-like nuance, or even a hint of rum or coffee extract for adult versions.
- Spices: A pinch of cinnamon, nutmeg, or even a tiny dash of cayenne pepper can add warmth and complexity.
Topping Extravaganza
Toppings are where you can truly let your imagination run wild, adding texture, color, and extra flavor. Here are some ideas:
- Classic Combos: Mini marshmallows, crushed candy canes (peppermint), chocolate shavings, or a drizzle of caramel sauce.
- Nutty Delights: Chopped peanuts, almonds, walnuts, pecans, or toasted coconut flakes.
- Sweet & Salty: A sprinkle of flaky sea salt on top of caramel or plain chocolate.
- Fruity Touches: Dried cranberry bits or finely chopped dried orange peel for a sophisticated twist.
- Extra Indulgence: Mini chocolate chips, white chocolate chips, butterscotch chips, or tiny sprinkles.
- Seasonal Flair: Holiday sprinkles, edible glitter, or small candied ginger pieces.
Essential Equipment & Smart Substitutions
Having the right tools makes the process even smoother, but don’t worry if you don’t have specialized equipment. There are always great alternatives!
Molds for Hot Chocolate Sticks
I find a 12-cup silicone muffin mold to be ideal for this recipe. Its size is perfect for individual servings, and the flexible silicone makes unmolding a breeze.
- Silicone Muffin Molds: The best choice for their non-stick properties and flexibility, ensuring your hot chocolate sticks pop out perfectly intact.
- Ice Cube Trays: Don’t have silicone molds? A standard ice cube tray works just as well! It produces smaller sticks, which might be perfect for kids or for a less intense hot chocolate.
- Small Paper Cups: Budget-friendly and readily available. If using paper cups, remember to lightly grease them with a bit of cooking spray or oil before filling. This ensures the chocolate doesn’t stick when you peel away the paper.
- Specialty Molds: For special occasions, consider using silicone molds with festive shapes (hearts, stars, holiday figures) for an extra touch of charm.
Crafting Your Perfect Hot Chocolate Sticks: A Step-by-Step Guide
Making these gourmet hot chocolate sticks is a simple and rewarding process. Follow these steps for perfect results every time:
- Prepare Your Molds: Lightly grease a 12-cup silicone muffin mold with a tiny bit of neutral oil or cooking spray. This tiny step ensures your finished hot chocolate sticks release effortlessly.
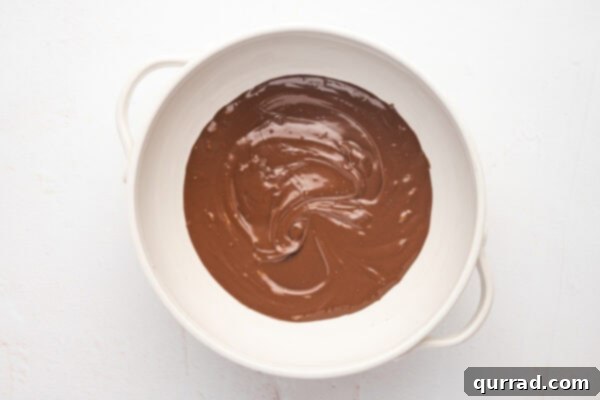
- Melt the Chocolate: In a clean, dry, microwave-safe bowl, melt 12 ounces of semi-sweet chocolate chips. Heat in short 30-second intervals, stirring thoroughly after each interval, until the chocolate is completely smooth and melted. Alternatively, use a double boiler for a gentler melting process, ensuring no water touches the chocolate.
-

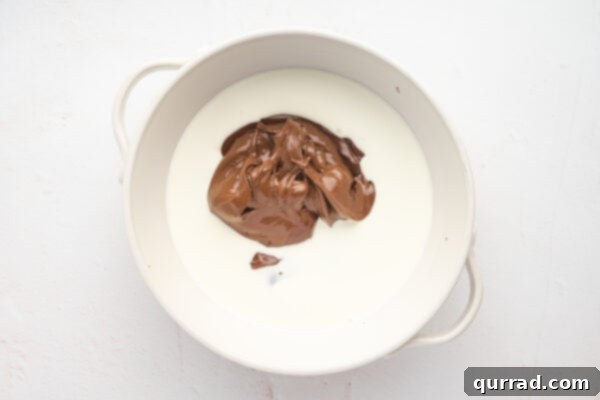
Mix in the Magic: Into the melted chocolate, stir in 1 cup of Nutella and 3/4 cup of heavy cream. Mix until the mixture is well combined and beautifully creamy. Next, add 1 tablespoon of coconut oil and 1 & 1/2 teaspoons of vanilla extract, mixing until everything is fully incorporated. Remove the bowl from the heat if using a double boiler.
-
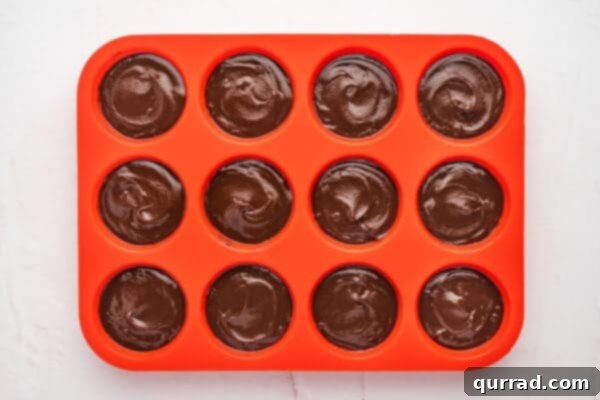
Fill the Molds: Spoon the rich chocolate-Nutella mixture evenly into the 12 muffin mold cups. Aim to fill each cup about 3/4 full, leaving a little space for the toppings and stick.
-
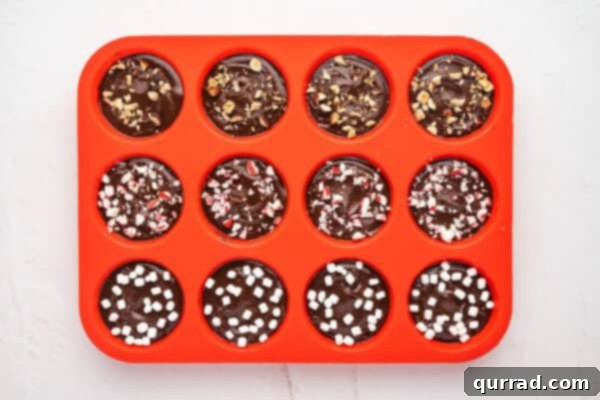
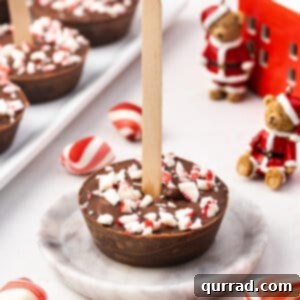
Decorate with Toppings: Immediately after filling, sprinkle about a tablespoon of your chosen toppings onto the top of each cup. For variety, I suggest using crushed hazelnuts, marshmallow bits, and crushed peppermint candies. Press them gently into the chocolate so they adhere.
-
Insert the Sticks: Carefully place a wooden stick into the center of each filled muffin cup, pushing it down about halfway. Ensure the stick stands upright.
- Chill to Perfection: Transfer the muffin mold to the refrigerator and let it chill for 2-3 hours, or until the chocolate mixture is completely firm and set. This is crucial for easy unmolding.
-
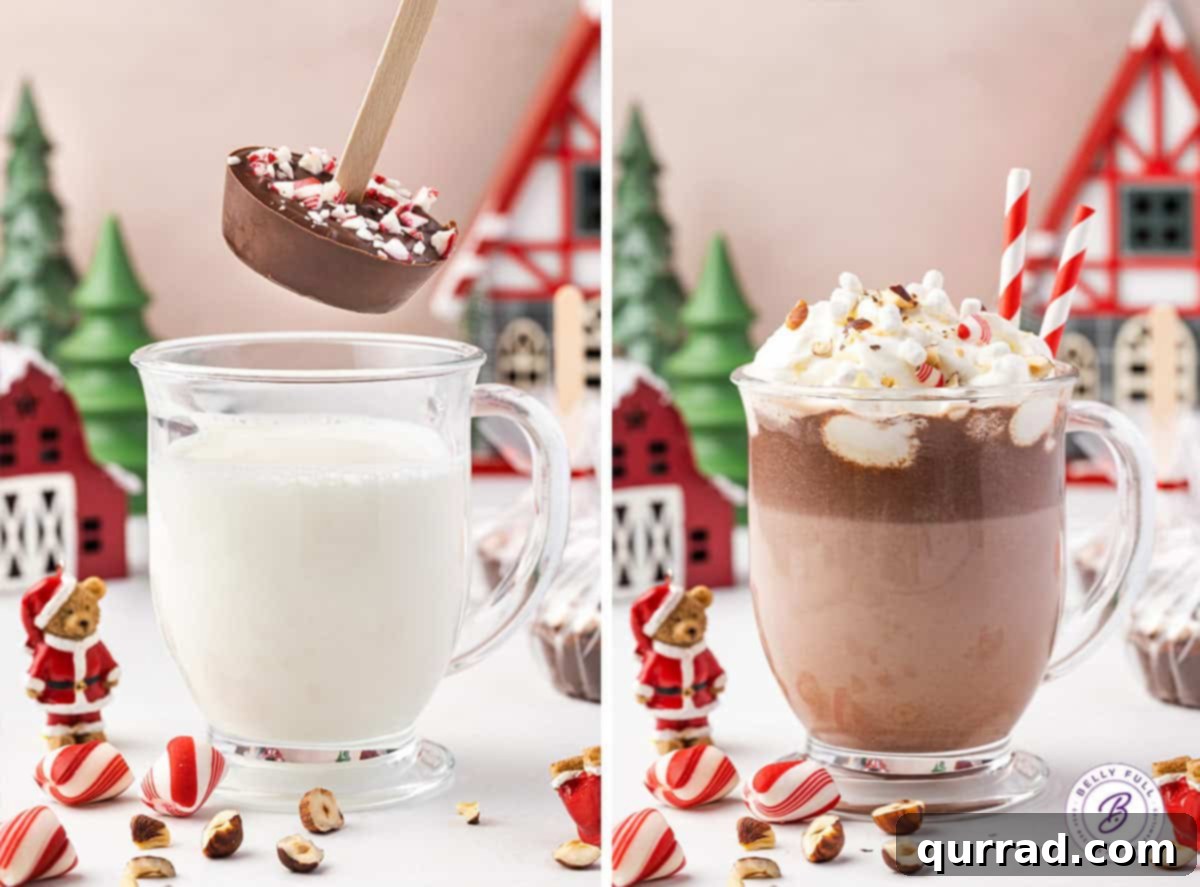
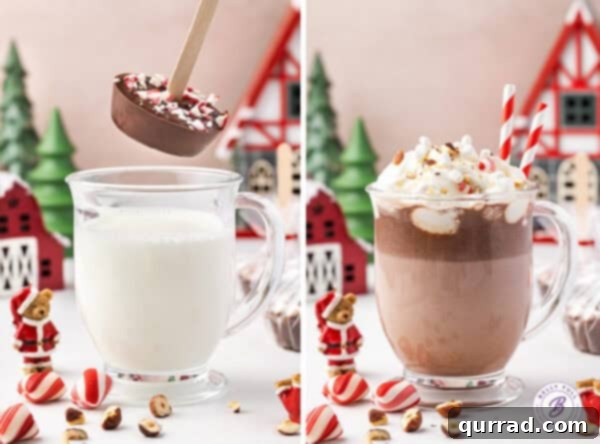
Unmold and Enjoy: Once set, carefully pop the hot chocolate sticks out of the silicone muffin mold. To enjoy, simply place one stick into an 8-ounce mug of hot milk (or your preferred milk alternative) and stir gently until the chocolate melts completely, transforming it into a luxurious hot chocolate.
-
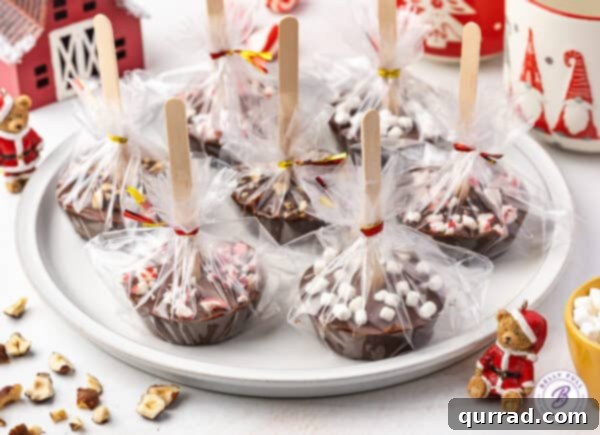
For Gifting: For a thoughtful homemade gift, wrap each individual hot chocolate stick in clear cellophane and tie it with a festive ribbon. These make a wonderful present for the holidays or any special occasion.
Gifting & Presentation: Sharing the Hot Chocolate Joy
Hot chocolate on a stick isn’t just a treat; it’s an experience waiting to be shared. They make exceptionally charming edible gifts, especially during the festive holiday season.
- Individual Wrapping: I love wrapping each hot chocolate stick in clear cellophane, tying it off with a fun, festive ribbon. This not only makes them visually appealing but also keeps them fresh.
- Include Instructions: To ensure the recipient enjoys their gift to the fullest, I always recommend including a small tag with simple instructions for serving. This might include how much milk to use and tips for optimal melting.
- Curated Gift Baskets: Elevate your gift by creating a hot chocolate themed basket. Pair the sticks with a beautiful mug, a selection of gourmet teas or coffees, a small bag of mini marshmallows, or even a cozy pair of socks.
- Party Favors: They also make fantastic party favors for winter gatherings, birthdays, or baby showers.
Serving Suggestions: Brewing the Perfect Mug
The beauty of Hot Chocolate on a Stick lies in its simplicity. Here are some tips for brewing the perfect mug:
- Milk Matters: One stick typically works best with 8-10 ounces of hot milk. You can adjust the amount of milk for a stronger or lighter hot chocolate.
- Dairy Milk: Whole milk offers the richest, creamiest result, but 2% or skim milk work well too.
- Plant-Based Alternatives: They are wonderfully delicious in almond milk, oat milk, soy milk, or any other milk alternative you prefer. Each will lend a slightly different flavor profile.
- Temperature is Key: Heat your milk until it’s steaming hot, but not boiling. Boiling milk can scald and affect the flavor.
- The Melting Method: For the smoothest, most luxurious hot chocolate, I recommend letting the hot chocolate stick sit in the hot milk for about a minute or so before you start stirring. This allows the chocolate to begin melting and soften, making it easier to whisk into a creamy consistency.
Storing Your Delightful Hot Chocolate Sticks
Proper storage is essential to keep your homemade hot chocolate sticks fresh and ready to enjoy.
- Fridge Storage: Due to their lower melting temperature, these hot chocolate sticks are best stored in the refrigerator. Place them in an airtight container, and they will remain fresh and delicious for up to 2 weeks.
- Freezer Storage: For longer preservation, you can also freeze these treats. Store them in an airtight, freezer-safe container for up to a month. If you plan to gift them, remember to freeze them before wrapping them individually in cellophane. When ready to use, you can either let them thaw slightly in the fridge or use them directly from the freezer, though they might take a little longer to melt in hot milk.
- Prevent Melting: Always keep them away from direct sunlight or warm environments to prevent premature melting.
Hot Chocolate on a Stick Recipe Card
Made with semi-sweet chocolate, Nutella, and heavy cream, Hot Chocolate on a Stick is a fun way to enjoy a rich, indulgent mug of hot cocoa. They make an easy edible gift too!
Hot Chocolate on a Stick
Pin
Equipment
- Wooden sticks / Popsicle sticks
- Silicone muffin mold
Ingredients
- 12 ounces semi-sweet chocolate chips
- 1 cup Nutella
- 3/4 cup heavy cream
- 1 & 1/2 teaspoons vanilla extract
- 1 tablespoon coconut oil
- 1/4 cup hazelnuts, crushed (for topping)
- 1/4 cup marshmallows bits (for topping)
- 1/4 cup mint candy, crushed (for topping)
Instructions
- Lightly grease a 12-cup silicone muffin mold with a bit of oil or cooking spray to ensure easy removal.
- In a clean dry microwave-safe bowl or using a double boiler, melt 12 ounces semi-sweet chocolate in 30-second intervals, stirring until smooth and fully melted.
- Stir 1 cup Nutella and 3/4 cup heavy cream into the melted chocolate until well combined and creamy. Add 1 tablespoon coconut oil and 1 & 1/2 teaspoons vanilla extract and mix until fully incorporated. Remove from the heat.
- Spoon the chocolate-Nutella mixture evenly into the 12 muffin mold cups, filling each cup about 3/4 full.
- Sprinkle a tablespoon of crushed hazelnuts, marshmallow bits, and crushed peppermint candies on top of each cup for variety.
- Place a wooden stick into the center of each filled muffin cup, making sure it stands upright.
- Place the muffin mold in the refrigerator for 2-3 hours or until the chocolate mixture is fully set.
- Carefully pop the chocolate sticks out of the muffin mold. To enjoy, stir one stick into an 8-ounce mug of hot milk until the chocolate melts, to make hot chocolate.
- For gifting, wrap individuals in cellophane and tie them with a ribbon for a lovely homemade gift during the holidays or special occasions.
Notes
- Substitutions: Semi-sweet chocolate is used for a balanced sweetness, but you can substitute with milk or dark chocolate for different flavor variations. The Nutella can be swapped with peanut butter, almond butter, or cookie butter for a different flavor profile.
- Different size molds: A 12-cup silicone muffin mold works well for this recipe, but smaller or larger molds can be used depending on the desired portion size. Ice cube trays work fine too if you don’t have a silicone mold.
- Using in hot milk: For best results, let the hot chocolate stick sit in the hot milk for a minute before stirring to allow the chocolate to melt more smoothly.
Nutrition
Carbohydrates: 36g |
Protein: 4g |
Fat: 25g |
Saturated Fat: 17g |
Polyunsaturated Fat: 1g |
Monounsaturated Fat: 6g |
Trans Fat: 0.02g |
Cholesterol: 19mg |
Sodium: 18mg |
Potassium: 294mg |
Fiber: 4g |
Sugar: 28g |
Vitamin A: 234IU |
Vitamin C: 0.2mg |
Calcium: 57mg |
Iron: 3mg
Nutritional information given is an automatic calculation and can vary based on the exact products you use and any changes you make to the recipe. If these numbers are very important to you, I would recommend calculating them yourself.
I hope you love this delicious and easy recipe! It’s a truly delightful way to elevate your hot chocolate experience and create memorable moments, whether you’re enjoying it yourself or sharing it as a thoughtful gift.