
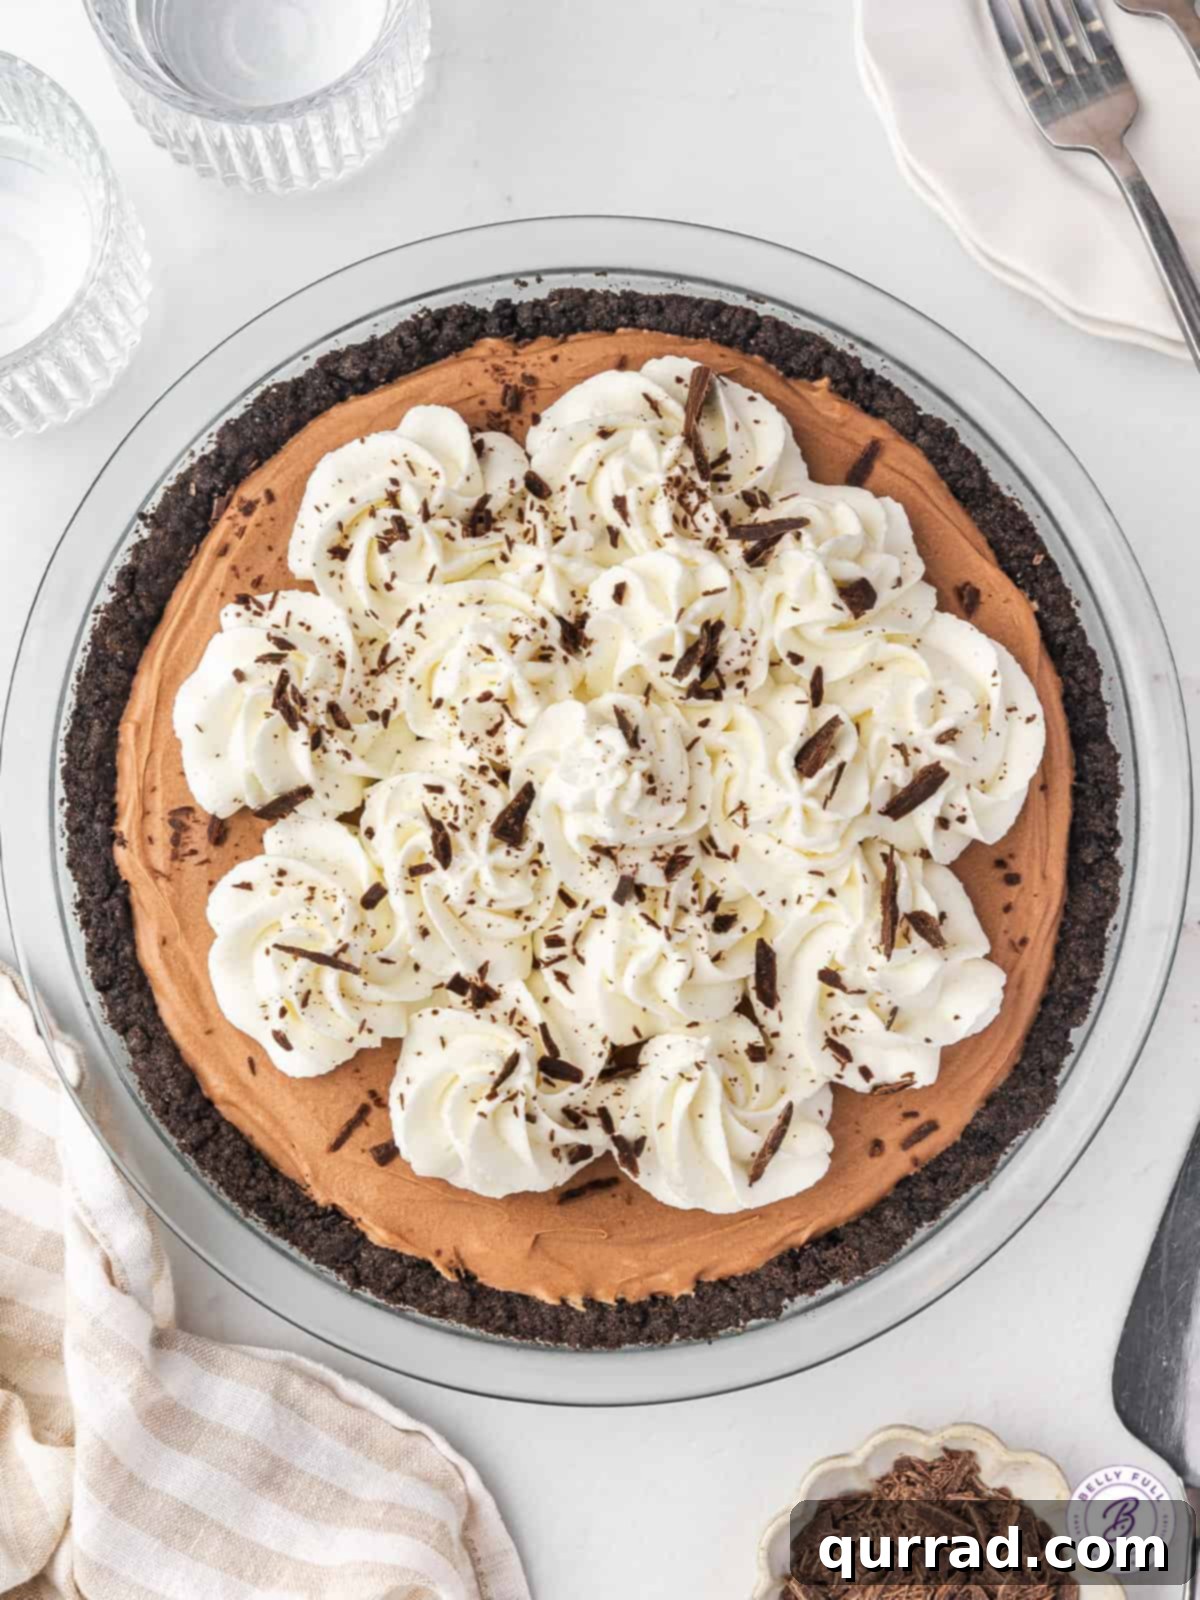
This holiday season, transcend the ordinary and delight your loved ones with an extraordinary dessert that’s both simple to prepare and utterly irresistible: my easy, no-bake French Silk Pie. Forget the frozen aisles; this homemade masterpiece promises a symphony of textures and flavors that will leave everyone craving another slice. Imagine a lusciously smooth, intensely chocolatey filling, securely nestled within a crisp, buttery Oreo cookie crust, all crowned with a cloud of freshly whipped cream. What makes this recipe truly special is its entirely egg-free composition, ensuring that everyone, including the youngest family members and those with dietary concerns, can indulge without a single worry.
This show-stopping dessert comes together surprisingly quickly, proving that elegance doesn’t always demand hours in the kitchen. Its straightforward steps and accessible ingredients make it a perfect project for any home baker, whether you’re a seasoned pro or just beginning your culinary journey. Get ready to impress and create cherished memories with every decadent bite of this family-favorite French Silk Pie.
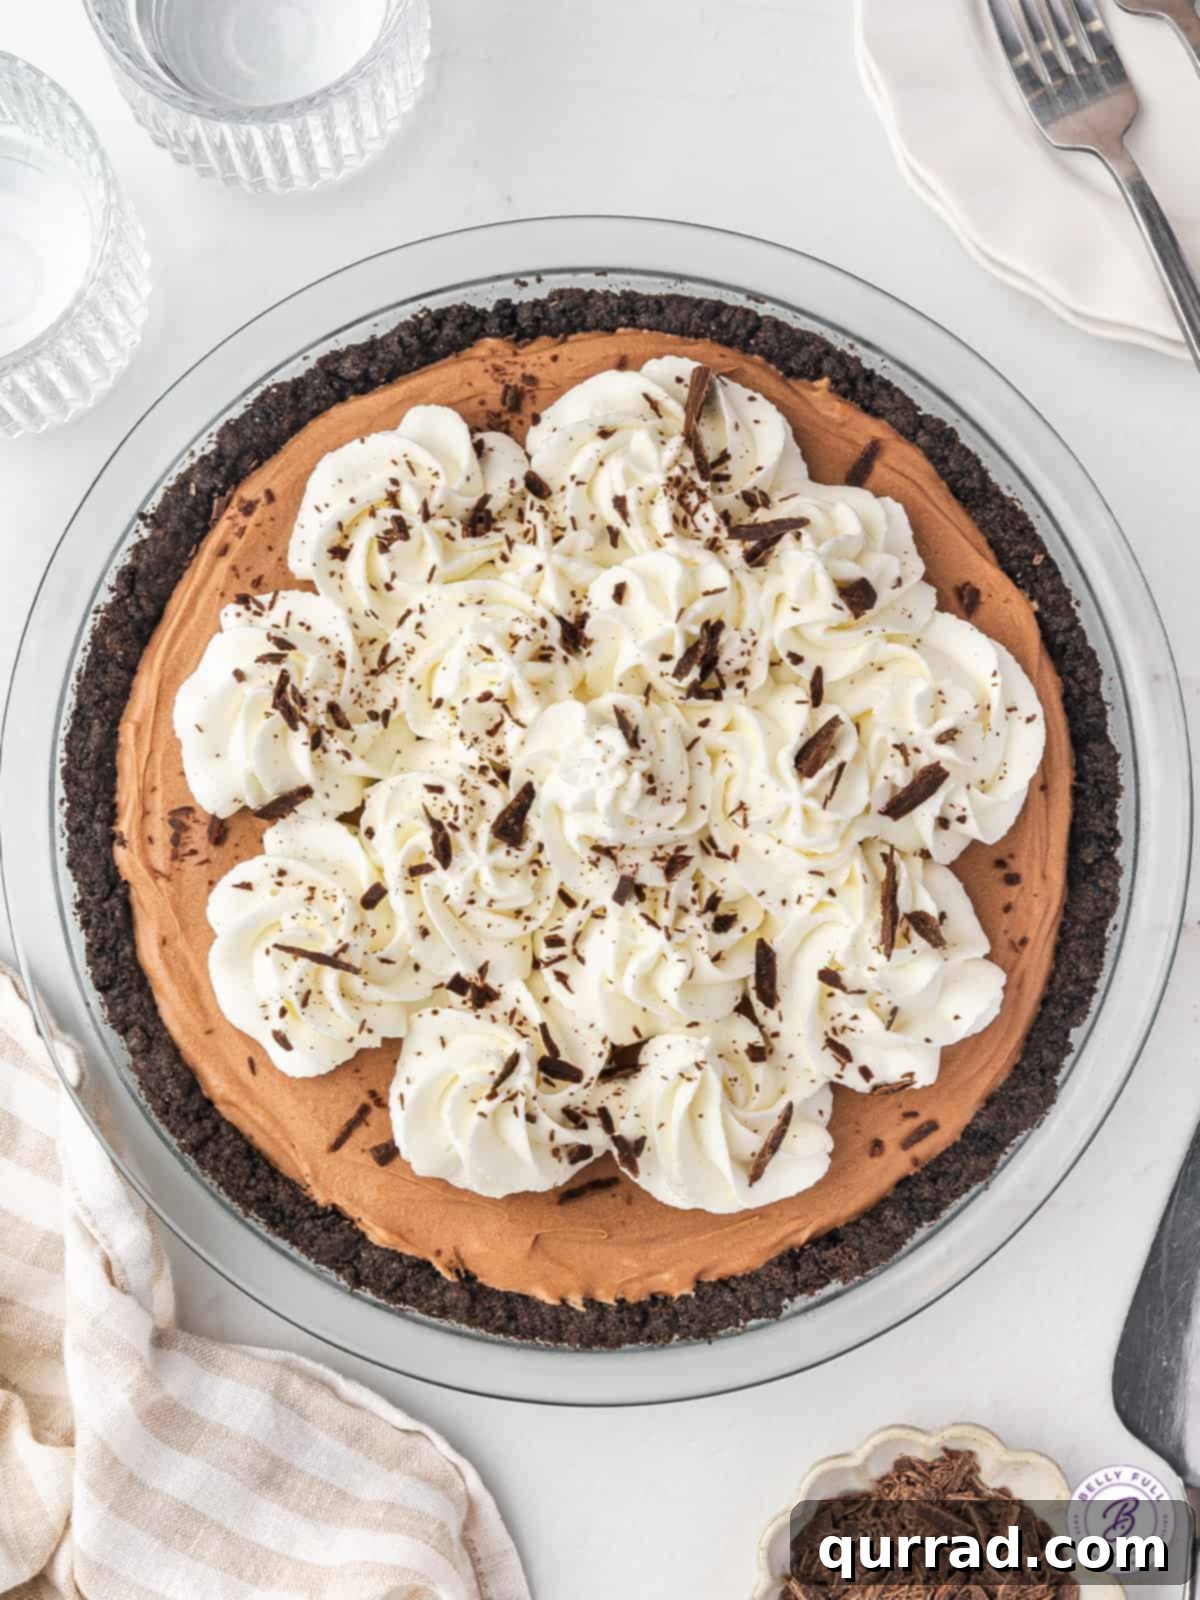
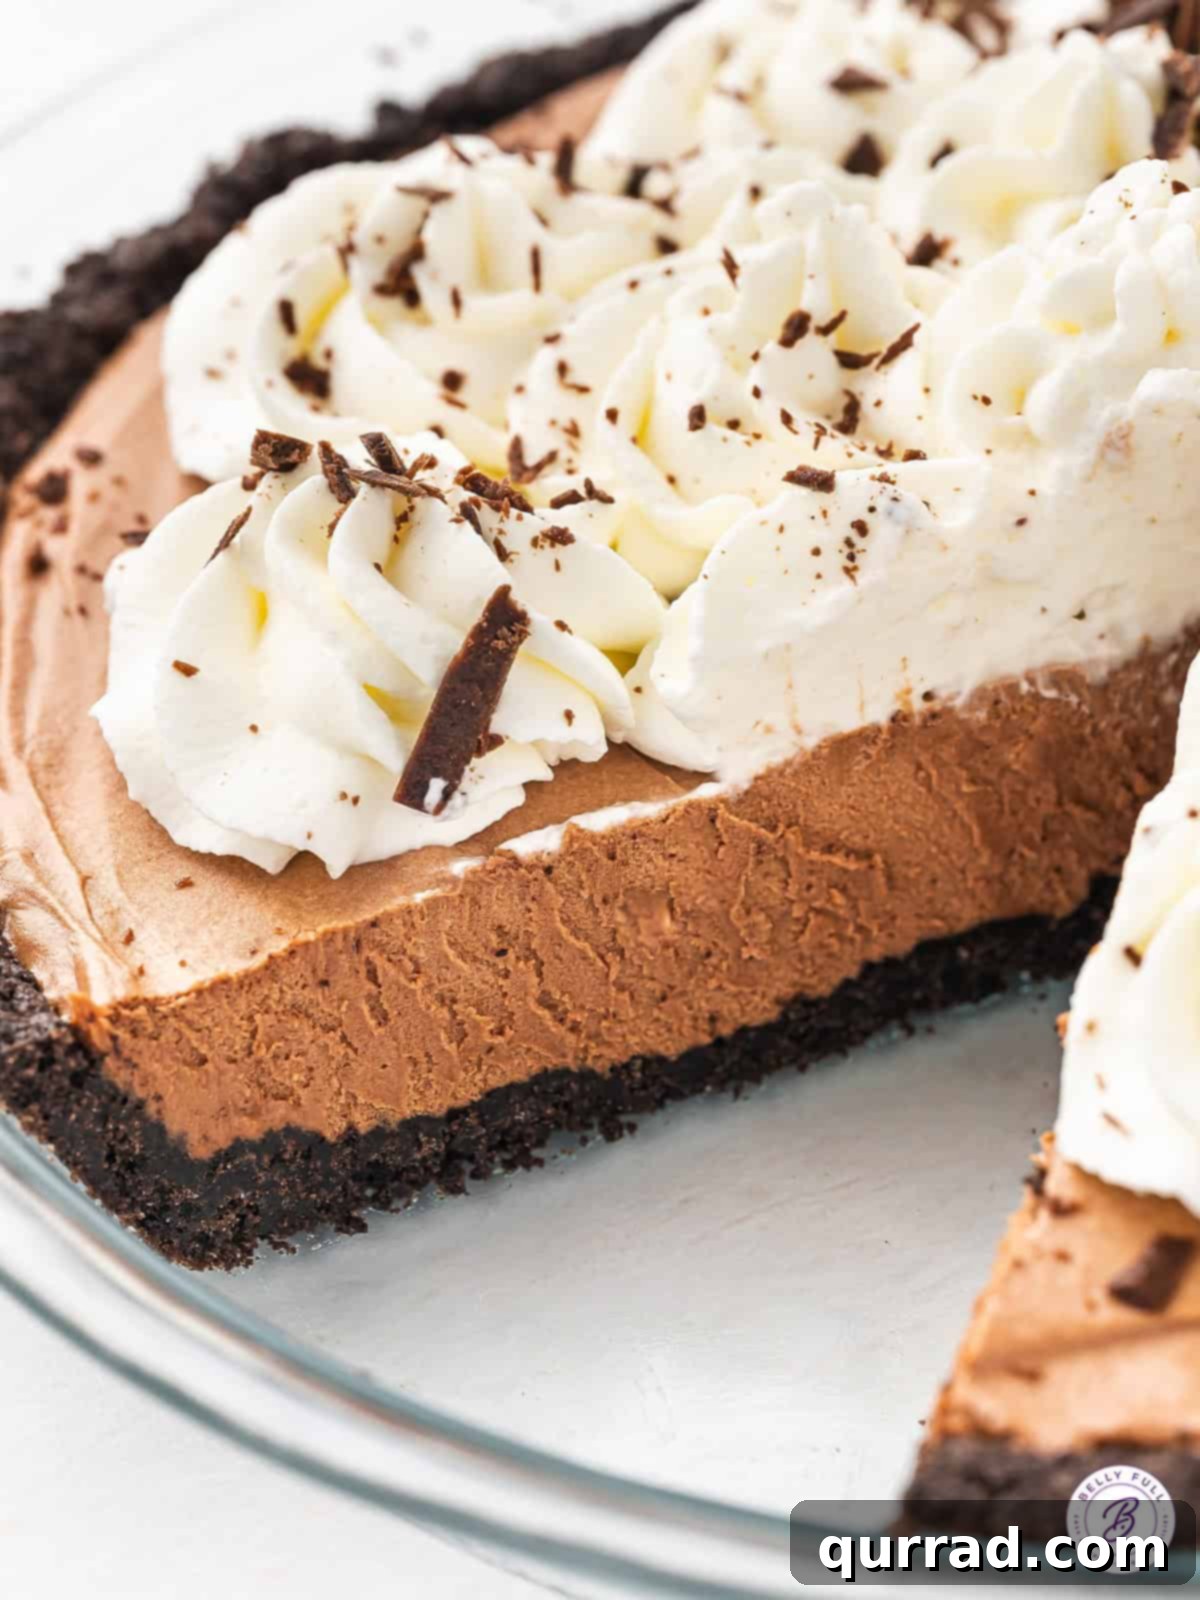
French silk pie is more than just a dessert; it’s an experience. Each spoonful delivers a rich, dark chocolate flavor that is deep and indulgent, yet surprisingly light and airy, melting effortlessly on your tongue. The secret to its signature texture in this recipe lies in the masterful blend of smooth cream cheese and rich butter, whipped to perfection before incorporating powdered sugar, heavy cream, and premium chocolate.
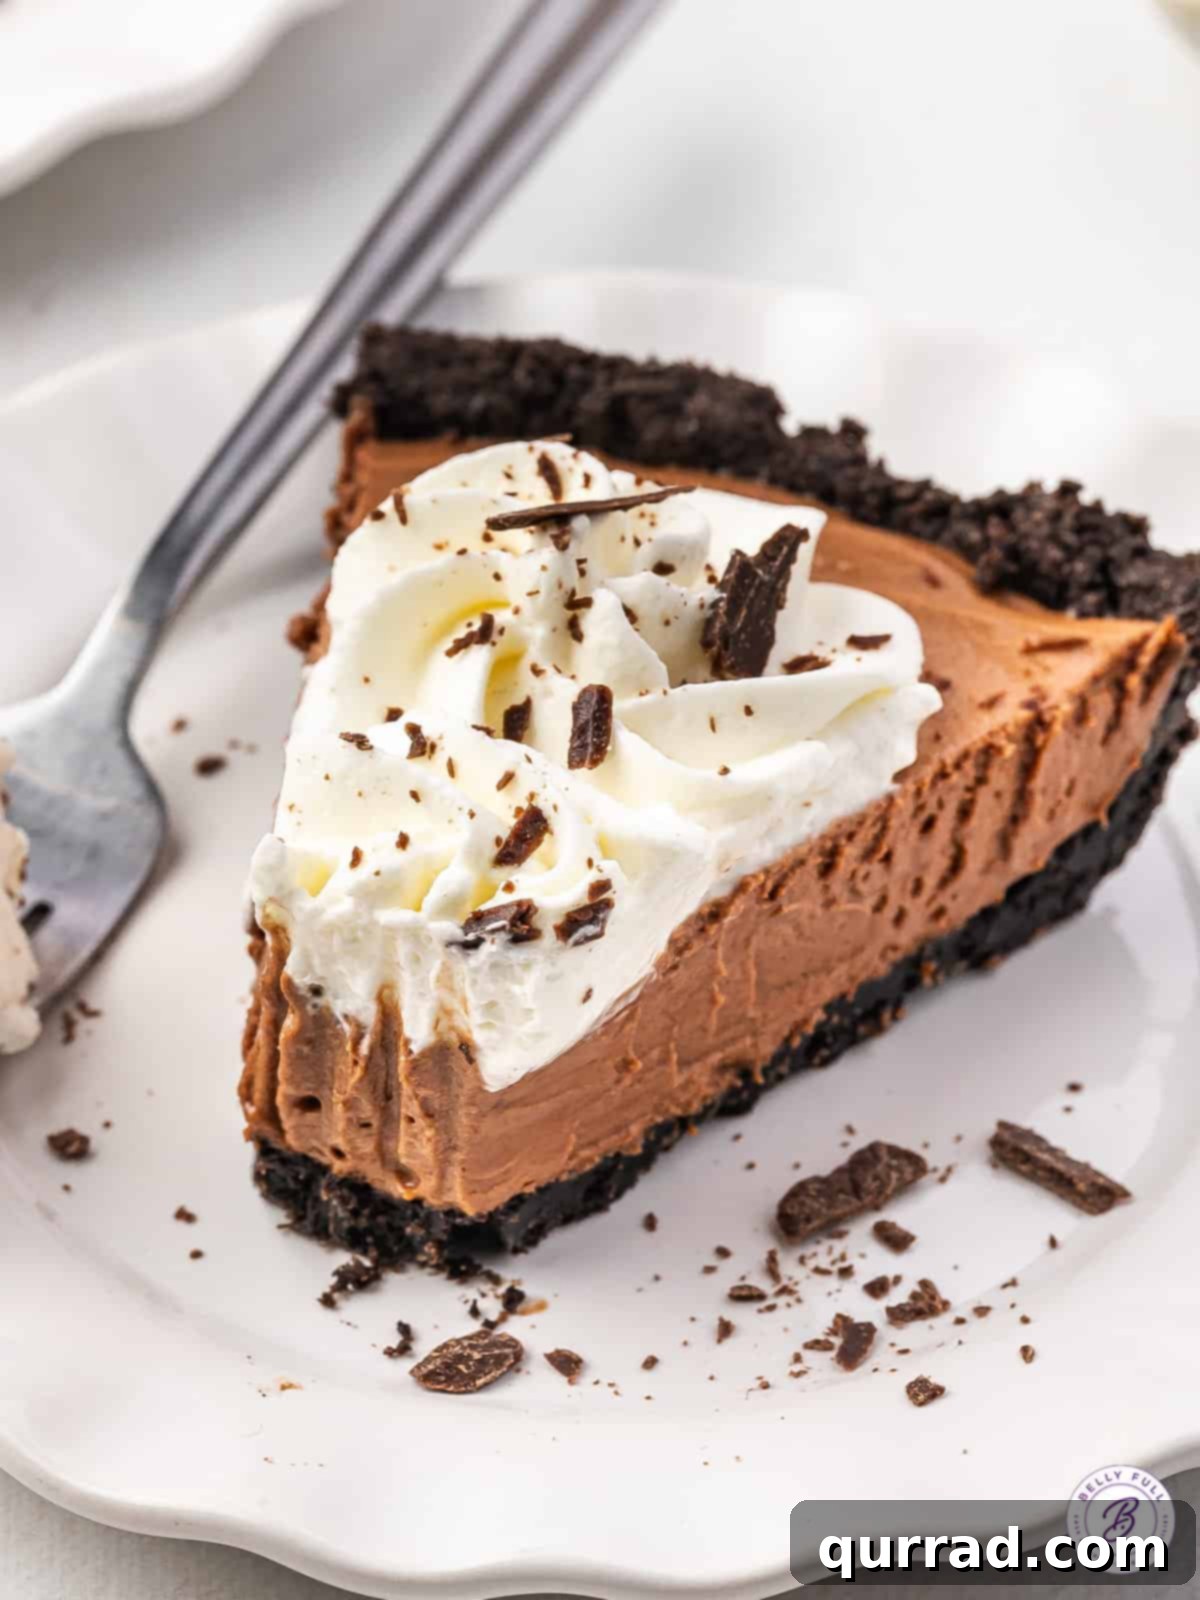
This heavenly filling rests upon a foundation of a perfectly blended Oreo and butter crust, providing a delightful contrast of crunch to the silky interior. The entire creation is then elegantly finished with a generous layer of homemade whipped cream and delicate shavings of dark chocolate, adding both visual appeal and an extra layer of decadence. If you’re a fan of our popular chocolate mousse pie, you’ll undoubtedly fall in love with the effortless elegance and profound chocolatey goodness of this French Silk Pie.
The Core Elements of Our No-Bake French Silk Pie
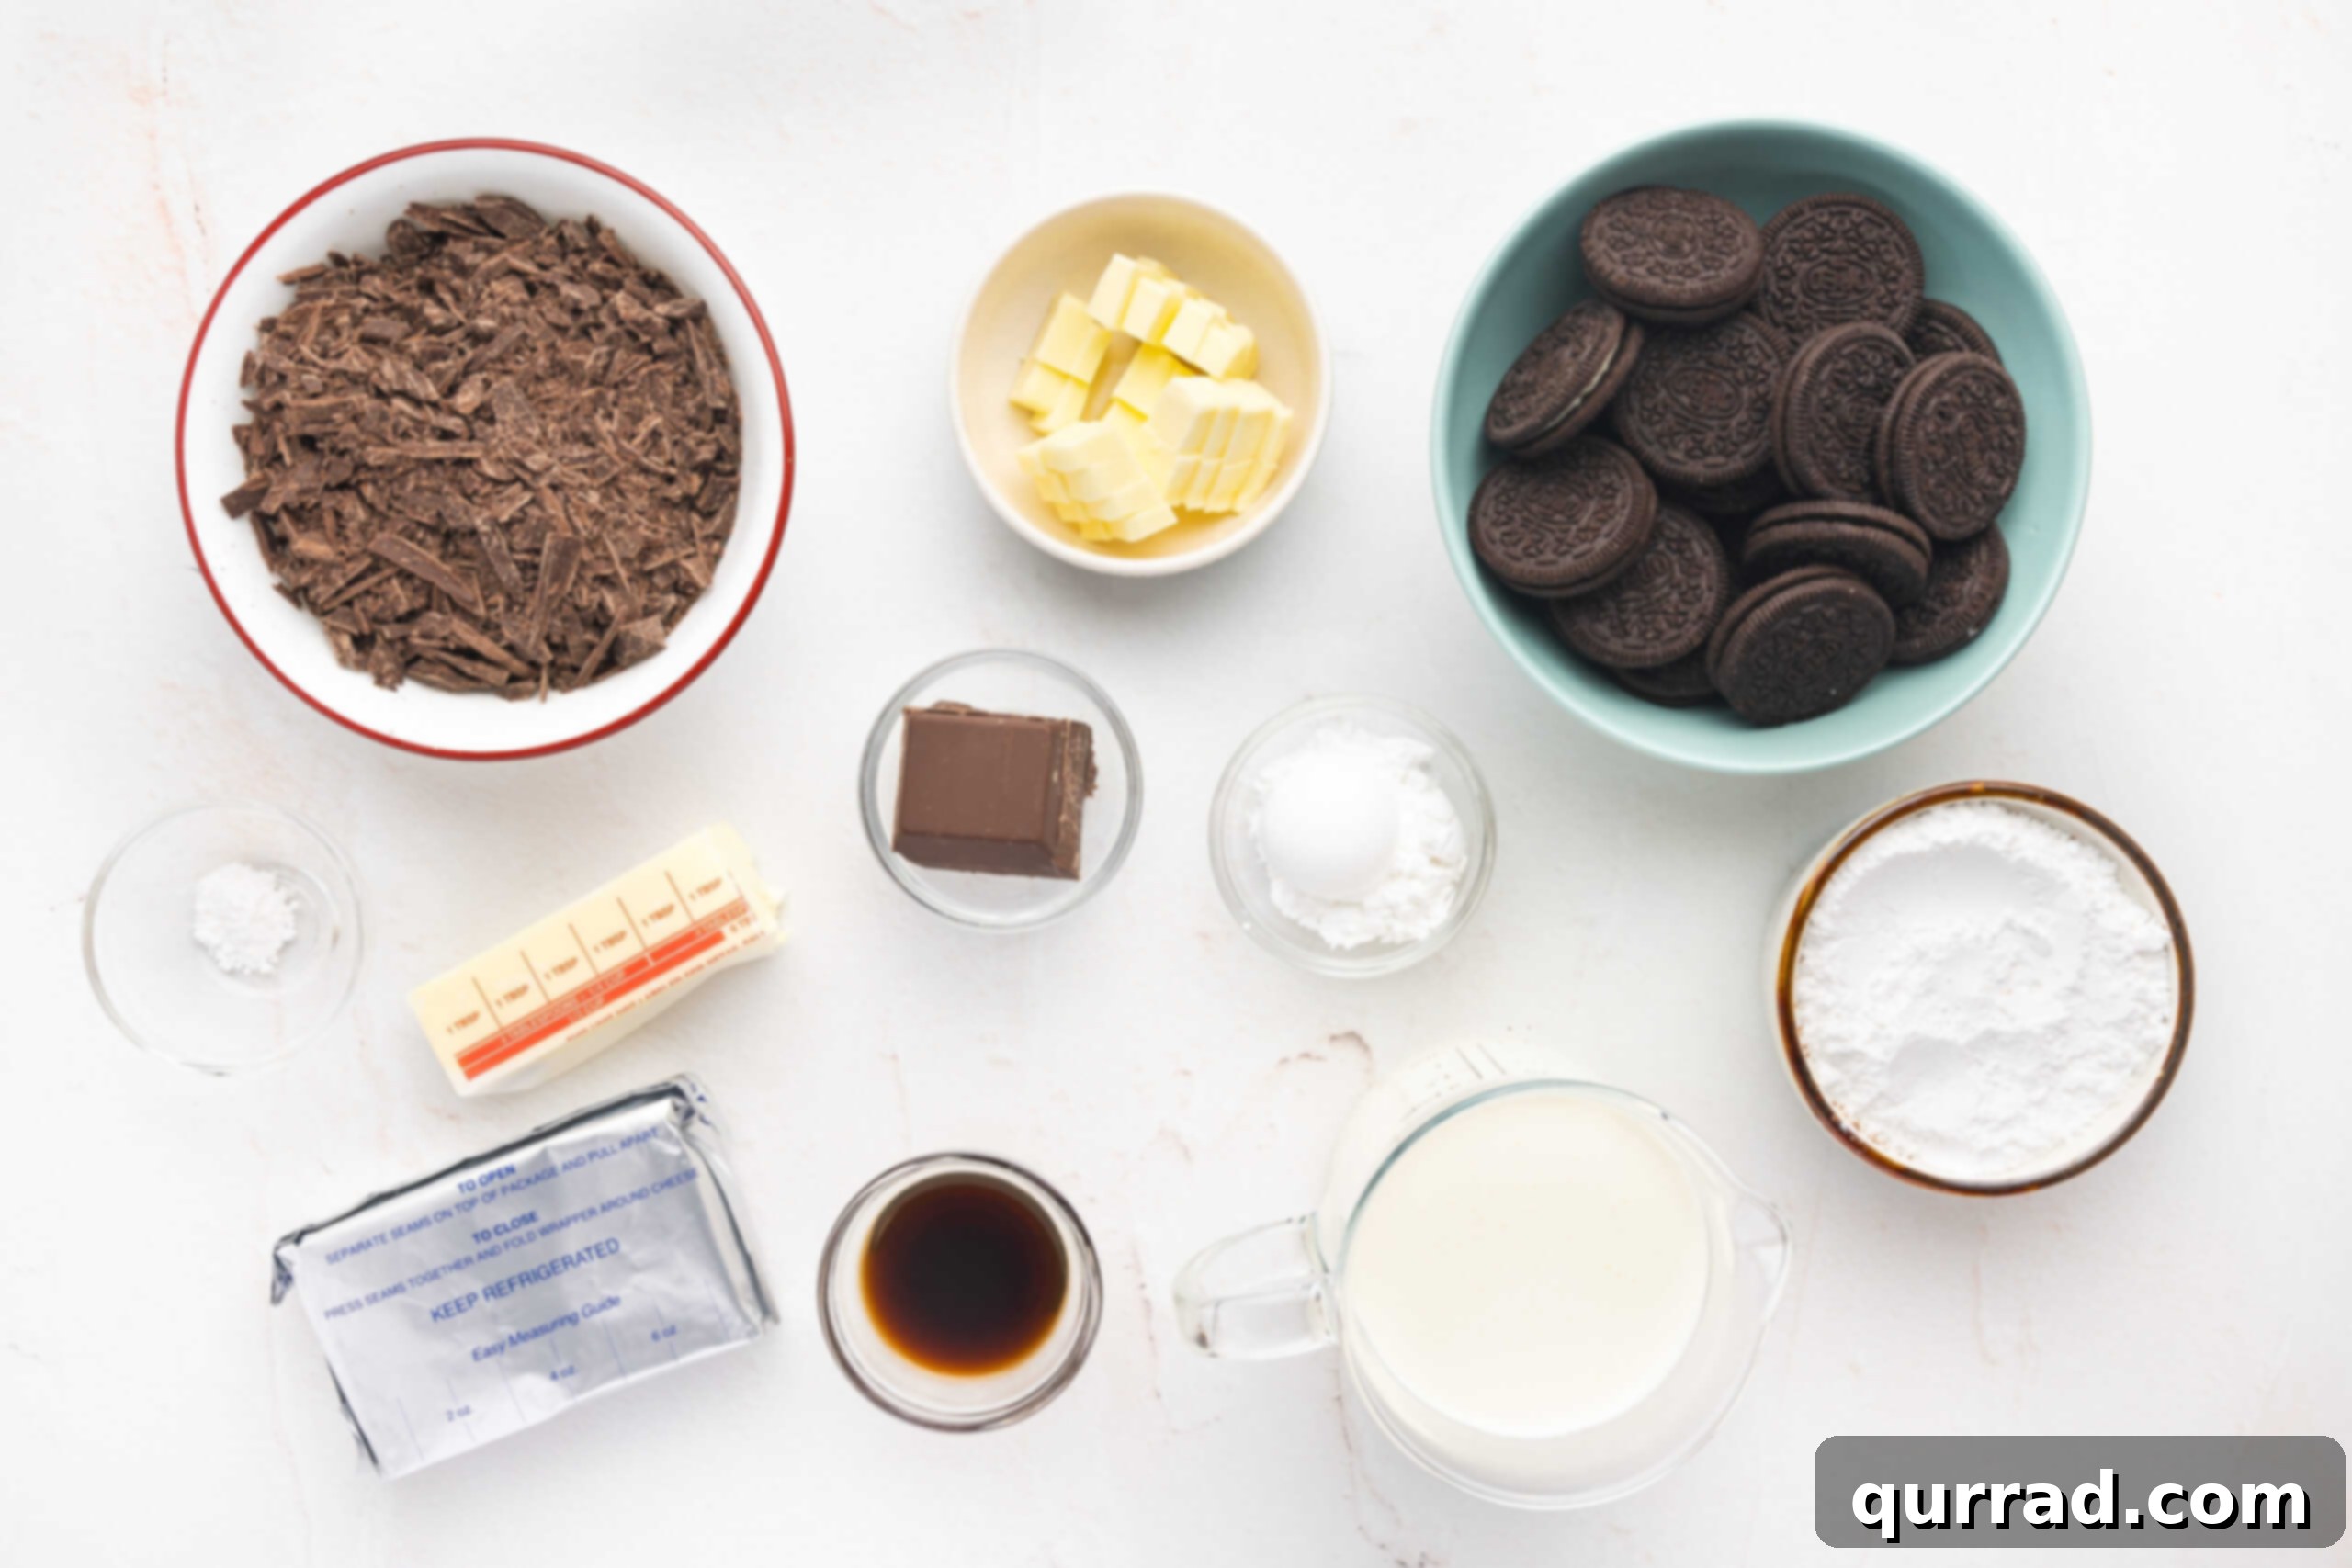
Crafting this exquisite French silk pie requires a selection of quality ingredients, each playing a crucial role in achieving its signature taste and texture. Below is a detailed breakdown of what you’ll need. For precise quantities, remember to check the comprehensive recipe card at the bottom of this page.
- Oreos: These classic chocolate sandwich cookies form the foundation of our crust, infusing it with an additional layer of deep chocolate flavor that perfectly complements the filling. We use the entire cookie, including the creamy filling, to create a rich, buttery, and satisfyingly crunchy base.
- Salted & Unsalted Butter: Butter is essential in two distinct ways for this pie. Salted butter is combined with the crushed Oreos to create a flavorful and sturdy crust, enhancing the overall depth of taste. Unsalted butter, on the other hand, contributes to the luscious richness and smooth texture of the filling. For optimal results, ensure your unsalted butter is at room temperature before incorporating it into the filling mixture, allowing for effortless blending.
- Cream Cheese: A true game-changer in our egg-free recipe, cream cheese provides the necessary stability and an incredible creaminess to the pie filling. When whipped with heavy cream, it creates a light yet substantial texture that mimics traditional French silk pie without the need for raw eggs. Always use room temperature cream cheese for a smooth, lump-free mixture that whips up beautifully.
- Heavy Cream: This dairy darling is vital for both the filling and the topping. In the filling, whipped heavy cream contributes to that ethereal, melt-in-your-mouth texture, making it delightfully light despite its richness. For the topping, it transforms into a fluffy, homemade whipped cream, offering a perfect, airy counterpoint to the dense chocolate layer.
- Powdered Sugar: We exclusively use powdered sugar (confectioners’ sugar) in this recipe, as its fine texture dissolves seamlessly into the filling. This creates an unbelievably smooth and truly “silky” consistency, which is paramount for a French silk pie, unlike granulated sugar which can sometimes leave a grainy mouthfeel.
- Semi-Sweet Baking Chocolate: For the most authentic and indulgent chocolate flavor, always opt for high-quality semi-sweet baking chocolate bars rather than chocolate chips. Baking chocolate melts more smoothly and evenly, yielding a superior texture and richer taste in your filling. Additionally, reserving a small portion to grate over the finished pie adds a sophisticated garnish and an extra burst of chocolatey goodness.
- Vanilla Extract: A touch of pure vanilla extract is indispensable in any chocolate dessert. It doesn’t just add its own sweet aroma; it also enhances and deepens the complex flavors of the chocolate, bringing all the ingredients into perfect harmony.
- Whipped Cream: A generous topping of freshly whipped cream is non-negotiable for an authentic French Silk Pie experience. It provides a delightful creamy contrast to the rich chocolate filling, both in taste and texture. For the ultimate freshness and flavor, I highly recommend preparing homemade whipped cream. You can follow Amy’s excellent homemade whipped cream recipe, keeping in mind that I personally omitted the optional cream of tartar in my preparation, though it’s a great option for added stability.
Customizing Your French Silk Pie Experience
While the classic Oreo crust is my absolute favorite for this French Silk Pie, offering a deep chocolate flavor and satisfying crunch that perfectly complements the silky filling, the beauty of homemade desserts lies in their adaptability. You have several fantastic options to tailor the crust to your preference, ensuring your pie is uniquely yours.
Beyond the beloved cookie crust, you could opt for a traditional, flaky homemade pie crust for a more classic approach. This would add a different texture and a buttery, less sweet foundation. Another excellent choice is a graham cracker crust, which introduces a subtly spiced, slightly nutty flavor that pairs wonderfully with chocolate. If you choose either a traditional or graham cracker crust, remember the crucial step of blind-baking it first and allowing it to cool completely before adding the delicate chocolate filling. This prevents a soggy bottom and ensures structural integrity.
Don’t stop at the crust! You can also experiment with the filling. A hint of espresso powder can deepen the chocolate flavor, while a drop of peppermint extract could transform it into a festive, minty treat. For toppings, consider chocolate curls, fresh berries, or a dusting of cocoa powder instead of shaved chocolate for varied aesthetics and flavors.
Embracing the Egg-Free Method: Safety Meets Indulgence
Traditional French silk pie recipes often call for raw eggs in the filling, which are typically whisked into the chocolate mixture to create its signature rich and silky texture. While this method can yield beautiful results, it inherently carries potential food safety concerns, particularly regarding salmonella. In my extensive research and development for this recipe, I frequently encountered feedback from home bakers who were either apprehensive about consuming raw eggs or worried about the complexities of correctly tempering eggs to a safe temperature (which typically requires reaching 160°F).
Understanding these concerns, I made a conscious decision to innovate and create a completely egg-free French Silk Pie. This approach entirely sidesteps any food safety risks, making the dessert accessible and enjoyable for everyone, including children, pregnant individuals, and those with compromised immune systems, without sacrificing an ounce of flavor or texture. By expertly whisking together cream cheese and heavy cream, we achieve a remarkably light, airy, and creamy base that perfectly replicates the luxurious mouthfeel of a classic French silk pie. This ensures that the decadent flavor remains paramount, and you can serve this magnificent dessert with complete peace of mind, knowing it’s safe and absolutely delicious for every guest at your table.
Master Your Pie: Essential Tips for Success
- Perfecting the Crust Mixture: Achieving a perfectly uniform and firm crust is key to your pie’s success. After combining your Oreo crumbs and butter in the food processor, transfer the mixture to your 9-inch pie plate. Begin by using your hands to firmly press the mixture across the bottom and up the sides of the dish, ensuring an even layer. For a truly smooth and polished finish, follow up by using the back of a clean spoon or the flat bottom of a measuring cup to press down and smooth out the crust. This helps to eliminate any gaps and ensures a solid foundation for your filling.
- The Crucial Cool-Down: Patience is a virtue when it comes to pie making! It is absolutely imperative that your baked pie crust cools down completely before you even think about adding the filling. Introducing a cold filling to a warm or even slightly warm crust is a recipe for disaster; the heat will cause your luscious chocolate filling to melt and separate, resulting in a runny, messy, and ultimately disappointing pie. Allow ample time for the crust to reach room temperature, or even pop it in the fridge for a few minutes for an extra chill.
- Mastering Melted Chocolate: Properly melting your baking chocolate is an art that contributes significantly to the filling’s smoothness. While a microwave is convenient, it requires careful attention. Place your finely shaved or chopped chocolate in a microwave-safe bowl and heat it in short, 15-second intervals. After each interval, stir the chocolate thoroughly, even if it doesn’t look fully melted. The residual heat will continue to melt the chocolate. Continue this process until it’s perfectly smooth and glossy, then set it aside to cool slightly before adding it to the cream cheese mixture. Avoid overheating, as this can cause the chocolate to seize or burn.
- Embrace the Electric Hand Mixer: For a truly light, airy, and homogenous French Silk Pie filling, an electric hand mixer is your best friend. While a whisk can work, a hand mixer is significantly faster and far more effective at incorporating the necessary air into your cream cheese and heavy cream mixture. This aeration is what gives the filling its signature fluffy and ethereal texture, making it melt beautifully in your mouth. Don’t skip this tool for optimal results!
- The Power of Chilling: Once assembled, your French Silk Pie needs adequate time to chill and set properly. This allows the filling to firm up, making for clean slices and a stable structure. Aim for at least 4-6 hours in the refrigerator, or ideally overnight. Resist the urge to cut into it too soon; the wait is absolutely worth it for a perfectly set, beautiful pie.
Perfect Presentation & Smart Storage Solutions
To ensure your homemade French Silk Pie not only tastes incredible but also looks its best, timing the addition of the whipped cream topping is crucial. If you’re preparing this pie in advance, it’s best to wait until just before serving to add the whipped cream. This is because whipped cream, over extended periods in the refrigerator, can start to lose its light, airy shape and delicate texture, potentially becoming watery. For maximum visual appeal and textural integrity, pipe or spread the whipped cream right before it’s time to enjoy.
For short-term storage, your assembled pie (without the whipped cream topping, if made in advance) should be tightly covered with plastic wrap or aluminum foil and stored in the refrigerator. It will maintain its exquisite quality for up to 3 days. If you’re looking to extend its shelf life, individual slices of French Silk Pie (again, without the whipped cream) can be frozen for up to 2 months. Wrap each slice securely in plastic wrap, then place them in freezer-safe airtight containers or bags to prevent freezer burn. When you’re ready to enjoy a frozen slice, simply let it thaw overnight in the refrigerator for the best texture before adding fresh whipped cream and serving.
Explore More Delectable Chocolate Pie Recipes:
- Easy Chocolate Pie
- No-Bake Chocolate Pudding Pie
- Chocolate Pecan Pie
- Chocolate Chip Cookie Pie
I sincerely hope you adore this truly delicious and effortlessly easy French Silk Pie recipe as much as my family does. Your feedback is invaluable, so please be sure to leave a review below and share your experience! And don’t forget to connect with Belly Full on social media to discover even more delightful recipes and kitchen inspiration. Find us on TikTok, Instagram, Facebook,Pinterest, and YouTube. Happy baking!
French Silk Pie
25
minutes
10
minutes
35
minutes
8
slices
Pin
Equipment
-
9” pie dish
-
Food processor
-
Piping bag
optional
Ingredients
Crust Ingredients
-
20
whole
Oreos -
4
tablespoons
salted butter,,
diced
Filling Ingredients
-
10
ounces
semi-sweet baking chocolate,,
divided -
8
ounces
cream cheese,,
room temperature -
6
tablespoons
unsalted butter,,
very soft/room temperature -
1
cup
powdered sugar -
1
cup
heavy cream -
1
teaspoon
vanilla extract
Whipped Cream Topping
-
Belly Full Whipped Cream,
,
see note
Instructions
-
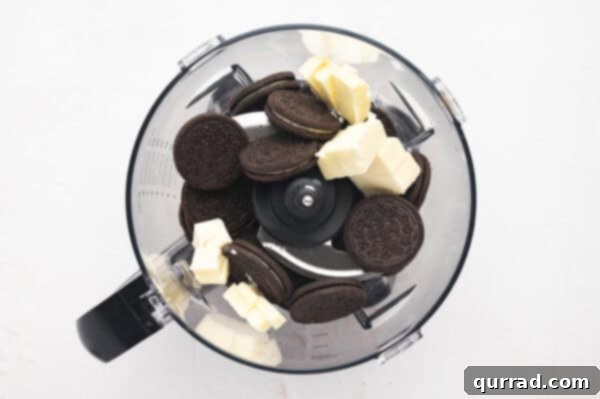
Preheat your oven to 350°F (175°C). In a food processor, combine the 20 whole Oreos and 4 tablespoons of diced salted butter.

-
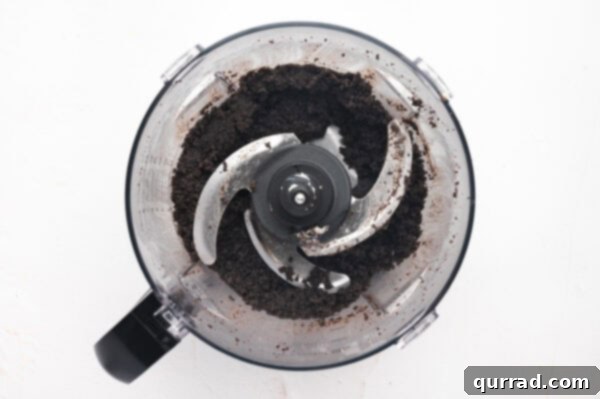
Pulse the mixture until the Oreos are finely crushed and combined with the butter, forming a moist, crumbly texture that resembles wet sand.
-
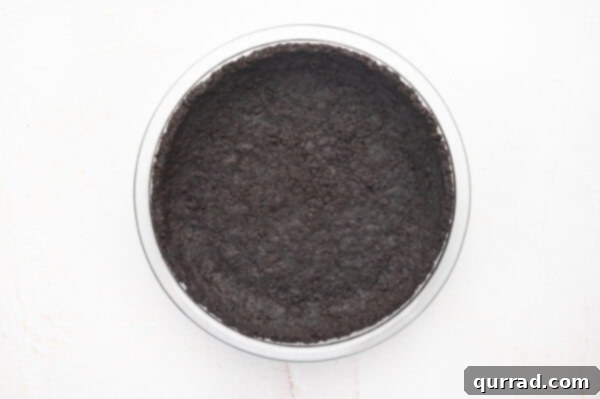
Transfer the processed cookie mixture into a 9-inch pie pan. Firmly press the crust down evenly along the bottom and up the sides of the pan. For the smoothest finish, use the back of a clean spoon or the bottom of a measuring cup after pressing with your hands. Bake for 10 minutes, then let the crust cool completely before proceeding with the filling.
-
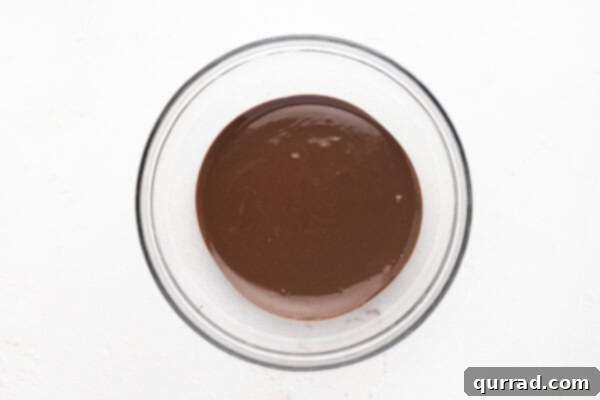
Melt 8 ounces of the semi-sweet baking chocolate in the microwave until it is completely smooth and glossy. Be careful not to overheat it. Set the melted chocolate aside to cool slightly to a warm (but not hot) temperature.
-
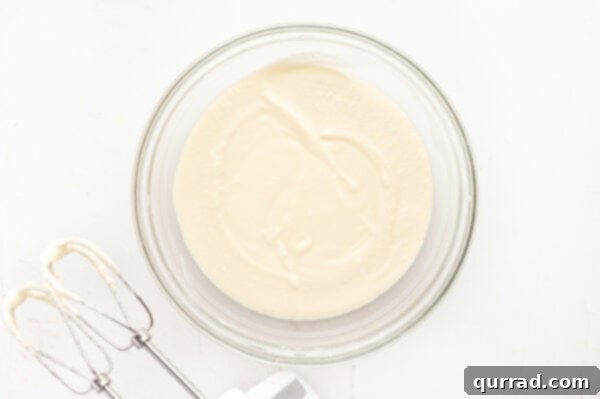
In a large mixing bowl, combine 8 ounces of room temperature cream cheese and 6 tablespoons of very soft, room temperature unsalted butter. Using an electric hand mixer on medium speed, beat until the mixture is light, fluffy, and completely smooth, about 2-3 minutes. Gradually mix in 1 cup of powdered sugar until just combined, then add 1 cup of heavy cream and 1 teaspoon of vanilla extract. Continue whisking on medium speed for approximately 3-4 minutes until the mixture is thoroughly combined, airy, and fluffy.
-
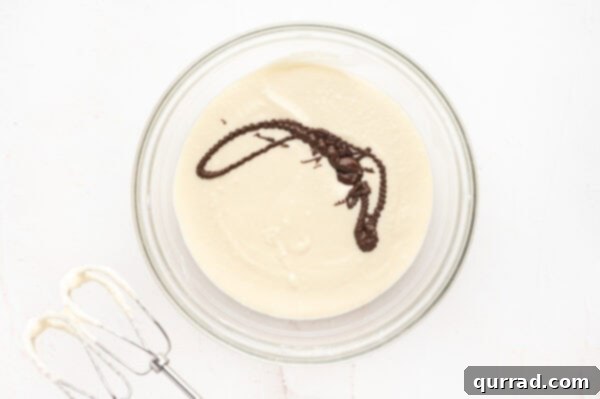
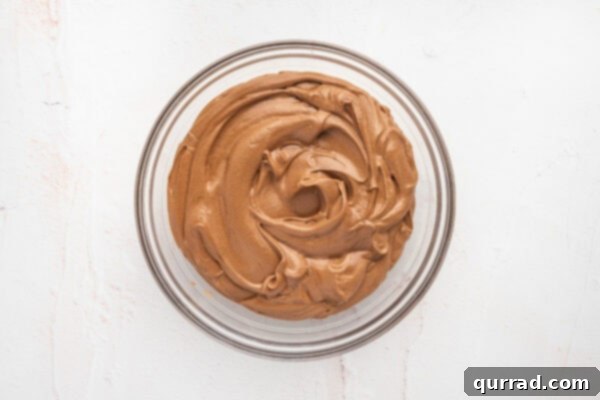
With your hand mixer still running on medium-low speed, slowly drizzle the cooled (not hot!) melted chocolate into the cream cheese mixture. Continue to mix for another minute or two until the chocolate is fully incorporated and the filling is perfectly smooth and uniformly colored.
-
For the final touch of airy perfection, increase your hand mixer to medium-high speed and continue to beat the filling for the last minute or two. This step is key to incorporating extra air, ensuring an exceptionally light and fluffy texture for your French Silk Pie.
-
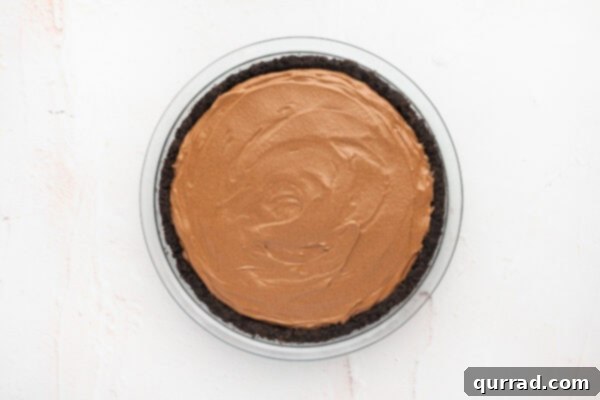
Carefully spoon the rich chocolate filling into your completely cooled pie crust. Gently spread the filling evenly across the crust and smooth out the top surface using a spatula for a clean, elegant look.
-
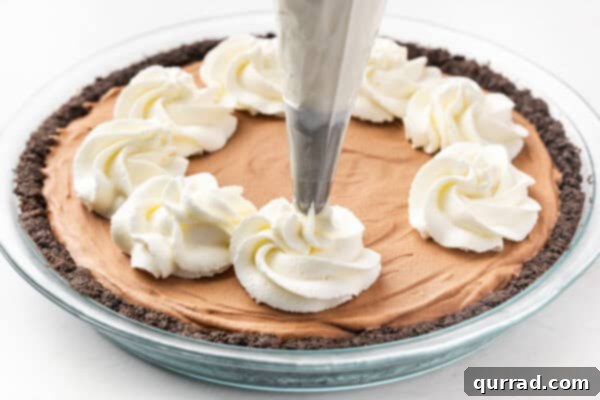
Once the pie has chilled and set for at least 4-6 hours (or preferably overnight), you can add your whipped cream topping. Create beautiful dollops, elegant piped swirls, or simply spread a smooth, generous layer of homemade Whipped Cream over the silky chocolate.
-
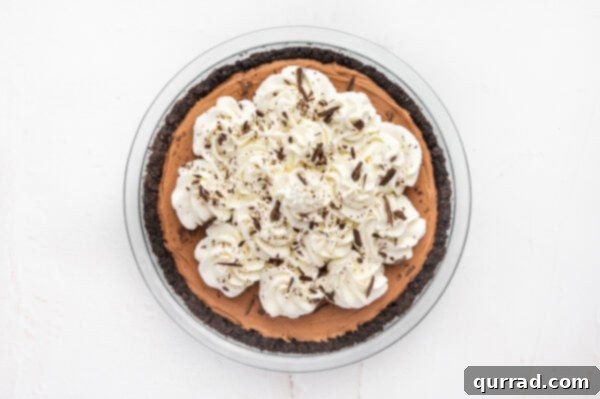
Complete your masterpiece by adding elegant finishing touches. Use a vegetable peeler or a grater to finely grate the reserved 2 ounces of baker’s chocolate directly over the whipped cream topping. This adds both visual appeal and a final flourish of rich chocolate flavor.
Notes
Nutrition
Serving:
1
slice
|
Calories:
844
kcal
|
Carbohydrates:
61
g
|
Protein:
7
g
|
Fat:
65
g
|
Saturated Fat:
38
g
|
Polyunsaturated Fat:
3
g
|
Monounsaturated Fat:
18
g
|
Trans Fat:
1
g
|
Cholesterol:
136
mg
|
Sodium:
272
mg
|
Potassium:
371
mg
|
Fiber:
4
g
|
Sugar:
46
g
|
Vitamin A:
1711
IU
|
Vitamin C:
0.4
mg
|
Calcium:
100
mg
|
Iron:
6
mg
Nutritional information given is an automatic calculation and can vary based on the exact products you use and any changes you make to the recipe. If these numbers are very important to you, I would recommend calculating them yourself.
Did you make this? Leave a rating below!