
Easy Homemade Naan Bread: Soft, Chewy & Authentic Indian Flatbread Recipe
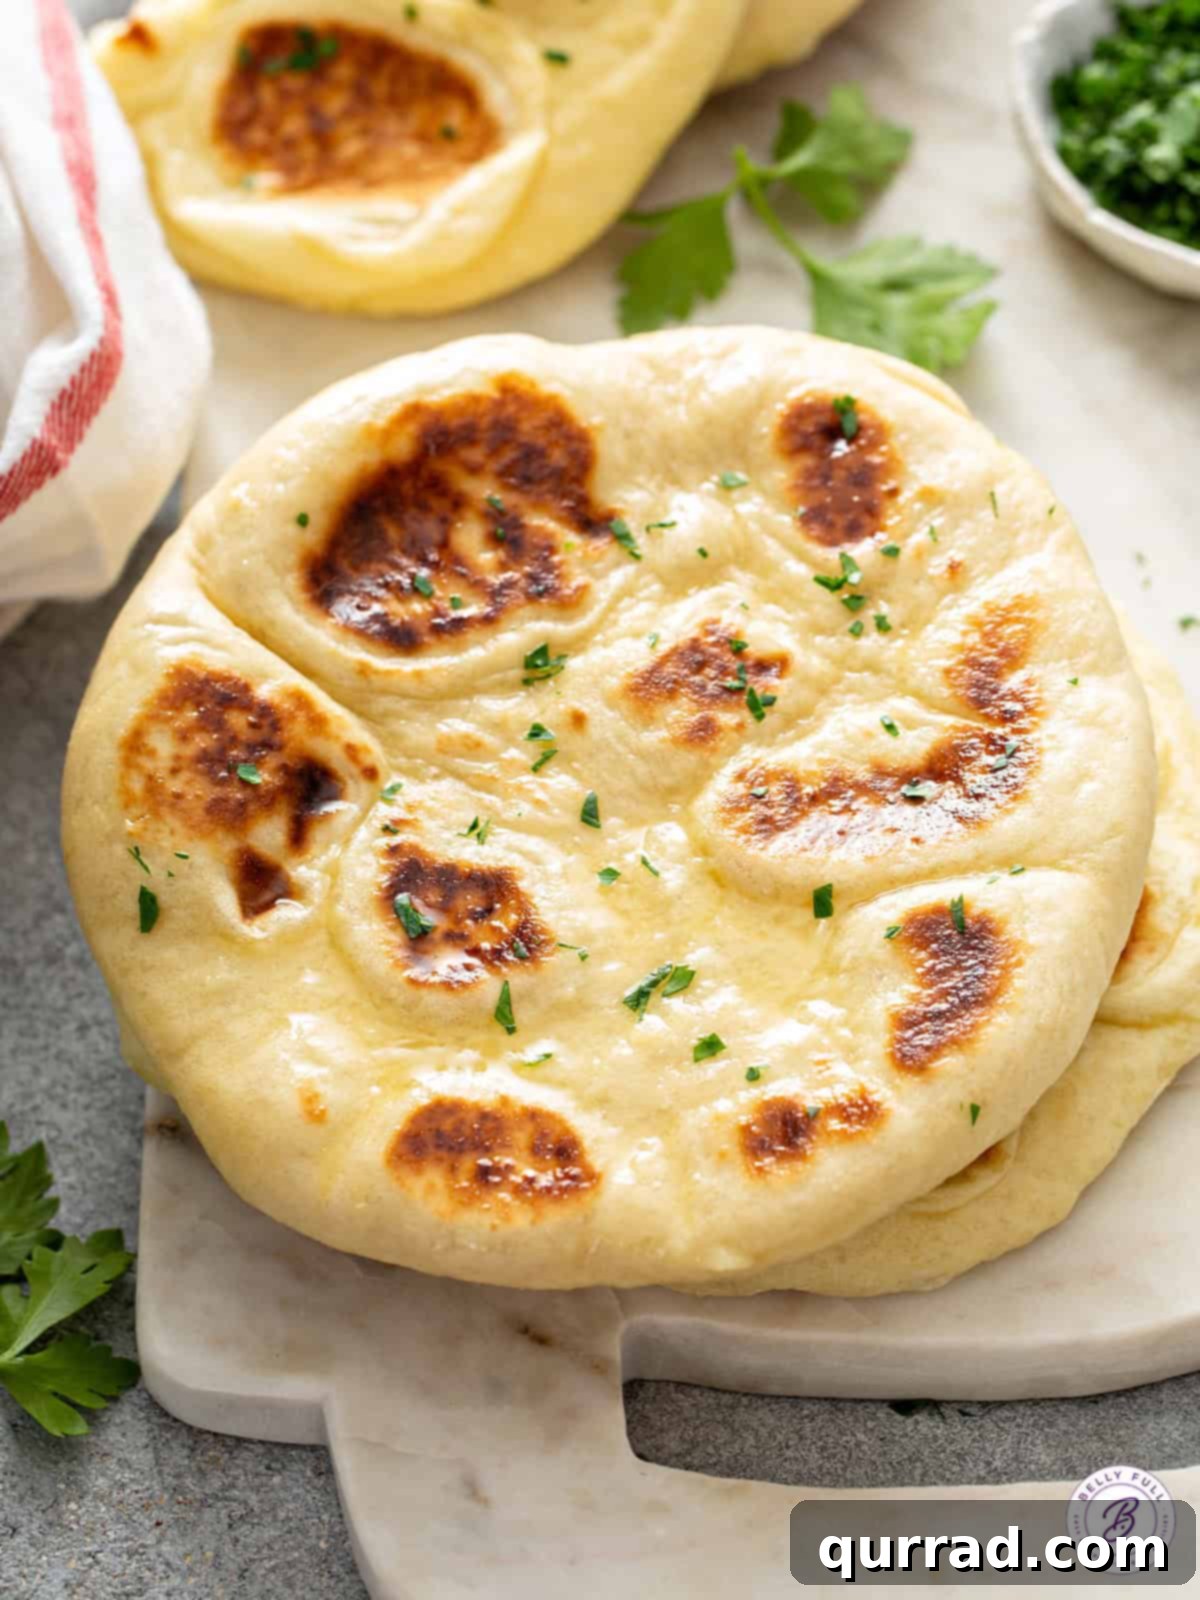
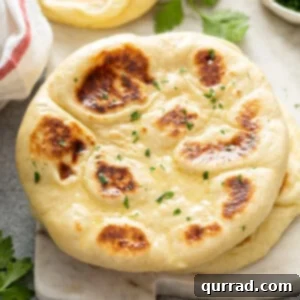
Imagine the delightful aroma of freshly baked bread filling your kitchen. Now picture biting into a warm, fluffy, and perfectly chewy slice of **Naan bread**, its surface beautifully blistered and glistening with melted garlic butter. That’s the irresistible experience usually reserved for your favorite Indian restaurant, but what if we told you that achieving this culinary marvel at home is not only possible but remarkably simple? Our **Easy Homemade Naan Bread Recipe** delivers a perfectly soft, pillowy, and authentic Indian flatbread every time, and the best part is, you don’t need any special equipment. Just a mixing bowl, your hands, and a trusty cast iron skillet are all it takes to create this incredibly delicious and utterly irresistible bread.
The Unmatched Joy of Baking Homemade Naan
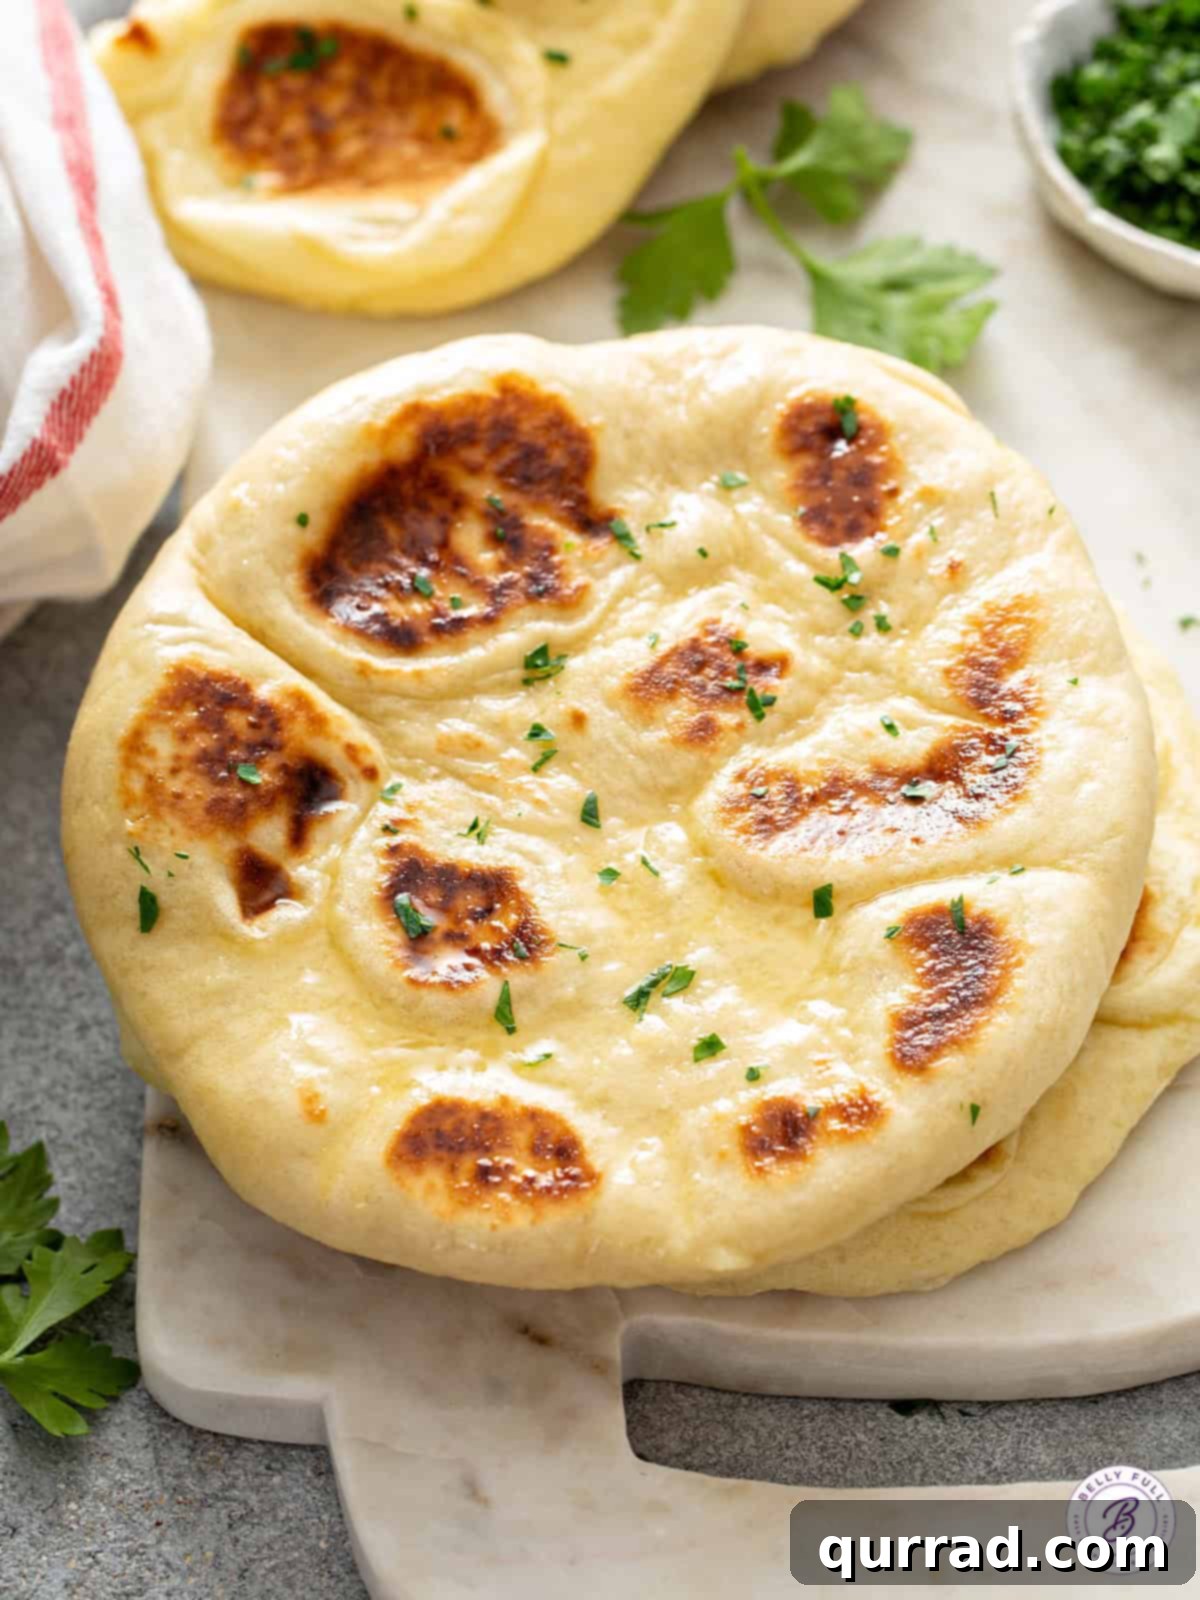
There’s a special kind of satisfaction that comes from baking bread from scratch, and **homemade naan** is no exception. The process is a delightful journey, transforming simple pantry ingredients into a warm, comforting masterpiece. I still vividly recall my sister and I frequenting a local Indian restaurant, often eating our weight in their incredible naan before the main dishes even arrived. It was always the star of the show!
Now, I regularly recreate that magic in my own kitchen, much to the delight of my family. My kids have developed an absolute love for this versatile flatbread, and it has become a staple in our home. It’s the ideal companion for so many meals, perfectly pairing with savory dishes like our family-favorite Chicken Tikka Masala. Making your own naan means you get to enjoy it fresh, straight off the heat, with that unparalleled softness and chewiness that store-bought versions simply can’t match.
This recipe emphasizes simplicity and authentic flavor, making it accessible for even novice bakers. The minimal effort required yields maximum reward, proving that you don’t need a professional kitchen to produce restaurant-quality results. Get ready to impress your family and friends with this truly special bread!
What Exactly is Naan? Understanding This Essential Indian Flatbread
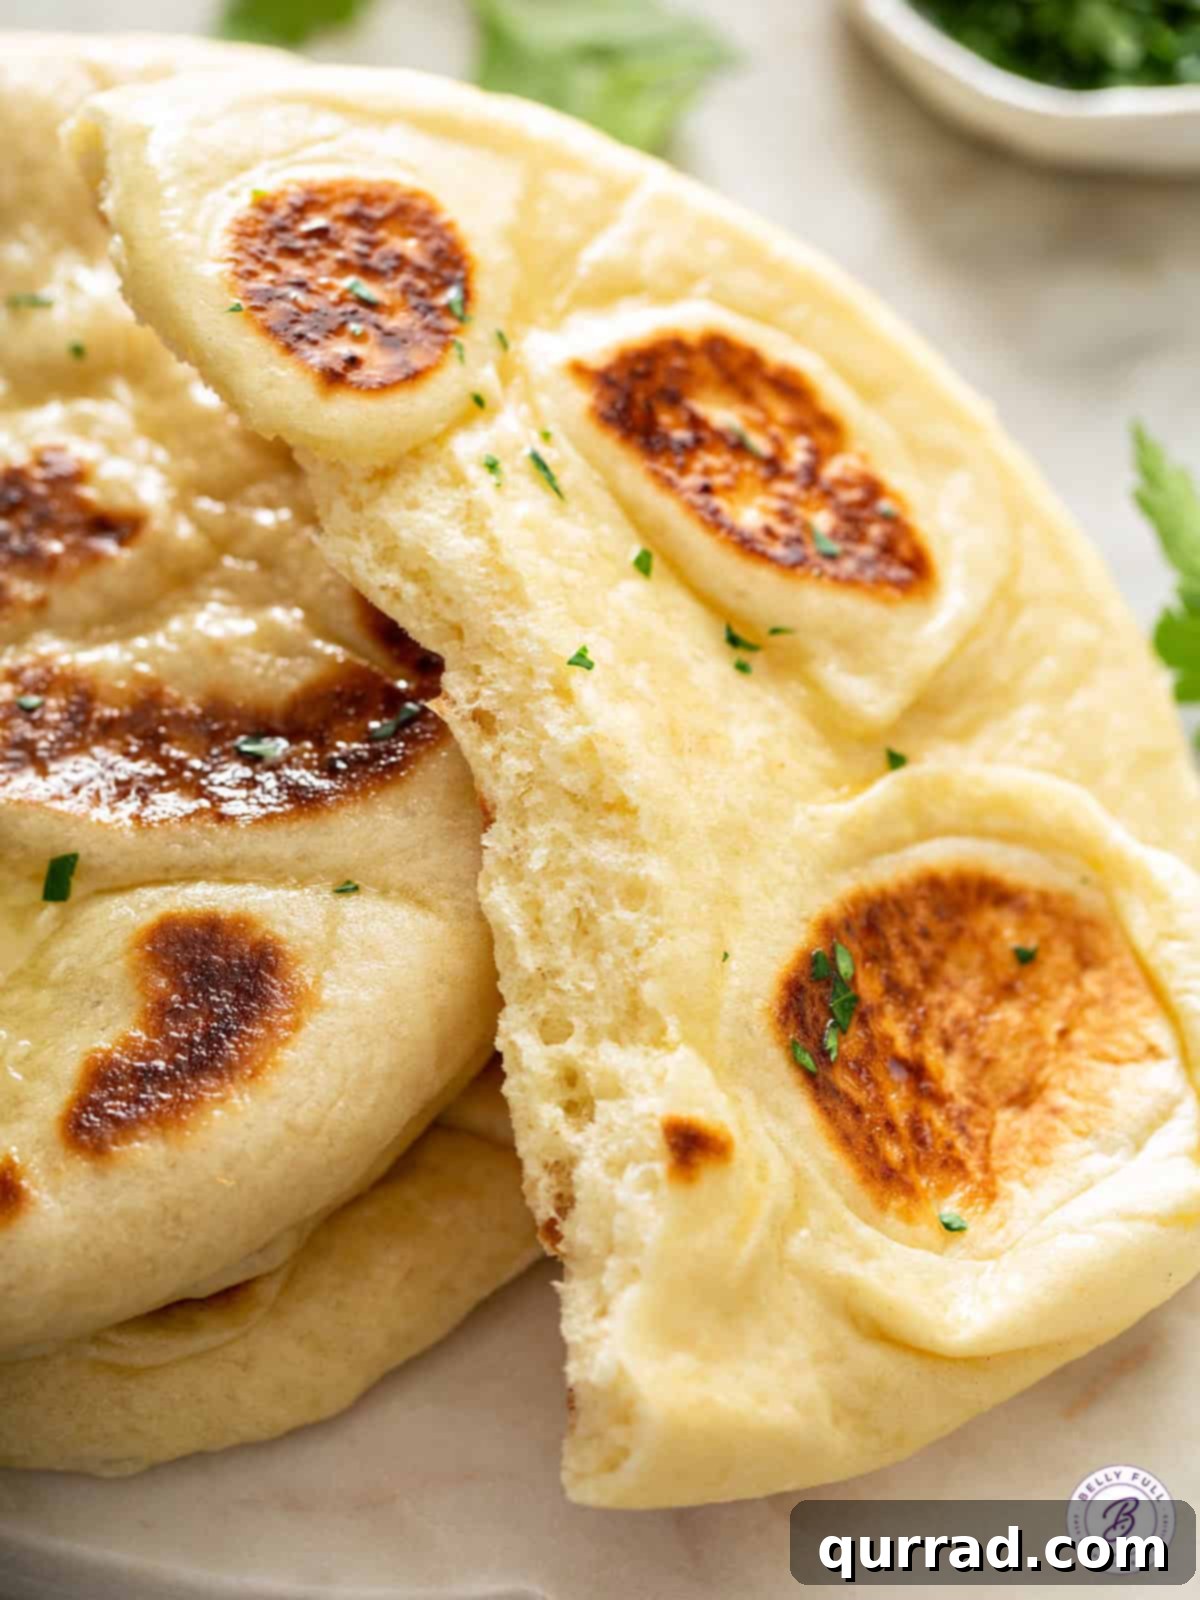
Naan is a classic leavened flatbread with deep roots in Indian, Central Asian, and Middle Eastern culinary traditions. Its name, derived from Persian, simply means “bread,” yet its significance and distinctive characteristics elevate it far beyond a mere staple. What truly defines **authentic naan** is its signature soft, chewy, and often gloriously pillowy texture, distinguished by numerous small, irregular air pockets that develop during cooking.
Traditionally, naan is baked in a blistering-hot tandoor, a cylindrical clay oven where the dough is expertly slapped against the inner walls. This intense, rapid cooking environment—combining direct heat with convection—is responsible for the bread’s characteristic bubbly, slightly charred surface and its tender, moist interior. While a tandoor might be a rarity in a home kitchen, don’t despair! You can still achieve wonderfully similar, delicious results by using a conventional hot cast iron skillet or a griddle. The key is to replicate that high-heat environment to ensure the dough cooks quickly, puffs beautifully, and develops those appealing blistered spots, giving you a truly delightful **homemade naan** experience.
Beyond its texture, naan’s rich flavor profile is also key. Unlike simpler flatbreads, its dough often includes dairy like yogurt and sometimes eggs, contributing to its unique richness and softness.
Naan Bread vs. Pita Bread: A Closer Look at Two Beloved Flatbreads
While both naan and pita bread are popular leavened flatbreads, they have distinct origins, ingredients, and textural characteristics that set them apart. Understanding these differences can enhance your appreciation for each unique bread:
- Geographical Origins: **Naan bread** primarily originates from India, Central Asia, and parts of the Middle East, reflecting a rich culinary heritage across these regions. Pita bread, on the other hand, is a cornerstone of Middle Eastern and Mediterranean cuisines, with variations found throughout the Levant and beyond.
- Core Ingredients and Texture:
- **Pita Bread:** Typically made with a simpler dough consisting of flour, water, salt, yeast, and often a touch of olive oil. When baked at high temperatures, the steam created inside the dough causes it to puff up dramatically, forming a large, singular air pocket in the center. This makes pita perfect for stuffing with fillings like falafel or gyros. Its texture is generally thinner and less rich than naan.
- **Naan Bread:** Distinguished by its richer dough, which often includes dairy components like yogurt and sometimes eggs. These additions are crucial. The yogurt contributes a subtle tanginess and an incredible tenderness, while the egg adds richness and helps create a more elastic and chewy crumb. Instead of one large pocket, naan forms numerous smaller, fluffy air pockets throughout, resulting in its characteristic soft, pillowy, and slightly chewy texture that is ideal for scooping up savory sauces.
- Traditional Cooking Methods: As previously mentioned, naan is traditionally cooked in a tandoor oven, which imparts its signature char and smoky flavor. Pita bread is also baked at high temperatures, often in conventional ovens or on stovetops, to achieve its puff.
In essence, while both offer delicious ways to enjoy a meal, naan provides a more luxuriant, softer, and richer mouthfeel, making it a perfect accompaniment to saucy dishes and a delightful bread to savor on its own.
Key Ingredients for Your Perfect Homemade Naan
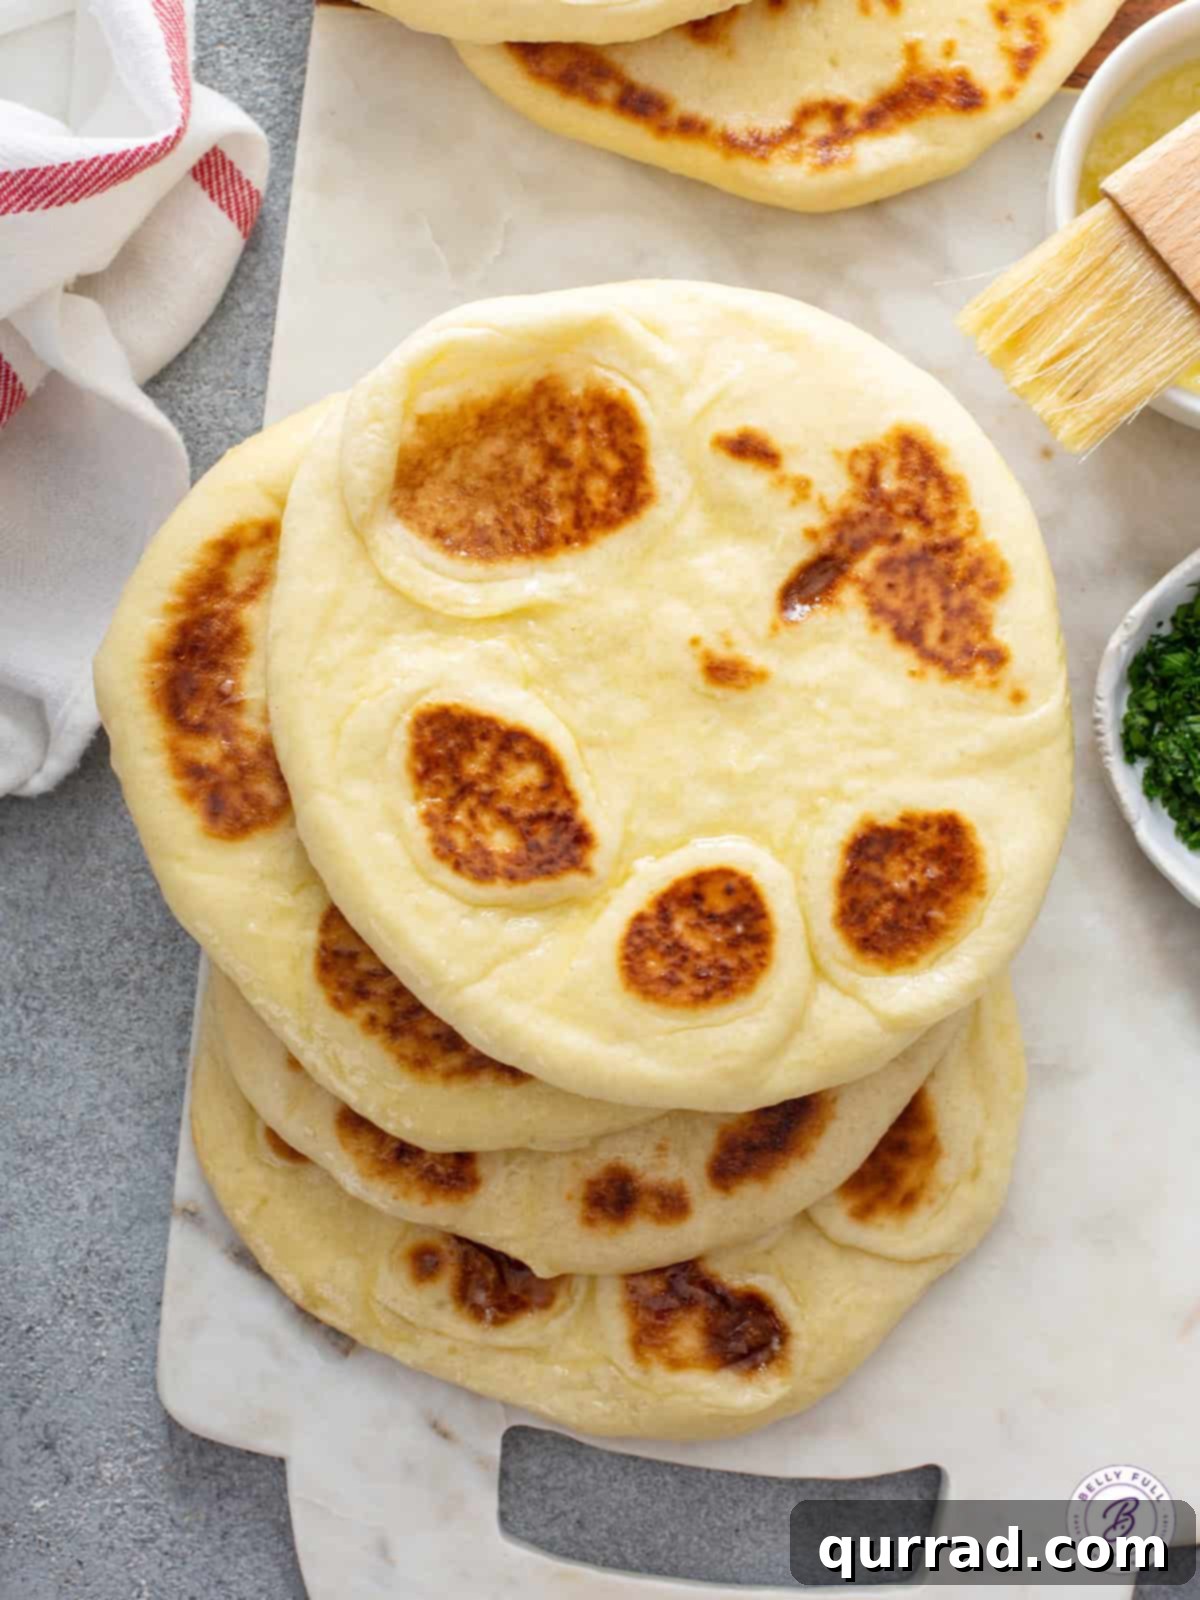
Crafting genuinely delicious **homemade naan** relies on a short and simple list of pantry ingredients, each playing a critical role in achieving that coveted soft, chewy, and pillowy texture. Understanding the purpose of each component will help ensure your naan turns out perfectly every time:
- Warm Water: This is essential for activating your yeast. The water needs to be within a specific temperature range, ideally 105-110°F (40-43°C). If the water is too hot, it will kill the yeast, preventing your dough from rising. If it’s too cold, the yeast won’t activate properly, leading to a dense and flat bread. A kitchen thermometer provides precision, but it should feel comfortably warm to the touch, not hot.
- Instant Dry Yeast: The leavening agent responsible for giving naan its characteristic rise and those wonderful air pockets. While this recipe uses instant yeast for convenience, active dry yeast can also be used; just make sure it blooms properly in the warm water and sugar mixture. Good quality, fresh yeast is key to a light and airy naan.
- Granulated Sugar (or Honey): Sugar acts as food for the yeast, helping it activate and thrive, which is crucial for the dough’s proofing and rise. It also contributes a subtle sweetness to the bread, balancing the savory flavors and enhancing the overall taste. If you prefer, an equal amount of honey can be used for a slightly different, richer flavor profile.
- Extra-Virgin Olive Oil: Incorporating olive oil adds richness and depth of flavor to the dough, ensuring a tender crumb. It also helps to keep the dough hydrated, preventing it from becoming dry and tough. You’ll also need a little extra oil to brush on your skillet for cooking the naan, which aids in developing those beautiful golden-brown spots.
- Plain Yogurt (or Plain Greek Yogurt): This is a cornerstone ingredient in **authentic naan bread**. Yogurt contributes significantly to the bread’s incredible moisture, a delicate tang, and its unparalleled tenderness. The lactic acid present in yogurt helps to tenderize the gluten in the flour, resulting in a softer, more pliable dough that bakes into a truly pillowy flatbread.
- Large Egg: An egg in the dough provides richness, contributes to the golden color of the cooked naan, and acts as a binding agent, giving the dough structure and a lovely chewiness. It enhances the overall texture and mouthfeel of the bread.
- Salt: A fundamental seasoning that amplifies the flavors of all the other ingredients. Salt is crucial for balancing the sweetness from the sugar and the richness from the yogurt and egg. Do not omit it, as the naan would taste bland without it.
- All-Purpose Flour: The main structural component of your **naan dough**. Correct measurement is vital here. Always measure your flour by spooning it into a dry measuring cup and then leveling off the top with a straight edge (like the back of a knife). Scooping flour directly from the bag can compact it, leading to an excess amount and a dense, dry, and less tender naan.
- Garlic Herb Butter (Optional but Highly Recommended): This simple topping transforms warm naan into an extraordinary treat. A luscious blend of melted butter, finely minced garlic, and fresh chopped parsley brushed generously onto each piece of naan after cooking adds an incredible burst of aromatic flavor and a beautiful sheen. While strictly optional, I personally never skip this step – it truly is like the “icing on the cake” for your homemade naan!
Expert Tips for Making the Best Homemade Naan Bread
Achieving that perfect **soft, chewy, and pillowy naan** at home, reminiscent of a tandoor-baked flatbread, is easier than you might think. While you might not have a clay oven, these expert tips will guide you to flawless results using just a cast iron skillet or griddle:
- **Water Temperature is Critical for Yeast Activation:** This cannot be stressed enough. Yeast is a living organism, and its activity is extremely sensitive to temperature. Ensure your warm water is between 105-110°F (40-43°C). Water that’s too hot (above 115°F/46°C) will kill the yeast, rendering it inactive and your dough lifeless. Conversely, water that’s too cold (below 100°F/38°C) won’t sufficiently awaken the yeast, resulting in a slow or non-existent rise. Use a digital thermometer for accuracy; otherwise, it should feel like warm bathwater, not hot.
- **Always Check Your Yeast’s Freshness:** After mixing your yeast with warm water and sugar, allow it 5-10 minutes to bloom. If a foamy layer doesn’t appear on the surface, your yeast is likely expired or inactive. Don’t proceed with it; start over with a fresh packet to save yourself time and frustration, as inactive yeast means your naan won’t rise.
- **Measure Flour Accurately – Spoon and Level!** Incorrect flour measurement is a common pitfall in baking. Never scoop flour directly from the bag with your measuring cup, as this compacts it, adding significantly more flour than intended. Instead, use a spoon to lightly fill your measuring cup, then level off the excess with a straight edge. Too much flour will lead to a dense, dry, and tough naan, devoid of that desirable pillowy texture.
- **Don’t Over-Knead the Dough:** Unlike some artisan breads that benefit from extensive kneading, naan dough requires minimal handling once the ingredients are combined. Knead just enough to bring the dough together into a smooth, slightly shiny ball. Over-kneading can overdevelop the gluten, resulting in a tougher, less tender naan. The yogurt in the recipe naturally helps tenderize the gluten, so less kneading is more.
- **Embrace Imperfect Shaping for Rustic Charm:** Don’t strive for perfectly round circles! While aiming for roughly 6-inch rounds is a good guideline, it’s absolutely fine if your naan turns out slightly oval or irregularly shaped. This rustic appearance adds to the homemade charm. The crucial aspect is to roll each piece to a consistent thickness (1/8 to 1/4-inch) to ensure even cooking.
- **Consider Dough Thickness for Desired Texture:** The thickness you roll your naan dough will directly impact its final texture:
- 1/8-inch thick: This yields a thinner naan with many small, delicate air bubbles, resulting in a lighter, sometimes slightly crispier, chew.
- 1/4-inch thick: This produces a thicker, more substantial, and wonderfully chewy naan with fewer, larger, and more pronounced air pockets. Experiment with both to discover your personal preference!
- **Allow Ample Rise Time in a Warm Environment:** Patience is a virtue when working with yeast. Allow your dough sufficient time to double in size in a warm, draft-free spot. This can take anywhere from 1 to 1.5 hours, depending on the ambient temperature of your kitchen. For a faster rise, placing the bowl on a heating pad set to low can significantly speed up the process.
- **Master Your Skillet’s Heat for Perfect Char:** When cooking, ensure your cast iron skillet or heavy-bottomed pan is preheated to medium-high heat. The high heat is essential for quickly cooking the naan, creating those signature large bubbles, and developing beautiful golden-brown spots and light charring. However, constantly monitor and regulate the heat; if it gets too hot, the naan will burn before cooking through. You’ll likely need to reduce the heat to medium after cooking the first piece or two to maintain an optimal temperature and prevent excessive charring.
Creative Ways to Enjoy Your Versatile Homemade Naan
One of the most appealing qualities of **homemade naan bread** is its incredible versatility. Beyond being the perfect accompaniment to traditional Indian cuisine, its soft, chewy texture makes it ideal for a myriad of delicious applications. Get creative with how you serve and enjoy your freshly baked naan!
- Pure Bliss on Its Own: Sometimes, the simplest pleasures are the best. There’s nothing quite like tearing into a warm, fluffy piece of naan, generously brushed with fragrant garlic butter. It’s a comforting snack or appetizer that perfectly showcases the bread’s fantastic texture and rich flavor.
- The Quintessential Curry Companion: Naan is undeniably the ultimate vehicle for scooping up rich, aromatic sauces and gravies. It’s an absolute must-have alongside classic Indian dishes like a hearty Chickpea Curry, the beloved Chicken Tikka Masala, or a warming bowl of Mulligatawny Soup. Its absorbent texture ensures you capture every last drop of flavor.
- Innovative Flatbreads and Pizzas: Transform your naan into a quick and delicious individual flatbread pizza. Simply spread with your favorite sauce, sprinkle with cheese, and add your preferred toppings, then bake or grill until bubbly and golden. It also makes an excellent base for more adventurous savory toppings like Turkey Keema, or even unique sweet and savory combinations such as Strawberry Balsamic Flatbread.
- Delicious Wraps and Gourmet Sandwiches: The pliable nature of naan makes it an ideal choice for crafting gourmet wraps and sandwiches. Pile it high with marinated Beef Kofta, crispy falafel, vibrant grilled vegetables, or use it to elevate classic gyros. Its robust texture holds fillings well, providing a satisfying bite.
- Creative Breakfast Base: Don’t limit naan to lunch or dinner! Use it as a unique base for breakfast flatbreads. Top with scrambled eggs, cheese, avocado, and a sprinkle of chili flakes for a savory morning treat.
Storing and Reheating Your Homemade Naan for Lasting Freshness
To preserve the incredible taste and texture of your **homemade naan bread**, proper storage and reheating techniques are essential. Follow these guidelines to keep your naan fresh and delicious for days, or even months:
- Keeping Warm Before Serving: If you’re cooking multiple pieces of naan and serving them all at once, you can keep them warm by stacking them and wrapping them tightly in a clean kitchen towel. Alternatively, place them in a low oven (around 200°F / 95°C) for a short period, taking care not to dry them out.
- Storing Leftovers at Room Temperature or Refrigerated: Once your naan has completely cooled to room temperature, transfer it to an airtight, resealable plastic bag or container. It will remain wonderfully fresh at room temperature for 1-2 days. For extended freshness, particularly in warmer climates, store the naan in the refrigerator, where it will keep well for up to 4-5 days.
- The Best Way to Reheat Naan: To bring refrigerated or room-temperature naan back to its best soft and chewy state, we recommend a gentle reheat. Wrap the naan loosely in aluminum foil and warm it in a preheated 350°F (175°C) oven for about 5-10 minutes, or until it’s thoroughly heated and pliable again. You can also quickly warm it in a dry, non-stick skillet over medium heat for 1-2 minutes per side until it’s soft and fragrant. Avoid microwaving, as it can make the naan rubbery.
- Can You Freeze Naan Bread? Absolutely! Naan freezes exceptionally well, making it perfect for meal prepping or having a stash of delicious bread on hand. Once the naan has completely cooled, wrap each individual piece tightly in plastic wrap. This prevents freezer burn and makes it easy to thaw single servings. Then, transfer the wrapped pieces to a large freezer-safe, resealable plastic bag or airtight container. Frozen naan will maintain its quality for up to 2 months.
- Thawing Frozen Naan: For optimal results, allow frozen naan to thaw at room temperature for approximately 30-60 minutes before reheating it using the methods described above. You can also reheat foil-wrapped frozen naan directly in the oven, though it may require a few extra minutes of heating time.
Naan Bread Recipe
This easy **Naan Bread recipe** is designed to give you perfectly soft, chewy, and pillowy flatbreads, capturing the authentic taste and texture you love from your favorite Indian restaurant. No electric mixer is required – just your hands, a mixing bowl, and a reliable cast iron skillet are all you need. Get ready to create a truly delicious and utterly irresistible bread that will become a staple in your home!
Prep Time: 15 minutes
Cook Time: 15 minutes
Rise Time: 1 hour
Total Time: 1 hour 30 minutes
Yield: 8 naan flatbreads
Ingredients
For the Dough:
- 1/2 cup warm water (105-110°F / 40-43°C)
- .25 ounce packet instant dry yeast (approximately 2 & 1/4 teaspoons)
- 2 teaspoons granulated sugar
- 3 tablespoons extra-virgin olive oil (plus additional for the skillet)
- 1/4 cup plain yogurt (or plain Greek yogurt, at room temperature)
- 1 large egg, beaten
- 1/2 teaspoon salt
- 2 & 1/2 cups all-purpose flour, spooned and leveled
For the Garlic-Herb Butter (optional, but highly recommended):
- 2 tablespoons melted salted butter
- 2 teaspoons garlic, minced
- 2 teaspoons fresh chopped parsley
Instructions
-
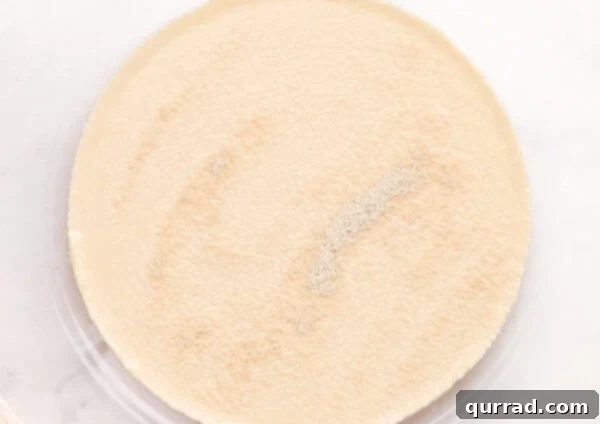
In a large mixing bowl, combine the warm water, instant dry yeast, and granulated sugar. Stir them gently to combine, then let the mixture rest undisturbed for 5-10 minutes. During this time, the yeast should activate and create a foamy layer on the surface. If you don’t see foam, your yeast is likely inactive, and you should start over with a fresh packet.

-
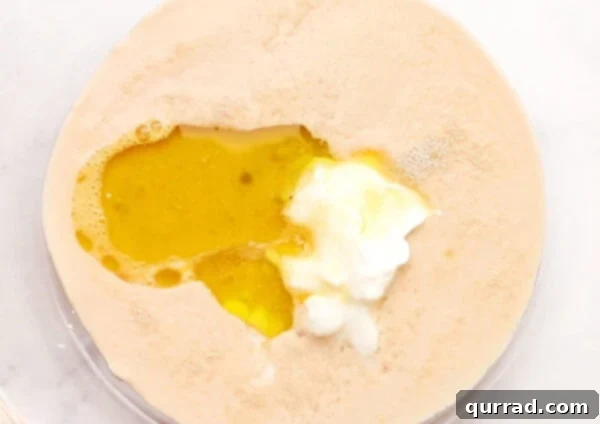
Once the yeast is foamy, add the extra-virgin olive oil, plain yogurt, beaten large egg, and salt to the bowl. Stir all these ingredients together thoroughly until they are well combined and the mixture appears smooth.
-
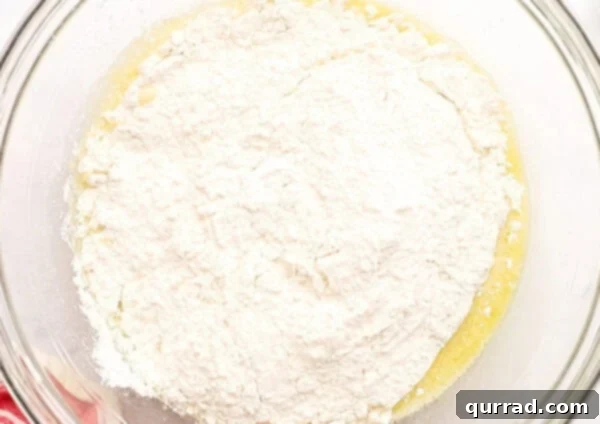
Gradually add the measured all-purpose flour into the wet ingredients in the bowl. It’s best to add it in stages or all at once, ensuring it’s spooned and leveled for accuracy.
-
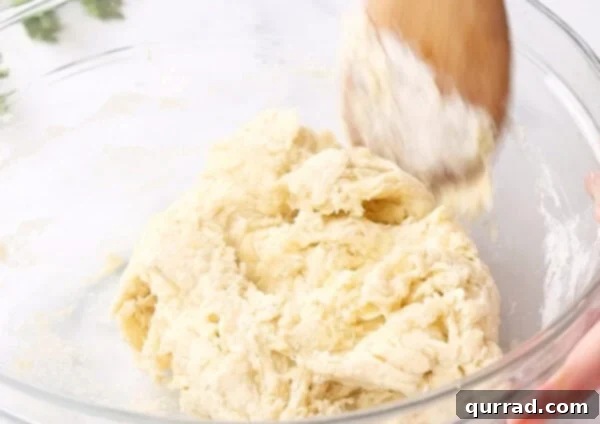
Begin stirring the mixture with a wooden spoon until a shaggy, rough dough starts to form. Then, switch to using your clean hands. Gently bring the dough together, kneading it briefly (just a few minutes) until it forms a cohesive, smooth, and slightly shiny ball. Be cautious not to over-knead. Stop as soon as the dough comes together and is no longer excessively sticky. If the dough is very sticky, you may add 1-2 extra tablespoons of flour, one at a time, to help it bind, but only if absolutely necessary.
-
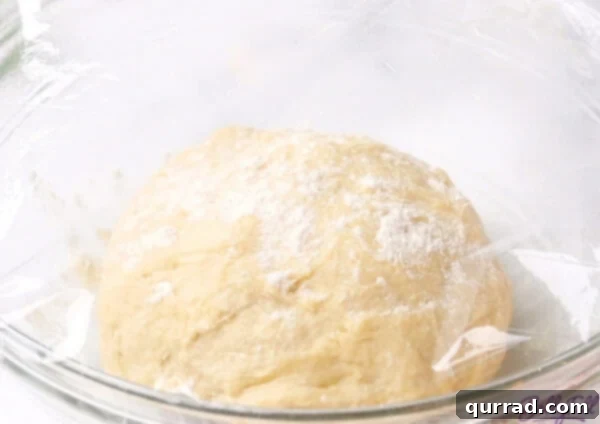
Lightly oil a separate, clean large bowl with olive oil or spray it with nonstick cooking spray. Ensure the bowl is spacious enough to accommodate the dough as it doubles in size. Transfer the dough ball to this prepared bowl, dust its top very lightly with a touch of flour, and then cover the bowl tightly with plastic wrap. Allow the dough to rise in a warm, draft-free place until it has visibly doubled in size, which typically takes about 1 to 1.5 hours. (For a faster rise, you can place the bowl on a heating pad set to low.)
-
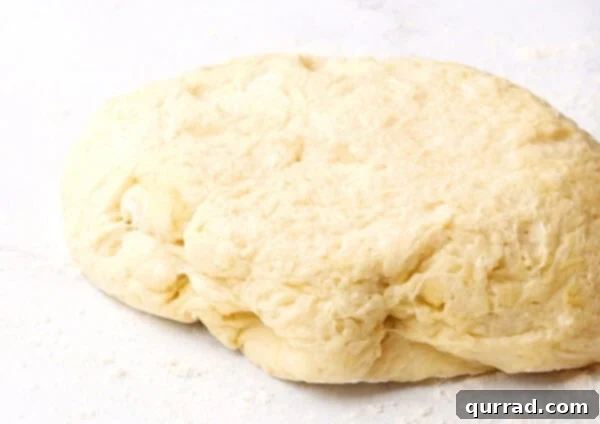
Once the dough has risen, gently turn it out onto a lightly floured work surface. Sprinkle a bit more flour over the top of the dough and onto your hands to prevent sticking. Gently pat the dough down with your hands to slightly deflate it and release some of the air.
-
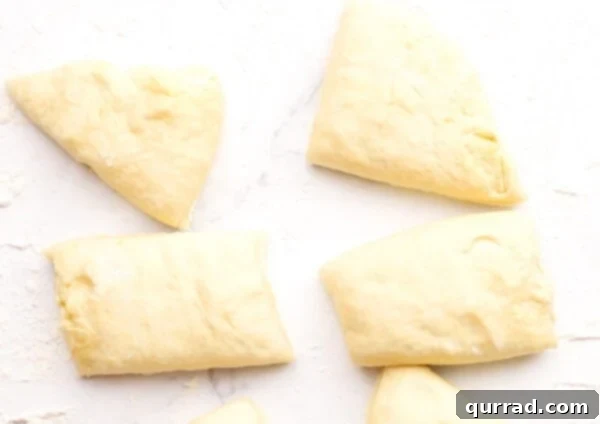
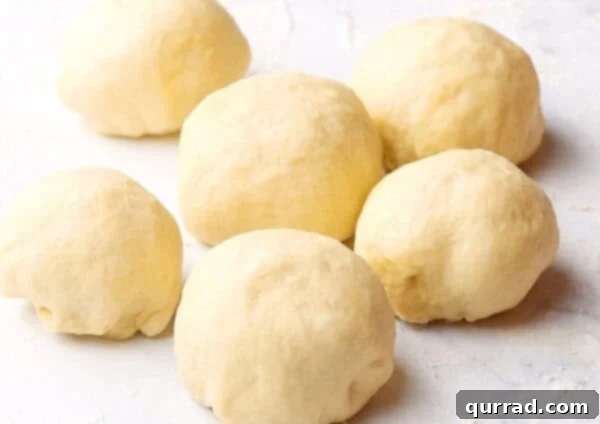
Using a sharp knife or a dough scraper, divide the dough into 8 equal pieces. For the most consistent results, you can weigh each piece to ensure they are uniform in size.
-
Take each individual dough piece and shape it into a smooth ball. This is best achieved by stretching the surface of the dough and tucking the edges underneath the ball to create a tight, seamless, and round shape.
-
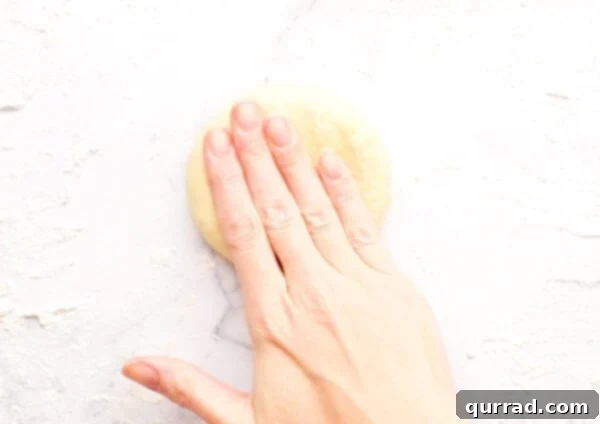
With the palm of your hand, gently flatten each round of dough slightly on your floured surface. This prepares it for the rolling process.
-
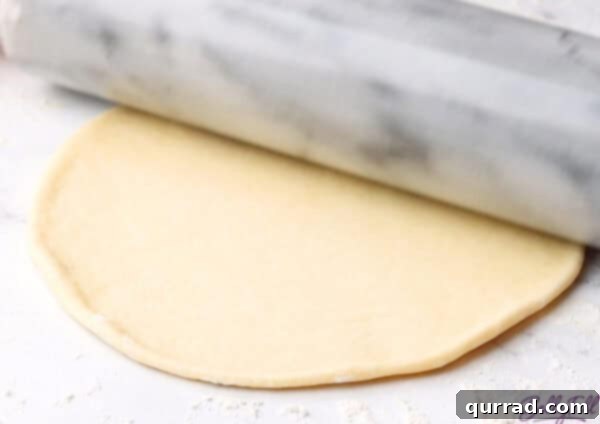
Using a rolling pin, roll out each dough ball into a rough 6-inch circle. Aim for a thickness of approximately 1/8 to 1/4-inch. Don’t worry if they aren’t perfectly round; a slightly oval shape is perfectly authentic and adds to the homemade charm!
-
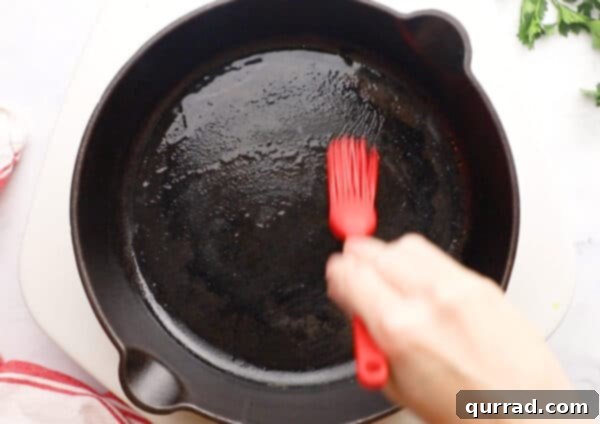
Place a cast iron skillet or any other heavy-bottomed skillet over medium-high heat and allow it to preheat thoroughly for several minutes. Once hot, brush the surface of the skillet with approximately one teaspoon of olive oil.
-
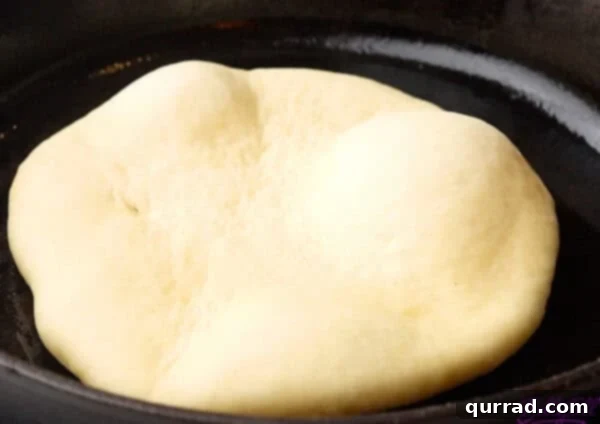
Carefully pick up one rolled dough piece, gently flipping it back and forth between your hands to release any excess flour. Then, lay it gently into the hot skillet. Cook for 60-90 seconds, or until the top surface is bursting with air bubbles and the bottom has developed beautiful golden-brown spots and light charring.
-
Using tongs or a spatula, flip the naan over and cook for another 45-60 seconds on the second side. It should develop more deep golden-brown spots and appealing blistering. The naan should be fully cooked through and wonderfully pliable.
-
Remove the cooked naan from the skillet and immediately place it in a clean kitchen towel or wrap it loosely in foil to keep it warm. Repeat the cooking process with the remaining dough pieces. It is important to constantly monitor and regulate the skillet’s heat throughout the process; you may find it necessary to lower the heat to medium after cooking the first naan or two to prevent the bread from burning or becoming excessively charred.
-
In a small bowl, combine the melted butter and minced garlic. Brush each warm naan generously with this fragrant garlic butter. For an extra touch of freshness and color, sprinkle a bit of fresh chopped parsley over each piece. Serve your delicious **homemade garlic naan** immediately and savor every soft, chewy bite!


Nutrition Information
Please note that the following nutritional information is an estimated automatic calculation based on the ingredients listed. Actual values may vary depending on the specific brands of products you use and any modifications you make to the recipe. If precise nutritional values are critical for your dietary needs, we recommend calculating them yourself using a reliable nutritional analysis tool.
- Serving Size: 1 naan
- Calories: 235 kcal
- Carbohydrates: 32g
- Protein: 6g
- Fat: 9g
- Saturated Fat: 3g
- Trans Fat: 1g
- Cholesterol: 32mg
- Sodium: 185mg
- Potassium: 75mg
- Fiber: 1g
- Sugar: 1g
- Vitamin A: 131 IU
- Vitamin C: 1mg
- Calcium: 22mg
- Iron: 2mg