
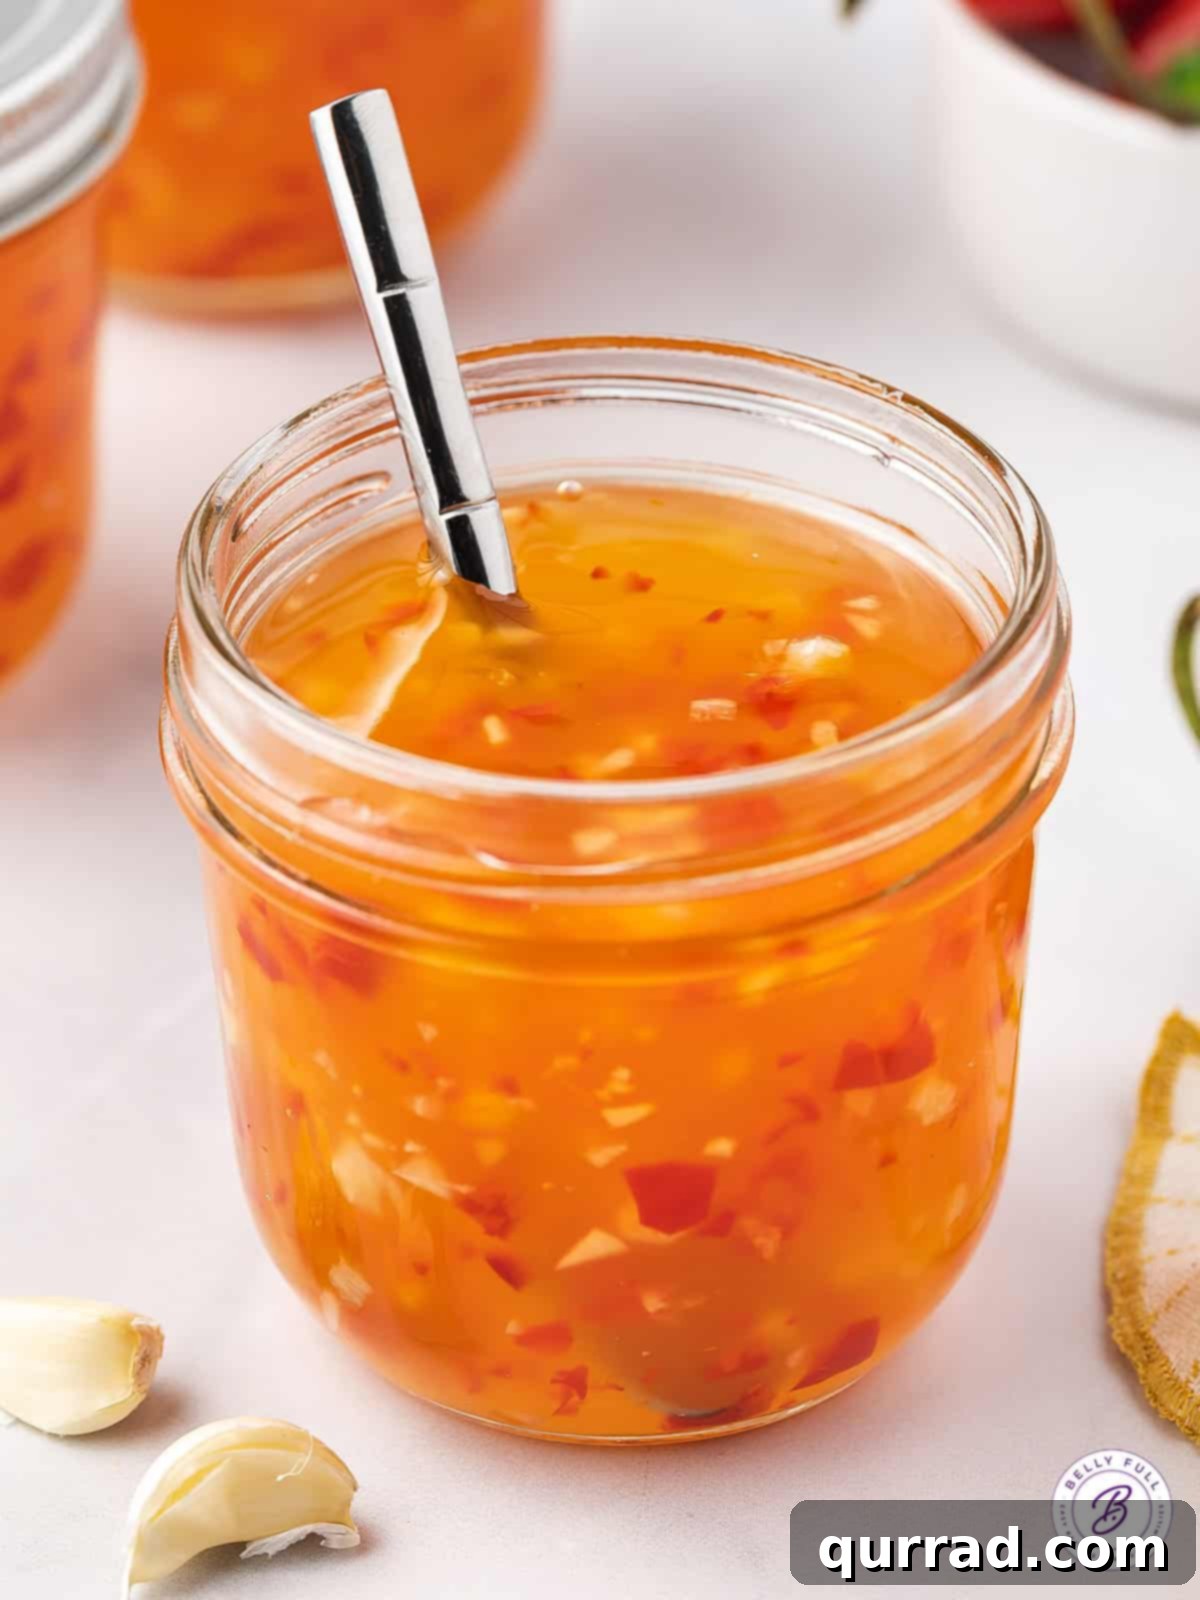
Homemade Sweet Chili Sauce Recipe: Your Ultimate Guide to Sweet, Tangy, and Spicy Perfection
Elevate your culinary creations with this incredible homemade Sweet Chili Sauce. Forget bland store-bought versions; this recipe delivers a fresh, vibrant flavor profile that is delightfully garlicky, tangy, perfectly sweet, and just the right amount of spicy. It’s the ultimate versatile condiment, transforming everyday meals into extraordinary dining experiences. Perfect as a dipping sauce for classics like crispy spring rolls, savory egg rolls, and tender dumplings, it also shines when served alongside grilled meats, succulent poultry, fresh seafood, and a variety of roasted or steamed vegetables. For a surprisingly addictive appetizer that will be the talk of your next gathering, try it poured generously over a block of cream cheese and served with your favorite crackers or crostini!
Why Our Readers Consistently Rate This Recipe 5 Stars!
“I had no idea how easy it was to make this! And so much better tasting than store bought. We loved it. I kept 2 jars for my family and gave the rest to neighbors and friends.” – Robyn
With an outstanding average rating of 5 out of 5 stars from 29 enthusiastic reviews, this recipe is a proven favorite among home cooks!
Unlock Authentic Flavor: The Magic of Homemade Sweet Chili Sauce
You know that deliciously sweet, tangy, and garlicky dipping sauce that consistently accompanies a diverse array of appetizers at your go-to Asian restaurants? The one that tantalizes your taste buds and leaves you yearning for just one more bite? Yes, that’s sweet chili sauce, and its irresistible appeal is universal!
While many excellent store-bought options exist, crafting your own sweet chili sauce at home is a truly rewarding experience. It’s not just about saving a trip to the store; it’s about unlocking a depth of fresh, vibrant flavor that mass-produced versions simply can’t replicate. With only a few simple, wholesome ingredients, you can easily whip up a batch that is superior in taste and quality.
Our homemade recipe yields a sauce with a perfectly balanced consistency—thick enough to cling beautifully to your favorite foods, yet smoothly pourable for drizzling. This makes it ideal for dipping crispy egg rolls, fresh spring rolls, and succulent dumplings. By making it yourself, you gain complete control over the ingredients, allowing you to customize the spice level, sweetness, and overall tang to perfectly suit your palate, while avoiding any unwanted preservatives or artificial flavors. Prepare to impress everyone with this culinary masterpiece!
Essential Tips for Crafting Perfect Sweet Chili Sauce
Making homemade sweet chili sauce is surprisingly simple, but a few key insights and preparation tips can ensure your batch turns out impeccably every time. Follow these recommendations for the best possible flavor, texture, and storage results.
- Selecting Your Peppers: For that iconic bright red hue and a perfectly balanced kick, we recommend using fresh red jalapeño, red Fresno, or red serrano peppers. The choice depends on your desired heat level – serranos are generally hotter than Fresnos, which are hotter than jalapeños. If you prefer a milder sauce, simply remove the seeds and membranes from the peppers before mincing, as this is where most of the capsaicin (heat) resides. For an even gentler flavor, you can substitute some of the chili peppers with minced red bell pepper.
- The Indispensable Thickener: Canning Starch. This recipe specifically calls for Clear Jel or ThermFlo canning starch. These specialized starches are designed to thicken and stabilize sauces effectively, especially in acidic environments and during the canning process. They prevent separation, maintain a clear, glossy appearance, and ensure a stable shelf life. **It is crucial NOT to substitute with regular cornstarch or Sure-Jel.** Regular cornstarch will break down under the prolonged heat and acidity, leading to a thin, cloudy sauce, and is not suitable for safe canning. Sure-Jel is a pectin for jams and jellies, not a sauce thickener.
- Planning for Canning: This recipe is specifically formulated for safe water bath canning, allowing you to preserve your delicious sauce for several months. If long-term storage isn’t your priority, you can certainly enjoy the sauce immediately after cooling, storing it in the refrigerator.
- Always Have Extra Jars: Canning can sometimes yield a slightly varied quantity of sauce. It’s a wise practice to have one or two extra clean, sterilized glass jars (8 oz. is ideal for this recipe) readily available, just in case you have more sauce than anticipated. This prevents last-minute scrambling and ensures no sauce goes to waste.
- Improvise Your Canner: Don’t own a dedicated water bath canner? No problem! A large, sturdy stock pot with a tight-fitting lid can serve as an excellent substitute. Ensure the pot is deep enough for the boiling water to cover the tops of your jars by at least 2 inches. A smart tip: line the bottom of your pot with a clean dishrag or a metal canning rack. This prevents the jars from rattling against the metal bottom during processing, significantly reducing the risk of breakage.
- Achieving a Silky Smooth Texture: While mincing the peppers and garlic provides a rustic texture, for a perfectly smooth sauce, you can briefly blend the cooked mixture with an immersion blender before you whisk in the starch slurry. This step is entirely optional and depends on your textural preference.
- Quality of Vinegar Matters: Rice wine vinegar is chosen for its distinctively mild, slightly sweet acidity. It is paramount for achieving the authentic flavor profile of this Thai-style sweet chili sauce. Avoid substituting with harsher vinegars like white vinegar or apple cider vinegar, as they can overpower the delicate balance of flavors.
- Handling Hot Peppers: When mincing fresh chili peppers, consider wearing gloves to protect your hands from capsaicin, which can cause irritation. Avoid touching your eyes or face after handling peppers.
Homemade Sweet Chili Sauce Recipe
Sweet Chili Sauce
Cook Time: 6 mins
Total Time: 16 mins
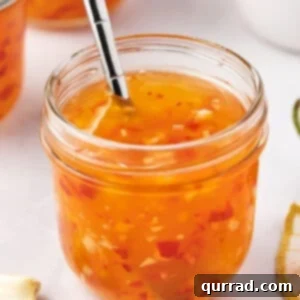
This garlicky, tangy, sweet, and perfectly spicy homemade Sweet Chili Sauce is incredibly versatile and a true kitchen essential. It’s fantastic for dipping spring rolls, egg rolls, and dumplings. Serve it alongside grilled meat, poultry, seafood, and vegetables, or as a delightful appetizer poured over a block of cream cheese with crackers!
Detailed step-by-step photos are available further down the page, below this recipe card, for easy visual guidance.
Ingredients
- 2 1/3 cups water, divided
- 2 cups rice wine vinegar
- 2 cups granulated sugar
- 4 tsp salt
- 4 fresh red jalapeño, red Fresno, or red serrano peppers, stems removed, minced
- 6 cloves garlic, peeled and minced
- ¼ cup plus 2 tsp Clear Jel canning starch
Instructions
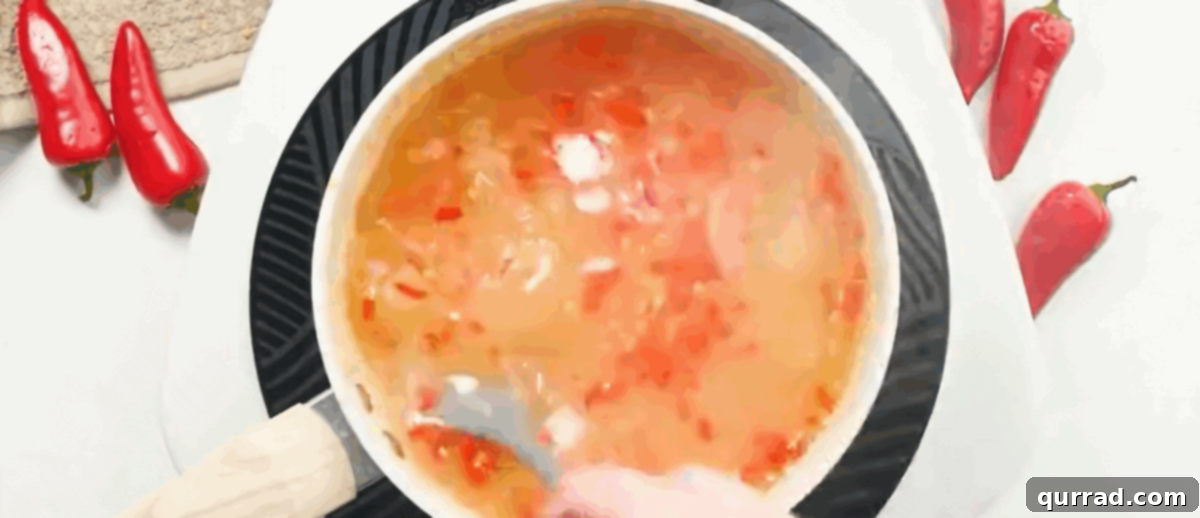
- Combine Ingredients: In a medium-sized saucepan, combine 2 cups of the water, the entire 2 cups of rice wine vinegar, 2 cups of granulated sugar, 4 teaspoons of salt, all 4 minced peppers (red jalapeño, Fresno, or serrano), and all 6 cloves of minced garlic. Stir everything together thoroughly to ensure the sugar and salt begin to dissolve.
- Boil the Mixture: Place the saucepan over medium-high heat and bring the mixture to a vigorous rolling boil. Once boiling, reduce the heat slightly to maintain a strong boil and continue to cook for 5 minutes. This step allows the flavors to fully meld and the peppers to soften.
- Prepare Starch Slurry: While the sauce is boiling, in a separate small bowl, whisk together the remaining 1/3 cup of water with the ¼ cup plus 2 tsp of Clear Jel canning starch until the mixture is completely smooth and free of any lumps. This slurry is crucial for thickening your sauce to the desired consistency.
- Thicken the Sauce: Return your full attention to the boiling sauce mixture in the saucepan. While continuously and vigorously stirring the sauce (this is important to prevent lumps), slowly pour the prepared canning starch mixture into the pan.
- Simmer to Thicken: Continue stirring constantly and bring the entire sauce mixture back to a boil. Once it reaches a boil again, reduce the heat to a gentle simmer and cook for exactly 1 minute, allowing the Clear Jel starch to fully activate and thicken the sauce to a beautiful, glossy consistency.
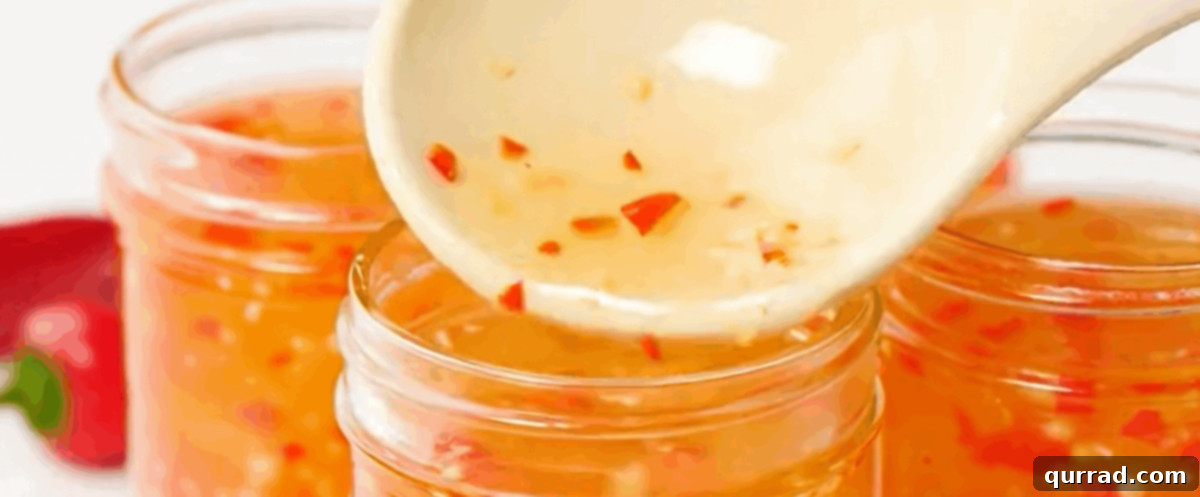
- Fill Jars: Carefully ladle the hot sweet chili sauce into clean, sterilized 8 oz. glass jars. Ensure you leave a precise ¼-inch clearance from the top edge of the jar (this is known as headspace). Proper headspace is vital for safe sealing during canning.
- Remove Air Bubbles and Clean Rims: Use a clean chopstick or a slender, non-metallic utensil to gently work around the inside of each jar, releasing any trapped air bubbles. If the sauce level drops below ¼-inch headspace after removing bubbles, add a little more sauce to adjust. Next, moisten a clean paper towel with a little vinegar and meticulously wipe the rims of all the jars. A perfectly clean rim is critical for ensuring a proper, airtight seal.
- Apply Lids and Bands: Place new, previously heated (if recommended by lid manufacturer) canning lids onto the jars. Screw on the canning bands until they are “fingertip tight” – meaning secure, but not overly tightened.
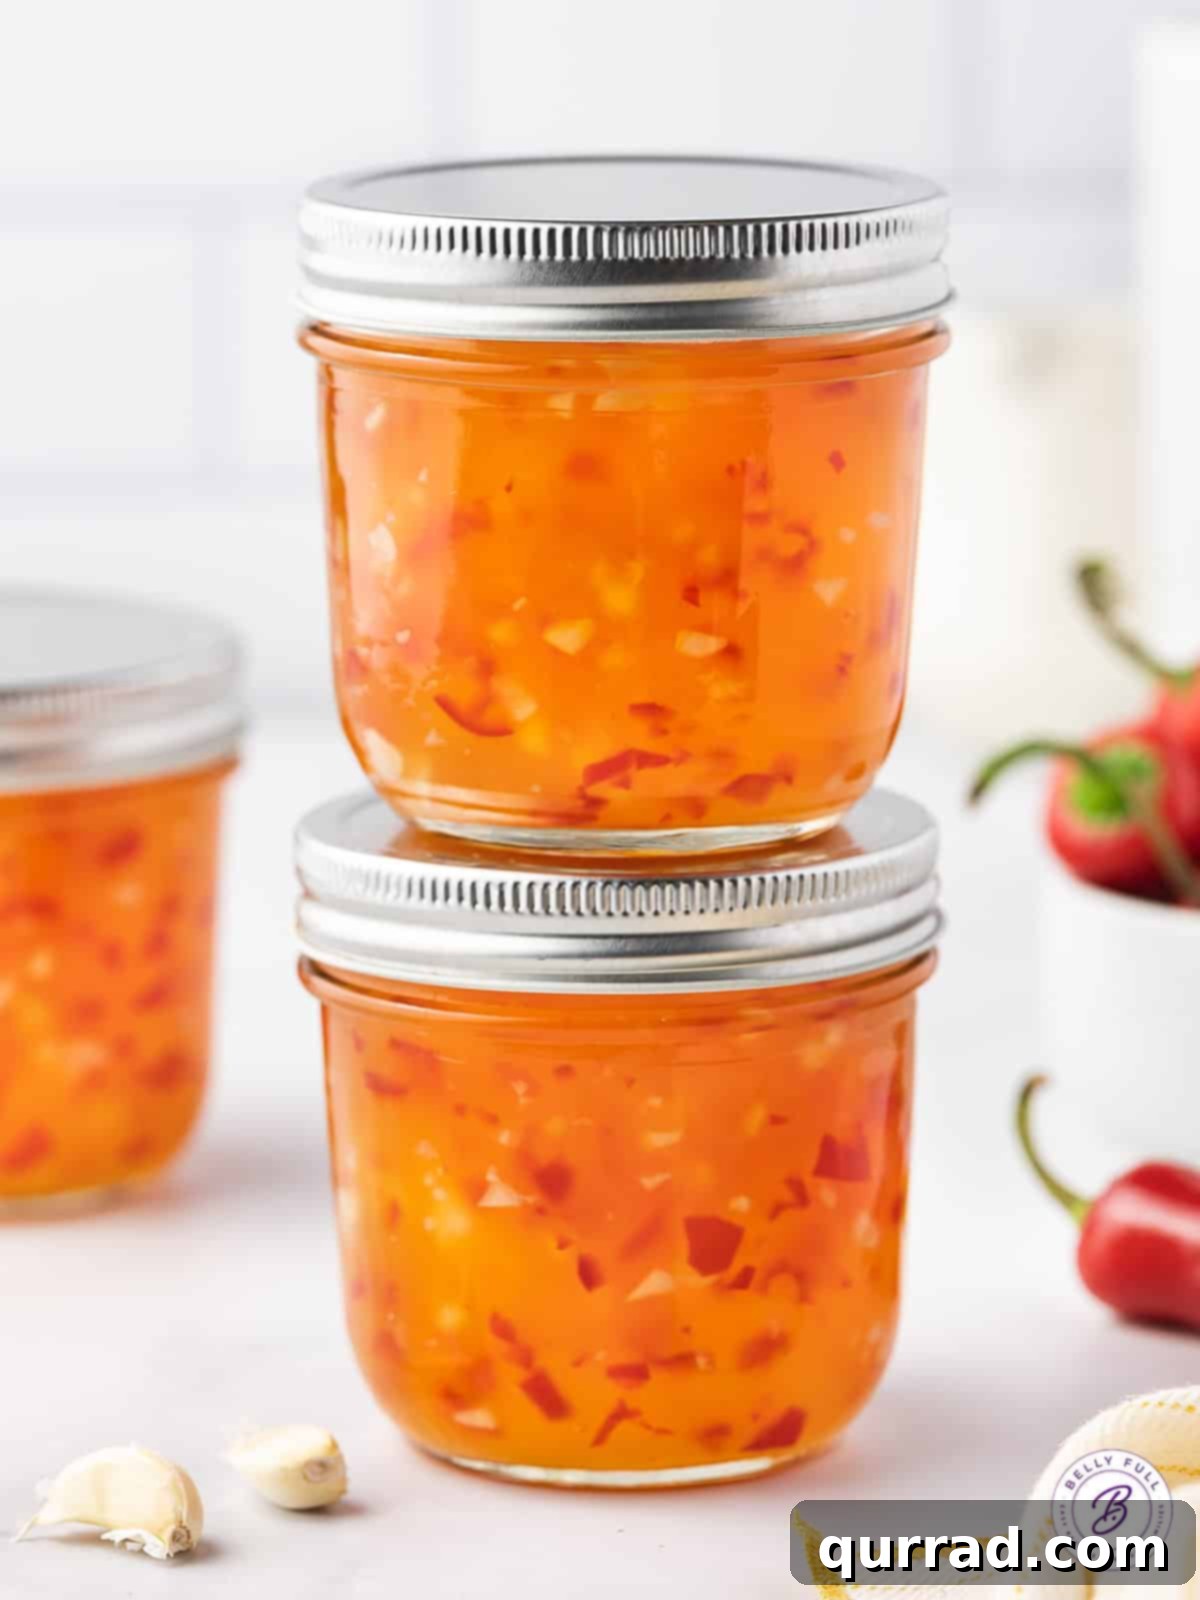
- For Immediate Enjoyment (No Canning): If you plan to use the sauce right away and are not canning, simply allow the filled jars to cool completely to room temperature on your countertop. Once cooled, store them in the refrigerator for up to 3 weeks. They are ready to be enjoyed!
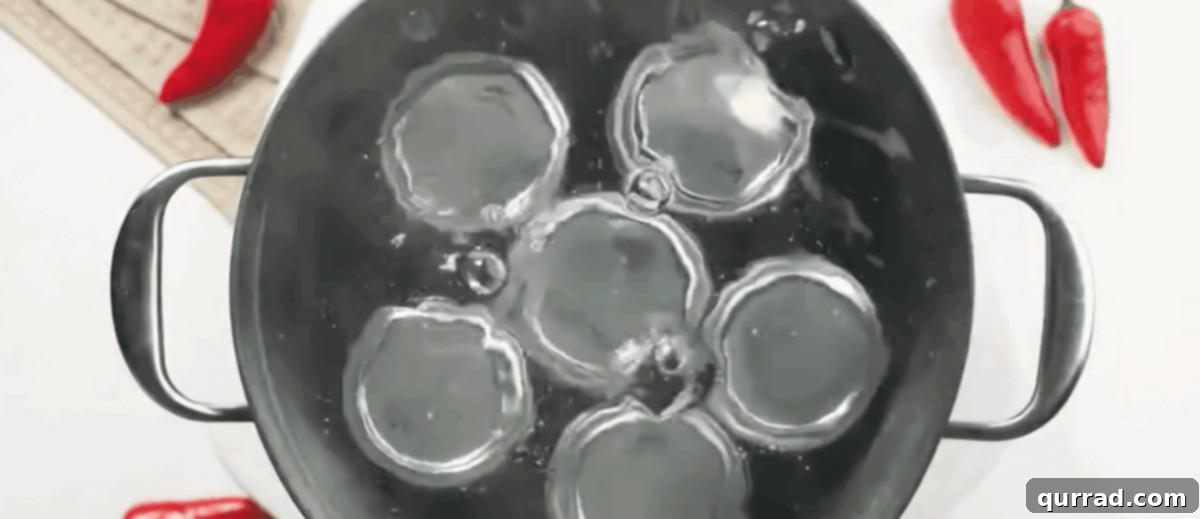
- For Canning and Long-Term Storage: If canning, carefully transfer the sealed jars using non-slip canning tongs into your prepared water bath canner (or large stock pot). Ensure the boiling water in the canner covers the tops of the jars by at least 2 inches.
- Process the Jars: Place the lid firmly on the canner. Bring the water in the canner back to a rolling boil and process the jars for 10 minutes. (Note: Adjust processing time for higher altitudes if necessary, consulting a reliable canning guide).
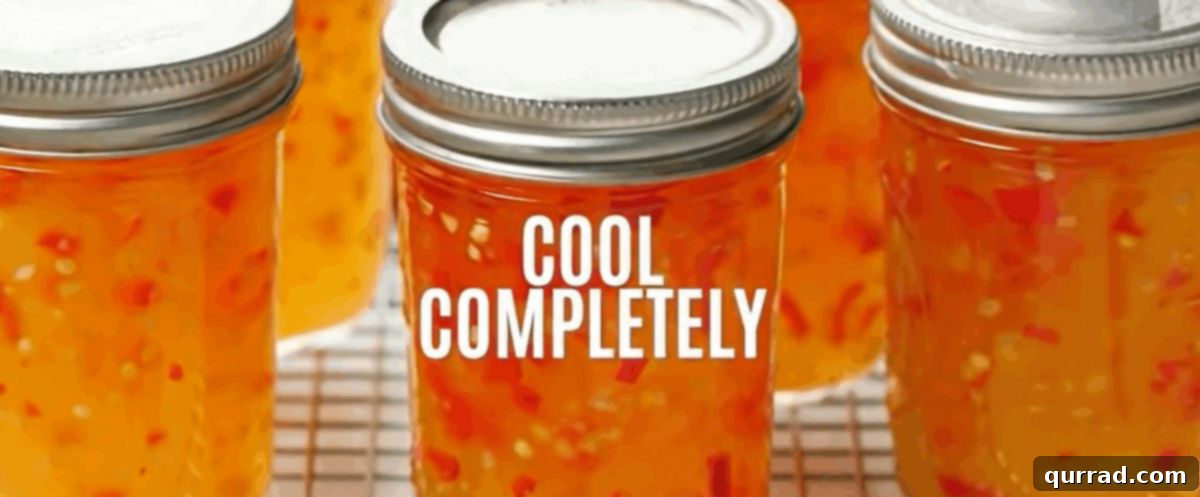
- Cool and Check Seals: After 10 minutes, turn off the heat and carefully remove the hot jars from the canner using tongs. Transfer them to a clean kitchen towel or a wire cooling rack, ensuring they are not touching each other. Allow them to cool completely and undisturbed for 12-24 hours, preferably overnight. As they cool, you should hear a “pop” sound as the lids seal.
- Final Storage: Once completely cool, check the seals. The lids should be concave (curved inwards) and not flex when pressed in the center. Any unsealed jars (lids not concave) should be refrigerated and used within 3 weeks. Wipe sealed jars clean, label them with the date of canning, and store them in a cool, dark pantry or cupboard for up to 6 months.
Nutrition Information
(Per 2 tablespoon serving, approximate)
- Calories: 75 kcal
- Carbohydrates: 18g
- Protein: 1g
- Fat: 1g
- Saturated Fat: 1g
- Sodium: 388mg
- Potassium: 3mg
- Fiber: 1g
- Sugar: 17g
- Vitamin C: 1mg
- Calcium: 3mg
- Iron: 1mg
Please note: The nutritional information provided is an approximate automatic calculation and can vary significantly based on the exact brands and types of products you use, as well as any modifications you make to the recipe. If precise nutritional values are critically important for your dietary needs, we strongly recommend calculating them yourself using your specific ingredients.
Did you try this recipe? We’d love to hear from you! Please consider leaving a rating and sharing your experience in the comments below!
Step-by-Step Visual Guide: Crafting Your Perfect Sweet Chili Sauce
For those who benefit most from visual instruction, here’s a detailed photographic guide to walk you through each critical step of making your homemade sweet chili sauce. Follow these easy visuals to ensure perfect results and a delicious batch every time.
1. Combine Ingredients and Bring to a Boil
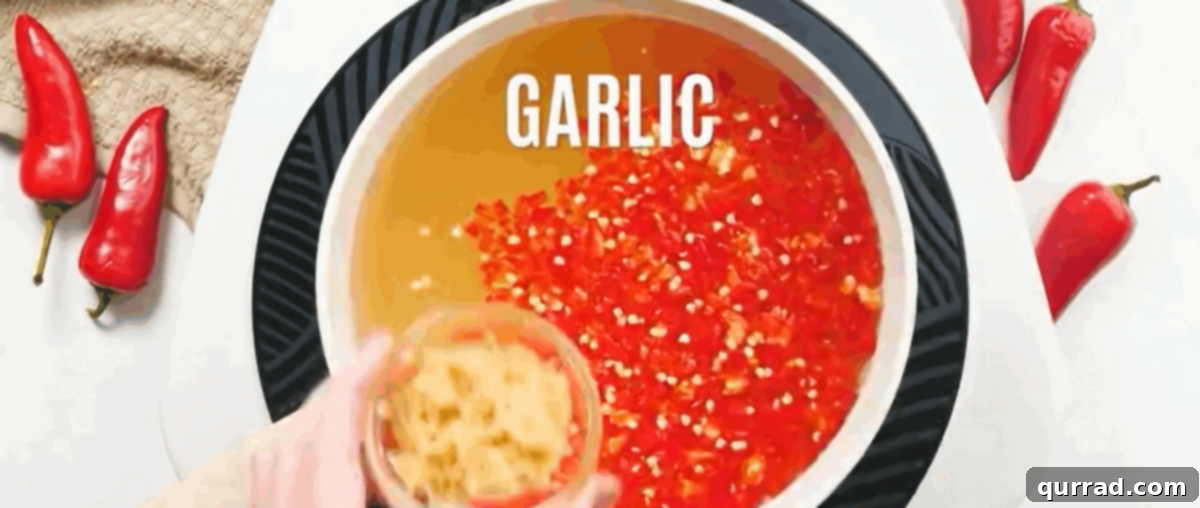
During the 5-minute boiling period for the main sauce, prepare your essential thickener. In a separate small bowl, whisk together the remaining 1/3 cup of water with ¼ cup plus 2 tsp of Clear Jel canning starch until the mixture is completely smooth and free of any lumps. This carefully prepared slurry is fundamental to achieving the sauce’s ideal thick and glossy consistency.
2. Thicken the Sauce with Canning Starch Slurry
3. Transfer the Hot Sauce to Prepared Jars
After filling the jars, gently insert a clean chopstick or a slender, non-metallic utensil along the inside edge of each jar to release any trapped air bubbles. If the sauce level drops below the ¼-inch headspace after removing bubbles, add a small amount of additional sauce to correct it. Next, moisten a clean paper towel with a dab of vinegar and meticulously wipe the rims of all the jars until they are perfectly clean. A spotless rim is crucial for ensuring an airtight seal. Finally, place new canning lids onto the jars and securely fasten the canning bands until they are “fingertip tight”—snug but not overtightened.
4. Cool for Immediate Enjoyment (or Prepare for Canning)
5. Water Bath Canning Process for Long-Term Storage
6. Cool and Store Canned Jars Properly
How to Store Your Homemade Sweet Chili Sauce
Proper storage is paramount to preserving the freshness, flavor, and safety of your homemade sweet chili sauce for as long as possible. Whether you plan to use it immediately, keep it in the fridge, or enjoy it months down the line, here’s a comprehensive guide to storing your delicious creation:
- Refrigeration (Short-Term Storage): Any sauce that you don’t intend to can, or any jars that did not achieve a proper seal after the canning process, should be promptly stored in tightly sealed jars or other airtight containers in the refrigerator. When refrigerated, your homemade sweet chili sauce will maintain its peak quality and safety for up to 3 weeks. Always perform a quick visual and olfactory check for any signs of spoilage before consuming.
- Canning (Long-Term, Shelf-Stable Storage): As meticulously detailed in our recipe and step-by-step guide, proper water bath canning allows your sweet chili sauce to become shelf-stable. Once correctly processed and sealed, jars can be stored in a cool, dark pantry or cupboard for up to 6 months. This method is fantastic for making large batches and having a supply on hand. Once a canned jar is opened, it then becomes subject to refrigeration rules and should be stored in the fridge and consumed within 3 weeks.
- Freezing (Medium-Term Storage): For a convenient medium-term storage solution that doesn’t involve the full canning process, sweet chili sauce can be frozen. Ladle cooled sauce into freezer-safe jars or rigid plastic containers, leaving adequate headspace (about ½ to 1 inch) to allow for expansion as the sauce freezes. Frozen sweet chili sauce will maintain excellent quality for up to 3 months. To use, simply transfer the frozen sauce to the refrigerator overnight to thaw. You might notice a slight alteration in consistency upon thawing, becoming a bit thinner. A gentle reheat in the microwave or on the stovetop (just until it’s warmed through, not brought to a hot boil) can often help restore it to its normal, smooth texture.
Regardless of your chosen storage method, always ensure that your containers are impeccably clean and airtight. This attention to detail is crucial for maintaining the sauce’s quality, flavor, and preventing any potential contamination.
What to Serve with Your Versatile Homemade Sweet Chili Sauce
Homemade sweet chili sauce is an incredibly versatile condiment that can elevate a wide array of dishes, extending far beyond its traditional role with Asian appetizers. Its exquisite balance of sweet, tangy, and spicy notes makes it a perfect complement to numerous flavors and cuisines. Prepare to discover its endless possibilities!
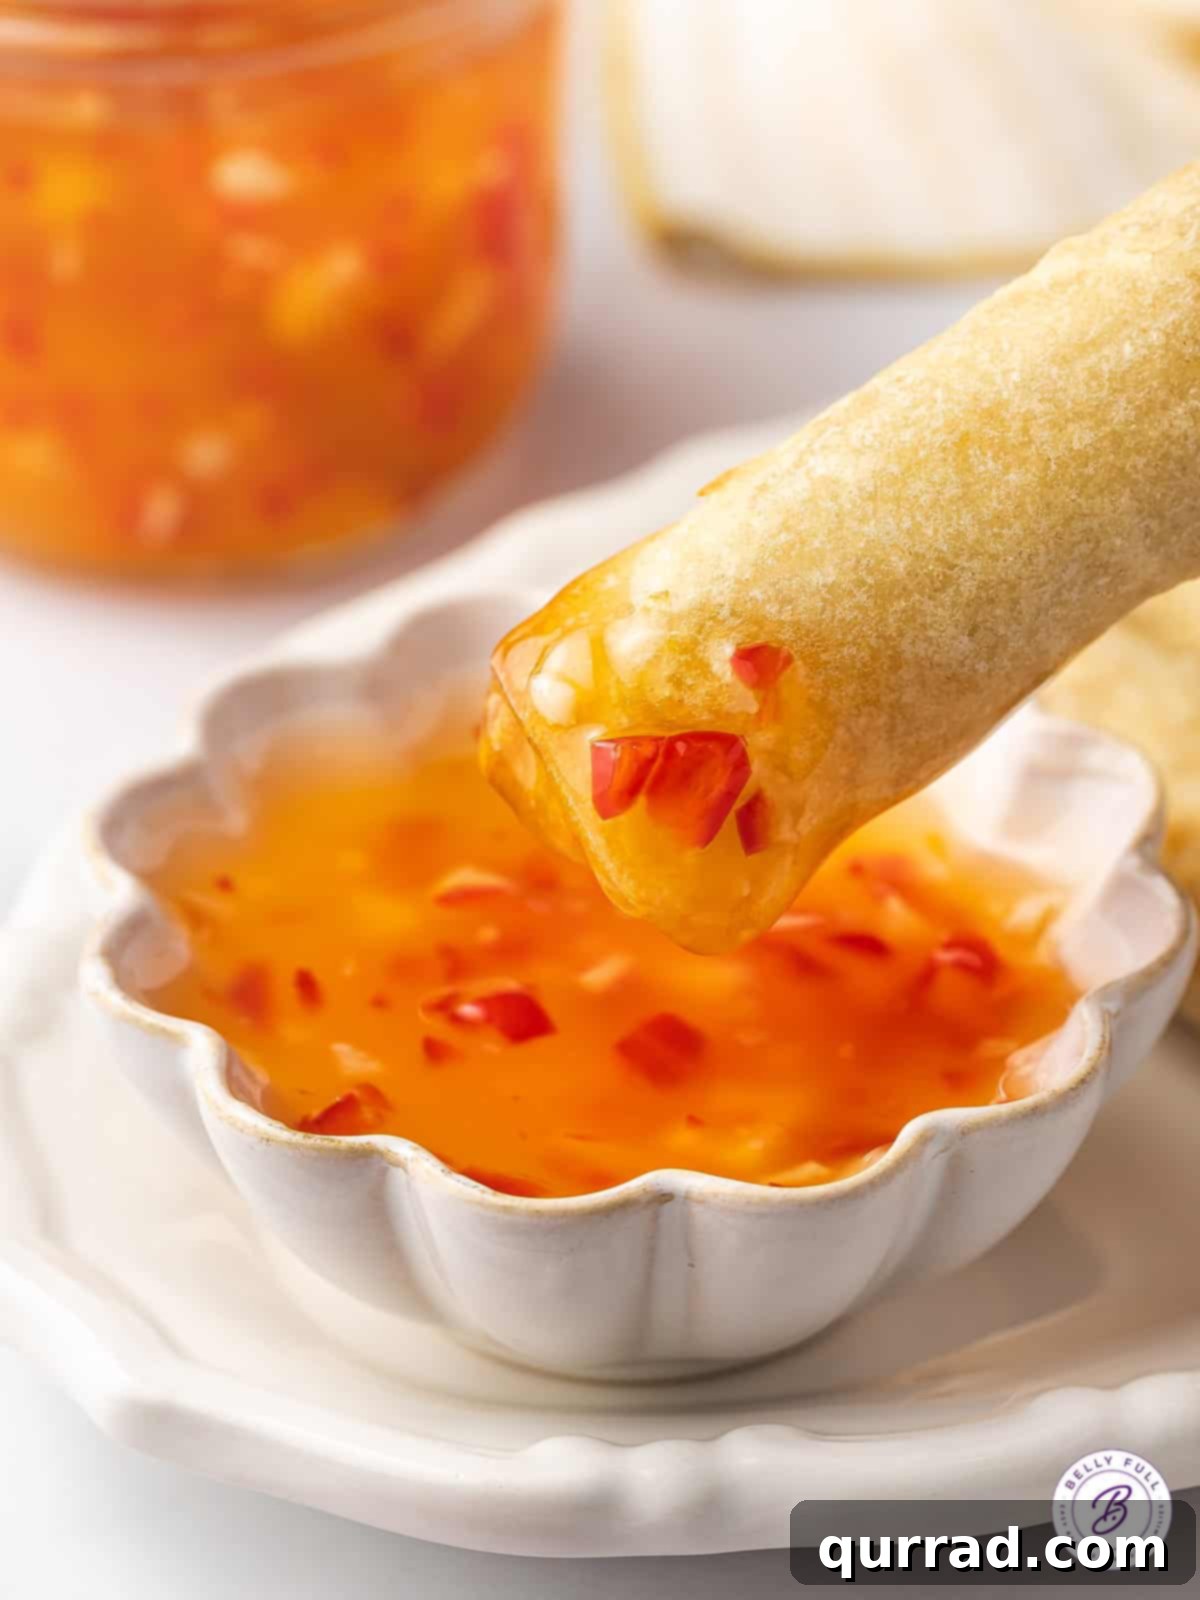
- Classic Dipping Perfection: This is arguably its most celebrated use! It serves as the ultimate dipping companion for crispy egg rolls, delicate fresh spring rolls, savory potstickers, fluffy wontons, and tender dumplings. A must-have for any Asian-inspired meal.
- Enhancer for Fried Foods: Drizzle this vibrant sauce over golden-fried chicken, crispy chicken tenders, crunchy fried shrimp, or even simple fish sticks for an exciting and flavorful boost. It creates an unforgettable pairing with our air fryer coconut shrimp!
- Seafood Sensation: Brush a generous layer onto grilled or baked salmon fillets, flaky cod, or any white fish during the last few minutes of cooking to create a beautiful glaze and infuse a burst of flavor. It also makes a fantastic, zesty dipping sauce for salmon patties or homemade crab cakes.
- Grilled & Roasted Meat Glaze: Utilize it as a delectable glaze for grilled chicken thighs, tender pork chops, or even a slow-roasted rack of ribs. The sugar in the sauce caramelizes beautifully, adding a rich depth and a punch of flavor. It can also be brushed onto roasted chicken or pork tenderloin during the final stages of cooking for an irresistible finish.
- Appetizer Extravaganza: Beyond the famous cream cheese and crackers combo, try sweet chili sauce with homemade chicken meatballs, mini cocktail sausages, or incorporate it as a unique, zesty element on your next charcuterie board. It’s also fantastic stirred into a cream cheese dip for bell peppers and pita bread.
- Vegetable Transformation: Toss roasted broccoli, caramelized cauliflower, or crispy Brussels sprouts with a generous amount of sweet chili sauce for a surprisingly flavorful and addictive side dish. It also serves as an excellent and exciting dip for a platter of raw vegetable sticks, transforming ordinary crudités.
- Sandwiches & Wraps Upgrade: Spread a thin, flavorful layer onto chicken or turkey sandwiches, or use it as a lively dressing for crisp lettuce wraps. It adds a gourmet touch to everyday lunch options.
- Quick Salad Dressing Base: For a light and vibrant salad dressing, whisk sweet chili sauce with a squeeze of fresh lime juice, a dash of sesame oil, and a touch of water or rice vinegar. It’s perfect for green salads or noodle bowls.
Customize Your Sweet Chili Sauce: Exciting Variations and Additions
One of the most rewarding aspects of preparing sweet chili sauce from scratch is the unparalleled ability to customize it precisely to your unique taste preferences. Don’t hesitate to experiment with these ideas to craft your signature sauce that perfectly complements your dishes!
- Adjusting the Heat Level:
- For a Milder Sauce: To significantly reduce the heat, use fewer chili peppers than recommended, or for a virtually spice-free version, substitute red bell pepper for half or all of the chili peppers. Always remember to remove the seeds and membranes from any chili peppers you use, as these contain the highest concentration of capsaicin.
- For a Spicier Kick: If you love heat, feel free to add an extra red jalapeño, Fresno, or serrano pepper to the recipe. For those who crave intense spice, consider incorporating a small amount of minced bird’s eye chili, or stirring in a pinch of dried red pepper flakes during the initial boiling stage.
- Boosting the Tanginess: A splash of fresh lime juice (1-2 tablespoons) added at the very end of the cooking process can significantly brighten the flavor profile and introduce an extra layer of refreshing zing that perfectly balances the sweetness.
- Aromatic Infusions:
- Fresh Ginger: For an additional aromatic depth, add 1-2 tablespoons of freshly grated ginger along with the minced garlic and peppers at the initial cooking stage. Ginger provides a warm, pungent, and subtly sweet undertone.
- Fresh Cilantro: Stir in a handful of finely chopped fresh cilantro after the sauce has finished cooking, just before jarring. Cilantro offers a bright, herbaceous note that beautifully complements the other flavors.
- Savory Enhancements:
- Fish Sauce for Umami: A small amount (1-2 teaspoons) of good quality fish sauce can introduce a subtle yet profound umami depth, adding complexity that expertly rounds out the sweetness and spice.
- Soy Sauce for Salinity: For a slightly saltier and richer savory profile, consider substituting a tablespoon or two of soy sauce for an equivalent amount of the salt listed in the recipe. This will also add a deeper color.
- Customizing Thickness: While Clear Jel reliably provides excellent stability and a perfect consistency, you can slightly adjust the quantity to achieve your personal preference. For a notably thicker sauce, use a tiny bit more Clear Jel; for a slightly thinner consistency, use a tiny bit less. Always make small adjustments.
Frequently Asked Questions About Homemade Sweet Chili Sauce
- Can I use regular cornstarch instead of Clear Jel canning starch?
- No, it is highly recommended to use Clear Jel or ThermFlo canning starch for this recipe, particularly if you intend to can the sauce. Regular cornstarch is prone to breaking down under prolonged heat and acidity, which will cause the sauce to thin out and not stabilize properly for canning or long-term storage. It might also result in a cloudy appearance.
- How long does homemade sweet chili sauce last?
- Uncanned sauce stored in an airtight container in the refrigerator will remain fresh and safe for up to 3 weeks. Properly water-bath canned sauce, stored in a cool, dark pantry, boasts a shelf life of up to 6 months. Once a canned jar is opened, it must be refrigerated and consumed within 3 weeks.
- What kind of peppers are best for this recipe?
- Red jalapeño, red Fresno, or red serrano peppers are ideal choices for this recipe. They contribute both the vibrant red color and a balanced level of heat. You can adjust the quantity of peppers or remove their seeds and membranes to control the spice level to your preference.
- Can I make this sweet chili sauce less spicy?
- Absolutely! To significantly reduce the heat, ensure you remove all the seeds and white membranes from the peppers before mincing them, as these parts contain the most capsaicin. You can also simply use fewer peppers than the recipe calls for, or substitute some of the chili peppers with finely minced red bell pepper for color without the added spice.
- Is this recipe suitable for vegans or vegetarians?
- Yes, this homemade sweet chili sauce recipe is naturally vegan and vegetarian-friendly, as it uses only plant-based ingredients. It’s a fantastic, versatile condiment for those following these dietary preferences.
- Can I scale this recipe up or down to make a larger or smaller batch?
- Yes, this recipe is quite flexible and can be easily doubled or even tripled if you’re making a big batch for canning or gifting. Conversely, it can be halved for a smaller yield. If canning larger quantities, ensure you have appropriate canning equipment and always follow safe canning guidelines rigorously.
More Delicious Asian-Inspired Sauces to Explore
If you’ve enjoyed mastering this homemade sweet chili sauce, you’ll undoubtedly love exploring these other fantastic homemade Asian-inspired sauce recipes to expand your culinary repertoire:
- Homemade Peanut Sauce
- Easy Yum Yum Sauce
- Authentic Teriyaki Sauce
- Versatile Stir Fry Sauce