
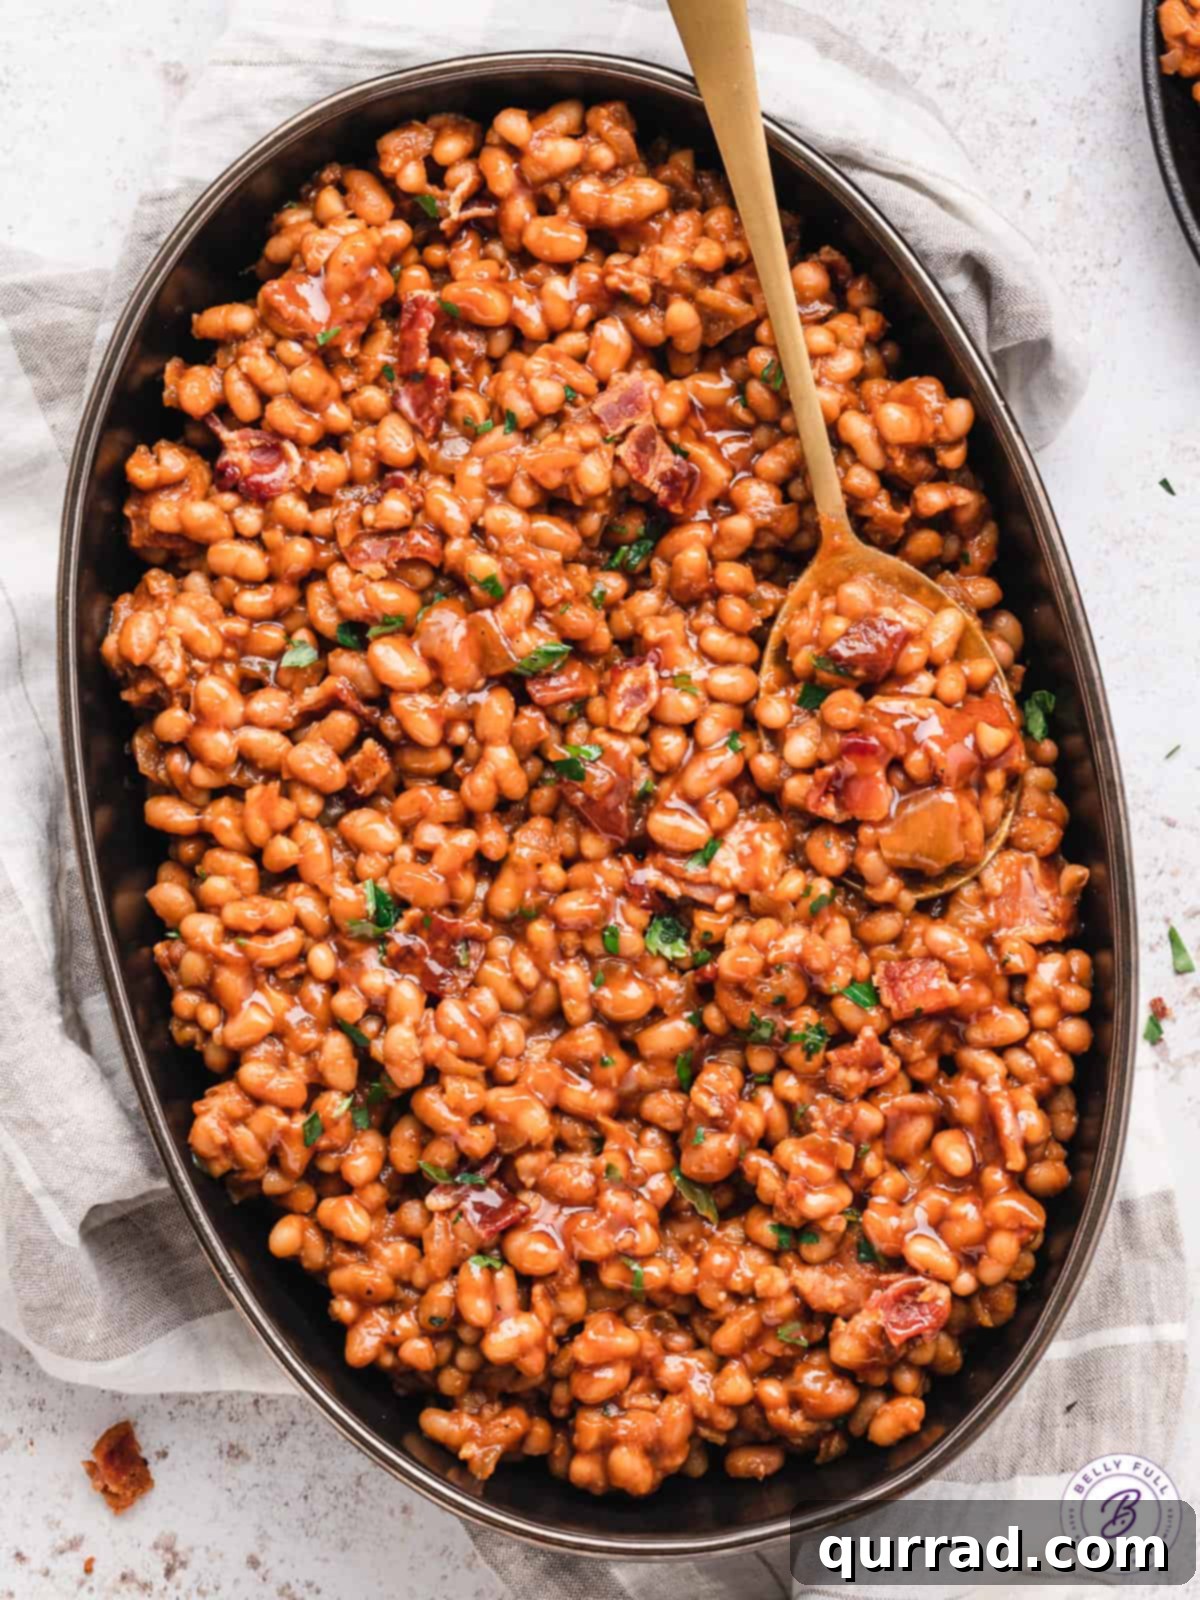
Welcome to the ultimate guide for crafting the most irresistible homemade baked beans! Forget those mediocre canned varieties; this recipe delivers a rich, sweet, and savory experience that’s a thousand times better, yet surprisingly simple to prepare. Whether you’re planning a lively potluck, a sizzling summer BBQ, or simply seeking a comforting side dish to complement your beef, chicken, or pork dinner, these baked beans are a year-round crowd-pleaser that will have everyone asking for your secret recipe.
5-STAR REVIEW
“This is a GREAT recipe! Fantastic flavor and perfect consistency. Thank you so much for sharing—we all loved them.” – Teri
Easy Homemade Baked Beans Recipe: A Culinary Delight
There’s something truly magical about a perfectly crafted batch of baked beans. This particular recipe stands out with its exquisite balance of sweet and savory notes, enriched by the deep, earthy sweetness of molasses and the smoky, irresistible crunch of real bacon. While opting for homemade from scratch might involve a few more steps than merely opening a can, the unparalleled flavor and texture make every moment spent in the kitchen utterly worthwhile. This is not just a side dish; it’s a statement.
Imagine the aroma filling your home, drawing everyone to the kitchen. These classic baked beans are ideal for any gathering. They’re a staple for grilled and smoked meats, elevating everything from hot dogs and juicy ribs to tender chicken, succulent brisket, and savory ham. Their robust flavor profile also makes them a fantastic accompaniment to holiday feasts or casual family dinners throughout the year. Once you taste these homemade beans, you’ll never look back at canned alternatives.
Rated 5 out of 5 stars by 39 reviewers.
Homemade Baked Beans
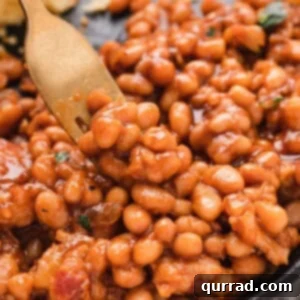
See below the recipe card for step-by-step images.
Ingredients
- 4 cans (15 oz. each) navy beans, drained (pink or Northern White also work)
- 6 slices bacon, diced (thick cut, plain or maple)
- 1 medium yellow onion, diced
- 1/3 cup ketchup
- 3 tbsp molasses
- 2 tbsp apple cider vinegar
- ¼ cup brown sugar
- 1 tbsp Worcestershire sauce
- 1 tsp salt
- ½ tsp dry mustard powder
- ¼ tsp ground black pepper
Instructions
- Preheat the oven to 325°F (160°C). This ensures even cooking and allows the flavors to meld beautifully from the start.
- Prepare your baking vessel: Add the drained beans, diced bacon, and chopped onion to a generously greased 9×13-inch casserole dish or a 3-quart Dutch oven. Greasing the dish prevents sticking and makes cleanup easier.
- Craft the flavorful sauce: In a large saucepan, combine the ketchup, molasses, apple cider vinegar, brown sugar, Worcestershire sauce, salt, dry mustard, and ground black pepper. Place over medium heat and bring the mixture to a gentle boil, stirring constantly to ensure all ingredients are well combined and the sugar dissolves.
- Combine and cover: Carefully pour the warm, aromatic sauce over the bean mixture in the casserole dish. Stir gently with a spoon or spatula to ensure every bean is coated in the rich sauce. Cover the dish securely with aluminum foil.
- Bake to perfection: Transfer the covered dish to your preheated oven. Bake for approximately 2 hours, stirring every 30 minutes or so. This regular stirring helps achieve a uniform consistency and prevents the beans from drying out on top. Continue baking until your desired thickness and sauciness are reached.
- Rest and serve: Once baked to perfection, remove the dish from the oven. Give it one final gentle stir. Let the baked beans cool for 10 to 15 minutes before serving. This resting period allows the flavors to further deepen and the sauce to thicken slightly.
Video
A video tutorial for making Homemade Baked Beans will be embedded here soon.
Notes
- The longer you cook the beans, the thicker their consistency will become. Keep in mind that the sauce will also naturally thicken further as it cools.
Nutrition
Nutritional information given is an automatic calculation and can vary based on the exact products you use and any changes you make to the recipe. If these numbers are very important to you, I would recommend calculating them yourself.
How to Make Homemade Baked Beans Step by Step
Creating these delightful homemade baked beans is a straightforward process that yields incredibly rewarding results. Follow these detailed steps to ensure a perfectly delicious batch every time:
Get the oven going: Begin by preheating your oven to 325°F (160°C). This lower, steady temperature is crucial for slow cooking the beans to a tender, flavor-rich consistency without drying them out.
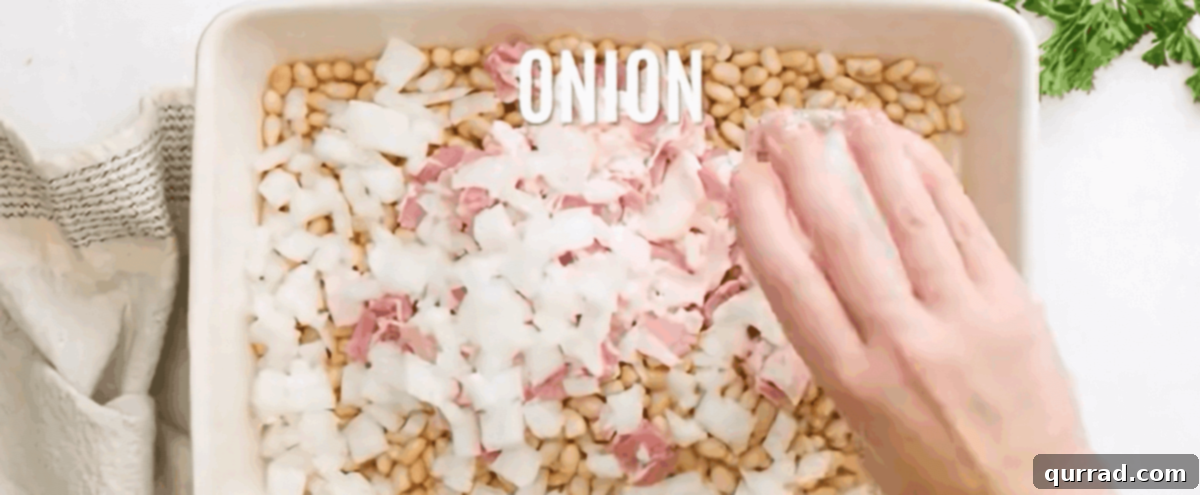
Prepare the base: In a generously greased 9×13-inch casserole dish or a sturdy 3-quart Dutch oven, combine the four cans of drained navy beans, six slices of diced bacon, and one medium yellow onion, also diced. The grease helps prevent sticking, and the combination of these foundational ingredients sets the stage for a deeply flavored dish.
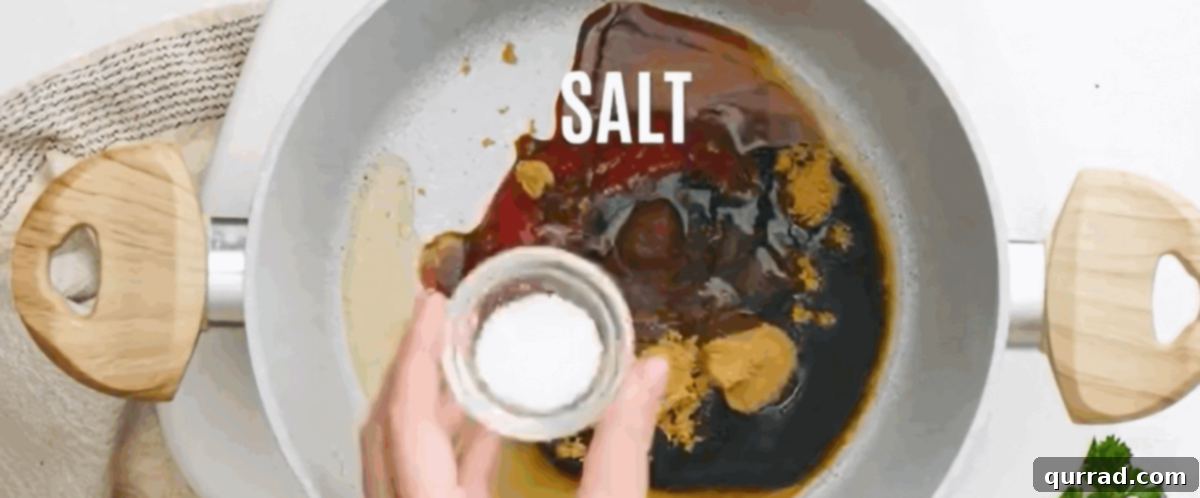
Whisk up the irresistible sauce: In a separate, large saucepan, bring together 1/3 cup of ketchup, 3 tablespoons of rich molasses, 2 tablespoons of tangy apple cider vinegar, 1/4 cup of packed brown sugar, 1 tablespoon of Worcestershire sauce, 1 teaspoon of salt, 1/2 teaspoon of dry mustard powder, and 1/4 teaspoon of ground black pepper. Place this mixture over medium heat and stir continuously until it comes to a gentle boil and all the ingredients are thoroughly combined and smooth. This step creates the vibrant, sweet-and-savory backbone of your baked beans.
Combine and cover: Once your sauce is ready, carefully pour it evenly over the bean mixture in your casserole dish. Give it a gentle stir to ensure every bean is coated with the flavorful sauce. Then, cover the dish tightly with aluminum foil. This seal traps moisture and heat, allowing the beans to slow-cook and absorb all the delicious flavors.

Bake to perfection: Transfer the covered dish to your preheated 325°F oven. Bake for approximately 2 hours. During this baking time, it’s important to stir the beans every 30 minutes or so. This regular stirring prevents the edges from drying out and promotes even thickening and flavor distribution throughout the dish. Continue baking until the beans reach your desired consistency – some prefer them saucier, while others like them thicker. The longer they bake, the more the sauce will reduce and thicken.
The perfect finish: After baking, remove the casserole dish from the oven. Give the beans one final, gentle stir. Before serving, let them cool and rest for 10 to 15 minutes. This resting period allows the flavors to settle and intensify, and the sauce will thicken a little more as it cools, giving you that ideal baked bean texture.
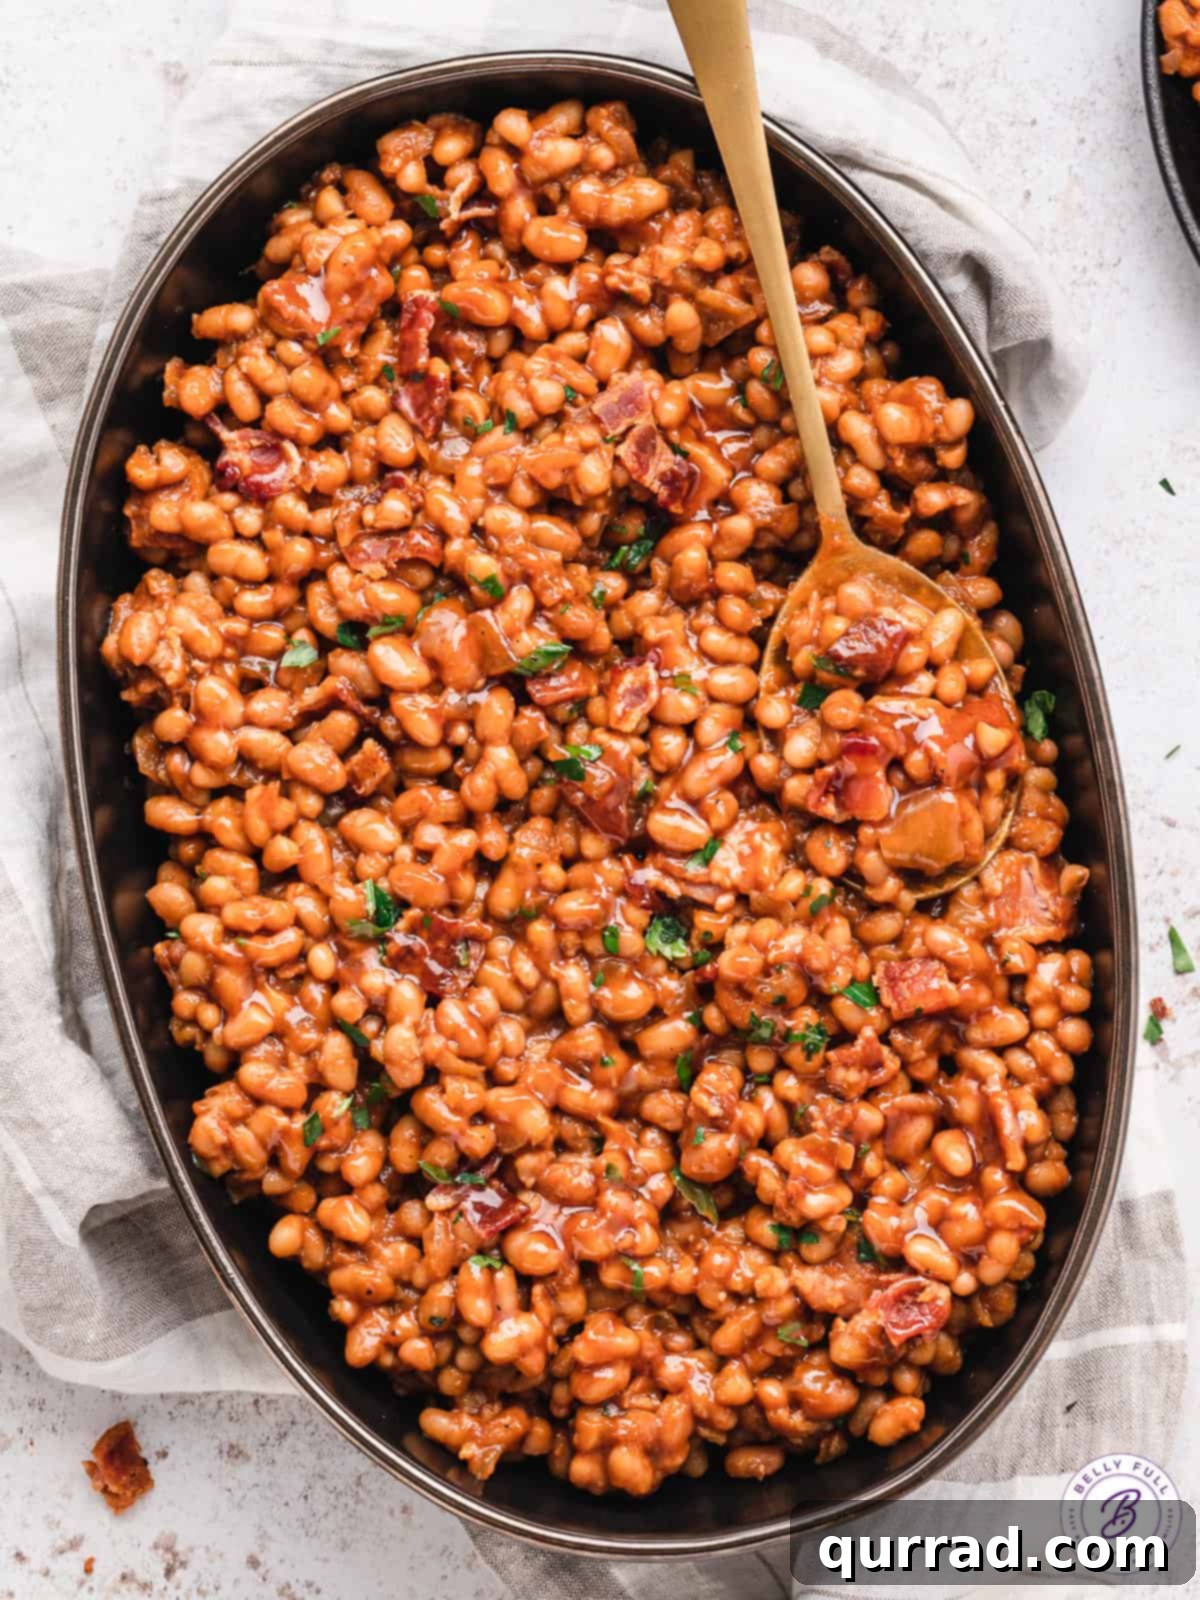
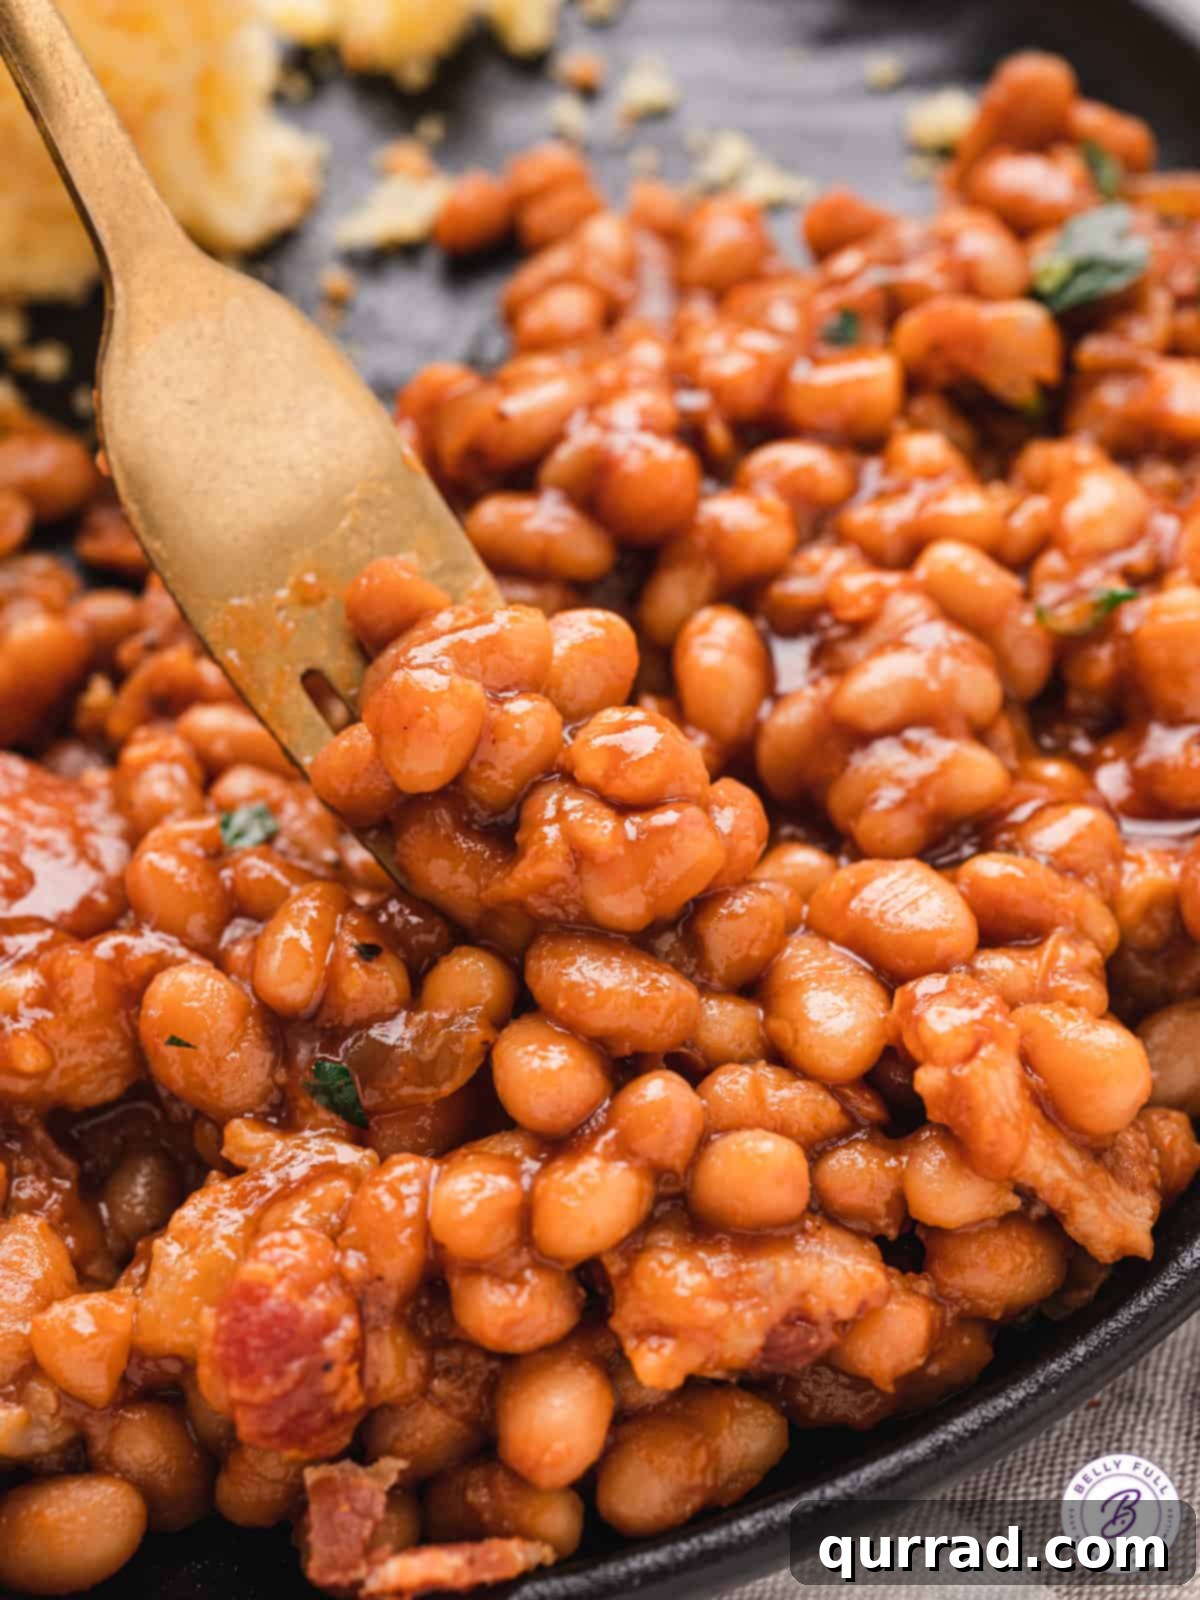
Serve and enjoy: Spoon out generous portions of your perfectly homemade baked beans and prepare for a wave of compliments. These beans are fantastic served hot and fresh, offering a comforting and flavorful addition to any meal.
Recipe Variations and Flavor Enhancements
While this recipe for homemade baked beans is perfect as is, it also offers a fantastic canvas for customization. Feel free to experiment with these variations to tailor the dish to your personal taste and dietary preferences:
- Add colorful bell peppers: For an extra layer of flavor and a beautiful pop of color, consider adding diced green or red bell pepper to the mixture alongside the onion and bacon. They’ll soften beautifully during baking and add a subtle sweetness and freshness.
- Boost the sweetness: If you find yourself craving a slightly sweeter bean experience after they’ve cooked, you can easily adjust it. Stir in an additional 2 tablespoons of pure maple syrup or more brown sugar until it reaches your desired level of sweetness. Remember, a little goes a long way, so add gradually and taste as you go.
- Introduce a kick of spice: For those who love a bit of heat, incorporating some spice can transform this dish. Add 1/4 to 1/2 teaspoon of cayenne pepper or red pepper flakes to the sauce mixture. For a smoky depth with heat, smoked chipotle powder would also be an excellent addition.
- Make it vegetarian or vegan: To create a delicious vegetarian version, simply omit the bacon from the recipe. If you’re adapting it for a vegan diet, ensure your Worcestershire sauce is vegan (some contain anchovies). When removing bacon, you might need to adjust the seasoning; bacon contributes a significant amount of sodium, so you may want to increase the added salt by about a teaspoon to compensate for the lost savory depth.
- Smoked paprika: A teaspoon of smoked paprika can add a wonderful smoky flavor without needing extra bacon.
- Mustard variations: Instead of dry mustard powder, you could use a tablespoon of Dijon mustard or spicy brown mustard for a different kind of tang.
Crafting Baked Beans with Dried Beans
Absolutely! If you prefer to prepare your baked beans using dried navy beans instead of canned, it’s a perfectly viable option and can add an even deeper, more authentic flavor. This method requires a bit more foresight due to the soaking and simmering process, but the results are truly rewarding.
You’ll need approximately 1 & 1/3 pounds of dried navy beans for this recipe. Start by thoroughly rinsing the dried beans under hot water to remove any dust or debris. Then, transfer them to a large container and cover them with fresh water, ensuring the water level is at least 1 inch above the beans. Cover the container tightly and allow the beans to soak for a minimum of 8 hours, or ideally, overnight. Soaking helps rehydrate the beans, reduces cooking time, and aids in digestibility.
Once soaked, drain the beans well and transfer them to a large pot. Again, cover the beans with fresh cold water, this time by about 1 inch. Bring the water to a rapid boil, then reduce the heat to a gentle bubble and simmer for about 1 hour. This initial simmer ensures the beans are tender before they go into the oven. After simmering, drain the cooked beans thoroughly before proceeding with the rest of the recipe as directed. They should be tender but still hold their shape.
For an even faster alternative for cooking dried beans, particularly the soaking step, you can use an Instant Pot. This method significantly reduces the overall preparation time while still delivering perfectly tender beans, similar to our popular Instant Pot Baked Beans recipe. Just ensure they are cooked until tender before combining with the sauce ingredients.
How to Store Homemade Baked Beans
Proper storage ensures you can enjoy your delicious homemade baked beans for days to come, or even stock up for future meals. Here’s how to do it effectively:
Refrigeration: Leftover oven baked beans can be stored in the refrigerator for up to 5 days. It’s crucial to transfer them to an airtight container as soon as they have cooled down to room temperature. This prevents spoilage and keeps them fresh. To reheat, simply warm them on the stovetop over medium-low heat, stirring occasionally until they are heated through. For individual servings, the microwave works wonderfully: place them in a microwave-safe dish and heat in 60-second intervals, stirring in between, until hot.
Freezing: Baked beans freeze exceptionally well, making them perfect for meal prep or saving for unexpected guests. Prepare the recipe as directed and allow the beans to cool completely after baking. Once cool, transfer them to a freezer-safe airtight container or heavy-duty freezer bag. Be sure to leave about 1-2 inches of extra space at the top, as the beans will expand slightly when frozen. They can be safely frozen for up to 3 months without significant loss of quality or flavor.
Thawing and reheating from frozen: When you’re ready to enjoy them, thaw the frozen baked beans in the refrigerator overnight. If reheating a large quantity, transfer the thawed beans to a baking dish, cover it with foil, and bake at 300°F (150°C) for approximately 45 minutes, or until thoroughly warmed through. For smaller, individual portions, you can reheat them in the microwave. Place the thawed beans in a heat-safe dish fitted with a heat-safe lid and microwave for about 5 minutes, stirring well at 60-second intervals until piping hot. This gentle reheating method helps maintain their creamy texture and rich flavor.
What to Serve With Baked Beans
Homemade baked beans are incredibly versatile and pair beautifully with a wide array of dishes, particularly anything that comes off the grill or out of a smoker. Their sweet, tangy, and smoky profile makes them an essential accompaniment to classic American comfort food and BBQ feasts. Here are some fantastic serving suggestions:
- BBQ entrees: These beans are the ultimate sidekick to any smoked or grilled meat. They shine alongside tender baby back ribs, making for an unforgettable meal. They are also a classic pairing for a hearty, slow-cooked beef brisket, absorbing all the delicious juices.
- Grilled classics: For casual backyard gatherings, my kids especially love eating these beans with perfectly charred grilled hot dogs. They’re also excellent with grilled sausages, hamburgers, or even grilled chicken thighs.
- Picnic and potluck favorites: Baked beans are a staple for any outdoor event. Serve them alongside potato salad, coleslaw, corn on the cob, and cornbread for a complete picnic spread.
- Weekday dinners: Don’t reserve these just for special occasions! They make a satisfying side for simple weeknight meals like roasted chicken, pork chops, or even a meatloaf. Their hearty nature can turn a simple plate into a wholesome, comforting dinner.
- Vegetarian mains: For a delicious vegetarian meal, pair these (bacon-free) baked beans with grilled halloumi, hearty mushroom burgers, or a vibrant grain salad.
More Delicious Bean Recipes to Explore
If you’ve fallen in love with the versatility and deliciousness of beans, there’s a whole world of bean-based recipes waiting for you. From hearty mains to refreshing sides, beans are a fantastic, nutritious, and budget-friendly ingredient. Expand your culinary repertoire with these other fantastic bean recipes:
- Skillet Beans and Rice with Kielbasa: A comforting and easy one-pan meal perfect for busy weeknights.
- Classic Three Bean Salad: A refreshing and tangy cold salad, ideal for picnics and summer BBQs.
- Zesty Corn and Black Bean Salsa: A vibrant, fresh, and flavorful dip or topping for tacos and grilled meats.
- The Best Texas Caviar: A colorful and zesty bean salad that doubles as a delightful dip.
- Creamy White Bean Dip: A smooth, savory, and healthy alternative to hummus, perfect with pita or veggies.