
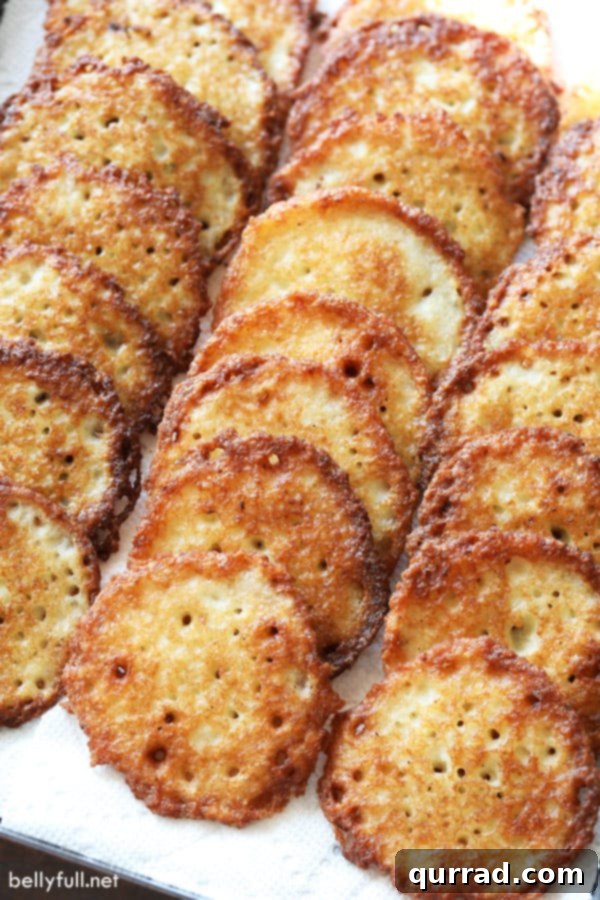
Irresistibly Crispy Classic Potato Latkes: Your Ultimate Recipe Guide
Dive into the delightful world of homemade Potato Latkes – a dish celebrated for its perfectly crispy exterior and tender, savory interior. While these golden potato pancakes are a beloved tradition during Hanukkah, their universal appeal makes them a fantastic treat any time of year. Crafted with just a few simple, wholesome ingredients and fried to golden perfection, these latkes offer an unparalleled culinary experience that will leave everyone craving more.
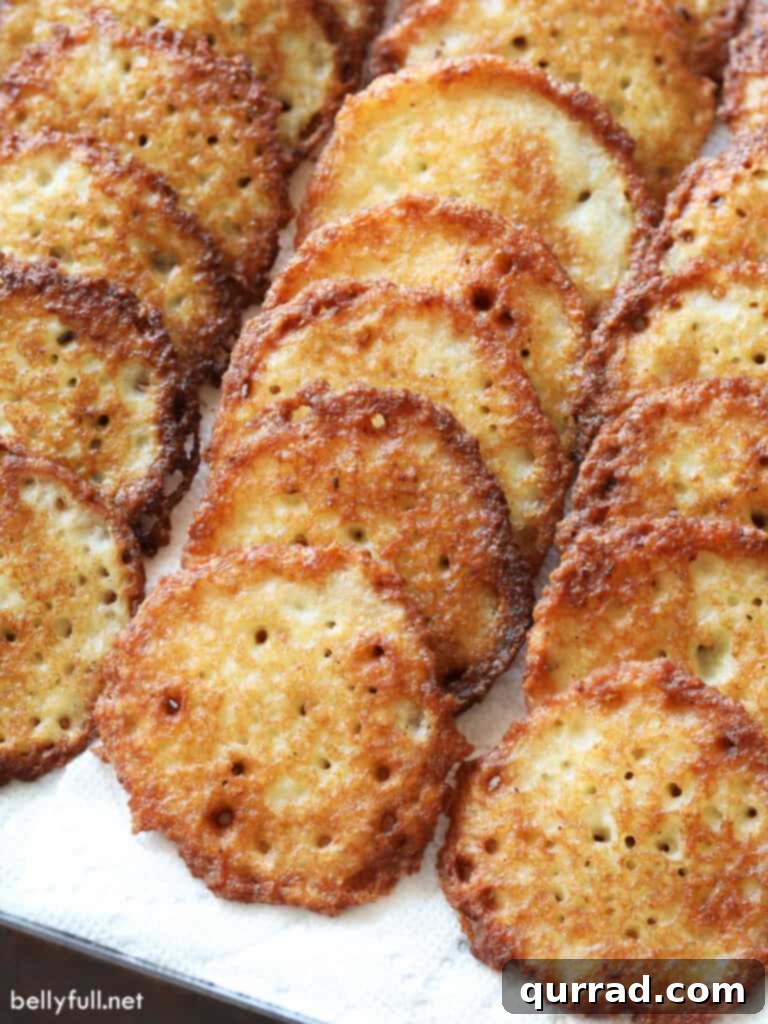
A 5-Star Culinary Experience
“This was my best latke ever! Thank you!!” – Jessica
Easy Potato Latkes: A Staple for Every Table
Our family cherishes a beautiful blend of traditions, celebrating both Jewish holidays and Christmas with equal joy. When Hanukkah arrives, my mom and I share the heartwarming tradition of making potato latkes together. It’s a moment of connection, laughter, and an unspoken agreement that no matter how many we make, we always wish for a double batch because they disappear in an instant! This easy latke recipe has become a treasured part of our holiday feasts, and we’re thrilled to share it with you.
Latkes, also known as potato pancakes, hold a special place in Jewish culinary traditions, particularly during Hanukkah, Rosh Hashanah, and Passover. They symbolize the oil from the Hanukkah miracle, making them a significant part of the celebration. However, the delightful crunch and savory flavor of latkes transcend cultural boundaries. You absolutely do not need to be Jewish to savor these incredible treats; their deliciousness is truly universal and enjoyed by food lovers everywhere.
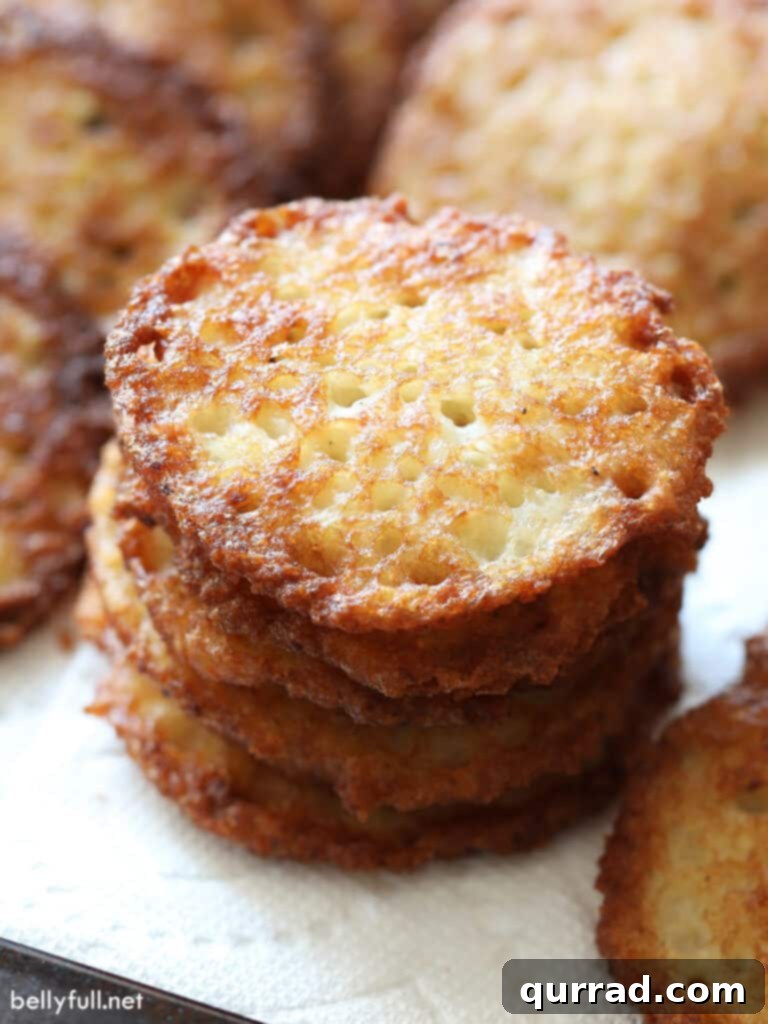
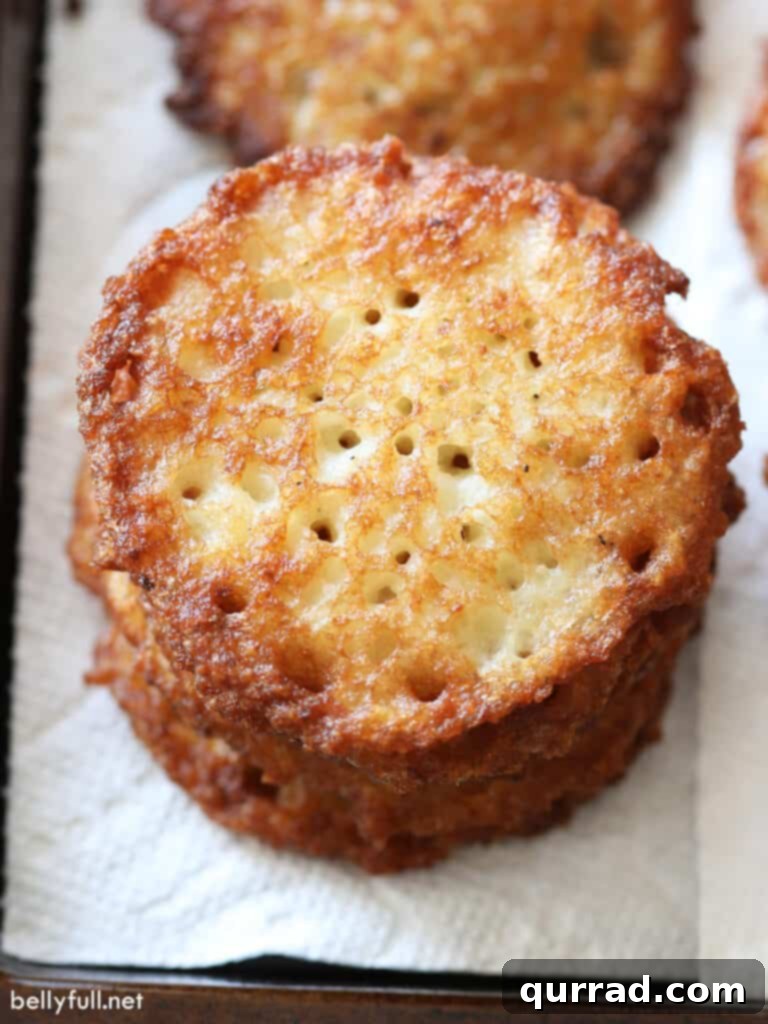
These small, fried potato pancakes are often compared to other fritters, but latkes stand apart with their distinctive texture and flavor profile. Unlike corn fritters, the main components of classic latkes are freshly grated potatoes, binding eggs, a touch of starch (like flour or matzo meal), and, in our recipe, a hint of onion for an extra layer of savory depth. The perfect latke boasts a remarkably tender interior encased within an irresistibly crispy, golden-brown exterior – a textural masterpiece that is simply beyond scrumptious!
It’s important to clarify a common misconception: latkes and hash browns are distinct dishes. While both feature potatoes, latkes typically incorporate eggs and flour/starch, resulting in a more cohesive, pancake-like structure. Furthermore, authentic latkes are *never* made with mashed potatoes. While mashed potato cakes are undeniably fantastic, they are an entirely different culinary creation, offering a softer texture compared to the crispy delights of traditional latkes. Our recipe focuses on the classic, grated potato method to ensure that signature crunch.
5 from 9 reviews
Classic Potato Latkes
30 latkes
Pin
These Classic Potato Latkes deliver an exquisite combination of a tender interior and an incredibly crispy exterior. Deep-fried using just a few simple ingredients, they offer a truly unique and satisfying culinary delight!
Scroll down below the recipe card for helpful step-by-step images and detailed tips.
Ingredients
- 1 small sweet onion, peeled, stem removed, quartered
- 2 large eggs, beaten
- 1 lb. russet potatoes, peeled and cut into cubes
- ½ tsp kosher salt
- Pinch black pepper
- 3 tbsp all-purpose flour*
- 1 cup (or more) vegetable oil, for frying
- Applesauce, for serving (optional)
- Sour cream, for serving (optional)
Instructions
- Prepare the batter base: In a food processor fitted with a metal blade, combine the quartered onion and beaten eggs. Puree the mixture until it becomes smooth and fluffy. This step helps evenly distribute the onion flavor and creates a good base for the potatoes.
- Add potatoes and season: Add the cubed russet potatoes to the food processor. Using short, off-and-on pulses, process the mixture until the potatoes are pureed but still retain some discernible texture. Avoid over-processing to prevent a gummy consistency. Next, add the kosher salt, black pepper, and all-purpose flour. Briefly pulse again just to combine thoroughly. Do not over-process at this stage either.
- Drain excess liquid: Carefully pour the entire potato mixture into a large bowl. If there is a significant amount of excess liquid at the bottom of the bowl, gently squeeze it out using your hands or a clean kitchen towel. Removing excess moisture is crucial for achieving crispy latkes.
- Preheat oven and prepare baking sheet: Preheat your oven to 300°F (150°C). Line a large baking sheet with a double layer of paper towels. This setup will be used to drain the freshly fried latkes and keep them warm.
- Heat oil and begin frying: Pour a generous, solid layer of vegetable oil into the bottom of a large nonstick pan, ensuring it’s about ¼ to ½ inch deep. Place the pan over medium-high heat. The oil is hot enough when a small drop of the latke mixture sizzles immediately upon contact. Working in batches to avoid overcrowding, spoon rounded tablespoons of the potato mixture into the hot oil. Ensure the latkes don’t touch each other, leaving space for even cooking. Gently flatten each latke slightly with the back of a spoon to form discs approximately 2-3 inches in diameter.
- Fry to golden perfection: Fry the latkes until they are beautifully golden brown and crispy, which typically takes about 2 minutes per side. Keep a close eye on them; if they start to brown too quickly or burn, reduce your cooking time for subsequent batches or replace the oil with a fresh amount if it has become too dark or smoky.
- Drain and keep warm: As each batch finishes frying, transfer the latkes to the prepared baking sheet lined with paper towels to drain any excess oil. Once a batch has drained briefly, remove the paper towels (to prevent steaming) and place the latkes directly on the clean baking sheet in the preheated oven. This will keep them warm and crispy while you continue frying the remaining batches.
- Garnish and serve: Once all latkes are cooked and kept warm, transfer them to a serving platter. Garnish immediately with your preferred toppings. Classic choices include a dollop of applesauce and/or a spoonful of sour cream. Serve hot and enjoy!
Recipe Video
A detailed recipe video showcasing each step of making these crispy potato latkes will be embedded here soon!
Notes
*For those observing Passover, substitute matzo meal in place of all-purpose flour to make the latkes kosher for Passover.
Nutrition Information
Calories: 30kcal | Carbohydrates: 4g | Protein: 1g | Fat: 1g | Saturated Fat: 1g | Cholesterol: 14mg | Sodium: 46mg | Potassium: 81mg | Fiber: 1g | Sugar: 1g | Vitamin A: 20IU | Vitamin C: 1mg | Calcium: 6mg | Iron: 1mg
Nutritional information is an estimated automatic calculation and can vary based on the exact products you use and any modifications made to the recipe. For precise dietary planning, it is recommended to calculate these values yourself.
How to Make Potato Latkes: A Step-by-Step Visual Guide
For those who love to see the process unfold, here’s a visual breakdown of each step, ensuring you achieve perfect latkes every time.
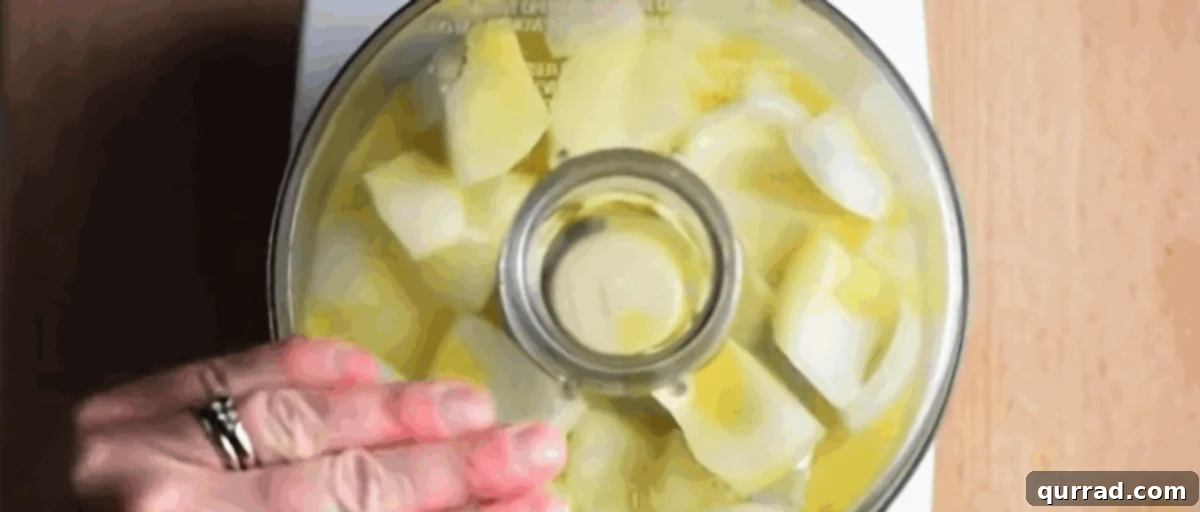
Step 1: Process onion, eggs, and potatoes: Begin by combining 1 small sweet onion (peeled, stem removed, quartered) and 2 large beaten eggs in a food processor equipped with a metal blade. Pulse until the mixture is smooth and fluffy. Then, add 1 lb. of peeled and cubed russet potatoes. Use short, off-and-on pulses to process the potatoes until they are pureed but still maintain a slight texture – avoid over-processing, which can lead to a pasty consistency. Finally, add ½ tsp kosher salt, a pinch of black pepper, and 3 tbsp all-purpose flour. Pulse briefly again just to incorporate these ingredients, being careful not to overmix.
Step 2: Transfer and drain excess liquid: Gently pour the entire potato mixture into a clean bowl. This is a crucial step for crispy latkes: if you notice a significant amount of liquid pooled at the bottom of the bowl, gently squeeze out any excess moisture. You can use your hands or a fine-mesh sieve lined with cheesecloth to press out the liquid. Less moisture means crispier latkes!
Step 3: Prepare the oven and baking sheet: Preheat your oven to a low temperature of 300°F (150°C). This oven will serve as a warming station for your cooked latkes. Line a large baking sheet with a double layer of paper towels. This will be where you initially place the freshly fried latkes to absorb any residual oil.
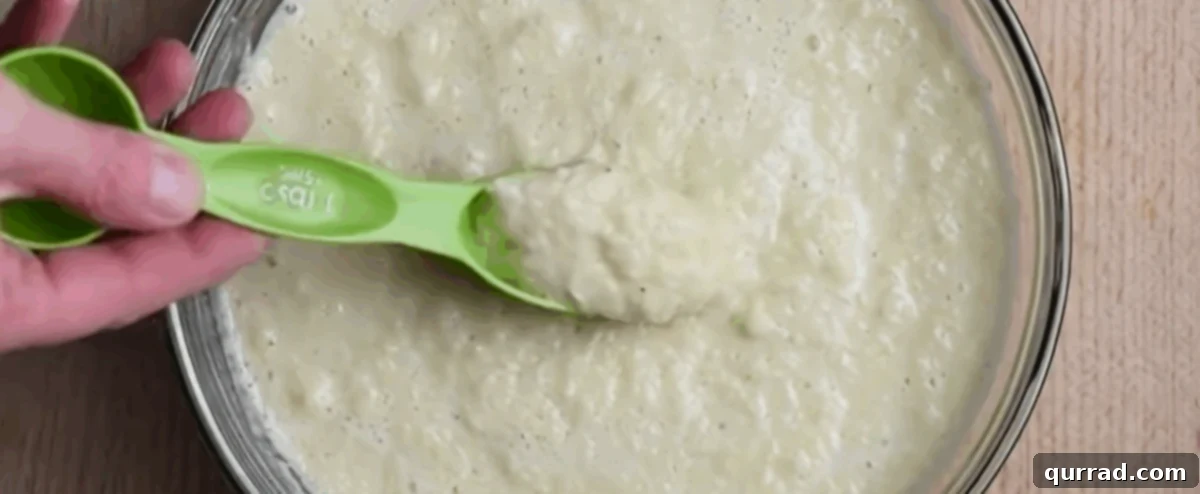
Step 4: Heat the oil and portion the batter: Pour enough vegetable oil into a large nonstick pan to create a solid layer, roughly ¼ to ½ inch deep. Place the pan over medium-high heat. Allow the oil to get sufficiently hot, but not smoking. You can test it by dropping a tiny bit of batter into the oil; if it sizzles vigorously, it’s ready. Working in manageable batches to prevent overcrowding the pan, spoon rounded tablespoons of the latke mixture into the hot oil. Ensure there is enough space between each latke to allow for even cooking. Gently flatten each mound of batter with the back of a spoon to create small, round pancakes, approximately 2-3 inches in diameter.
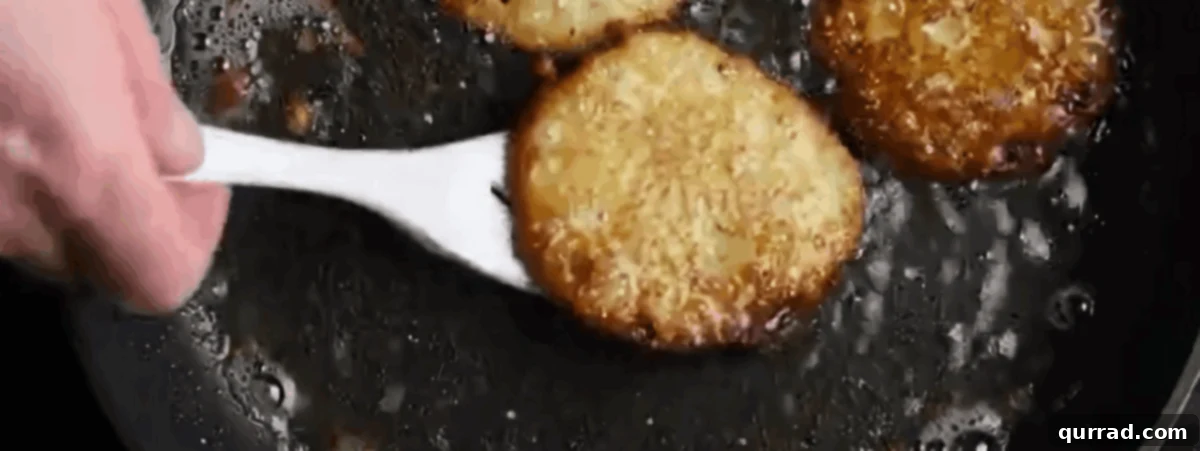
Step 5: Fry until golden brown: Fry the latkes for about 2 minutes on each side, or until they turn a beautiful golden brown and become wonderfully crispy. Keep a close watch on the heat; if you notice them browning too quickly or starting to burn, adjust your stove’s temperature downwards. It’s also a good idea to refresh your frying oil with a clean amount if it starts to look too dark or if bits of batter accumulate and burn, which can impart an unpleasant flavor to subsequent batches.
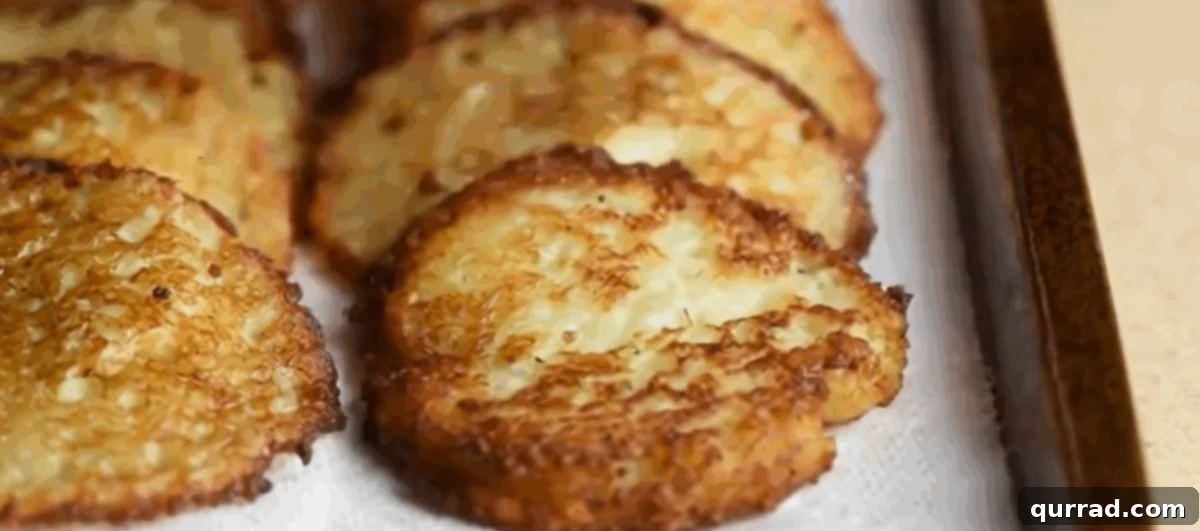
Step 6: Transfer to drain and keep warm: As each batch of latkes reaches its golden-brown crispiness, carefully transfer them to the paper towel-lined baking sheet to drain any excess oil. After a brief period of blotting, remove the paper towels from underneath them (to prevent the latkes from steaming and losing their crispness) and place the drained latkes directly onto the baking sheet in the preheated oven. This ensures that all your latkes stay warm and maintain their delightful crispness while you finish frying the rest.
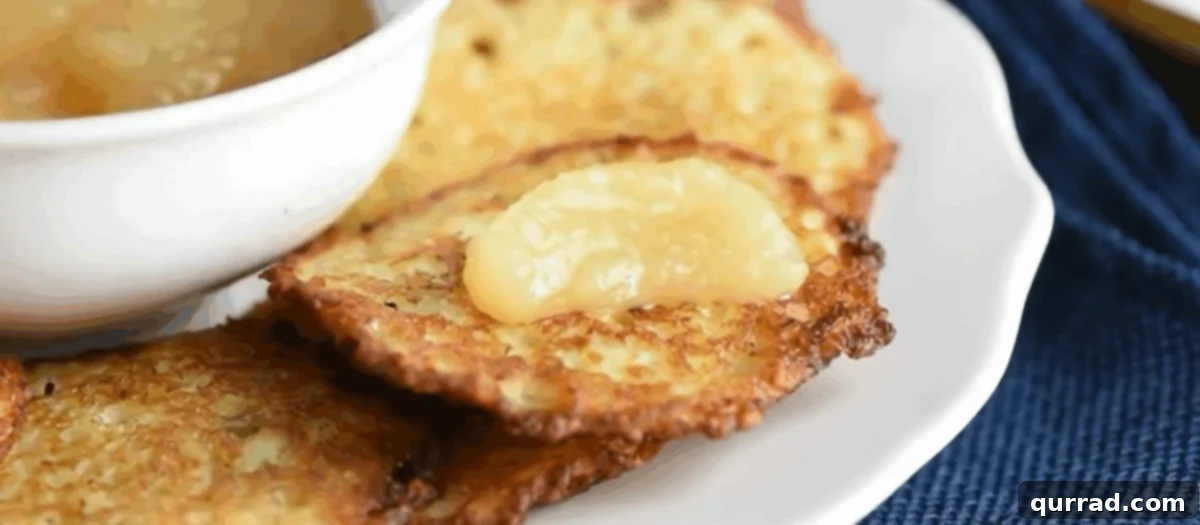
Step 7: Garnish and serve immediately: Once all your perfect latkes are fried and ready, arrange them beautifully on a serving platter. Garnish them to your heart’s content! The most traditional and beloved accompaniments are a generous dollop of cool, creamy sour cream and a spoonful of sweet, tangy applesauce. Serve your homemade latkes immediately while they are still hot and at their peak crispiness for the best flavor and texture experience.
Tips for Perfectly Crispy Latkes
- Squeeze out moisture: This is arguably the most crucial step! Excess liquid in the potato mixture leads to soggy latkes. Use a clean kitchen towel or cheesecloth to wring out as much water as possible after processing the potatoes.
- Don’t overcrowd the pan: Fry latkes in batches, leaving enough space between each one. Overcrowding lowers the oil temperature, resulting in greasy, less crispy latkes.
- Maintain oil temperature: Keep the oil at medium-high heat. If it’s too cool, the latkes will absorb too much oil; if too hot, they’ll burn before cooking through. Adjust the heat as needed between batches.
- Use the right potato: Russet potatoes are ideal due to their high starch content, which helps them crisp up beautifully.
- Even grating: Using a food processor ensures consistent potato shredding, leading to uniform cooking and texture.
- Keep them warm: The oven trick (as mentioned in Step 6) is key to serving all your latkes hot and crispy, especially when cooking for a crowd.
Recipe Variations and Flavor Boosters
While classic potato latkes are perfect on their own, don’t hesitate to experiment with these delicious variations to customize your batch:
- Infuse with fresh herbs: Elevate the flavor profile by blending in finely chopped fresh herbs such as chives, parsley, or dill directly into the potato mixture. A little garlic powder can also add a wonderful savory depth.
- Introduce another vegetable: Potatoes pair wonderfully with other vegetables. Consider combining them with finely grated zucchini (ensuring to squeeze out all excess moisture from the zucchini as well) or try making delightful potato carrot latkes for a touch of sweetness and color.
- Spicy kick: For those who enjoy a bit of heat, a pinch of cayenne pepper or a dash of hot sauce can be mixed into the batter.
- Cheese please: A small amount of finely grated Parmesan or cheddar cheese added to the mixture can create an extra layer of savory goodness.
How to Store and Reheat Latkes: Keeping Them Crispy
Potato pancakes, much like most fritters and freshly fried foods, are undoubtedly best enjoyed immediately, straight from the pan while they are still hot and wonderfully crispy. However, if you are fortunate enough to have any leftovers (a rare occurrence in our household!), you can certainly enjoy them later.
Make-ahead batter: You can prepare the latke batter up to 2 hours before frying. Simply store the mixture in an airtight container in the refrigerator until you’re ready to cook. Be sure to give it a good stir and squeeze out any newly accumulated liquid before frying.
Refrigeration: Once fried, leftover latkes will keep well in an airtight container in the refrigerator for up to 2 days. While they won’t be as crisp as fresh, they’ll still be delicious.
Reheating: To bring them back to life and restore their crispness, arrange the latkes in a single layer on a baking sheet. Reheat them in a preheated 350°F (175°C) oven for about 10 minutes, or until they are heated through and regain their desirable crisp exterior.
Freezing: For longer storage, allow the fried latkes to cool completely. Arrange them in a single layer on a baking sheet and freeze until solid. Once frozen, transfer them to freezer bags, separating layers with parchment paper to prevent sticking. They can be stored in the freezer for up to 2 weeks. When you’re ready to enjoy them, defrost the latkes in the refrigerator overnight and then reheat them in the oven as described above.
What to Serve with Latkes: Beyond the Traditional
While the classic pairing of sweet applesauce and cool, tangy sour cream is undeniably a match made in culinary heaven for latkes, there’s a whole world of delicious toppings and sides you can explore to elevate your potato pancake experience:
- Classic Accompaniments: Always start with homemade or good quality store-bought applesauce and a dollop of sour cream. These two offer a perfect balance of sweet and savory, hot and cold, that complements the crispy latkes beautifully.
- Creamy Indulgences: For a richer twist, consider topping your latkes with creamy homemade ricotta cheese, which offers a delicate sweetness and smooth texture. A sophisticated alternative is crème fraîche, providing a slightly nutty and less tangy creaminess than sour cream.
- Savory Enhancements:
- Onion Jam: A spoonful of sweet and tart onion jam can provide an incredible depth of flavor. The caramelized onions offer a sweet and savory contrast that is simply divine.
- Smoked Salmon and Dill: For a more elegant appetizer, top your latkes with a slice of smoked salmon, a sprinkle of fresh dill, and a squeeze of lemon juice.
- Caramelized Onions: Slow-cooked caramelized onions bring a wonderful sweetness and umami that pairs exceptionally well with the crispy potatoes.
- Chives or Scallions: A simple garnish of finely chopped fresh chives or scallions adds a fresh, oniony kick and a pop of color.
- Unique Flavor Twists:
- Everything Bagel Seasoning: I sometimes like to sprinkle Everything Bagel Seasoning Blend on my latkes for an added crunchy texture and a burst of savory, garlicky flavor.
- Spicy Sriracha Mayo: For those who love a bit of heat, a drizzle of sriracha mayo can add a fantastic spicy kick.
- Garlic Aioli: A homemade garlic aioli offers a creamy, garlicky, and tangy alternative to sour cream.
Frequently Asked Questions About Latkes
- Which type of potato is best for latkes?
- Russet potatoes (also known as Idaho potatoes) are generally considered the best for latkes. Their high starch content helps create that desirable crispy texture on the outside and a fluffy interior.
- Can I grate the potatoes by hand instead of using a food processor?
- Absolutely! A box grater works perfectly. Use the large-holed side for classic latkes. Just be mindful that hand grating takes more time and effort, but the results are equally delicious. The key is to grate quickly and get them into the mixture to prevent excessive browning.
- Why do my latkes turn out soggy?
- Sogginess is usually due to too much moisture in the potato mixture or overcrowding the frying pan. Always squeeze out as much liquid as possible from the grated potatoes. Also, fry in batches to maintain a consistent oil temperature, which ensures crispness.
- What kind of oil is best for frying latkes?
- Vegetable oil, canola oil, or grapeseed oil are excellent choices for frying latkes. They have high smoke points, ensuring that the oil can reach the necessary temperature without burning and imparting off-flavors. Traditionally, some families use schmaltz (rendered chicken fat) for a richer flavor.
- Can I make latkes gluten-free?
- Yes! Simply substitute the all-purpose flour with a gluten-free all-purpose flour blend or use matzo meal for a Passover-friendly and naturally gluten-free option (ensure your matzo meal is certified gluten-free if strict dietary needs apply).
More Jewish Food Recipes to Explore
If you enjoyed these classic potato latkes, you might also love exploring these other traditional and beloved Jewish recipes:
- Rugelach: Delicious small pastries filled with jam, nuts, or chocolate.
- Sweet Noodle Kugel: A comforting and sweet baked casserole made with egg noodles, often served during holidays.
- Cheese Blintz: Delicate crepes filled with a sweet cheese mixture, typically pan-fried and served with fruit.
- Challah Bread: A rich, braided egg bread, often served on Shabbat and holidays.
- Matzo Ball Soup: A classic comfort food featuring light, fluffy matzo balls in a savory chicken broth.
We hope this comprehensive guide inspires you to make the best potato latkes you’ve ever tasted. Happy cooking and enjoy your crispy, golden creations!