
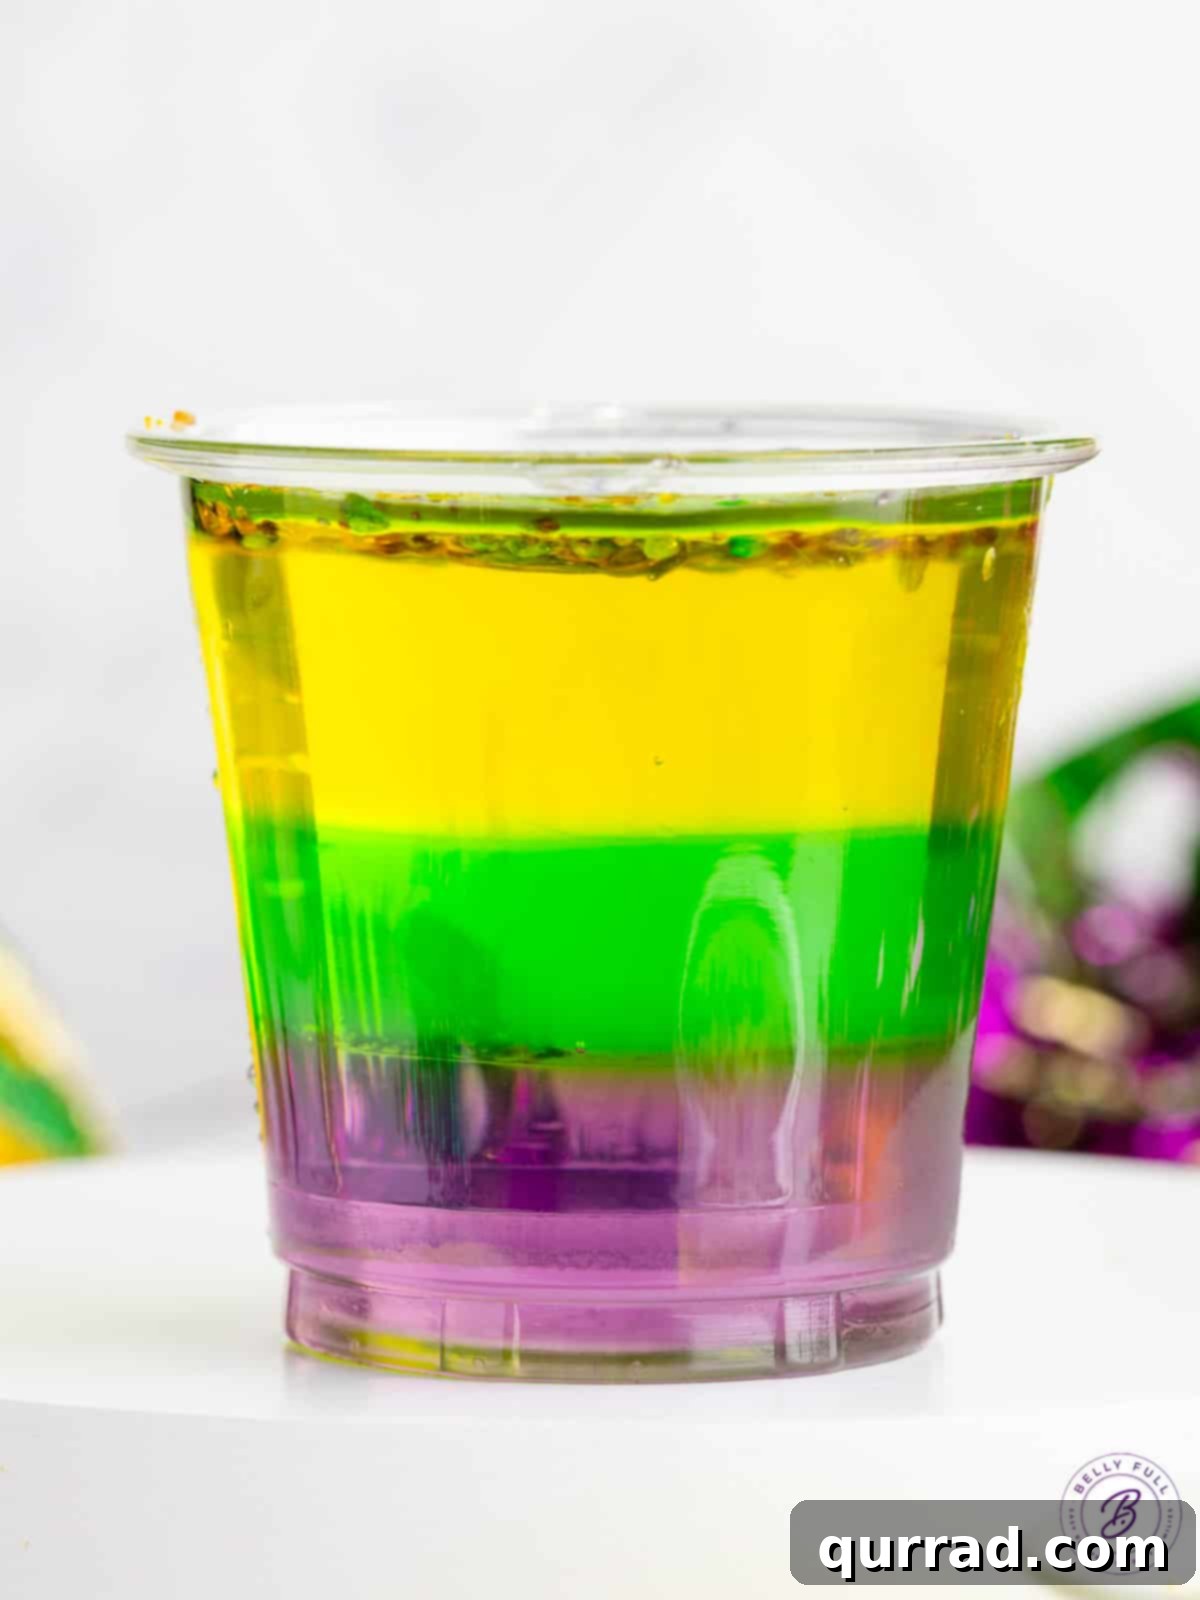
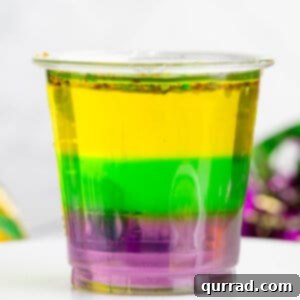
Get ready to infuse your next celebration with a splash of vibrant color and a delightful kick! These Mardi Gras Jello Shots are a show-stopping concoction, expertly layered with the iconic purple, green, and gold hues of Fat Tuesday. Crafted with a smooth vodka base and three distinct jello flavors, they’re the perfect festive treat to kick off your carnival festivities, guaranteed to bring the spirit of New Orleans directly to your party. Easy to make and undeniably fun, these boozy delights are destined to be the highlight of your Mardi Gras gathering!
Unlocking the Fun: Easy Layered Mardi Gras Jello Shots
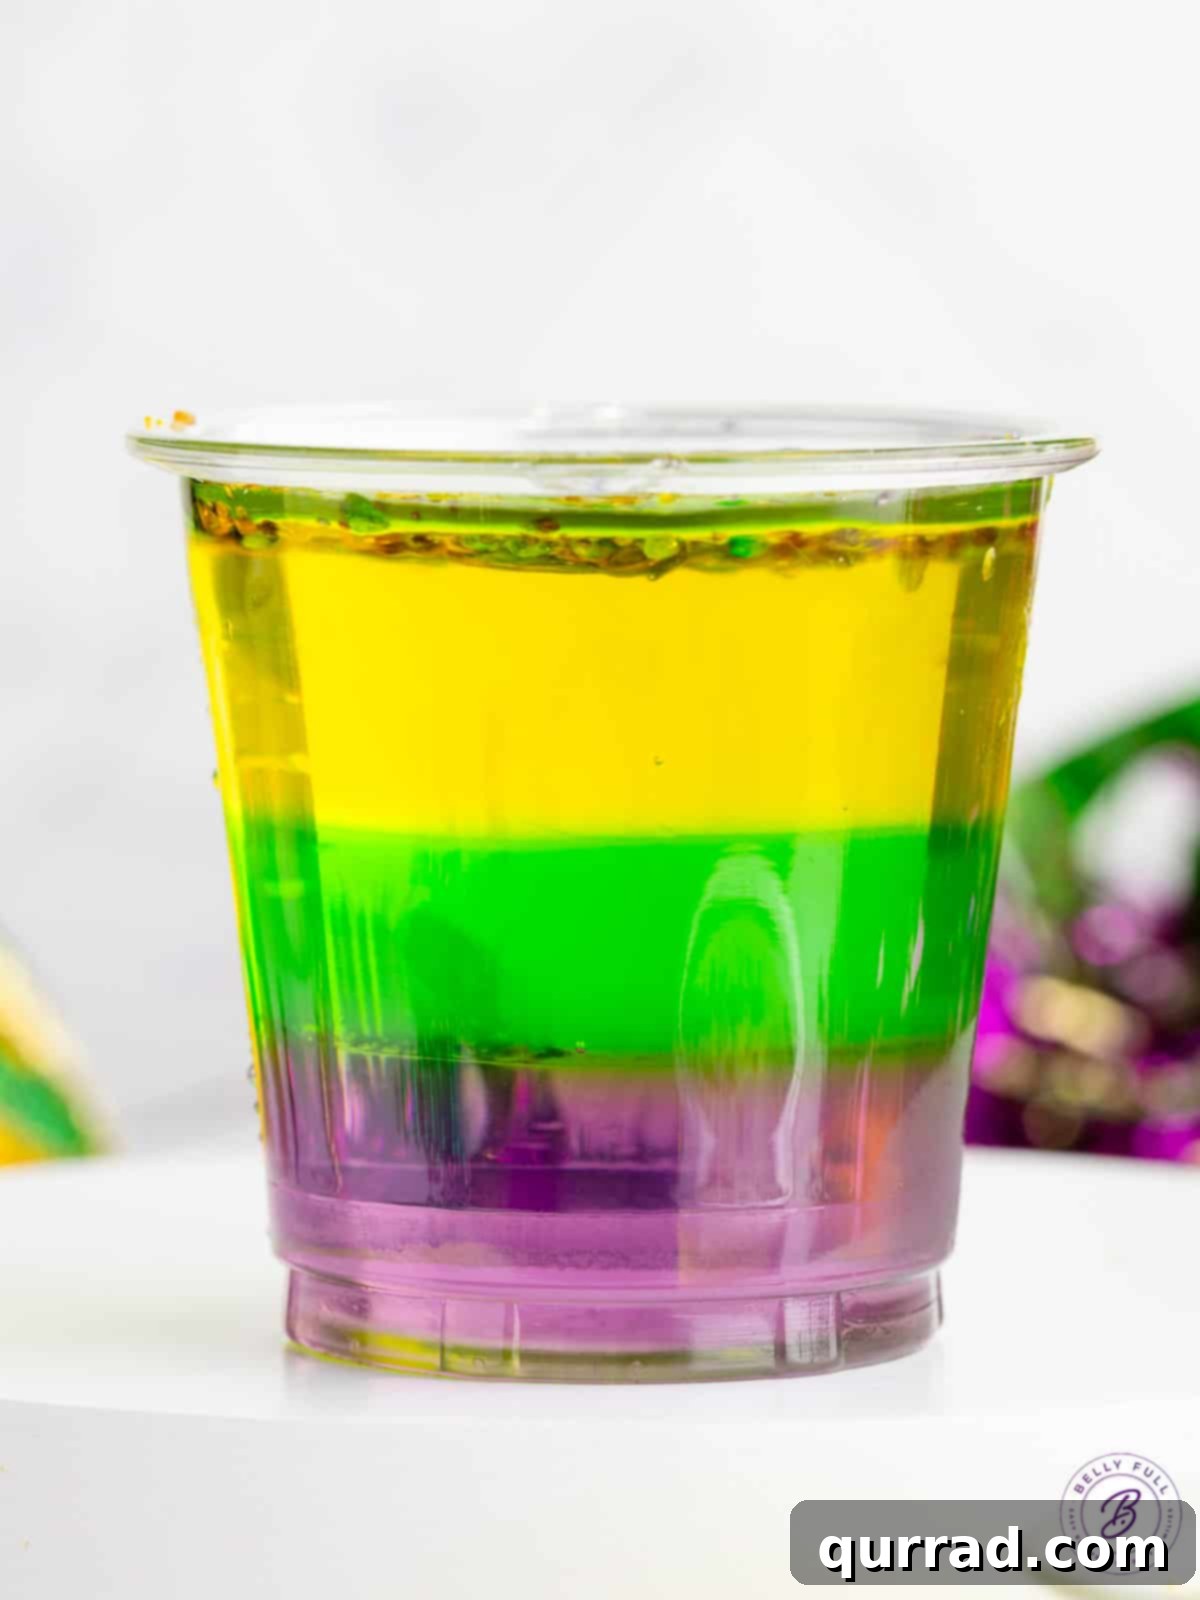
Hosting a memorable Fat Tuesday celebration? Look no further than these spectacular Mardi Gras jello shots! We’ve meticulously designed this recipe to capture the effervescent energy of New Orleans. By combining premium vodka with grape (purple), lime (green), and lemon (yellow) jello, and finishing them with shimmering sanding sugar, these layered shots brilliantly mimic the iconic colors and vibrant atmosphere of the carnival. Not only are they visually stunning, but they also offer a refreshing and deliciously boozy indulgence that your adult guests will absolutely adore.
While the intricate layers might suggest a complex preparation, these jello shots are surprisingly straightforward to create. The key difference between these festive marvels and a single-layer shot, such as a Dirty Shirley Jello Shot, lies in the chilling process. Instead of pouring all the jello mixture at once, you’ll simply chill each vibrant layer individually, allowing it to set before adding the next. This simple technique ensures clean, distinct color separation, resulting in a professional-looking treat without any advanced culinary skills required.
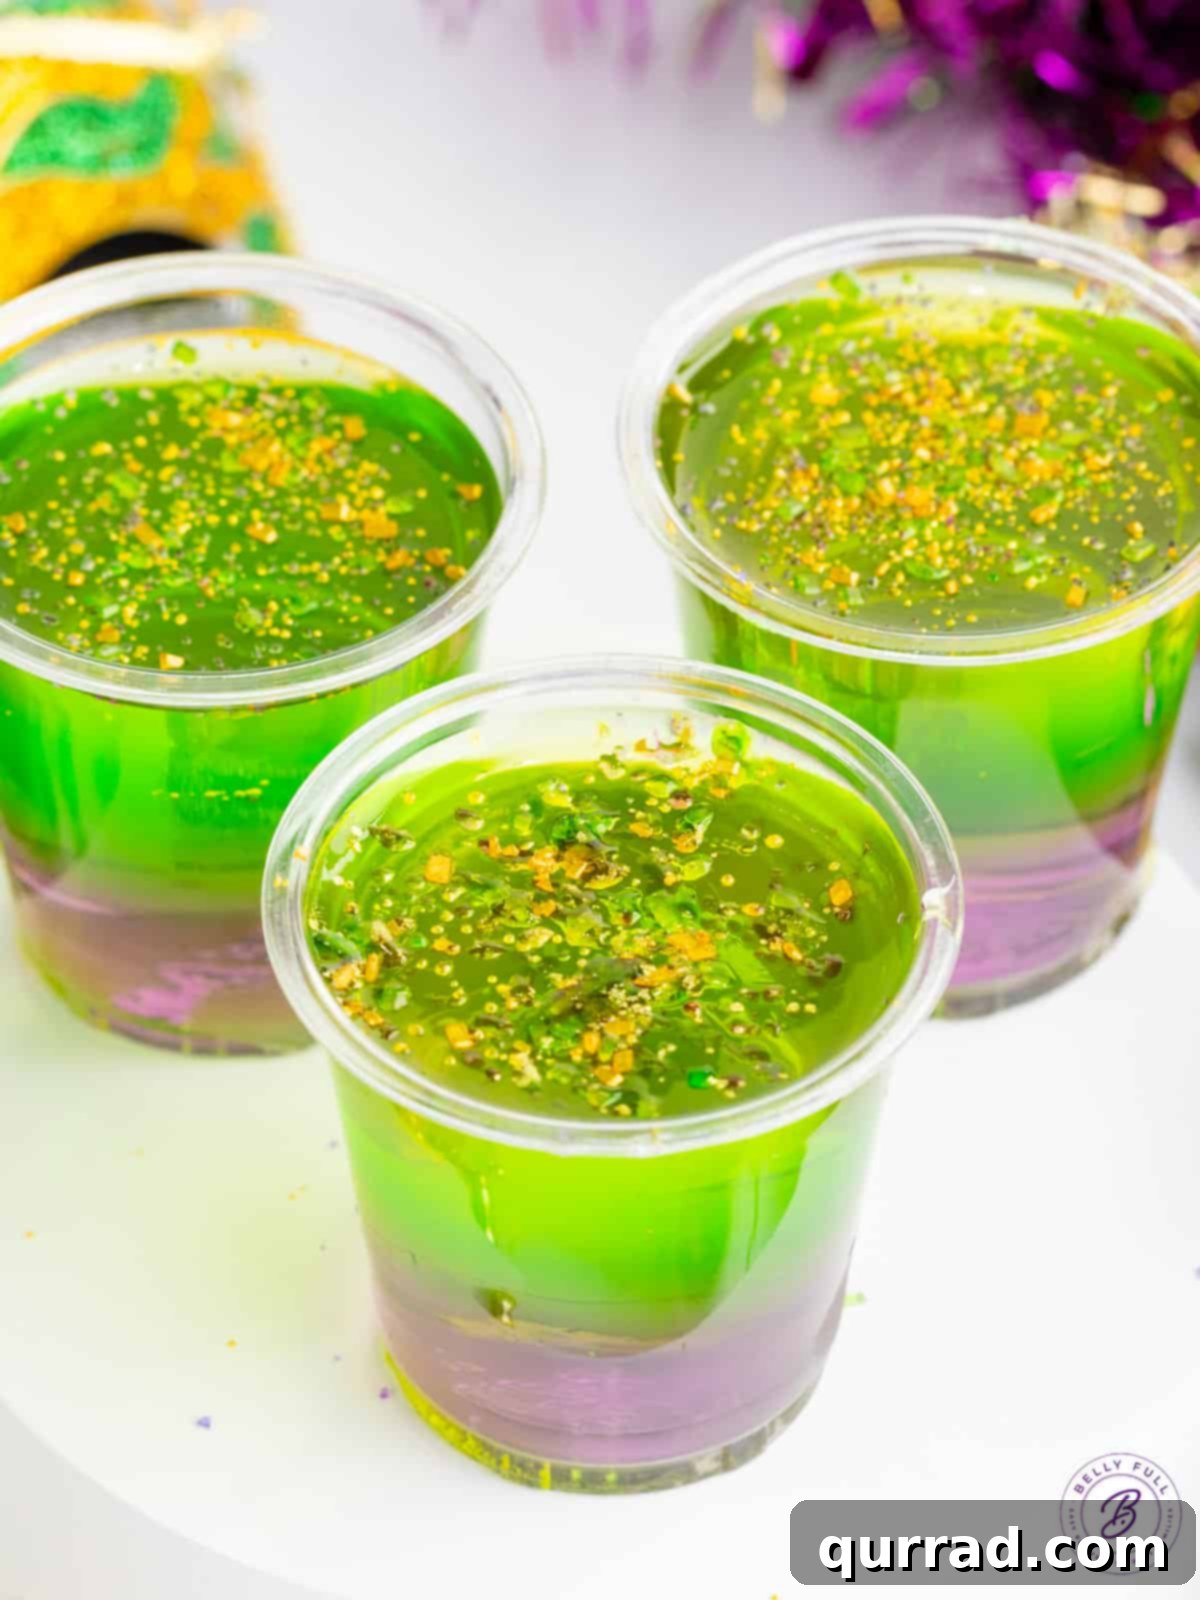
A final sprinkle of complementary colored sanding sugar just before serving adds an extra touch of sparkle and sweetness, elevating these jello shots from a simple treat to an unforgettable party experience. Prepare for compliments and requests for the recipe – these layered beauties are a guaranteed hit!
The Significance of Mardi Gras Colors: Purple, Green, and Gold
Beyond their visual appeal, the purple, green, and gold colors of Mardi Gras hold deep symbolic meaning, adding an extra layer of tradition to your jello shots. These colors were officially designated in 1872 by the King of Carnival, Rex, for his inaugural parade. Each hue represents a core value:
- Purple: Justice. This rich, regal color signifies fairness and the solemn traditions of the festival.
- Green: Faith. Representing hope and new beginnings, green is a vibrant reminder of the spiritual aspects associated with Lent.
- Gold: Power. This gleaming color denotes strength, wealth, and the prosperity of the carnival season.
By incorporating these three symbolic colors into your jello shots, you’re not just serving a drink; you’re offering a taste of Mardi Gras history and culture, making your celebration even more authentic and meaningful.
Gather Your Essentials: Ingredients for Festive Jello Shots
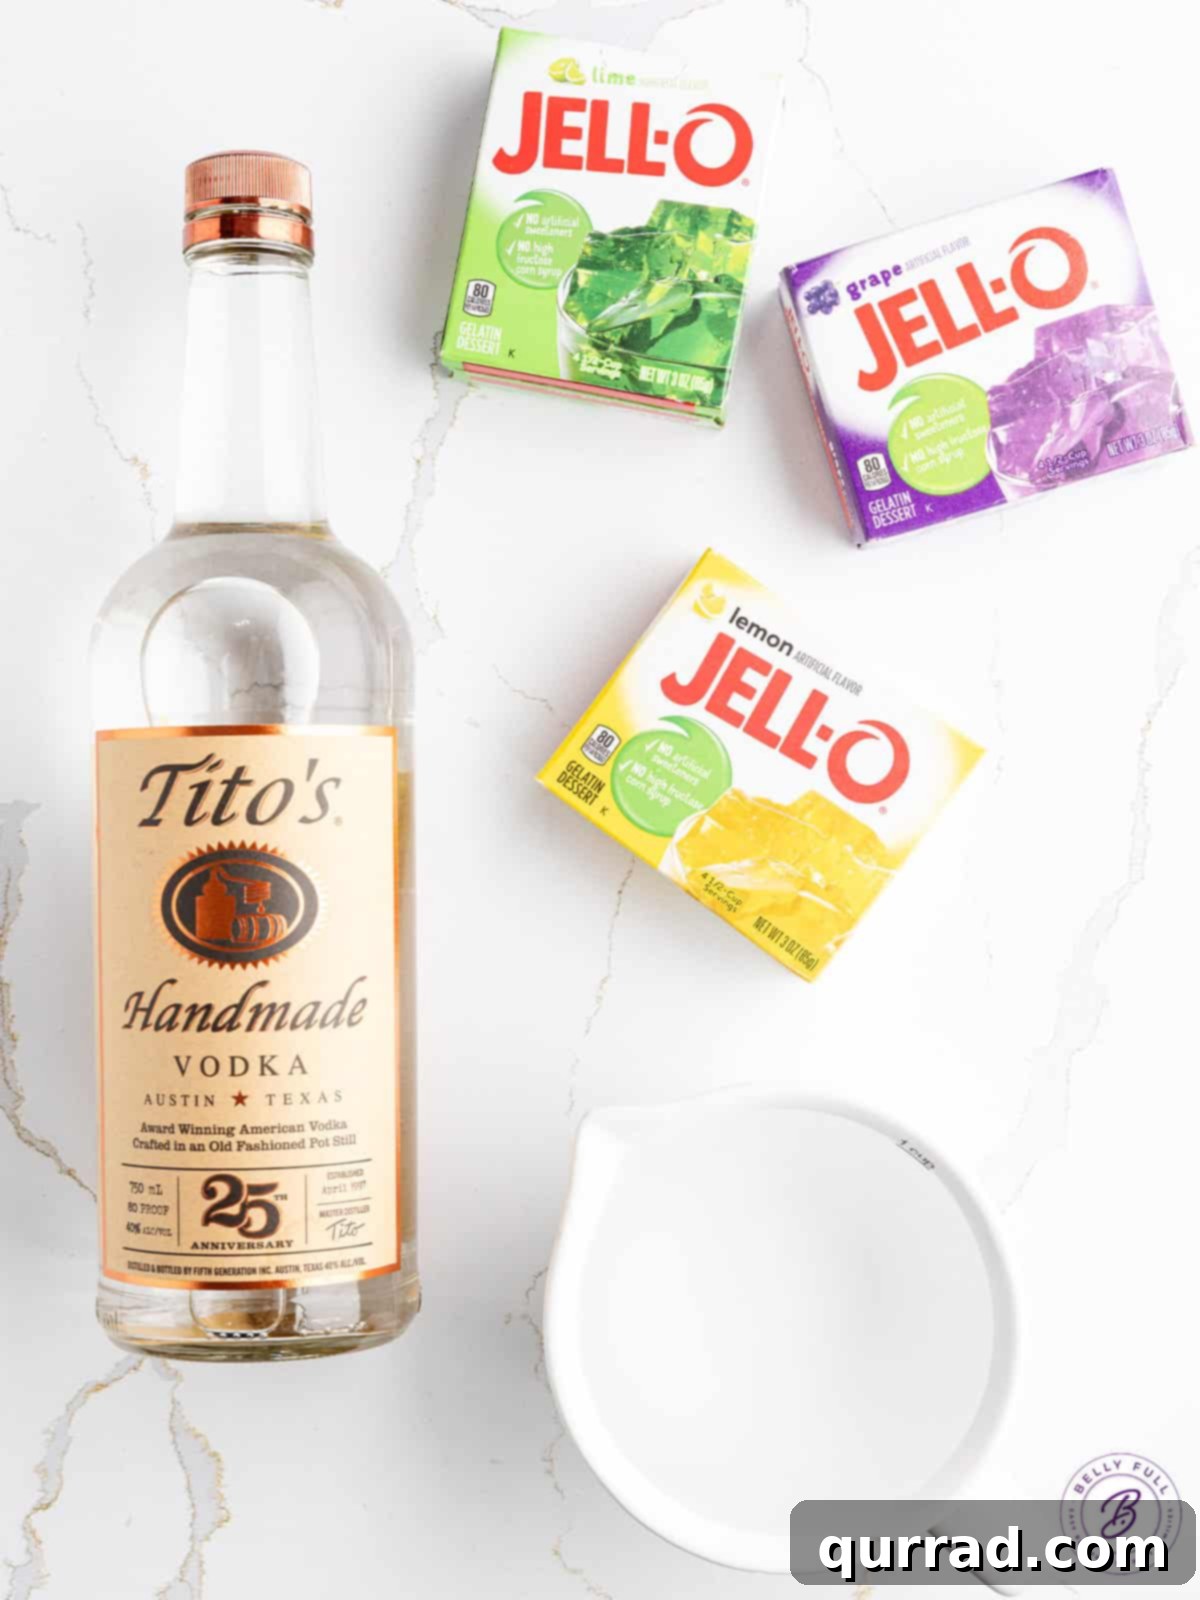
Crafting these dazzling Mardi Gras jello shots requires a surprisingly short list of ingredients, most of which are readily available at your local grocery store. With just four core components, plus water and optional decorative sugar, you’ll be well on your way to creating a batch of unforgettable party favors. (For precise quantities and a printable recipe card, please scroll down below.)
- Water: Essential for both dissolving the gelatin and helping it achieve its firm, jiggly consistency. You’ll need boiling water to fully integrate the jello powder and cold water to bring down the temperature and aid setting.
- Jello: The star of the show for color and flavor! For the authentic Mardi Gras palette, select one small box (typically 3 ounces) each of grape for a rich purple, lime for a vibrant green, and lemon for a sunny gold/yellow hue. Opting for reputable brands ensures consistent results.
- Vodka: The spirit that transforms these colorful layers into adult-friendly treats. A good quality, unflavored vodka works best, allowing the jello flavors to shine. Chilling your vodka beforehand is a pro-tip that accelerates the setting process, a handy trick when making layered shots.
- Sanding Sugar: While optional, purple, green, and gold sanding sugar provides a dazzling, crunchy topping that enhances both the visual appeal and the sweetness. Unlike fine granulated sugar, sanding sugar’s larger crystals won’t immediately dissolve, maintaining their festive shimmer.
Crafting Perfection: How to Make Layered Mardi Gras Jello Shots
Don’t let the layered appearance intimidate you; creating these impressive jello shots is no more complicated than making a basic batch, though it does require a little patience for chilling between each colorful stratum. The process is repetitive, ensuring you master each layer with ease. (Find detailed measurements and instructions in the printable recipe card below.)
- Prepare Your Workspace: Arrange your plastic jello shot cups (preferably on a sturdy sheet pan for easy transport) on a flat surface. This simple step will save you from potential spills later on.
- Initiate the Purple Layer: In a medium mixing bowl, empty one packet of grape jello powder. Bring exactly one cup of water to a rolling boil. Carefully pour the boiling water over the jello powder and stir continuously until all the gelatin granules are completely dissolved. Ensure no lumps remain for a smooth, clear layer. Next, stir in half a cup of cold water and half a cup of pre-chilled vodka. The cold liquids will help cool the mixture, expediting the setting process.
- First Pour and Chill: Carefully pour the grape jello mixture into your plastic cups, filling each approximately one-third full. Aim for an even level across all cups. Transfer the sheet pan with the filled cups to the refrigerator and chill for at least one hour, or until the purple layer is completely firm to the touch. This step is crucial for distinct layers.
- Construct the Green Layer: Once the purple layer is set, repeat the process for the green. Add one packet of lime jello powder to a clean mixing bowl. Boil another cup of water and pour it over the lime jello, stirring vigorously until fully dissolved. Incorporate half a cup of cold water and half a cup of chilled vodka.
- Second Pour and Chill: Gently pour the lime mixture over the now-firm purple layer in each cup, filling them to approximately two-thirds full. Be careful not to disturb the bottom layer. Return the cups to the refrigerator and chill for another hour, or until the green layer is completely set.
- Assemble the Yellow Layer: For the final touch, prepare the yellow layer. Add one packet of lemon jello powder to a clean bowl. Boil the last cup of water and stir it into the lemon jello until no granules are visible. Finish by mixing in the remaining half cup of cold water and half cup of chilled vodka.
- Final Pour and Deep Chill: Top off each plastic cup with the lemon jello mixture. Ensure the liquid doesn’t overflow. Place the cups back in the refrigerator for a final, thorough chill. Allow them to set completely for at least 2 to 3 hours, or ideally overnight, to ensure all layers are perfectly firm and stable.
- Garnish with Flair: Just before serving, bring out your purple, green, and gold colored sanding sugar. Lightly sprinkle a mix of these festive sugars over the top of each jello shot. This adds a beautiful sparkle and a delightful textural contrast.
Expert Tips for the Most Impressive Jello Shots
Achieving perfectly layered jello shots that are both beautiful and delicious is simple with a few insider tips. Keep these pointers in mind to ensure your Mardi Gras Jello Shots are the talk of the party:
- Always Chill Your Vodka: This is a game-changer! Using vodka that’s been pre-chilled in the refrigerator or freezer helps to rapidly cool down the warm jello mixture. This significantly speeds up the setting process for each layer, cutting down on overall preparation time and ensuring firmer layers.
- Utilize a Sheet Pan for Stability: Spreading out your jello shot cups on a sturdy baking sheet or tray before filling them is a small step with big benefits. It makes transferring a large batch of liquid-filled cups to and from the refrigerator incredibly easy and prevents accidental spills or tipping.
- Invest in a Spouted Container for Pouring: Precision is key when creating neat layers. A large measuring cup or a mixing bowl equipped with a spout provides excellent control, allowing you to pour the liquid jello mixture smoothly and accurately into each small cup without mess or overflow.
- Understanding Chilling Times: For individual layers, an hour in the refrigerator is typically sufficient for the jello to set firmly enough to support the next layer. However, patience is a virtue! Once the final layer is added, I highly recommend allowing the shots to chill for an additional 2 to 3 hours, or even overnight, to ensure they are completely firm and hold their shape impeccably. This extended chill time also helps meld the flavors subtly.
- Choosing the Right Jello Shot Cups: Not all jello shot cups are created equal. The cups recommended for this recipe are typically 2-ounce condiment cups, but they are often taller and narrower than standard jello shot cups. This height is essential for showcasing the distinct layers. Ensure you have the appropriate type for the best visual effect.
- Gentle Pouring Technique: When adding subsequent layers, pour slowly and directly into the center of the cup. This minimizes disturbance to the already set layers and helps prevent mixing of colors.
- Accurate Measurements: Stick precisely to the water and vodka ratios in the recipe. Too much liquid will result in softer jello that might not hold its shape, especially with the added alcohol.
Flavors Beyond the Standard: Customizing Your Jello Shots
While the classic purple, green, and gold colors are synonymous with Mardi Gras, don’t hesitate to get creative with your jello shot creations. Here are a few ideas to customize your festive treats:
- Alternate Jello Flavors: Experiment with other jello flavors that still align with the color scheme or offer interesting taste combinations. For purple, consider black cherry or berry blue (which can appear purple). For green, green apple works well. For gold/yellow, pineapple or peach can add a new dimension.
- Different Liquors: Vodka is traditional, but you can swap it out for other clear spirits. White rum or even a light tequila could provide a unique twist. For a slightly different flavor profile, try a coconut rum for a tropical touch, or a citrus-flavored vodka to enhance the lemon layer.
- Non-Alcoholic Fun: For guests who prefer non-alcoholic options, simply replace the vodka with an equal amount of cold water or a clear non-alcoholic sparkling beverage. This ensures everyone can enjoy the festive layers.
- Enhanced Garnishes: Beyond sanding sugar, consider a dollop of whipped cream and a small decorative Mardi Gras pick, or even a tiny piece of corresponding colored candy for an extra pop.
Presentation and Preservation: Serving & Proper Storage
The final touches and thoughtful storage are key to ensuring your Mardi Gras Jello Shots remain fresh, firm, and fabulous for your celebration.
Serving Suggestions:
Once your jello shots are completely set and just prior to serving, enhance their festive appeal with a generous sprinkle of purple, green, and gold colored sanding sugar. I recommend purchasing individual colors and mixing them together for a truly vibrant blend. Be sure to use a coarser sanding sugar, rather than a finer variety, as the larger crystals will maintain their sparkle and won’t readily dissolve into the jello, preserving their decorative effect.
Given that these layered jello shots are quite tall and substantial, they are not ideally suited for traditional “shot” consumption. The most elegant and enjoyable way to serve them is with small tasting spoons. Providing spoons makes it much easier for guests to scoop out and savor each delicious, boozy layer, transforming the experience from a quick gulp to a delightful, multi-textured treat.
Proper Storage:
To maintain their optimal texture, flavor, and visual appeal, always keep your jello shots refrigerated until you’re ready to serve them. If you plan to prepare them more than a few hours in advance, or if there will be leftovers, it’s crucial to cover them. If your jello shot cups come with lids, use them. Otherwise, a layer of plastic wrap pressed gently over the top of the cups will prevent them from drying out or absorbing refrigerator odors. Properly stored, these delightful Mardi Gras jello shots will remain fresh and enjoyable for up to 4 days in the refrigerator.
Explore More Jello Shot Adventures:
- Dirty Shirley Jello Shots
- Sex on the Beach Jello Shots
- Blue Hawaiian Jello Shots
- Jack Frost Jello Shots
- Apple Pie Jello Shots
We hope you thoroughly enjoy creating and indulging in this wonderfully festive and easy recipe! Your feedback is invaluable, so please consider leaving a review below once you’ve tried it. And for more delicious inspiration and recipes, don’t forget to follow us on TikTok, Facebook, Instagram, Pinterest, and YouTube!
Mardi Gras Jello Shots
Pin
Made with vodka and 3 different flavors of jello, these Mardi Gras Jello Shots are layered with festive purple, green, and gold colors, perfect for celebrating Fat Tuesday!
Equipment
-
jello shot cups with lids (30, 2 ounce cups)
-
Tasting spoons, for serving, optional
Ingredients
- 3 ounce box grape Jell-O gelatin
- 3 ounce box lime Jell-O gelatin
- 3 ounce box lemon Jell-O gelatin
- 4 & 1/2 cups cold water, , divided
- 1 & 1/2 cups chilled vodka, , divided
Instructions
-
Place your plastic cups onto a sheet pan. Set aside.
-
Make the purple layer. Add your grape Jell-O to a medium mixing bowl. Bring 1 cup of water to a boil in a small pot. Stir the boiling water into the grape Jell-O mix until all the mixture has dissolved. Mix in 1/2 cup of cold water and 1/2 cup of chilled vodka.
-
Fill the plastic cups 1/3 full with the grape mixture. Place in the refrigerator until the Jell-O has set, about 1 hour.
-
Make the green layer. Add your lime Jell-O to a medium mixing bowl. Bring 1 cup of water to a boil in a small pot. Stir the boiling water into the lime Jell-O mix until all the mixture has dissolved. Mix in 1/2 cup of cold water and 1/2 cup of chilled vodka.
-
Top the grape layer with the lime mixture so the cups are about 2/3 full. Place back in the refrigerator until the Jell-O has set, about 1 hour.
-
Make the yellow layer. Add your lemon Jell-O to a medium mixing bowl. Bring 1 cup of water to a boil in a small pot. Stir the boiling water into the lemon Jell-O mix until the mixture has dissolved. Mix in 1/2 cup of cold water and 1/2 cup of chilled vodka.
-
Top off the cups with the lemon mixture. Place back in the refrigerator and allow the Jell-O to set completely, about 2-3 more hours.
-
Once completely set and right before serving, garnish with purple, green, and gold colored sanding sugar.
Notes
Use something with a spout for pouring. A large spouted measuring cup or mixing bowl that has a spout helps prevent spills when you’re pouring the liquid jello into the cups.
Jello shot cups. These are the condiment cups used for this recipe. They are not the standard ones. They are still 2 ounces, but taller.
Tasting spoons. While most jello shots can be enjoyed in one piece, these are quite tall and big, so they’re not ideal for taking as a “shot”. Tasting spoons definitely make enjoying these easier!
Nutrition
Nutritional information given is an automatic calculation and can vary based on the exact products you use and any changes you make to the recipe. If these numbers are very important to you, I would recommend calculating them yourself.